steering CHEVROLET TRACKER 1995 Owner's Manual
[x] Cancel search | Manufacturer: CHEVROLET, Model Year: 1995, Model line: TRACKER, Model: CHEVROLET TRACKER 1995Pages: 354, PDF Size: 18.24 MB
Page 166 of 354
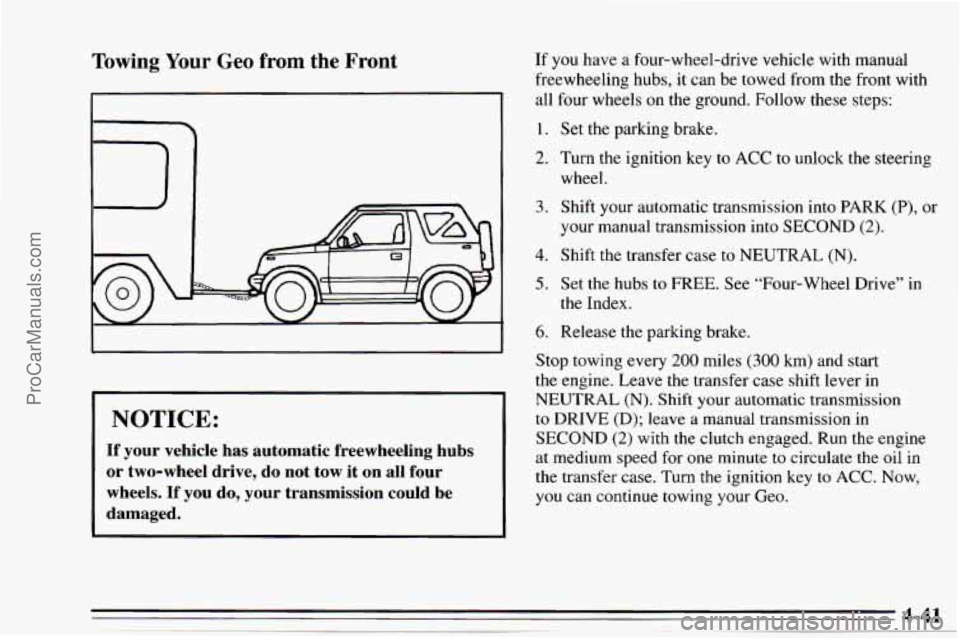
Towing Your Geo from the Front
I NOTICE:
If your vehicle has automatic freewheeling hubs
or two-wheel drive, do not tow it on all four
wheels. If you do, your transmission could be
damaged.
If you have a four-wheel-drive vehicle with manual
freewheeling hubs, it can be towed from the front with
all four wheels on the ground. Follow these steps:
1. Set the parking brake.
2. Turn the ignition key to ACC to unlock the steering
wheel.
3. Shift your automatic transmission into PARK (P), or
your manual transmission into SECOND
(2).
4. Shift the transfer case to NEUTRAL (N).
5. Set the hubs to FREE. See “Four-wheel Drive” in
the Index.
6. Release the parking brake.
Stop towing every
200 miles (300 km) and start
the engine. Leave the transfer
case shift lever in
NEUTRAL (N). Shift your automatic transmission
to
DRIVE (D); leave a manual transmission in
SECOND
(2) with the clutch engaged. Run the engine
at medium speed for
one minute to circulate the oil in
the transfer case. Turn the ignition key to ACC. Now,
you can continue towing your Geo.
ProCarManuals.com
Page 167 of 354
I
NOTICE:
The front wheels transmit shocks during towing.
The steering column may not be strong enough to
withstand the shocks. Always unlock the steering
wheel before towing.
Loading Your Vehicle
I NOTICE:
Make sure that the towing speed does not exceed
damaged.
I 50 mph (SO kmh), or your Geo could be badly
f
TIRE PLACARD
GhR GWVR FRT GAWR RR
WKg
TIRES
RIMS
INFLATION PRESSURE COLD PSVkPa
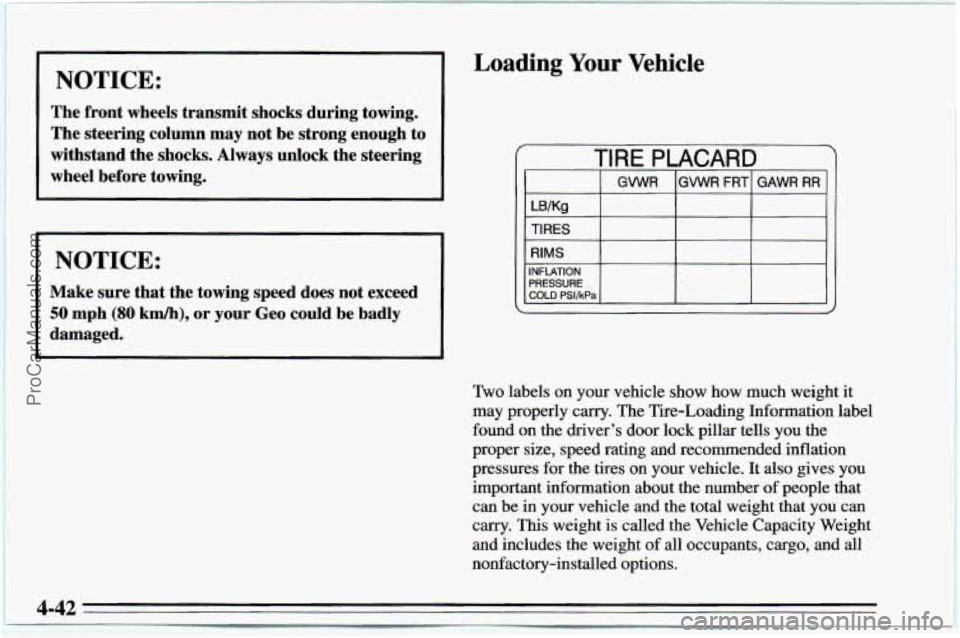
Two labels on your vehicle show how much weight it
may properly carry. The Tire-Loading Information label
found on the driver’s door lock pillar tells you the
proper size, speed rating and recommended inflation
pressures for the tires on your vehicle. It also gives you
important information about the number of people that
can be in your vehicle and the total weight that
you can
carry.
This weight is called the Vehicle Capacity Weight
and includes the weight of all occupants, cargo, and all
nonfactory-installed options.
4-42
ProCarManuals.com
Page 174 of 354
Following Distance
Stay at least twice as far behind the vehicle ahead as you
would when driving your vehicle without a trailer. This
can help you avoid situations that require heavy braking
and sudden turns.
Making lhrns
Passing
You’ll need more passing distance up ahead when
you’re towing a trailer. And, because you’re a good deal
longer, you’ll need to go much farther beyond the
passed vehicle before you can return to your lane.
Backing Up
Hold the bottom of the steering wheel with one hand.
Then, to move the trailer to the left, just move that hand
to the left.
To move the trailer to the right, move your
hand to the right. Always back up slowly and, if
possible, have someone guide you.
I NOTICE:
Making very sharp turns while trailering could
cause the trailer to come in contact with the
vehicle.
Your vehicle could be damaged. Avoid
making very
sharp turns while trailering.
When you’re turning with a trailer, make wider turns
than normal.
Do this so your trailer won’t strike soft
shoulders, curbs, road signs, trees, or other objects.
Avoid jerky or sudden maneuvers. Signal well in
advance.
Turn Signals When Towing a Trailer
When you tow a trailer, your vehicle has to have extra
wiring (included in the optional trailering package). The
green arrows on your instrument panel will flash
whenever you signal a turn or lane change. Properly
hooked up, the trailer lamps will also flash, telling other
drivers you’re about to turn, change lanes or stop.
ProCarManuals.com
Page 184 of 354
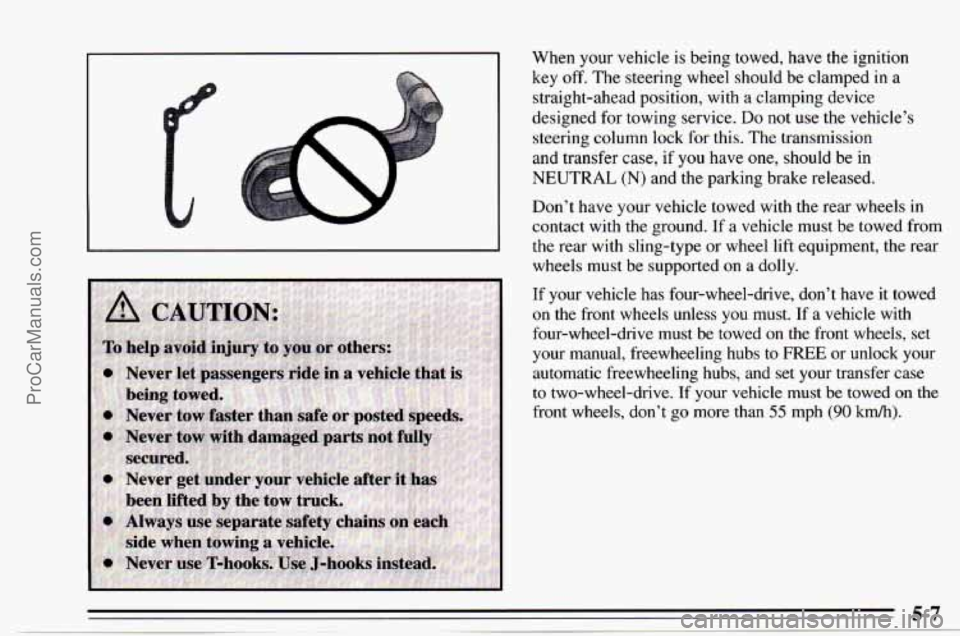
When your vehicle is being towed, have the ignition
key
off. The steering wheel should be clamped in a
straight-ahead position, with a clamping device
designed for towing service.
Do not use the vehicle’s
steering column lock
for this. The transmission
and transfer
case, if you have one, should be in
NEUTRAL (N) and the parking brake released.
Don’t have your vehicle towed with the rear wheels in
contact with the ground. If a vehicle must be towed from
the rear with sling-type or wheel lift equipment, the rear
wheels must be supported on a dolly.
If your vehicle has four-wheel-drive, don’t have it towed on
the front wheels unless you must. If a vehicle with
four-wheel-drive must be towed
on the front wheels, set
your manual, freewheeling hubs to FREE or unlock your
automatic freewheeling hubs, and set your transfer case
to two-wheel-drive. If
your vehicle must be towed on the
front wheels, don’t
go more than 55 mph (90 km/h).
5-7
ProCarManuals.com
Page 198 of 354
If a Tire Goes Flat
It’s unusual for a tire to “blow out’‘ while you’re driving,
especially if you maintain your
tires properly. If air goes
out of
a tire, it’s much more likely to leak out slowly.
But if you should ever have a “blowout,” here are a few
tips about what to expect and what
to do:
If a front tire fails, the flat tire will create a drag that
pulls
the vehicle toward that side. Take your foot off the
accelerator pedal and grip
the steering wheel firmly.
Steer
to maintain lane position, then gently brake to a
stop well out of the traffic lane.
A rear blowout, particularly on a curve, acts much like a
skid and may require the same correction you’d use in a
skid. In any rear blowout, remove your foot from the
accelerator pedal. Get the vehicle under control by
steering the way you want the vehicle to
go. It may be
very bumpy and noisy, but you can still steer. Gently
brake
to a stop, well off the road if possible.
If a tire goes flat, the next part shows how to use your
jacking equipment to change a flat tire safely.
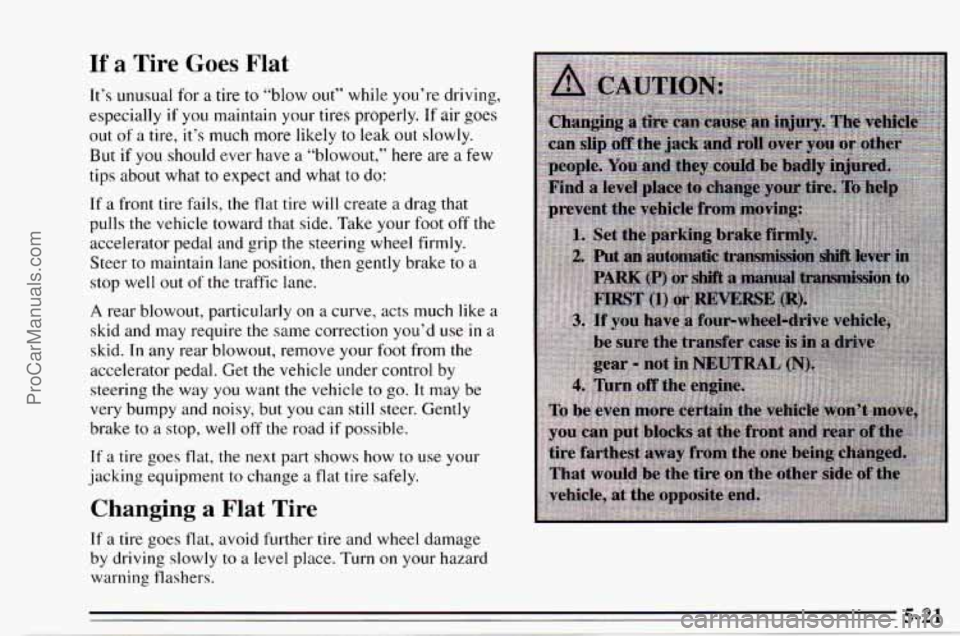
Changing a Flat Tire
If a tire goes flat, avoid further tire and wheel damage
by driving slowly
to a level place. Turn on your hazard
warning flashers.
5-21
ProCarManuals.com
Page 209 of 354
Rocking your vehicle to get it out:
First, turn your steering wheel left and right. That will
clear the area around your front wheels. Then shift back
and forth between REVERSE (R) and
a forward gear (or
with a manual transmission, between FIRST (1) or
SECOND (2) and REVERSE (R)), spinning the wheels
as little as possible. Release the accelerator pedal while
you shift, and press lightly on the accelerator pedal
when the transmission is in gear. If that doesn’t get
you
out after a few tries, you may need to be towed out. Or,
you can use your recovery hooks, if your vehicle has
them.
If you do need to be towed out, see “Towing Your
Vehicle” in the
Index.
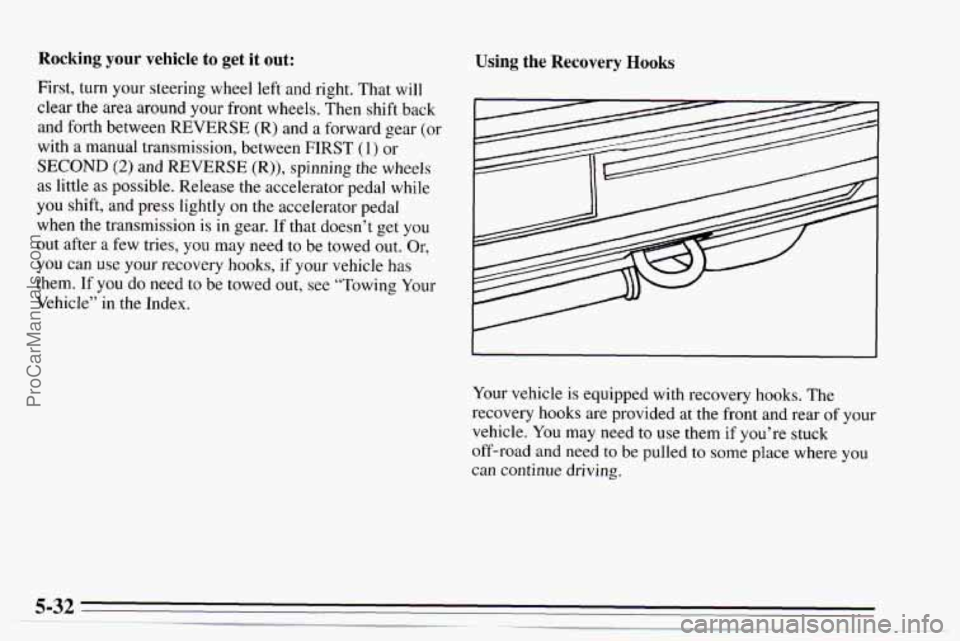
Using the Recovery Hooks
Your vehicle is equipped with recovery hooks. The
recovery hooks are provided at the front and rear of your
vehicle. You may need to use them if you’re stuck
off-road and need to be pulled to some place where
you
can continue driving.
ProCarManuals.com
Page 220 of 354
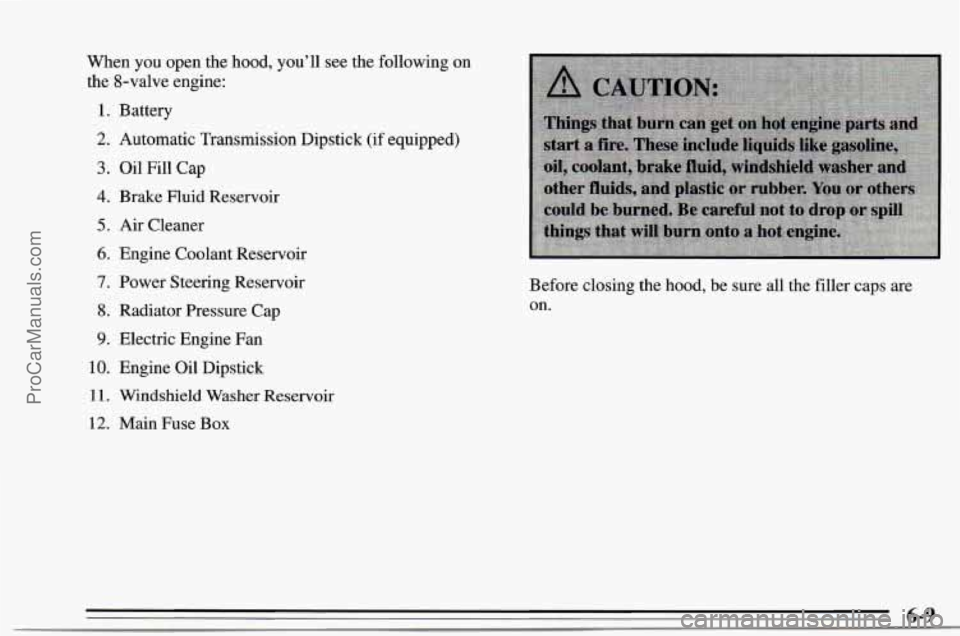
When you open the hood, you’ll see the following on
the 8-valve engine:
1. Battery
2. Automatic Transmission Dipstick (if equipped)
3. Oil Fill Cap
4. Brake Fluid Reservoir
5. Air Cleaner
6. Engine Coolant Reservoir
7. Power Steering Reservoir
8. Radiator Pressure Cap
9. Electric Engine Fan
10. Engine Oil Dipstick
1 1. Windshield Washer Reservoir
12. Main Fuse Box Before
closing the hood, be sure all the filler caps are
on.
6-9
ProCarManuals.com
Page 222 of 354
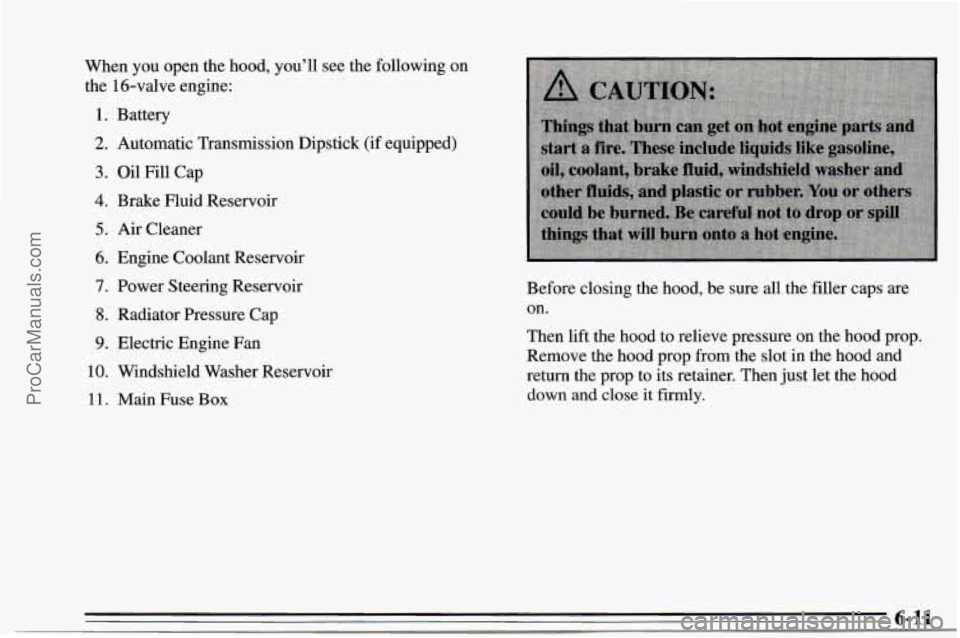
When you open the hood, you’ll see the following on
the 16-valve engine:
1. Battery
2. Automatic Transmission Dipstick (if equipped)
3. Oil Fill Cap
4. Brake muid Reservoir
5. Air Cleaner
6. Engine Coolant Reservoir
7. Power Steering Reservoir
8. Radiator Pressure Cap
9. Electric Engine Fan
10. Windshield Washer Reservoir
11. Main Fuse Box Before
closing the hood, be sure all the filler caps are
on.
Then lift the hood to relieve pressure on the hood prop.
Remove the hood prop from the slot in the hood and
return the prop to its retainer. Then just let the hood
down and close it firmly.
6-11 ProCarManuals.com
Page 239 of 354
Radiator Pressure Cap Power Steering Fluid
I NOTICE:
Your radiator cap is a 13 psi (90 kPa)
pressure-type cap and must be tightly installed to
prevent coolant
loss and possible engine damage
from overheating. Be sure the arrows on the cap
line up with the overflow tube on the radiator
filler neck.
When you replace your radiator pressure cap, an AC@
cap is recommended.
Thermostat
Engine coolant temperature is controlled by a thermostat
in the engine coolant system. The thermostat stops the
flow of coolant through the radiator until the coolant
reaches
a preset temperature.
When
you replace your thermostat, an AC@ thermostat
is recommended.
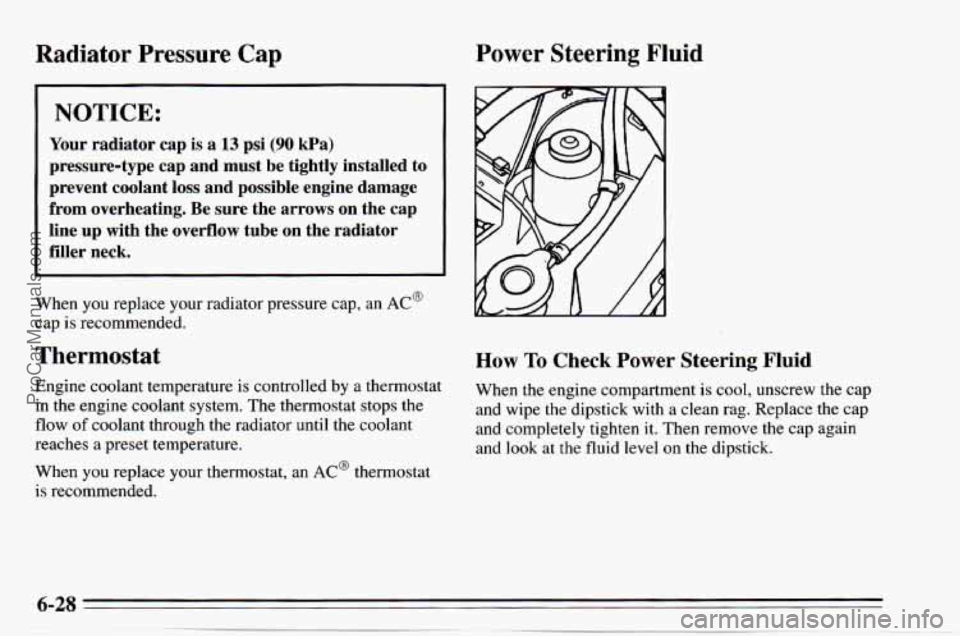
How To Check Power Steering Fluid
When the engine compartment is cool, unscrew the cap
and wipe the dipstick with a clean rag. Replace the cap
and completely tighten it. Then remove the cap again
and look at the
fluid level on the dipstick.
ProCarManuals.com
Page 240 of 354
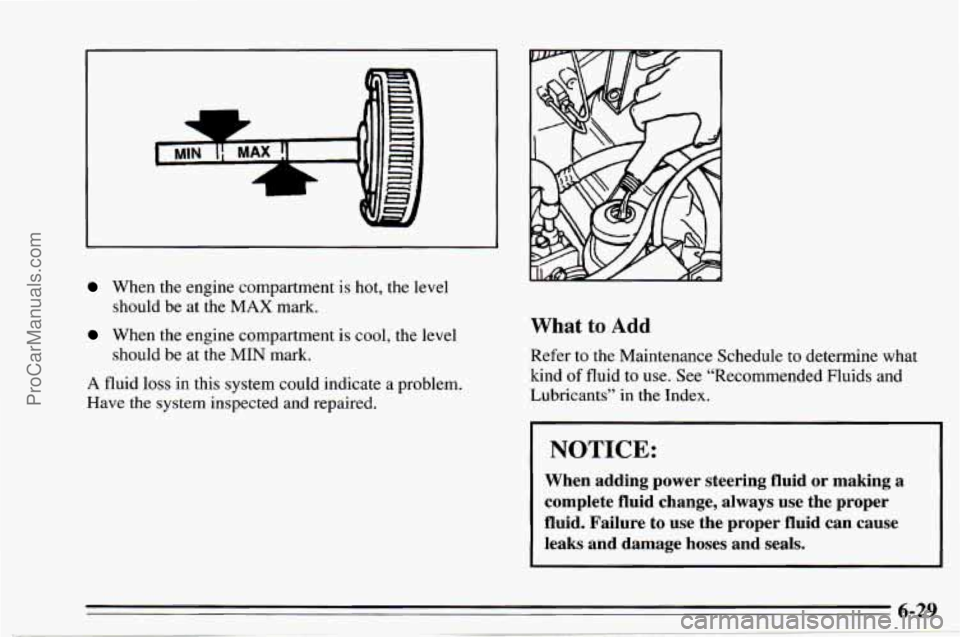
When the engine compartment is hot, the level
should
be at the MAX mark.
When the engine compartment is cool, the level
should be at the MIN mark.
A fluid loss in this system could indicate a problem.
Have the system inspected and repaired.
What to Add
Refer to the Maintenance Schedule to determine what
kind
of fluid to use. See “Recommended Fluids and
Lubricants” in the Index.
NOTICE:
When adding power steering fluid or making a
complete fluid change, always use the proper
fluid. Failure to use the proper fluid can cause
leaks and damage hoses and seals.
ProCarManuals.com