audio CHEVROLET TRACKER 1995 Owners Manual
[x] Cancel search | Manufacturer: CHEVROLET, Model Year: 1995, Model line: TRACKER, Model: CHEVROLET TRACKER 1995Pages: 354, PDF Size: 18.24 MB
Page 2 of 354

GeGB The 1995 Geo Tracker Owner’s Manual
Seats and Restraint Systems .............................................................. 1-1
This section tells you how to use your seats and safety belts prop\
erly.
Features and Controls .................................................................. 2-1
This section explains how to start and operate your Geo.
Comfort Controls and Audio Systems ..................................................... 3-1
This section tells you how to adjust the ventilation and comfo\
rt controls and how to operate your
audio system. Here you’ll find helpful information and tips about the road\
and how to drive under different conditions.
This section tells you what to do if you have
a problem while driving, such as a flat tire or engine
overheating, etc.
YourDrivingandtheRoad .............................................................. 4-1
Problems on the Road
.................................................................. 5-1
Service and Appearance Care. ........................................................... 6-1
Here the manual tells you how to keep your Geo running properly and looking good.
This section tells you when to perform vehicle maintenance and \
what fluids and lubricants to
use.
This section tells you how to contact Chevrolet/Geo for assista\
nce and how to get service publications. It also
gives you information on “Reporting Safety Defects” on pag\
e
8-4.
Maintenanceschedule .................................................................. 7-1
Customer Assistance Information ........................................................ 8-1
I-Idex ........................................................,...............\
.........9-1
Here’s an alphabetical listing of almost every subject in this manual. You can use it to quickly find
something
you want to read.
ProCarManuals.com
Page 82 of 354
1.
2.
3.
4.
5.
6.
7.
8.
9.
10.
11.
12.
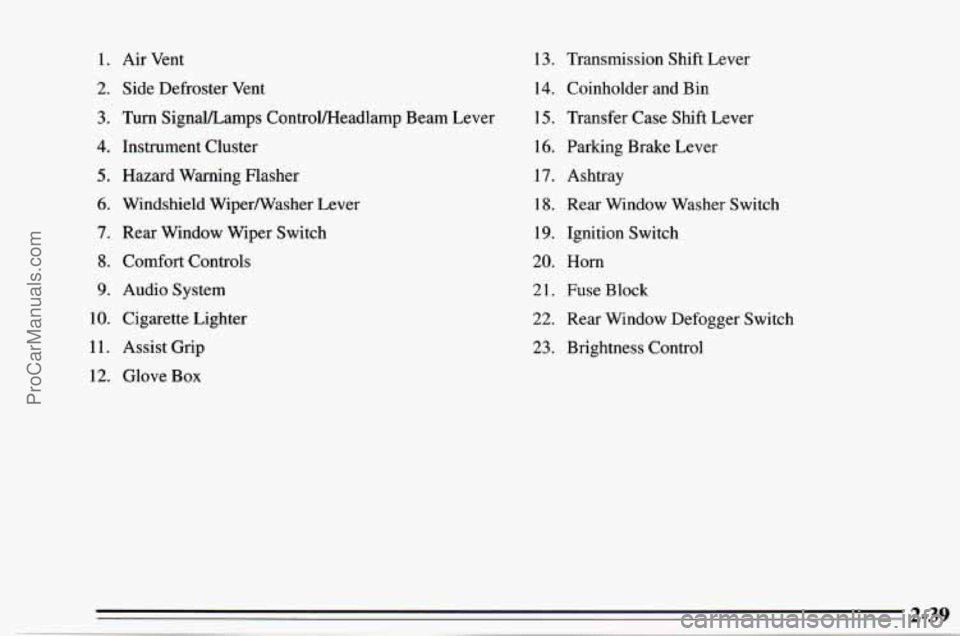
Air Vent
Side Defroster Vent
Turn SignalLamps ControlM[eadlamp Beam Lever
Instrument Cluster
Hazard Warning Flasher
Windshield WiperNasher Lever
Rear Window Wiper Switch
Comfort Controls
Audio System
Cigarette Lighter
Assist Grip Glove Box 13. Transmission
Shift Lever
14. Coinholder and Bin
15. Transfer Case Shift Lever
16. Parking Brake Lever
17. Ashtray
18. Rear Window Washer Switch
19. Ignition Switch
20. Horn
2 1. Fuse Block
22. Rear Window Defogger Switch
23. Brightness Control
ProCarManuals.com
Page 106 of 354
Gem Section 3 Comfort Controls and Audio Systems
In this section you’ll find out how to operate the comfort
control systems and audio systems offered
with your
Geo. Be sure to read about the particular system
supplied with your vehicle.
Comfort Controls
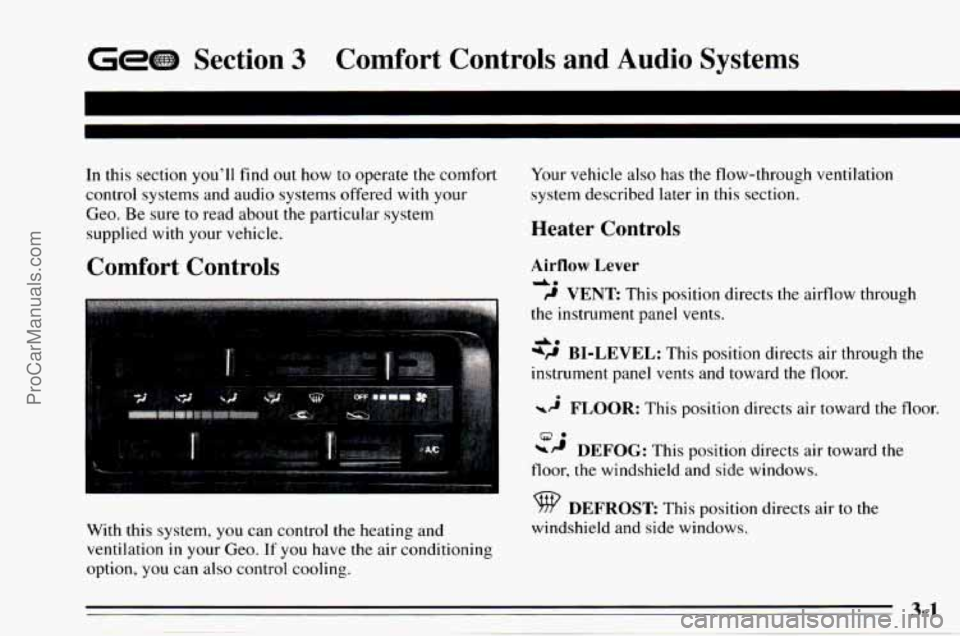
With this system, you can control the heating and
ventilation
in your Geo. If you have the air conditioning
option, you can
also control cooling. Your
vehicle also has the flow-through ventilation
system described later
in this section.
Heater Controls
Airflow Lever
da
9 VENT This position directs the airflow through
the instrument panel vents.
*P BI-LEVEL: This position directs air through the
instrument panel vents and toward
the floor.
-2 FLOOR: This position directs air toward the floor.
DEFOG: This position directs air toward the
A*
9.
floor, the windshield and side windows.
DEFROST This position directs air to the
windshield and side windows.
ProCarManuals.com
Page 110 of 354
Audio Systems
Your DelcoB audio system has been designed to operate
easily and give years of listening pleasure. But you will
get the most enjoyment out
of it if you acquaint yourself
with it first. Find out what your Delco@system can do
and how to operate all its controls, to be sure you're
getting the most out of the advanced engineering that
went into it.
Setting the Clock
AM/FM Stereo
To set the correct hour, press and hold RCL (TIME
SET). At the same time, press and hold TUNE
4 (HR)
until the correct hour appears.
To set the correct minute, press and hold
RCL (TIME
SET). At the same time press and hold TUNE (MIN)
until the correct minute appears.
AM/FM Stereo with Cassette Tape Player
To set the correct hour, press and hold RCLPROG
(TIME SET). At the same time, press and hold
TUNE
4 (HR) until the correct hour appears.
To set the correct minute, press and hold RCLPROG
(TIME SET).
At the same time press and hold
TUNE (MIN) until the correct minute appears.
AM/FM Stereo with Cassette Tape and Compact
Disc Players
To set the correct hour, press and hold RCL v A (TIME
SET). At the same time, press and hold TUNE
4 (HR)
until the correct hour appears.
To set the correct minute, press and hold
RCL v A
(TIME SET). At the same time press and hold
TUNE (MIN) until the correct minute appears.
ProCarManuals.com
Page 115 of 354
Cln: This message may appear on the display. If it does,
your cassette tape player needs to
be cleaned. It will still
play tapes, but you should clean it as soon as possible to
prevent damage to your tapes and player. See “Care of
Your Cassette Tape Player” in the Index. After you clean
the player, press and hold EJECT for
five seconds to
reset the Cln indicator. “---” will appear in the display to
show the indicator was reset.
Theft-Deterrent Feature
The theft-deterrent feature for the A” stereo with
cassette tape player can be used
or ignored. If ignored, the
system plays normally. If it is used, your system won’t be \
usable
if it’s ever stolen because it will go into LOC mode
anytime your vehicle loses battery power. The unlock code must be entered or the radio will not
turn on.
Setting Your Security Code
The following instructions will tell you how to enter a
security code
into the system. If your vehicle loses
battery power for any reason, you must enter the
security code again before the system will turn
on.
You are now ready to enter your security code. Don’t
wait more
than 15 seconds between steps.
Press
4 SEEK b or 4 TUNE and “0000” will appear
on the display.
Press SEEK
4 and hold it until the first digit of your
code appears. Release the button.
Press
SEEK b and hold it until the second digit of your
code appears. Release
the button.
Press
TUNE 4 and hold it until the third digit of your
code appears. Release the button.
Press
TUNE b and hold it until the fourth digit of your
code appears. Release the button.
Press
AM-FM after you have checked that the code you
entered
is the one you wrote down. “rEP’ will appear on
the display, which means you need to repeat steps 5
through 9.
Press AM-FM again and the display will now show
SEC.
Write down any four-digit number and keep it in a safe place.
Then turn the ignition switch to the ACC or ON position
and the audio system
off. Press the 1 and 4 buttons together.
Hold them down until
“----” shows on the display.
3-10
ProCarManuals.com
Page 119 of 354
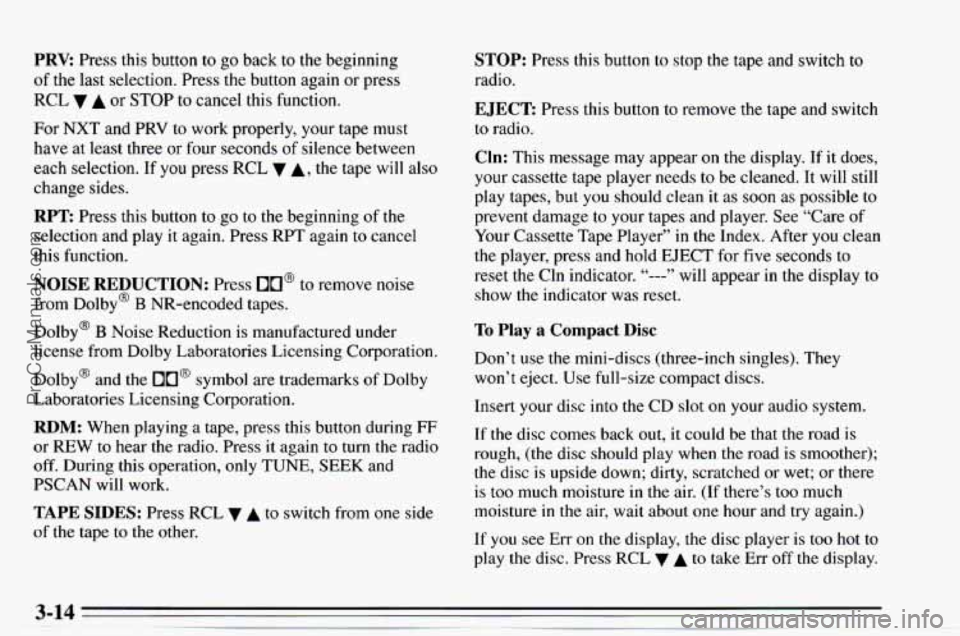
PRV Press this button to go back to the beginning
of the last selection. Press the button again or press
RCL
A or STOP to cancel this function.
For NXT and PRV to work properly, your tape must
have at least three or four seconds
of silence between
each selection. If you press RCL
A, the tape will also
change sides.
RPT Press this button to go to the beginning of the
selection and play it again. Press RPT again to cancel
this function.
NOISE REDUCTION: Press OU@ to remove noise
from Dolby@
B NR-encoded tapes.
Dolby@
B Noise Reduction is manufactured under
license from Dolby Laboratories Licensing Corporation.
Dolby@ and the
DO@ symbol are trademarks of Dolby
Laboratories Licensing Corporation.
RDM: When playing a tape, press this button during FF
or REW to hear the radio. Press it again to turn the radio
off. During this operation, only TUNE, SEEK and
PSCAN will
work.
TAPE SIDES: Press RCL v A to switch from one side
of the tape to the other.
STOP: Press this button to stop the tape and switch to
radio.
EJECT Press this button to remove the tape and switch
to radio.
Cln: This message may appear on the display. If it does,
your cassette tape player needs to be cleaned. It
will still
play tapes, but you should clean it
as soon as possible to
prevent damage to your tapes and player. See “Care of
Your Cassette Tape Player”
in the Index. After you clean
the player, press and hold EJECT for five seconds to
reset the Cln indicator.
“---” will appear in the display to
show the indicator was reset.
To Play a Compact Disc
Don’t use the mini-discs (three-inch singles). They
won’t eject. Use full-size compact discs.
Insert your disc into the CD slot on your audio system.
If the disc comes back out, it could be that the road is
rough, (the disc should
play when the road is smoother);
the disc is upside down; dirty, scratched or wet; or there
is too much moisture
in the air. (If there’s too much
moisture
in the air, wait about one hour and try again.)
If you see
Err on the display, the disc player is too hot to
play the disc. Press
RCL 7 A to take Err off the display.
ProCarManuals.com
Page 121 of 354
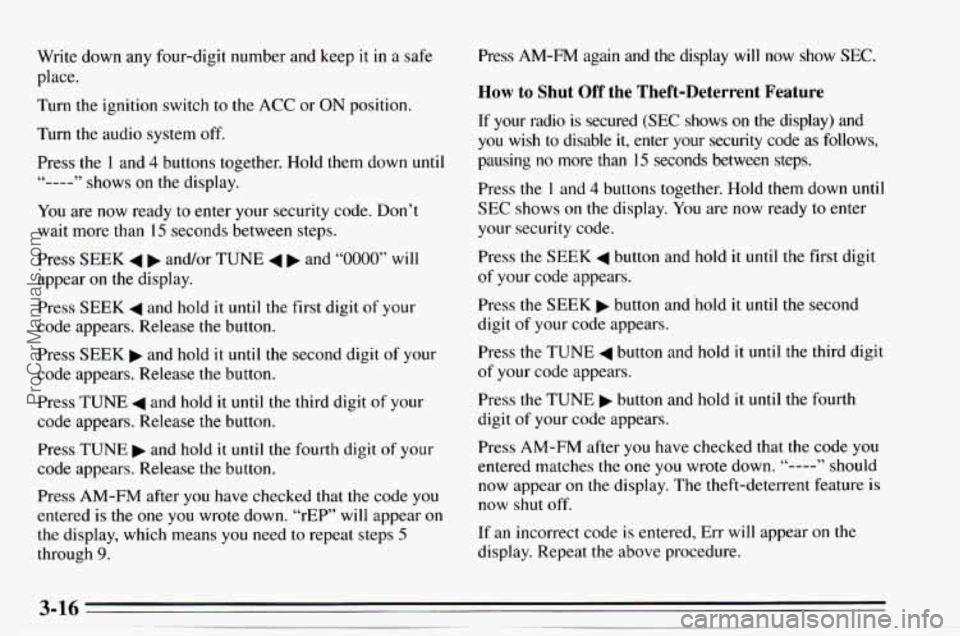
Write down any four-digit number and keep it in a safe
place.
Turn the ignition switch to the
ACC or ON position.
Turn the audio system off.
Press the 1 and
4 buttons together. Hold them down until
(‘---- ” shows on the display.
You are now ready to enter your security code.
Don’t
wait more than 15 seconds between steps.
Press
SEEK 4 b and/or TUNE 4 b and “0000” will
appear
on the display.
Press
SEEK 4 and hold it until the first digit of your
code appears. Release the button.
Press SEEK and hold
it until the second digit of your
code appears. Release the button.
Press TUNE
4 and hold it until the third digit of your
code appears. Release the button.
Press
TUNE and hold it until the fourth digit of your
code appears. Release the button.
Press
AM-FM after you have checked that the code you
entered is the one you wrote down. “rEP” will appear
on
the display, which means you need to repeat steps 5
through 9.
Press AM-FM again and the display will now show SEC.
How to Shut Off the Theft-Deterrent Feature
If your radio is secured (SEC shows on the display) and
you wish to disable it, enter your security code as follows,
pausing
no more than 15 seconds between steps.
Press the
1 and 4 buttons together. Hold them down until
SEC shows on the display. You are now ready to enter
your security code.
Press
the SEEK 4 button and hold it until the first digit
of your code appears.
Press
the SEEK b button and‘hold it until the second
digit of your code appears.
Press the TUNE
4 button and hold it until the third digit
of your code appears.
Press
the TUNE b button and hold it until the fourth
digit
of your code appears.
Press
AM-FM after you have checked that the code you
entered matches
the one you wrote down. “---- ” should
now appear
on the display. The theft-deterrent feature is
now shut off.
If an incorrect code is entered, Err will appear on the
display. Repeat
the above procedure.
ProCarManuals.com
Page 123 of 354
Tips about Your Audio System
Hearing damage from loud noise is almost undetectable
until it is
too late. Your hearing can adapt to higher
volumes
of sound. Sound that seems normal can be loud
and harmful to your hearing. Take precautions by
adjusting the volume control
on your radio to a safe
sound level before your hearing adapts
to it.
To help avoid hearing loss or damage:
Adjust the volume control to the lowest setting.
Increase volume slowly until you hear comfortably
and clearly.
NOTICE:
Before you add any sound equipment to your
vehicle
-- like a tape player, CB radio, mobile
telephone or two-way radio
-- be sure you can
add what you want.
If you can, it’s very
important to do it properly. Added sound
equipment may interfere with the operation
of
your vehicle’s engine, Delco’ radio or other
systems, and even damage them. And, your
vehicle’s systems may interfere with the
operation of sound equipment that has been
added improperly.
So, before adding sound equipment, check with
your dealer and be sure to check Federal rules
covering mobile radio and telephone units.
ProCarManuals.com
Page 325 of 354
Part B: Owner Checks and Services
Listed below are owner checks and services which
should be performed at the intervals specified to help
ensure the safety, dependability and emission control
performance
of your vehicle.
Be sure any necessary repairs are completed at once.
Whenever any fluids or lubricants are added
to your
vehicle, make sure they are the proper ones, as shown in
Part
D.
At Each Fuel Fill
It is important for you or a service station attendant to
per3cot-m these underhood checks at each fuel fill.
Engine Oil Level
Check the engine oil level and add the proper oil if
necessary. See “Engine Oil” in the Index for further
details.
Engine Coolant Level
Check the engine coolant level and add the proper
coolant mix if necessary. See “Coolant” in the Index for
further details.
Windshield Washer Fluid Level
Check the windshield washer fluid level in the
windshield washer tank and add the proper fluid if
necessary. See “Windshield Washer Fluid” in the Index
for further details.
Hood Latch Operation
Pull the primary hood latch release handle inside the
vehicle. The secondary latch should keep the hood from
opening all
the way when the primary latch is released.
Make sure the hood closes firmly. See “Hood Release”
in the Index for further details.
At Least Once a Month
Tire Inflation
Check tire inflation. Make sure tires are inflated to the
pressures specified on the Tire-Loading Information
label located on the driver’s door lock pillar. See “Tires”
in the Index for further details.
Cassette Deck
Clean cassette deck. Cleaning should be done every
50 hours of tape play. See “Audio Systems” in the Index
for further details.
ProCarManuals.com
Page 344 of 354
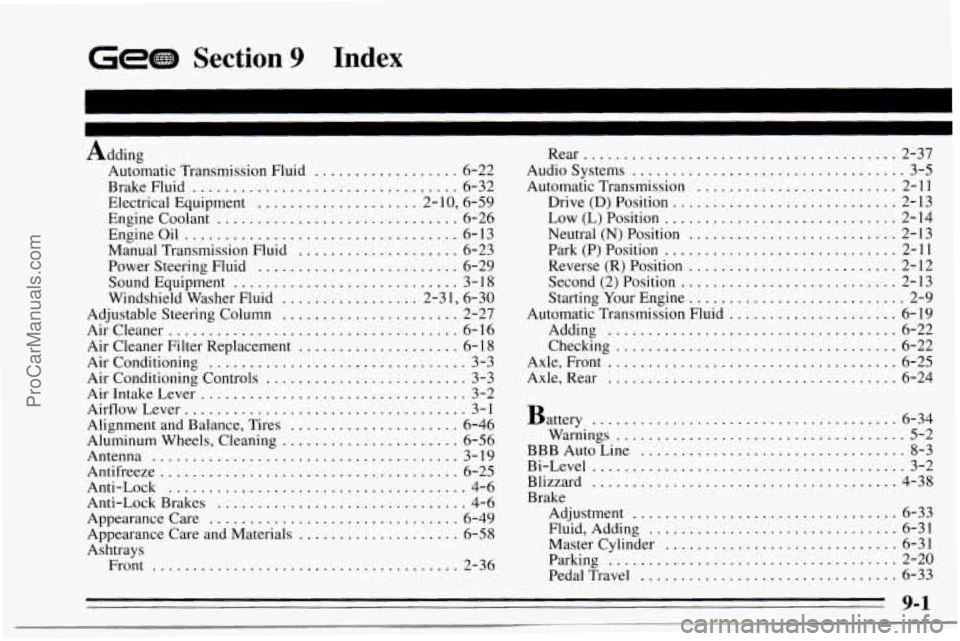
Gee Section 9 Index
Adding Automatic Transmission Fluid
.................. 6-22
Brake Fluid
................................. 6-32
Electrical Equipment
.................... 2- 10. 6.59
Engine Coolant .............................. 6-26
Engineoil
.................................. 6-13
Manual Transmission Fluid
.................... 6-23
Power Steering Fluid
......................... 6-29
SoundEquipment
............................ 3-18
Windshield Washer Fluid
................. 2-3 1, 6-30
Adjustable Steering Column ...................... 2-27
Aircleaner
.................................... 6-16
Air Cleaner Filter Replacement
.................... 6- 18
Air Conditioning ................................ 3-3
Air Conditioning Controls ......................... 3-3
AirIntakeLever
................................. 3-2
Airflow Lever 3-
I
Alignment and Balance, Tires ..................... 6-46
Aluminum Wheels, Cleaning
...................... 6-56
Antifreeze
..................................... 6-25
Anti-Lock ..................................... 4-6
Anti-Lock Brakes
............................... 4-6
Appearance Care ............................... 6-49
Appearance Care and Materials
.................... 6-58
Ashtrays Front
...................................... 2-36
...................................
Antenna ...................................... 3-19 Rear
....................................... 2-37
Audio Systems
.................................. 3-5
Automatic Transmission
......................... 2-11
Drive
(D) Position ............................ 2-13
Low(L)Position
............................. 2-14
Neutral
(N) Position .......................... 2-13
Park (P) Position
............................. 2-11
Reverse (R) Position
.......................... 2-12
Second (2) Position
........................... 2-13
Starting Your Engine
........................... 2-9
Automatic Transmission Fluid
..................... 6-19
Adding .................................... 6-22
Checking
................................... 6-22
Axle, Front
.................................... 6-25
Axle, Rear
.................................... 6-24
Battery
...................................... 6-34
BBB Auto Line
................................. 8-3
Bi-Level
....................................... 3-2
Brake Warnings
.................................... 5-2
Blizzard
...................................... 4-38
Adjustment
................................. 6-33
Fluid, Adding
............................... 6-31
Master Cylinder
............................. 6-31
Parking
.................................... 2-20
PedalTravel
................................ 6-33
9-1
--.. p-.. ........ ... _-i-.-_'.-.-- ..... .=_ ___.~~~~-~_.i_i~.---~ ~~~ ..__________I ProCarManuals.com