CHEVROLET TRACKER 1998 1.G Owners Manual
Manufacturer: CHEVROLET, Model Year: 1998, Model line: TRACKER, Model: CHEVROLET TRACKER 1998 1.GPages: 386, PDF Size: 21.17 MB
Page 91 of 386
Downloaded from www.Manualslib.com manuals search engine Windshield WiperNasher Lever
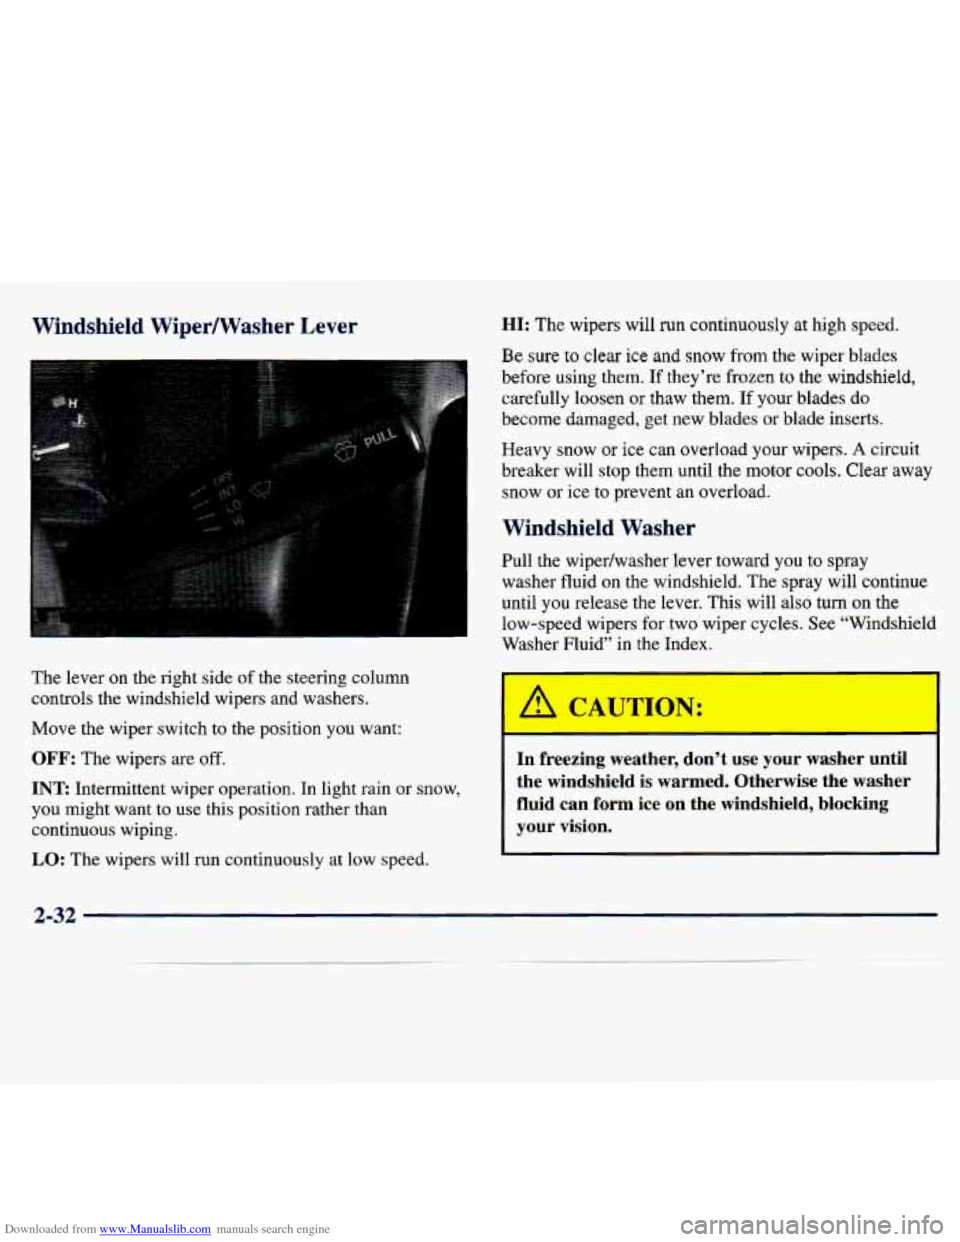
The lever on the right side of the steering column
controls the windshield wipers and washers.
Move the wiper switch to the position
you want:
OFF: The wipers are off.
INT Intermittent wiper operation. In light rain or snow,
you might want to use this position rather than
continuous wiping.
LO: The wipers will run continuously at low speed.
HI: The wipers will run continuously at high speed.
Be sure to clear ice and snow from the wiper blades
before using them.
If they’re frozen to the windshield,
carefully loosen
or thaw them. If your blades do
become damaged, get new blades or blade inserts.
Heavy snow or ice can overload your wipers.
A circuit
breaker will stop them until the motor cools. Clear away
snow or ice to prevent an overload.
Windshield Washer
Pull the wipedwasher lever toward you to spray
washer fluid on the windshield. The spray will continue
until you release
the lever. This will also turn on the
low-speed wipers
for two wiper cycles. See “Windshield
Washer Fluid” in the Index.
A CAUTIC -V:
I-=--
In freezing weather, don’t use your washer until
the windshield is warmed. Otherwise the washer
fluid can form ice
on the windshield, blocking
your vision.
M
2-32
Page 92 of 386
Downloaded from www.Manualslib.com manuals search engine Rear Window Wiper/Washer (If Equipped)
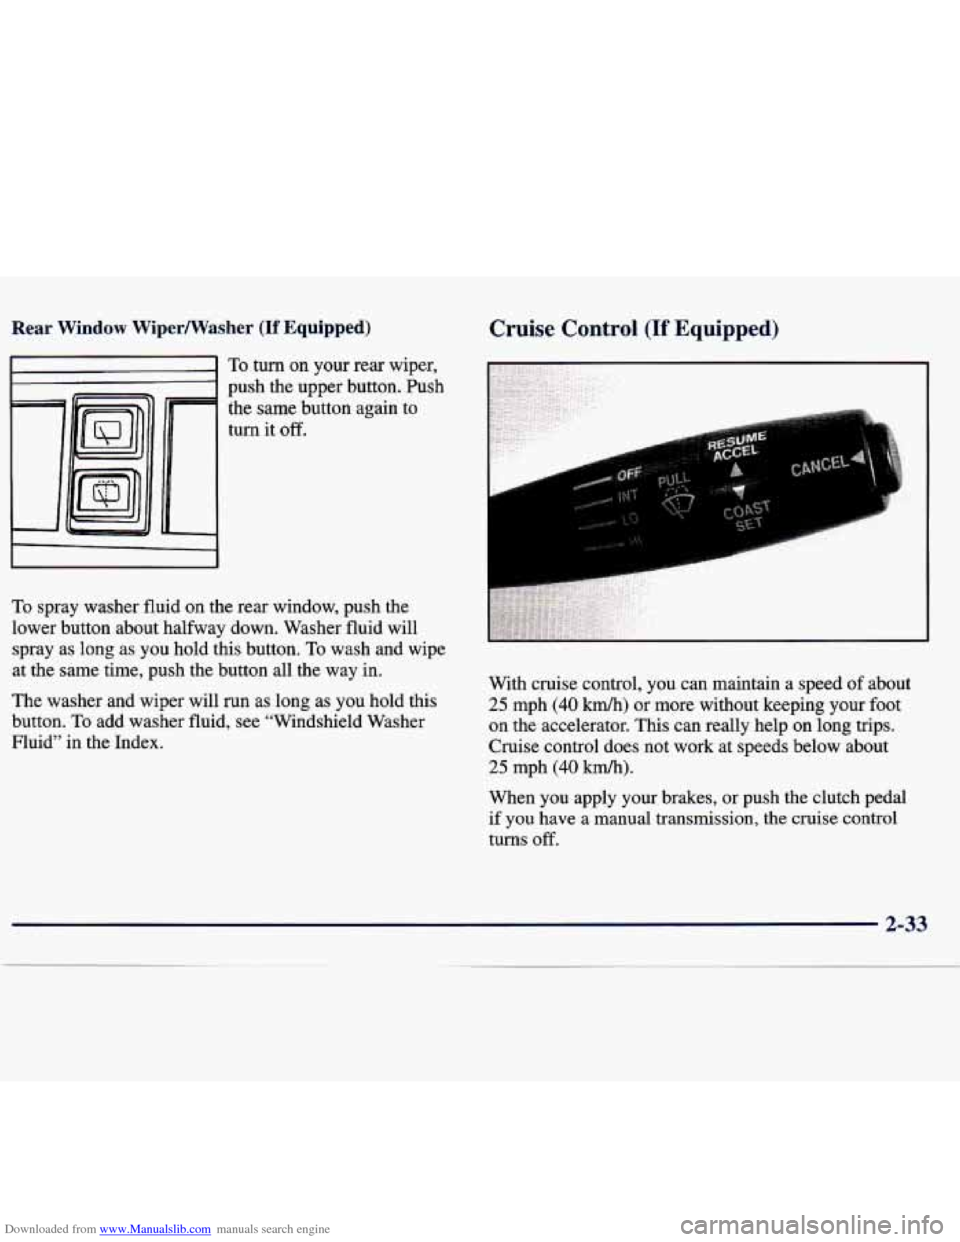
To turn on your rear wiper,
push
the upper button. hsh
the same button again to
turn it
off.
To spray washer fluid on the rear window, push the
lower button about halfway down. Washer fluid will
spray as long as you hold this button. To wash and wipe
at the same time, push the button all the way in.
The washer and wiper will run as long
as you hold this
button.
To add washer fluid, see “Windshield Washer
Fluid” in the Index.
Cruise Control (If Equipped)
With cruise control, you can maintain a speed of about
25 mph (40 kmk) or more without keeping your foot
on the accelerator. This can really help on long trips.
Cruise control does not work at speeds below about
25 mph (40 krn/h).
When you apply your brakes, or push the clutch pedal
if you have a manual transmission, the cruise control
turns off.
2-33
Page 93 of 386
Downloaded from www.Manualslib.com manuals search engine a
0
Cruise control can be dangerous where you
can’t drive safely
at a steady speed. So,
don’t use your cruise control on winding
roads or in heavy traffic.
Cruise control can be dangerous on
slippery roads. On such roads,
fast changes
in tire traction can cause needless wheel
spinning, and you could lose control. Don’t
use cruise control on slippery roads.
Setting Cruise Control
I .& CAUTION:
If you leave your cruise control switch on when
you’re not using cruise, you might hit
a button
and go into cruise when you don’t want to. You
could be startled and even lose control. Keep the
cruise control switch
off until you want to use it.
. , .... .... . ,. . .
,. .
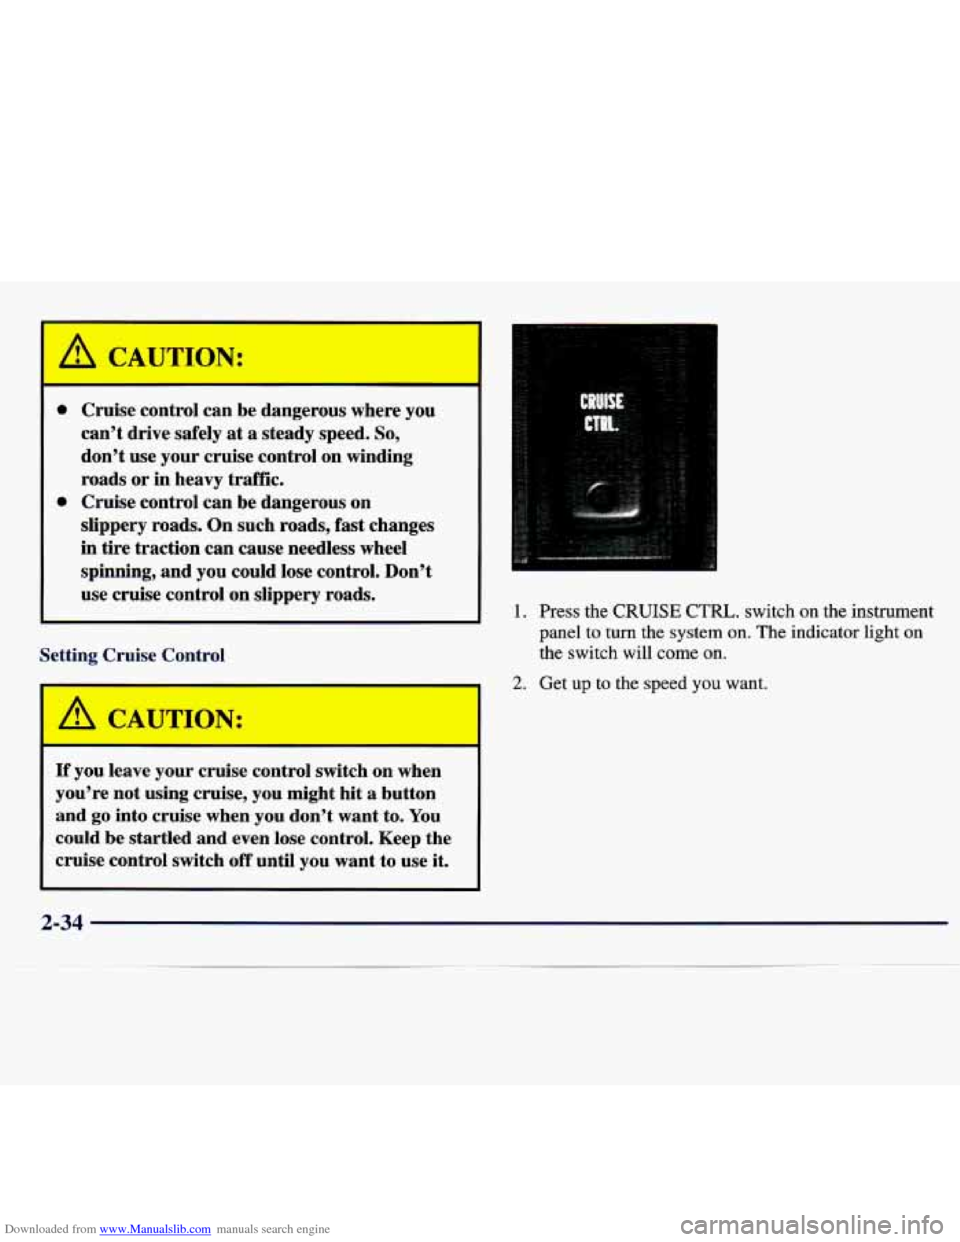
1. Press the CRUISE CTRL. switch on the instrument
panel to turn the system on. The indicator light on
the switch will come on.
2. Get up to the speed you want.
2-34
Page 94 of 386
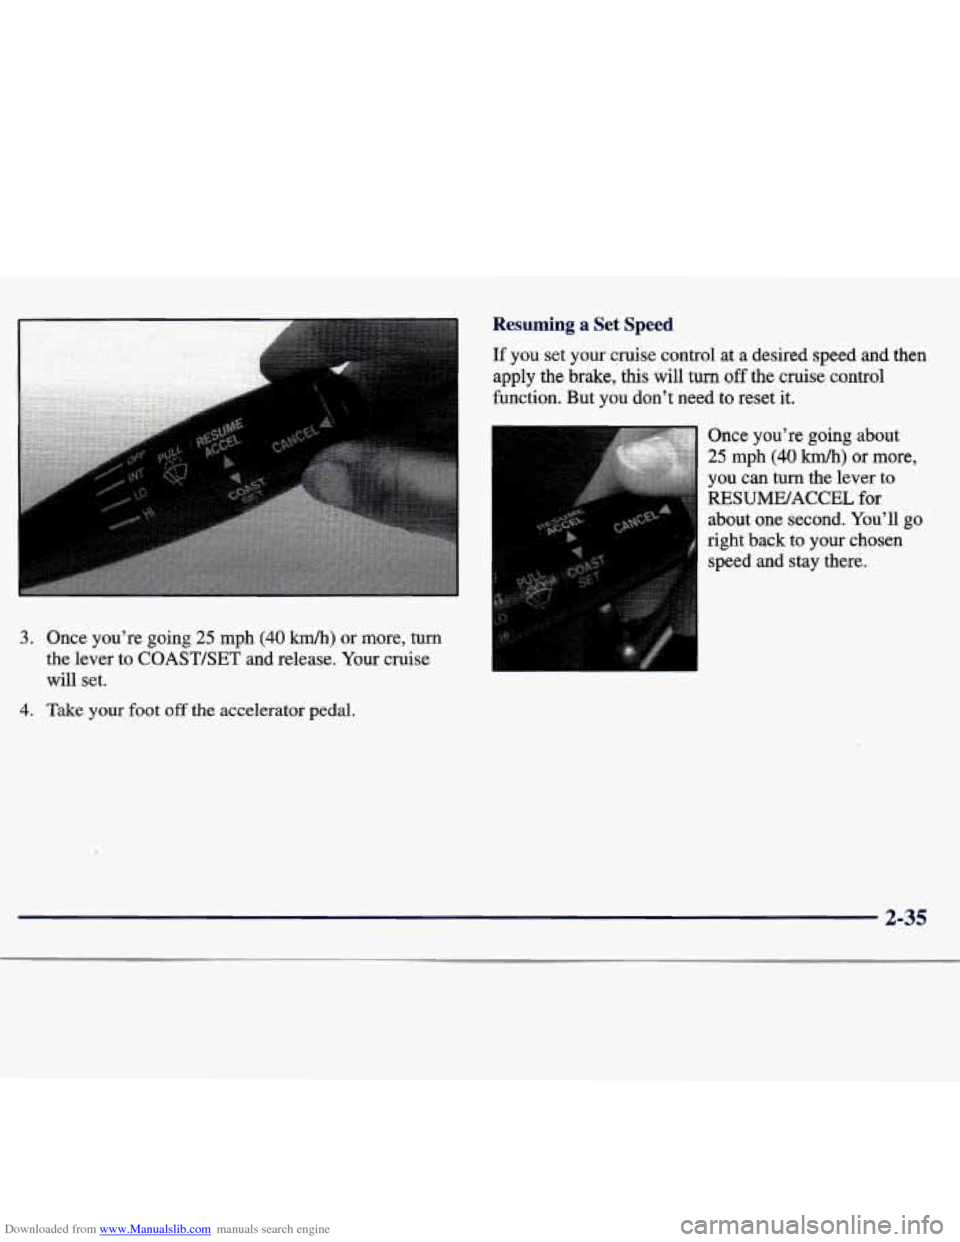
Downloaded from www.Manualslib.com manuals search engine 3. Once you’re going 25 mph (40 km/h) or more, turn
the lever to COAST/SET and release. Your cruise
will set.
4. Take your foot off the accelerator pedal.
Resuming a Set Speed
If you set your cruise control at a desired speed and then
apply the brake,
this will turn off the cruise control
function. But you don’t need to reset it.
Once you’re going about
25 mph (40 km/h) or more,
you can
turn the lever to
RESUME/ACCEL for
about one second. You’ll
go
right back to your chosen
speed and stay there.
2-35
Page 95 of 386
Downloaded from www.Manualslib.com manuals search engine Increasing Speed While Using Cruise Control
There are two ways to go to a higher speed.
Use the accelerator pedal to go to a higher speed.
Turn the lever to COAST/SET and release. Take
your foot
off the accelerator pedal. You’ll now
cruise at the higher speed.
at RESUME/ACCEL until you get up to the speed
you want, then release the lever.
Turn the lever to RESUME/ACCEL. Hold the lever
Reducing Speed While Using Cruise Control
To reduce your speed, turn and hold the lever in the
COASTISET position until you reach the lower speed
you want, then release the lever.
Passing Another Vehicle While Using Cruise Control
Use the accelerator pedal to increase your speed. When
you take your
foot off the pedal, your vehicle will slow
down to the cruise control speed you set earlier.
Using Cruise Control on Hills
How well your cruise control will work on hills depends
upon your speed, load and
the steepness of the hills.
When going up steep hills, you may have to step on the
accelerator pedal
to maintain your speed. When going
downhill, you may have to brake or shift to a lower
gear
to keep your speed down. Of course, applying the brake
takes you out of cruise control. Many drivers find this to
be too much trouble and don’t use cruise control on
steep hills.
Getting Out of Cruise Control
There are three ways to turn off cruise control:
Step lightly on the brake pedal, or push the clutch
pedal if you have a manual transmission.
Push in the CANCEL button on the end of the
cruise control lever.
Press the CRUISE CTlU switch on the
instrument panel.
Erasing Speed Memory
When you turn off the cruise control or the ignition,
your cruise control set speed memory
is erased.
2-36
Page 96 of 386
Downloaded from www.Manualslib.com manuals search engine Exterior Lamps
Daytime Running Lamps
Daytime Running Lamps (DIU) can make it easier
for others to see the front of your vehicle during the
day.
DRL can be helpful in many different driving
conditions, but they can be especially helpful in the
short periods after dawn and before sunset.
The DIU system will make your low-beam headlamps
come on at
a reduced brightness when:
0 The ignition is on,
0 The headlamp switch is off and
The parking brake is released.
When you turn on the headlamp switch, your DRL will
go out, and your headlamps will come on.
The other lamps that come on with your headlamps
will also come on. To
idle your vehicle with the DRL off, set the parking
brake. The
DRL will stay off until you release the
parking brake.
As with any vehicle, you should turn on the regular
headlamp system when you need it.
Interior Lamps
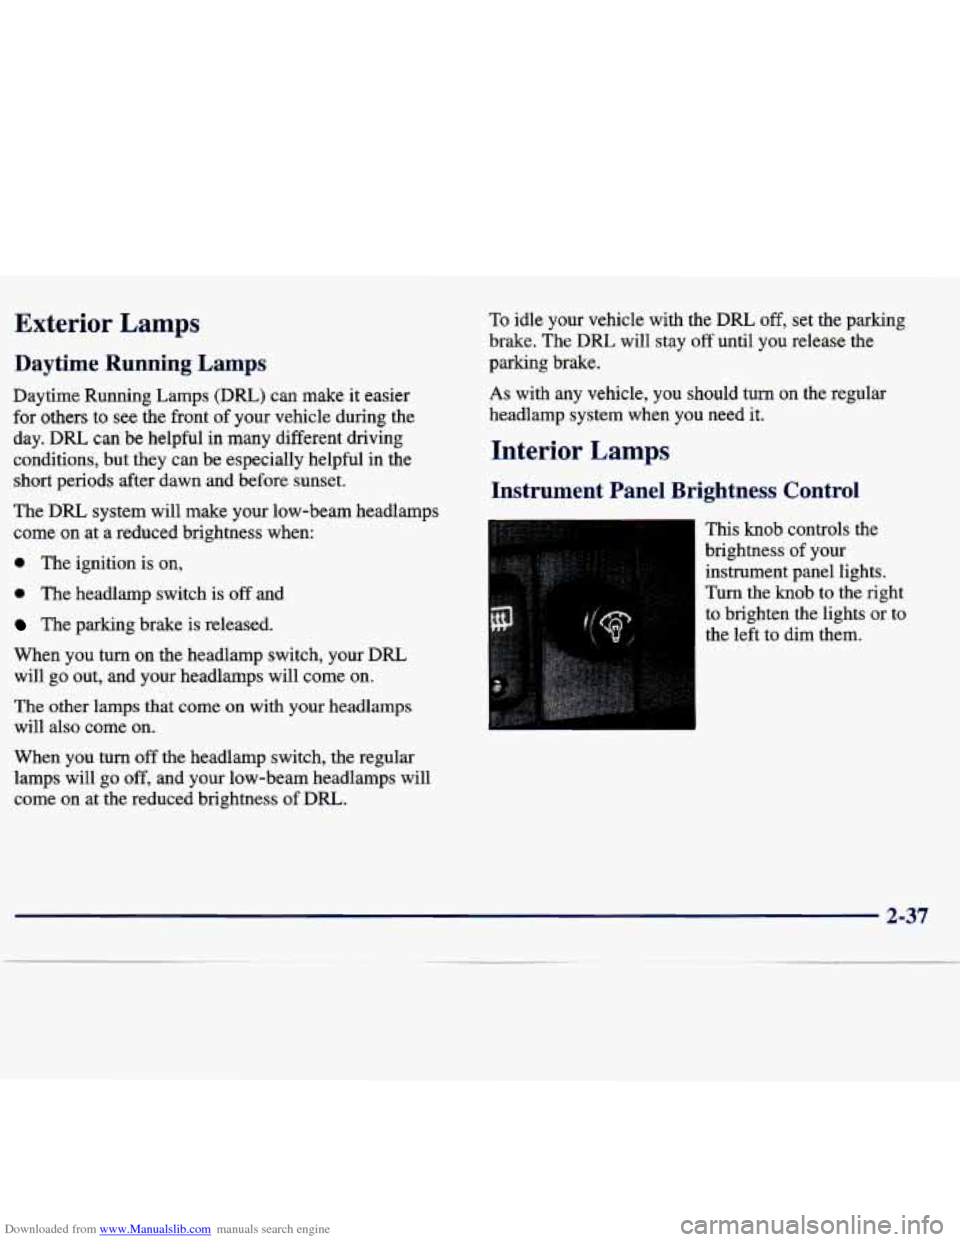
Instrument Panel Brightness Control
This knob controls the
brightness of your
instrument panel lights.
Turn the knob
to the right
to brighten the lights or to
the left to dim them.
When
you turn off the headlamp switch, the regular
lamps will go off, and your low-beam headlamps will
come on at the reduced brightness of DRL.
2-37
Page 97 of 386
Downloaded from www.Manualslib.com manuals search engine Dome Lamp Mirrors
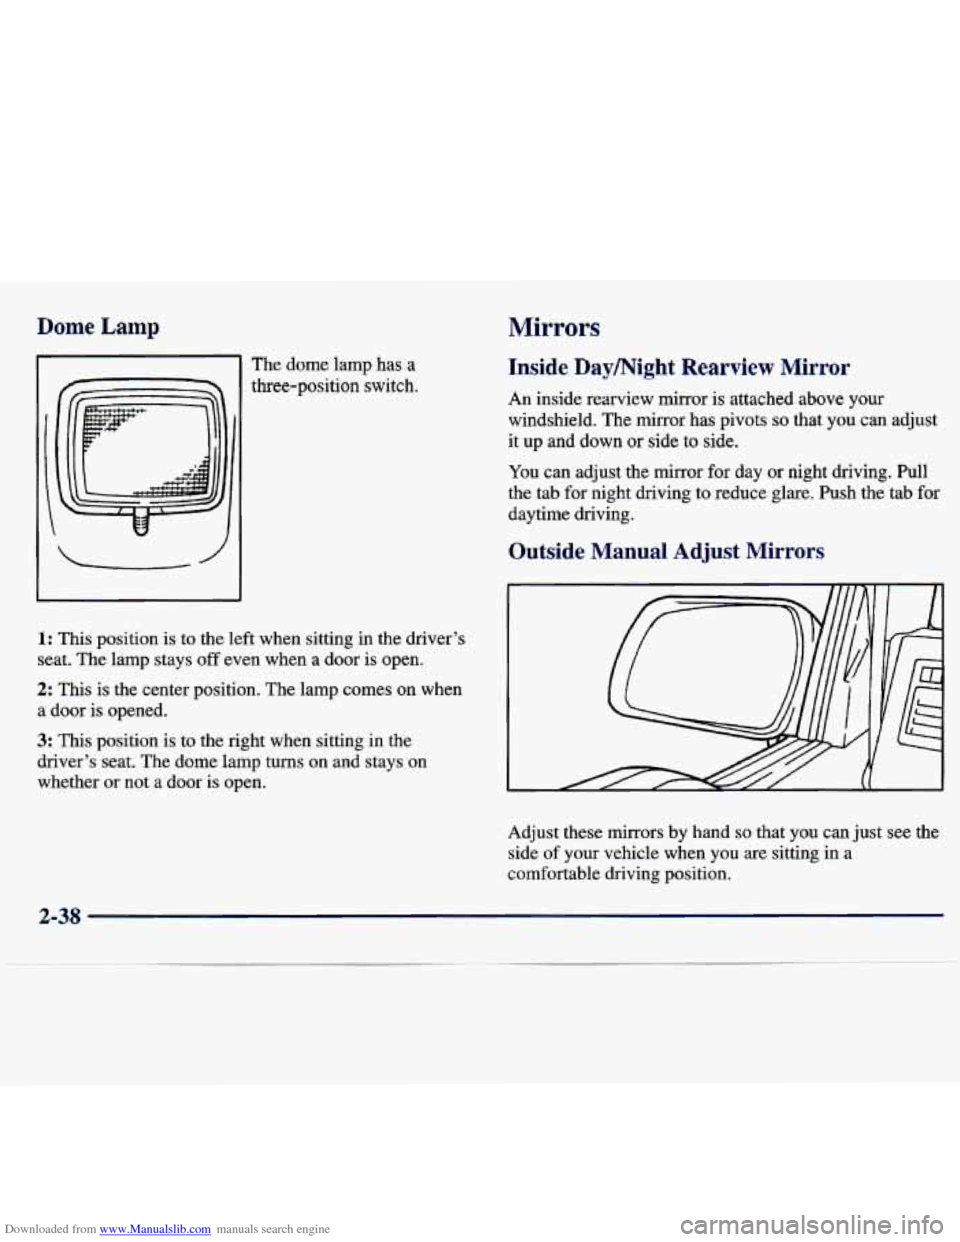
The dome lamp has a
three-position switch.
1: This position is to the left when sitting in the driver’s
seat. The lamp stays off even when a door is open.
2: This is the center position. The lamp comes on when
a door is opened.
Inside Daymight Rearview Mirror
An inside rearview mirror is attached above your
windshield. The mirror has pivots so that you can adjust
it up and down
or side to side.
You can adjust the mirror for day
or night driving. Pull
the tab for night driving to reduce glare. Push the tab for
daytime driving.
Outside Manual Adjust Mirrors
3: This position is to the right when sitting in the
driver’s seat. The dome lamp turns on and stays on
whether
or not a door is open.
Adjust these mirrors by hand
so that you can just see the
side of
your vehicle when you are sitting in a
comfortable driving position.
2-38
Page 98 of 386
Downloaded from www.Manualslib.com manuals search engine Power Remote Control Mirrors
(If Equipped)
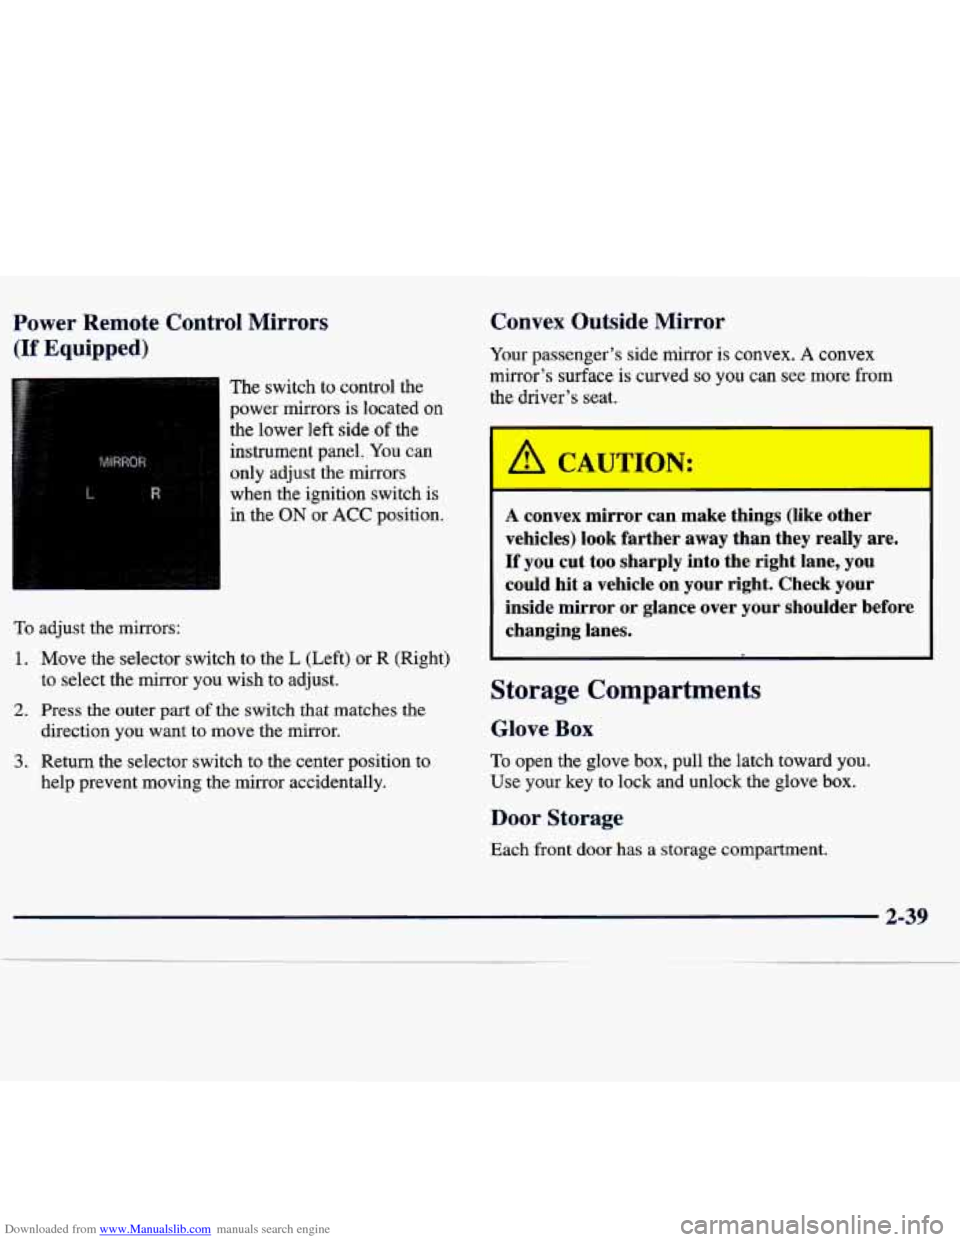
The switch to control the
power mirrors
is located on
the lower left side
of the
instrument panel.
You can
only adjust the mirrors
when the ignition switch is
in the
ON or ACC position.
To adjust the mirrors:
1. Move the selector switch to the L (Left) or R (Right)
to select the
mirror you wish to adjust.
2. Press the outer part of the switch that matches the
3. Return the selector switch to the center position to direction you want to move
the mirror.
help prevent moving the mirror accidentally.
Convex Outside Mirror
Your passenger’s side mirror is convex. A convex
mirror’s surface is curved
so you can Bee more from
the driver’s seat.
/A CA,TION:
A convex mirror can make things (like other
vehicles) look farther away than they really are.
If you cut too sharply into the right lane, you
could hit a vehicle on your right. Check your
inside mirror or glance over your shoulder before changing lanes.
Storage Compartments
Glove Box
To open the glove box, pull the latch toward you.
Use your key to lock and unlock the glove box.
Door Storage
Each front door has a storage compartment.
2-39
Page 99 of 386
Downloaded from www.Manualslib.com manuals search engine Front Seat Side Pockets
On the outside of each front seat is a storage pocket.
Coinholder and Bin
Your console has a coinholder and a small storage bin.
Cupholder
Two cupholders are on the center console next to the
parking brake lever.
Ashtrays and Cigarette Lighter
To use the lighter, push the lighter in all the way and let
go. When it’s ready, it will pop back by itself.
I NOTICE:
Pull the door to open the ashtray. To remove it, press
down on the silver tab and pull the ashtray out. To
replace the ashtray, push it in until the silver tab latches.
The rear ashtray is on the back of the center console.
Pull on the top
of the door to open it. To remove the
ashtray, press
down on the tab and pull it out.
NOTICE:
Don’t put papers and other things that burn
into your ashtray.
If you do, cigarettes or other
smoking materials could set them on fire,
causing damage.
Sun Visors ~
Don’t hold a cigarette lighter in with your hand
while
it is heating. If you do, it won’t be able to You can also swing them to the side. If the visors swing
back
away from the heating element when it’s too easily, tighten the screw on the roof rail.
ready. That can make
it overheat, damaging the
lighter and the heating element.
To block out glare, you can swing down the visors.
2-40
Page 100 of 386
Downloaded from www.Manualslib.com manuals search engine Convertible Top (If Equipped)
Your convertible top features a sunroof, a removable
rear
window, removable side windows and a removable
canvas
top.
NOTICE:
Never raise or lower the top while the
vehicle
is moving, or drive with any part
of the top unfastened or partially removed.
The wind could get under it and
cause damage.
0 Do not take your vehicle through an
automatic car wash.
It could damage your
convertible top.
Don’t try to lower or raise the convertible
top or tap or beat on the plastic windows
if your vehicle is out in cold weather,
41°F (5OC) or below. The cold can cause
cracks and other damage to the windows
and to the top as it is being lowered
or raised,
NOTICE: (Continued) NOTICE: (Continued)
e Don’t lower
the top if it is damp or wet.
After the top is down, the trapped water
can cause stains, mildew and damage
to the
inside of your car. Be sure
to dry off the top
before you lower it.
Don’t lower the convertible top if the rear
flap or side windows are dirty. Dirt could
scratch the side windows.
The convertible top isn’t designed to carry
weight. Never let anyone sit on the top, and
don’t put anything on top
of it when it is
up, or it could be damaged.
2-41