tow CHEVROLET TRACKER 2003 2.G User Guide
[x] Cancel search | Manufacturer: CHEVROLET, Model Year: 2003, Model line: TRACKER, Model: CHEVROLET TRACKER 2003 2.GPages: 372, PDF Size: 2.65 MB
Page 94 of 372
TWO-WHEEL HIGH (2H):This setting is for driving in
most street and highway situations. Your front axle
is not engaged in two-wheel drive.
FOUR-WHEEL HIGH (4H):This setting engages your
front axle to help drive your vehicle. Use FOUR-WHEEL
HIGH (4H) when you need extra traction, such as on
wet or icy roads, or in most off-road situations.
NEUTRAL (N):Shift to this setting only when your
vehicle needs to be towed.
{CAUTION:
Shifting the transfer case to NEUTRAL can
cause your vehicle to roll even if the
transmission is in PARK (P), or if you have a
manual transmission, even if you are in gear.
You or someone else could be seriously
injured. Be sure to set the parking brake
before placing the transfer case in NEUTRAL.
See ªParking Brakeº in the Index.FOUR-WHEEL LOW (4L):This setting also engages
your front axle to give you extra traction and can
be used for driving downhill, uphill or on rocky terrain
when you're driving slower than 35 mph (55 km/h).
Remember that driving in FOUR-WHEEL HIGH (4H) or
FOUR-WHEEL LOW (4L) may reduce fuel economy.
Also, driving in four-wheel drive on dry pavement could
cause your tires to wear faster and make your transfer
case harder to shift.
You can shift from TWO-WHEEL HIGH (2H) to
FOUR-WHEEL HIGH (4H) or from FOUR-WHEEL
HIGH (4H) to TWO-WHEEL HIGH (2H) at any speed
if your vehicle is going less than 60 mph (100 km/h) and
your wheels are straight ahead. Your front axle will
engage faster if you take your foot off the accelerator
pedal for a few seconds as you shift.
Shifting Into or Out of FOUR-WHEEL
LOW (4L)
1. Stop your vehicle and shift your transmission to
NEUTRAL (N).
2. Shift the transfer case in one continuous motion.
Don't pause in NEUTRAL (N) as you shift from
FOUR-WHEEL LOW (4L) to FOUR-WHEEL HIGH (4H),
or your gears could clash.
2-26
Page 95 of 372
Parking Brake
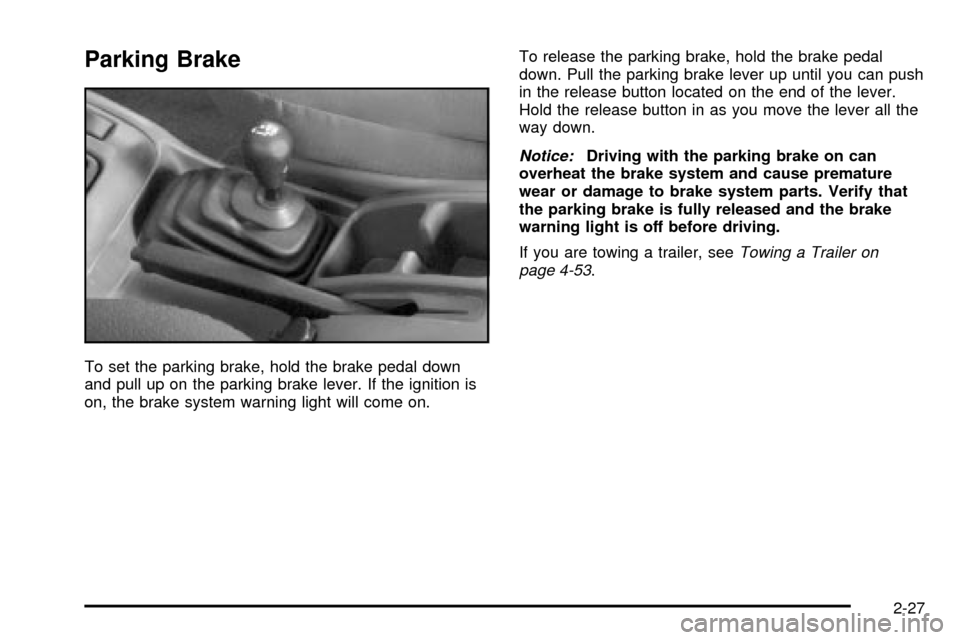
To set the parking brake, hold the brake pedal down
and pull up on the parking brake lever. If the ignition is
on, the brake system warning light will come on.To release the parking brake, hold the brake pedal
down. Pull the parking brake lever up until you can push
in the release button located on the end of the lever.
Hold the release button in as you move the lever all the
way down.
Notice:Driving with the parking brake on can
overheat the brake system and cause premature
wear or damage to brake system parts. Verify that
the parking brake is fully released and the brake
warning light is off before driving.
If you are towing a trailer, see
Towing a Trailer on
page 4-53.
2-27
Page 96 of 372
Shifting Into Park (P)
{CAUTION:
It can be dangerous to get out of your vehicle
if the shift lever is not fully in PARK (P) with
the parking brake ®rmly set. Your vehicle
can roll. If you have left the engine running,
the vehicle can move suddenly. You or others
could be injured. To be sure your vehicle won't
move, even when you're on fairly level ground,
use the steps that follow. With four-wheel
drive, if your transfer case is in NEUTRAL,
your vehicle will be free to roll, even if your
shift lever is in PARK (P). So, be sure the
transfer case is in a drive gear Ð not in
NEUTRAL. If you're pulling a trailer, see
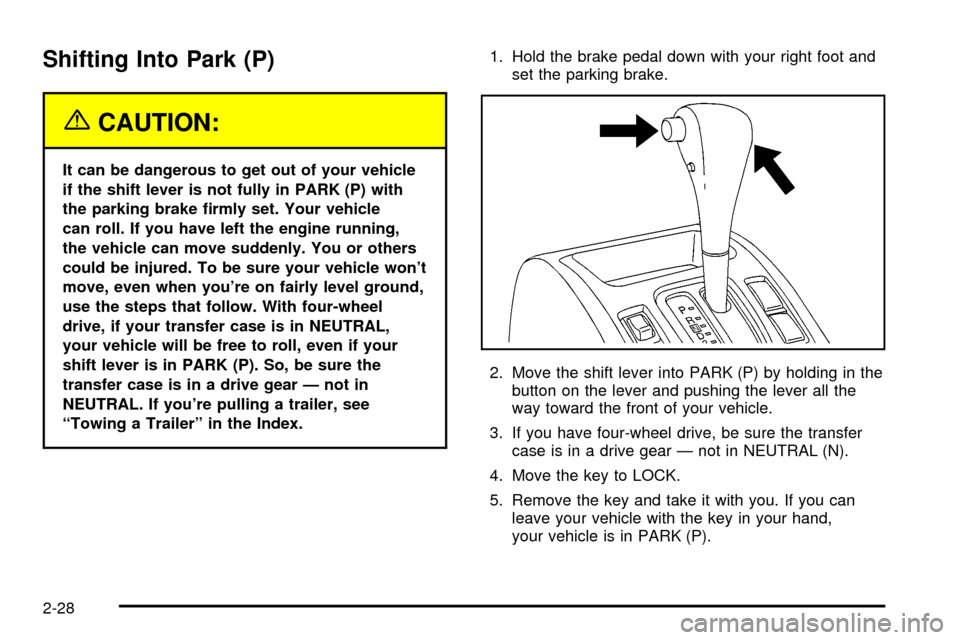
ªTowing a Trailerº in the Index.1. Hold the brake pedal down with your right foot and
set the parking brake.
2. Move the shift lever into PARK (P) by holding in the
button on the lever and pushing the lever all the
way toward the front of your vehicle.
3. If you have four-wheel drive, be sure the transfer
case is in a drive gear Ð not in NEUTRAL (N).
4. Move the key to LOCK.
5. Remove the key and take it with you. If you can
leave your vehicle with the key in your hand,
your vehicle is in PARK (P).
2-28
Page 99 of 372
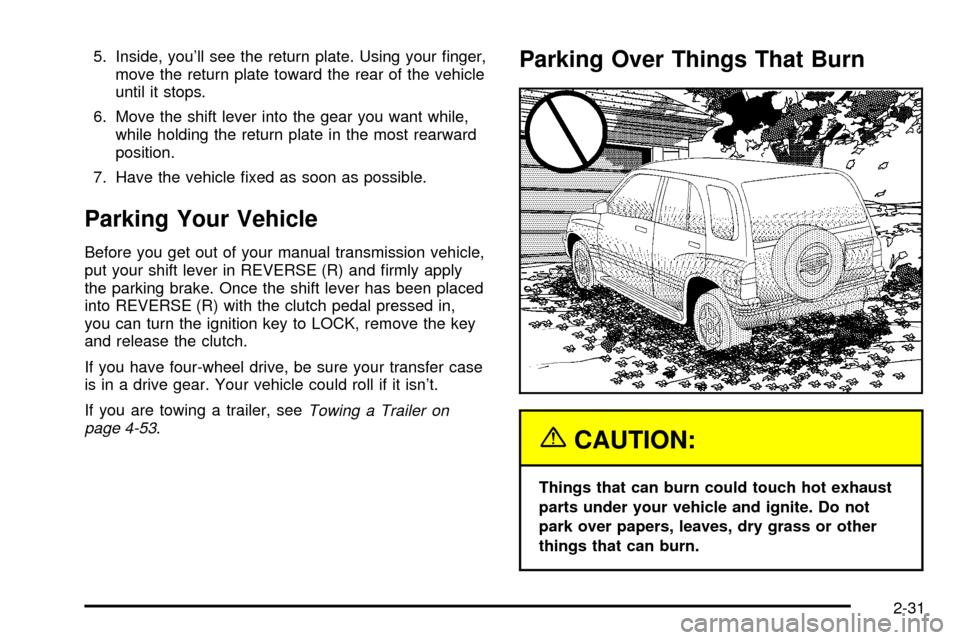
5. Inside, you'll see the return plate. Using your ®nger,
move the return plate toward the rear of the vehicle
until it stops.
6. Move the shift lever into the gear you want while,
while holding the return plate in the most rearward
position.
7. Have the vehicle ®xed as soon as possible.
Parking Your Vehicle
Before you get out of your manual transmission vehicle,
put your shift lever in REVERSE (R) and ®rmly apply
the parking brake. Once the shift lever has been placed
into REVERSE (R) with the clutch pedal pressed in,
you can turn the ignition key to LOCK, remove the key
and release the clutch.
If you have four-wheel drive, be sure your transfer case
is in a drive gear. Your vehicle could roll if it isn't.
If you are towing a trailer, see
Towing a Trailer on
page 4-53.
Parking Over Things That Burn
{CAUTION:
Things that can burn could touch hot exhaust
parts under your vehicle and ignite. Do not
park over papers, leaves, dry grass or other
things that can burn.
2-31
Page 101 of 372
{CAUTION:
It can be dangerous to get out of your vehicle
if the shift lever is not fully in PARK (P) with
the parking brake ®rmly set. Your vehicle can
roll. Do not leave your vehicle when the engine
is running unless you have to. If you have left
the engine running, the vehicle can move
suddenly. You or others could be injured.
To be sure your vehicle will not move, even
when you are on fairly level ground, always set
your parking brake and move the shift lever to
PARK (P).
{CAUTION:
Four-wheel drive vehicles with the transfer
case in NEUTRAL will allow the vehicle to roll,
even if your shift lever is in PARK (P). So, be
sure the transfer case is in a drive gear Ð not
in NEUTRAL. Always set your parking brake.
Follow the proper steps to be sure your vehicle will not
move. See
Shifting Into Park (P) on page 2-28.
If you are pulling a trailer, see
Towing a Trailer on
page 4-53.
2-33
Page 103 of 372
To adjust the mirrors do the following:
1. Move the selector switch to the L (left) or R (right)
to select the mirror you wish to adjust.
2. Press the outer part of the four-way control pad,
located below the selector switch, that coincides
with the direction you want the mirror to go.
3. Return the selector switch to the center position to
help prevent moving the mirror accidentally.
Outside Convex Mirror
Your passenger's side mirror is convex. A convex
mirror's surface is curved so you can see more from the
driver's seat.
{CAUTION:
A convex mirror can make things (like other
vehicles) look farther away than they really are.
If you cut too sharply into the right lane, you
could hit a vehicle on your right. Check your
inside mirror or glance over your shoulder
before changing lanes.
Storage Areas
Glove Box
Use your key to lock and unlock the glove box. To open
the glove box, pull the latch toward you.
The glove box may have a two-position detent for
opening the door. Lower the door to the ®rst detent for
access to the glove box. Pull it to the next detent
for further access.
Cupholder(s)
Two cupholders are on the center console next to the
parking brake lever.
Coinholder(s)
Your instrument panel may have two coinholders
located to the left of the steering wheel.
2-35
Page 118 of 372

Turn and Lane-Change Signals
The turn signal has an upward (for right) and a
downward (for left) position. These positions allow you
to signal a turn or a lane change.
To signal a turn, move the lever all the way up or down.
When the turn is ®nished, the lever will return
automatically.
An arrow on the instrument
panel cluster will ¯ash in
the direction of the
turn or lane change.
To signal a lane change, just raise or lower the lever
until the arrow starts to ¯ash. Hold it there until you
complete your lane change. The lever will return by itself
when you release it.
As you signal a turn or a lane change, if the arrows
don't ¯ash but just stay on, a signal bulb may be burned
out and other drivers won't see your turn signal.
If a bulb is burned out, replace it to help avoid an
accident. If the arrows don't go on at all when you
signal a turn, check the fuse and for burned-out bulbs.
See
Fuses and Circuit Breakers on page 5-89.
Headlamp High/Low-Beam Changer
First, you must have the headlamps on. For high beams,
push the turn signal lever toward the instrument panel.
While the high beams
are on, a light on the
instrument panel cluster
also will be on. It will go off
when you switch to low
beam.
To switch back to low beams, pull the lever toward you.
Flash to Pass
With the lever in the low-beam position, pull the lever
toward you to momentarily switch to high beam
(to signal that you are going to pass). When you release
the lever, the headlamps will return to low-beam
operation.
3-6
Page 120 of 372
Windshield Washer
To wash your windshield, pull the stalk with the wiper
symbol on it toward you one time. When you release the
stalk, the washers will stop. The wiper will continue
wiping for about three cycles and will either stop or
will resume the speed you were using before.
See
Windshield Washer Fluid on page 5-41.
{CAUTION:
In freezing weather, do not use your washer
until the windshield is warmed. Otherwise the
washer ¯uid can form ice on the windshield,
blocking your vision.
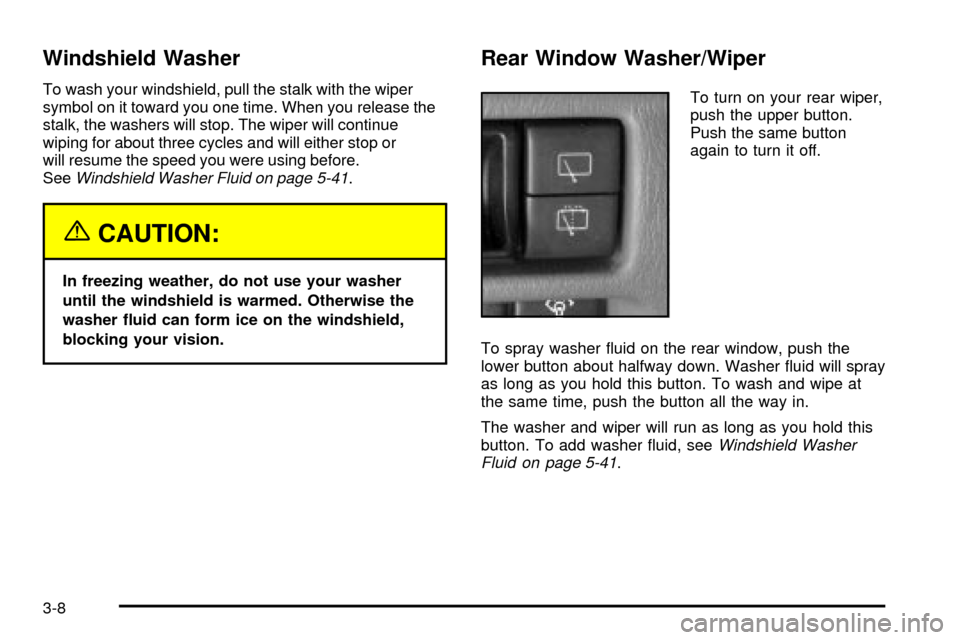
Rear Window Washer/Wiper
To turn on your rear wiper,
push the upper button.
Push the same button
again to turn it off.
To spray washer ¯uid on the rear window, push the
lower button about halfway down. Washer ¯uid will spray
as long as you hold this button. To wash and wipe at
the same time, push the button all the way in.
The washer and wiper will run as long as you hold this
button. To add washer ¯uid, see
Windshield Washer
Fluid on page 5-41.
3-8
Page 135 of 372

2. Lift the top tab on the cover to remove the ®lter
cover.3. Install the lower ®lter by dropping it down into the slot.
The grooves on the two ®lters must be lined up with
each other as well as with the ventilation housing in
order to install the ®lters properly. The tabs on the
®lters should face outward towards you and should
be at the top of the ®lters. The arrows on the ®lters
should point to the driver's side of the vehicle.
4. Then line up the grooves of the second ®lter with the
lower one and slide it in on top of the lower one.
5. Reverse the steps to remove the air ®lters and
then install new ones.
Once you remove the ®lter, if you choose not to replace
it, it will not damage your vehicle. However, the air
will no longer be ®ltered.
3-23
Page 141 of 372
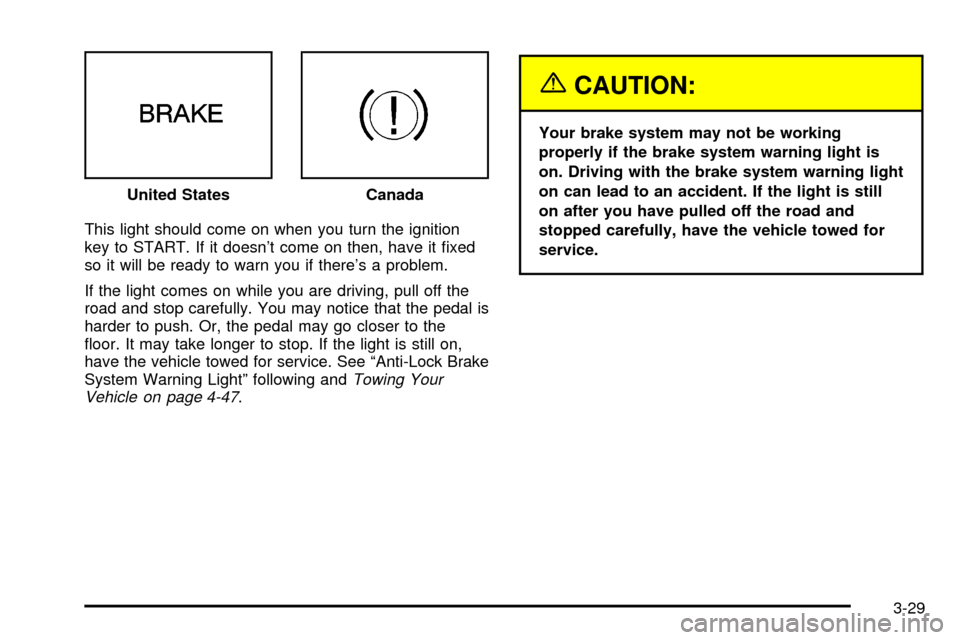
This light should come on when you turn the ignition
key to START. If it doesn't come on then, have it ®xed
so it will be ready to warn you if there's a problem.
If the light comes on while you are driving, pull off the
road and stop carefully. You may notice that the pedal is
harder to push. Or, the pedal may go closer to the
¯oor. It may take longer to stop. If the light is still on,
have the vehicle towed for service. See ªAnti-Lock Brake
System Warning Lightº following and
Towing Your
Vehicle on page 4-47.
{CAUTION:
Your brake system may not be working
properly if the brake system warning light is
on. Driving with the brake system warning light
on can lead to an accident. If the light is still
on after you have pulled off the road and
stopped carefully, have the vehicle towed for
service. United States
Canada
3-29