steering wheel CHEVROLET TRAIL BLAZER 2003 1.G Owners Manual
[x] Cancel search | Manufacturer: CHEVROLET, Model Year: 2003, Model line: TRAIL BLAZER, Model: CHEVROLET TRAIL BLAZER 2003 1.GPages: 436, PDF Size: 2.98 MB
Page 58 of 436
There is an air bag
readiness light on the
instrument panel cluster,
which shows the air
bag symbol.
The system checks the air bag electrical system for
malfunctions. The light tells you if there is an electrical
problem. See
Air Bag Readiness Light on page 3-38for more information.
Where Are the Air Bags?
The driver's frontal air bag is in the middle of the
steering wheel.
1-52
Page 60 of 436
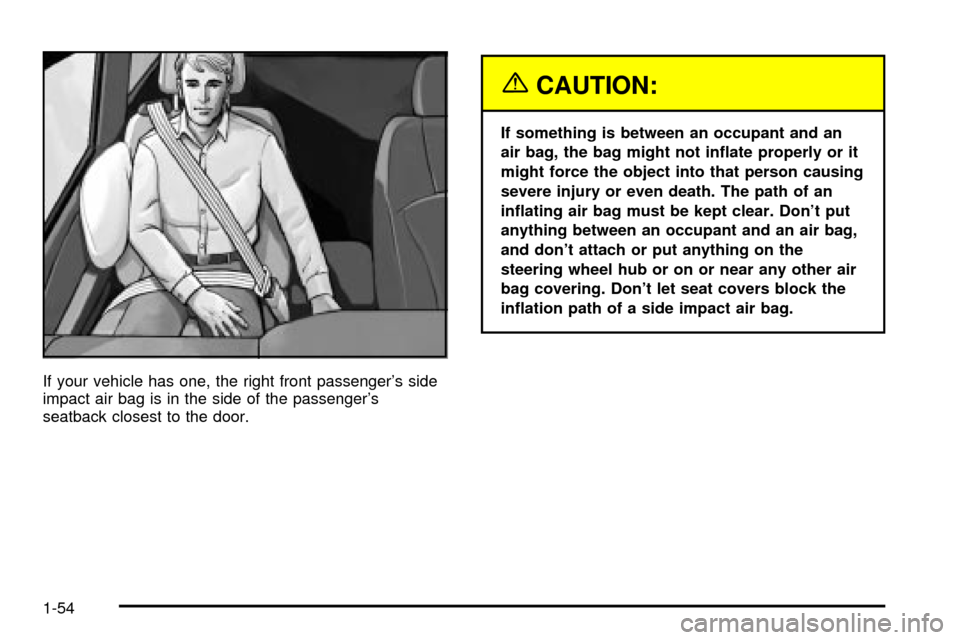
If your vehicle has one, the right front passenger's side
impact air bag is in the side of the passenger's
seatback closest to the door.
{CAUTION:
If something is between an occupant and an
air bag, the bag might not in¯ate properly or it
might force the object into that person causing
severe injury or even death. The path of an
in¯ating air bag must be kept clear. Don't put
anything between an occupant and an air bag,
and don't attach or put anything on the
steering wheel hub or on or near any other air
bag covering. Don't let seat covers block the
in¯ation path of a side impact air bag.
1-54
Page 62 of 436

What Makes an Air Bag In¯ate?
In an impact of sufficient severity, the air bag sensing
system detects that the vehicle is in a crash. For
both frontal and side impact air bags, the sensing
system triggers a release of gas from the in¯ator, which
in¯ates the air bag. The in¯ator, the air bag and
related hardware are all part of the air bag modules.
Frontal air bag modules are located inside the steering
wheel and instrument panel. For vehicles with side
impact air bags, the air bag modules are located in the
seatback closest to the driver's and/or right front
passenger's door.
How Does an Air Bag Restrain?
In moderate to severe frontal or near frontal collisions,
even belted occupants can contact the steering wheel or
the instrument panel. In moderate to severe side
collisions, even belted occupants can contact the inside
of the vehicle. The air bag supplements the protection
provided by safety belts. Air bags distribute the force of
the impact more evenly over the occupant's upper
body, stopping the occupant more gradually. But the
frontal air bags would not help you in many types
of collisions, including rollovers, rear impacts, and many
side impacts, primarily because an occupant's motion
is not toward the air bag. Side impact air bags would not
help you in many types of collisions, including frontal
or near frontal collisions, rollovers, and rear impacts,
primarily because an occupant's motion is not toward
those air bags. Air bags should never be regarded
as anything more than a supplement to safety belts, and
then only in moderate to severe frontal or near-frontal
collisions for the driver's and right front passenger's
frontal air bags, and only in moderate to severe
side collisions for vehicles with a driver's and right front
passenger's side impact air bag.
1-56
Page 63 of 436
What Will You See After an Air Bag
In¯ates?
After the air bag in¯ates, it quickly de¯ates, so quickly
that some people may not even realize the air bag
in¯ated. Some components of the air bag module will be
hot for a short time. These components include the
steering wheel hub for the driver's frontal air bag and the
instrument panel for the right front passenger's frontal
air bag. For vehicles with side impact air bags, the side
of the seatback closest to the driver's and/or right
front passenger's door will be hot. The parts of the bag
that come into contact with you may be warm, but
not too hot to touch. There will be some smoke and dust
coming from the vents in the de¯ated air bags. Air
bag in¯ation doesn't prevent the driver from seeing or
being able to steer the vehicle, nor does it stop
people from leaving the vehicle.
{CAUTION:
When an air bag in¯ates, there is dust in the
air. This dust could cause breathing problems
for people with a history of asthma or other
breathing trouble. To avoid this, everyone in
the vehicle should get out as soon as it is safe
to do so. If you have breathing problems but
can't get out of the vehicle after an air bag
in¯ates, then get fresh air by opening a
window or a door. If you experience breathing
problems following an air bag deployment, you
should seek medical attention.
Your vehicle has a feature that will automatically unlock
the doors and turn the interior lamps on when the air
bags in¯ate (if battery power is available). You can lock
the doors again and turn the interior lamps off by
using the door lock and interior lamp controls.
1-57
Page 64 of 436

In many crashes severe enough to in¯ate an air bag,
windshields are broken by vehicle deformation.
Additional windshield breakage may also occur from the
right front passenger air bag.
·Air bags are designed to in¯ate only once. After an
air bag in¯ates, you'll need some new parts for
your air bag system. If you don't get them, the air
bag system won't be there to help protect you
in another crash. A new system will include air bag
modules and possibly other parts. The service
manual for your vehicle covers the need to replace
other parts.
·Your vehicle is equipped with an electronic frontal
sensor, which helps the sensing system distinguish
between a moderate frontal impact and a more
severe frontal impact. Your vehicle is also equipped
with a crash sensing and diagnostic module,
which records information about the frontal air bag
system. The module records information about
the readiness of the system, when the system
commands air bag in¯ation and driver's safety belt
usage at deployment. The module also records
speed, engine rpm, brake and throttle data.
·Let only quali®ed technicians work on your air bag
systems. Improper service can mean that an air
bag system won't work properly. See your dealer for
service.
Notice:If you damage the covering for the driver's
or the right front passenger's air bag, or the air
bag covering on the driver's and right front
passenger's seatback, the bag may not work
properly. You may have to replace the air bag
module in the steering wheel, both the air bag
module and the instrument panel for the right front
passenger's air bag, or both the air bag module
and seatback for the driver's and right front
passenger's side impact air bag. Do not open or
break the air bag coverings.
1-58
Page 91 of 436
Automatic Transfer Case
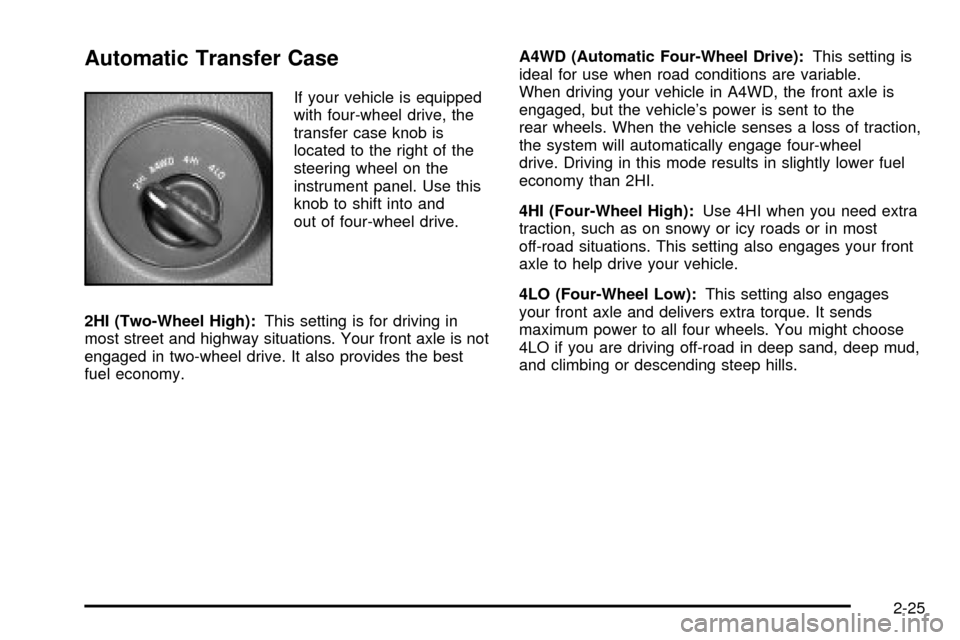
If your vehicle is equipped
with four-wheel drive, the
transfer case knob is
located to the right of the
steering wheel on the
instrument panel. Use this
knob to shift into and
out of four-wheel drive.
2HI (Two-Wheel High):This setting is for driving in
most street and highway situations. Your front axle is not
engaged in two-wheel drive. It also provides the best
fuel economy.A4WD (Automatic Four-Wheel Drive):This setting is
ideal for use when road conditions are variable.
When driving your vehicle in A4WD, the front axle is
engaged, but the vehicle's power is sent to the
rear wheels. When the vehicle senses a loss of traction,
the system will automatically engage four-wheel
drive. Driving in this mode results in slightly lower fuel
economy than 2HI.
4HI (Four-Wheel High):Use 4HI when you need extra
traction, such as on snowy or icy roads or in most
off-road situations. This setting also engages your front
axle to help drive your vehicle.
4LO (Four-Wheel Low):This setting also engages
your front axle and delivers extra torque. It sends
maximum power to all four wheels. You might choose
4LO if you are driving off-road in deep sand, deep mud,
and climbing or descending steep hills.
2-25
Page 103 of 436
To ®rst activate this feature, perform the following steps:
1. Press the Personalization button, located on the
steering wheel, until ªTilt Mirror in REVERSE (R)º
is displayed on the DIC display.
2. Press the Select button once to select the
passenger's side mirror, twice for the driver's side
mirror and three times for both mirrors. Then
press the Personalization button repeatedly until the
display goes blank.
3. With the engine running, engage the parking brake,
press the brake pedal and place the vehicle in
REVERSE (R) gear.
4. Adjust the passenger's side and then the driver's
side outside mirrors to the desired tilt positions.
These positions will be stored into memory once the
vehicle is shifted out of REVERSE (R).
When the vehicle is placed in PARK (P) or in any
forward gear, the mirror(s) will return to normal
driving position, following a short delay.
To change the tilt position, adjust the mirror while the
vehicle is in REVERSE (R) gear with the engine running,
the parking brake engaged and the brake pedal
pressed. The new position will be saved into memory
once the vehicle is shifted out of REVERSE (R).Outside Convex Mirror
A convex mirror's surface is curved so you can see
more from the driver's seat.
{CAUTION:
A convex mirror can make things (like other
vehicles) look farther away than they really are.
If you cut too sharply into the right or left lane,
you could hit a vehicle. Check your inside
mirror or glance over your shoulder before
changing lanes.
Outside Heated Mirrors
Your vehicle may have this feature.
When you operate the rear window defogger, a defogger
also warms the heated driver's and passenger's
outside rearview mirrors to help clear them of ice, snow
and condensation.
2-37
Page 119 of 436

Instrument Panel Overview...............................3-4
Hazard Warning Flashers................................3-6
Other Warning Devices...................................3-6
Horn.............................................................3-7
Tilt Wheel.....................................................3-7
Turn Signal/Multifunction Lever.........................3-7
Exterior Lamps.............................................3-15
Interior Lamps..............................................3-18
Accessory Power Outlets...............................3-20
Ashtrays and Cigarette Lighter........................3-20
Climate Controls............................................3-21
Dual Climate Control System..........................3-21
Dual Automatic Climate Control System...........3-24
Rear Climate Control System.........................3-30
Steering Wheel Climate Controls.....................3-34
Climate Controls Personalization.....................3-34Warning Lights, Gages and Indicators.............3-35
Instrument Panel Cluster................................3-36
Speedometer and Odometer...........................3-37
Tachometer.................................................3-38
Safety Belt Reminder Light.............................3-38
Air Bag Readiness Light................................3-38
Charging System Light..................................3-39
Voltmeter Gage............................................3-40
Brake System Warning Light..........................3-41
Anti-Lock Brake System Warning Light.............3-42
Engine Coolant Temperature Gage..................3-42
Malfunction Indicator Lamp.............................3-43
Oil Pressure Gage........................................3-46
Change Engine Oil Light................................3-47
Security Light...............................................3-47
Cruise Control Light......................................3-48
Reduced Engine Power Light.........................3-48
Service Four-Wheel Drive Warning Light..........3-49
Check Gages Warning Light...........................3-49
Gate Ajar Light.............................................3-50
Fuel Gage...................................................3-50
Low Fuel Warning Light.................................3-51
Section 3 Instrument Panel
3-1
Page 120 of 436

Driver Information Center (DIC).......................3-51
DIC Operation and Displays...........................3-52
DIC Warnings and Messages.........................3-61
Audio System(s).............................................3-64
Setting the Time...........................................3-64
Radio with CD..............................................3-65
Radio with Cassette and CD..........................3-72
Radio with Six-Disc CD.................................3-82
Rear Seat Entertainment System....................3-93
Rear Seat Audio (RSA)................................3-104
Radio Personalization..................................3-105Theft-Deterrent Feature (RDS Radios)............3-105
Audio Steering Wheel Controls......................3-106
DVD Distortion............................................3-106
Understanding Radio Reception....................3-106
Care of Your Cassette Tape Player...............3-107
Care of Your CDs and DVDs........................3-108
Care of Your CD and DVD Player.................3-108
Cleaning the Video Screen...........................3-108
Fixed Mast Antenna....................................3-108
Chime Level Adjustment...............................3-108
Section 3 Instrument Panel
3-2
Page 125 of 436
Horn
To sound the horn, press the horn symbols on the
steering wheel pad.
Tilt Wheel
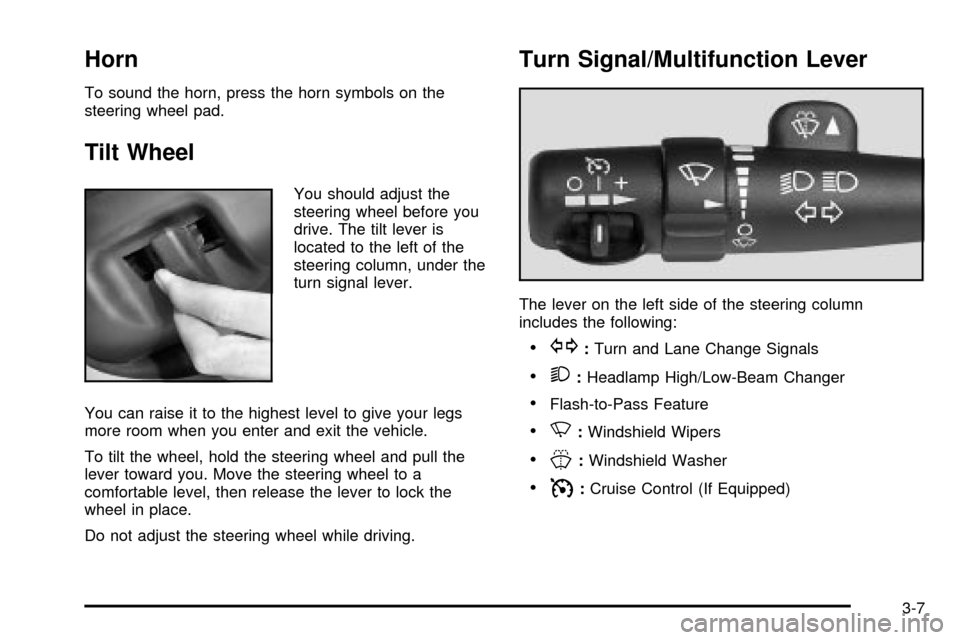
You should adjust the
steering wheel before you
drive. The tilt lever is
located to the left of the
steering column, under the
turn signal lever.
You can raise it to the highest level to give your legs
more room when you enter and exit the vehicle.
To tilt the wheel, hold the steering wheel and pull the
lever toward you. Move the steering wheel to a
comfortable level, then release the lever to lock the
wheel in place.
Do not adjust the steering wheel while driving.
Turn Signal/Multifunction Lever
The lever on the left side of the steering column
includes the following:
·G:Turn and Lane Change Signals
·2:Headlamp High/Low-Beam Changer
·Flash-to-Pass Feature
·N:Windshield Wipers
·J:Windshield Washer
·I:Cruise Control (If Equipped)
3-7