radio controls CHEVROLET TRAIL BLAZER 2008 1.G Owners Manual
[x] Cancel search | Manufacturer: CHEVROLET, Model Year: 2008, Model line: TRAIL BLAZER, Model: CHEVROLET TRAIL BLAZER 2008 1.GPages: 472, PDF Size: 2.57 MB
Page 132 of 472
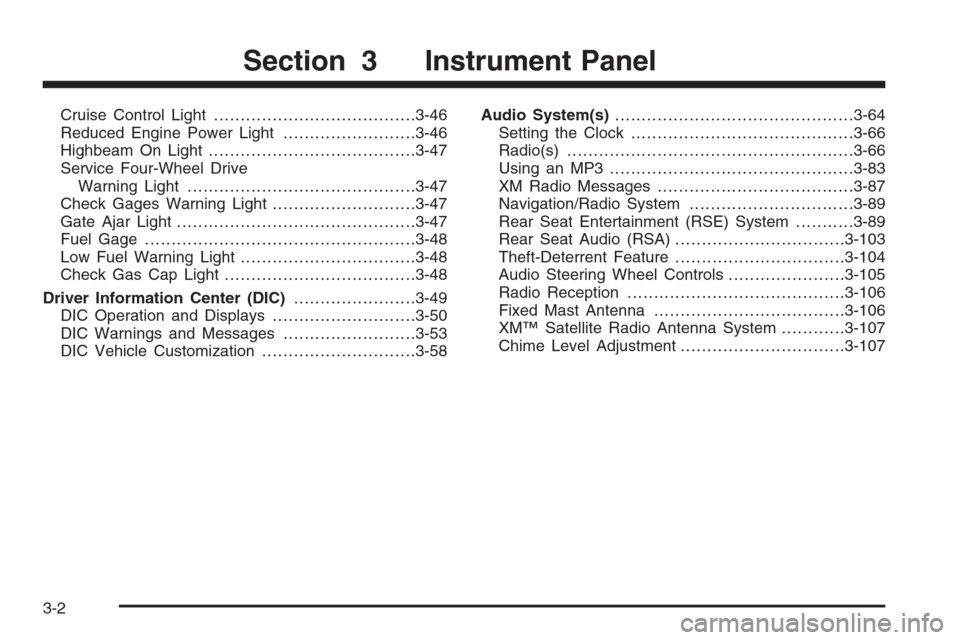
Cruise Control Light......................................3-46
Reduced Engine Power Light.........................3-46
Highbeam On Light.......................................3-47
Service Four-Wheel Drive
Warning Light...........................................3-47
Check Gages Warning Light...........................3-47
Gate Ajar Light.............................................3-47
Fuel Gage...................................................3-48
Low Fuel Warning Light.................................3-48
Check Gas Cap Light....................................3-48
Driver Information Center (DIC).......................3-49
DIC Operation and Displays...........................3-50
DIC Warnings and Messages.........................3-53
DIC Vehicle Customization.............................3-58Audio System(s).............................................3-64
Setting the Clock..........................................3-66
Radio(s)......................................................3-66
Using an MP3..............................................3-83
XM Radio Messages.....................................3-87
Navigation/Radio System...............................3-89
Rear Seat Entertainment (RSE) System...........3-89
Rear Seat Audio (RSA)................................3-103
Theft-Deterrent Feature................................3-104
Audio Steering Wheel Controls......................3-105
Radio Reception.........................................3-106
Fixed Mast Antenna....................................3-106
XM™ Satellite Radio Antenna System............3-107
Chime Level Adjustment...............................3-107
Section 3 Instrument Panel
3-2
Page 150 of 472
Accessory Power Outlet(s)
With the accessory power outlets, you can plug in
auxiliary electrical equipment such as a cellular
telephone or CB radio.
Your vehicle has three accessory power outlets.
There are two outlets located below the climate controls
and one outlet is on the rear of the center �oor console.
Remove the cover from the outlet to use the outlet.
Be sure to put the cover back on when not using the
accessory power outlet.
Certain electrical accessories may not be compatible
with the accessory power outlet and could result
in blown vehicle or adaptor fuses. If you experience a
problem, see your dealer for additional information
on the accessory power outlets.Notice:Adding any electrical equipment to the
vehicle can damage it or keep other components
from working as they should. The repairs would not
be covered by the vehicle warranty. Do not use
equipment exceeding maximum amperage rating of
20 amperes. Check with your dealer/retailer before
adding electrical equipment.
When adding electrical equipment, be sure to follow
the proper installation instructions included with
the equipment.
Notice:Improper use of the power outlet can cause
damage not covered by your warranty. Do not
hang any type of accessory or accessory bracket
from the plug because the power outlets are
designed for accessory power plugs only.
3-20
Page 195 of 472
While your vehicle is parked:
Familiarize yourself with all of its controls.
Familiarize yourself with its operation.
Set up your audio system by presetting your
favorite radio stations, setting the tone, and
adjusting the speakers. Then, when driving
conditions permit, you can tune to your favorite
radio stations using the presets and steering wheel
controls if the vehicle has them.
Notice:Before adding any sound equipment to
your vehicle, such as an audio system, CD player,
CB radio, mobile telephone, or two-way radio, make
sure that it can be added by checking with your
dealer/retailer. Also, check federal rules covering
mobile radio and telephone units. If sound
equipment can be added, it is very important to do
it properly. Added sound equipment may interfere
with the operation of your vehicle’s engine, radio,
or other systems, and even damage them.
Your vehicle’s systems may interfere with the
operation of sound equipment that has been added.Notice:The chime signals related to safety belts,
parking brake, and other functions of your vehicle
operate through the radio/entertainment system.
If that equipment is replaced or additional equipment
is added to your vehicle, the chimes may not
work. Make sure that replacement or additional
equipment is compatible with your vehicle before
installing it. SeeAccessories and Modifications
on page 5-3.
Your vehicle may have a feature called Retained
Accessory Power (RAP). With RAP, the audio system
can be played even after the ignition is turned off.
SeeRetained Accessory Power (RAP) on page 2-21
for more information.
3-65
Page 200 of 472
Setting Preset Stations
Up to 30 stations (six FM1, six FM2, and six AM,
six XM1 and six XM2 (if equipped)), can be programed
on the six numbered pushbuttons, by performing the
following steps:
1. Turn the radio on.
2. Press BAND to select FM1, FM2, AM, or XM1
or XM2.
3. Tune in the desired station.
4. Press and hold one of the six numbered pushbuttons
until a beep sounds. When that numbered
pushbutton is pressed, the station that was set,
returns.
5. Repeat Steps 2 through 4 for each pushbutton.
To store an equalization setting to a preset station
perform the following:
1. Tune to the preset station.
2. Press and release the AUTO EQ button to select
the equalization setting.
Once the equalization no longer displays,
the equalization is set for that preset station.
Setting the Tone
(Bass/Midrange/Treble)
AUDIO:Push and release until BASS, MID (midrange)
(without Bose®), or TREB (treble) displays. Turn to
increase or to decrease the tone. The display shows the
bass, midrange (without Bose
®), or treble level. If a
station is weak or has static, decrease the treble.
To adjust the bass, midrange (without Bose
®), or treble
to the middle position while it is displayed, push and
hold this knob. The radio produces one beep and
adjusts the display level to the middle position.
To adjust all tone and speaker controls to the middle
position, push and hold the AUDIO knob when no tone
or speaker controls displays. ALL CENTERED
displays and a beep is heard.
AUTO EQ (Automatic Equalization):Press to select
customized equalization settings designed for
country/western, jazz, talk, pop, rock, and classical.
To return the bass and treble to the manual mode, push
and release this button until CUSTOM displays.
The radio saves separate AUTO EQ settings for each
preset and source.
If the radio has the Bose
®audio system, the equalization
settings are either CUSTOM or TALK.
3-70
Page 201 of 472
Adjusting the Speakers (Balance/Fade)
AUDIO:To adjust the balance between the right
and the left speakers, push and release until BAL
(balance) displays. Turn to move the sound toward the
right or the left speakers.
To adjust the fade between the front and rear speakers,
push and release this knob until FADE or FAD
displays. Turn to move the sound toward the front or the
rear speakers.
To adjust the balance or the fade to the middle position
while it is displayed, push and hold the AUDIO knob.
On some radios, push the AUDIO knob, then push
it again and hold it until one beep is heard.
To adjust all tone and speaker controls to the middle
position, push and hold the AUDIO knob when no tone
or speaker controls display. ALL CENTERED displays
and a beep is heard.
Finding a Program Type (PTY) Station
(RDS and XM™)
For all Radios except the MP3 Radio, select and �nd a
desired PTY perform the following:
1. Press the TYPE button to activate program type
select mode. TYPE or P-TYPE and the last
selected PTY displays.
2. Turn the TYPE knob or press and release the
TYPE button to select a PTY.
3. Press either SEEK or TYPE arrow to select and to
go to the PTY’s �rst station.
4. To go to another station within that PTY, press the
TYPE button, then press either SEEK or TYPE
arrow once.
5. Press either SEEK or TYPE arrow twice to exit the
program type select mode.
For the Base Radio, if the radio cannot �nd the desired
program type, NONE displays and the radio returns
to the last station you were listening to.
3-71
Page 233 of 472
Rear Seat Audio (RSA)
This feature allows rear seat passengers to listen to any
of the sources: radio, CDs, or DVDs. However, the
rear seat passengers can only control the sources that
are not being listened by the front seat passengers.
For example, rear seat passengers can listen to
and control CDs or DVDs through the headphones
while the driver listens to the radio through the front
speakers. The rear seat passengers have control of the
volume for each set of headphones.
The front seat audio controls always have priority over
the RSA controls. If the front seat passengers switch
the source for the main radio to a remote source,
the RSA is not able to control the source. The rear seat
audio can be operated while the main radio is off.
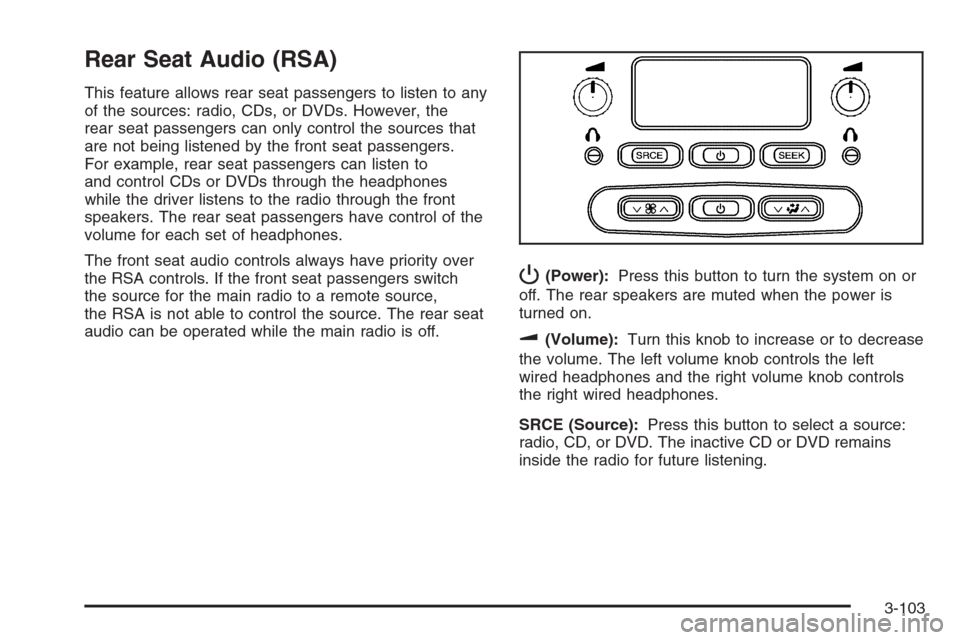
P(Power):Press this button to turn the system on or
off. The rear speakers are muted when the power is
turned on.
u(Volume):Turn this knob to increase or to decrease
the volume. The left volume knob controls the left
wired headphones and the right volume knob controls
the right wired headphones.
SRCE (Source):Press this button to select a source:
radio, CD, or DVD. The inactive CD or DVD remains
inside the radio for future listening.
3-103
Page 235 of 472
Audio Steering Wheel Controls
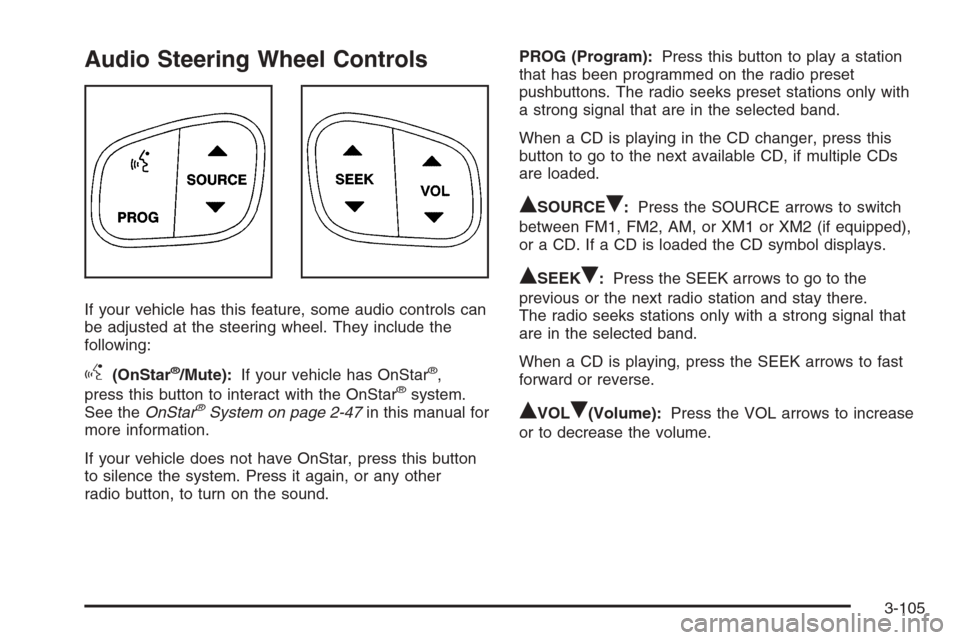
If your vehicle has this feature, some audio controls can
be adjusted at the steering wheel. They include the
following:
g(OnStar®/Mute):If your vehicle has OnStar®,
press this button to interact with the OnStar®system.
See theOnStar®System on page 2-47in this manual for
more information.
If your vehicle does not have OnStar, press this button
to silence the system. Press it again, or any other
radio button, to turn on the sound.PROG (Program):Press this button to play a station
that has been programmed on the radio preset
pushbuttons. The radio seeks preset stations only with
a strong signal that are in the selected band.
When a CD is playing in the CD changer, press this
button to go to the next available CD, if multiple CDs
are loaded.
QSOURCER:Press the SOURCE arrows to switch
between FM1, FM2, AM, or XM1 or XM2 (if equipped),
or a CD. If a CD is loaded the CD symbol displays.
QSEEKR:Press the SEEK arrows to go to the
previous or the next radio station and stay there.
The radio seeks stations only with a strong signal that
are in the selected band.
When a CD is playing, press the SEEK arrows to fast
forward or reverse.
QVOLR(Volume):Press the VOL arrows to increase
or to decrease the volume.
3-105
Page 459 of 472
A
Accessories and Modi�cations............................ 5-3
Adding a Snow Plow or Similar Equipment.........4-41
Adding Equipment to Your Airbag-Equipped
Vehicle.......................................................1-65
Additives, Fuel................................................. 5-6
Add-On Electrical Equipment...........................5-109
Adjustable Throttle and Brake Pedal..................2-22
Air Cleaner/Filter, Engine.................................5-24
Air Conditioning......................................3-21, 3-24
Airbag
Passenger Status Indicator...........................3-35
Readiness Light..........................................3-34
Airbag System................................................1-51
What Will You See After an Airbag In�ates?........1-58
When Should an Airbag In�ate?....................1-56
Where Are the Airbags?...............................1-54
Airbag Systems
Adding Equipment to Your Airbag-Equipped
Vehicle...................................................1-65
How Does an Airbag Restrain?......................1-58
Passenger Sensing System...........................1-60
Servicing Your Airbag-Equipped Vehicle..........1-64
What Makes an Airbag In�ate?......................1-57
All-Wheel Drive...............................................5-49
All-Wheel-Drive (AWD) System.........................4-10
Antenna, Fixed Mast......................................3-106
Antenna, XM™ Satellite Radio
Antenna System........................................3-107Antilock Brake System (ABS)............................. 4-4
Anti-lock Brake, System Warning Light...............3-39
Appearance Care
Aluminum Wheels......................................5-106
Care of Safety Belts...................................5-103
Chemical Paint Spotting..............................5-107
Cleaning Exterior Lamps/Lenses..................5-104
Fabric/Carpet............................................5-101
Finish Care...............................................5-104
Finish Damage..........................................5-107
Instrument Panel, Vinyl, and Other
Plastic Surfaces.....................................5-103
Interior Cleaning........................................5-100
Leather....................................................5-102
Sheet Metal Damage..................................5-106
Tires........................................................5-106
Underbody Maintenance.............................5-107
Vehicle Care/Appearance Materials...............5-108
Washing Your Vehicle.................................5-104
Weatherstrips............................................5-103
Windshield, Backglass, and Wiper Blades......5-105
Appointments, Scheduling Service....................... 7-9
Ashtray.........................................................3-21
Audio System.................................................3-64
Audio Steering Wheel Controls....................3-105
Chime Level Adjustment.............................3-107
Fixed Mast Antenna...................................3-106
Navigation/Radio System, see
Navigation Manual....................................3-89
Radio Reception........................................3-106
1
Page 466 of 472
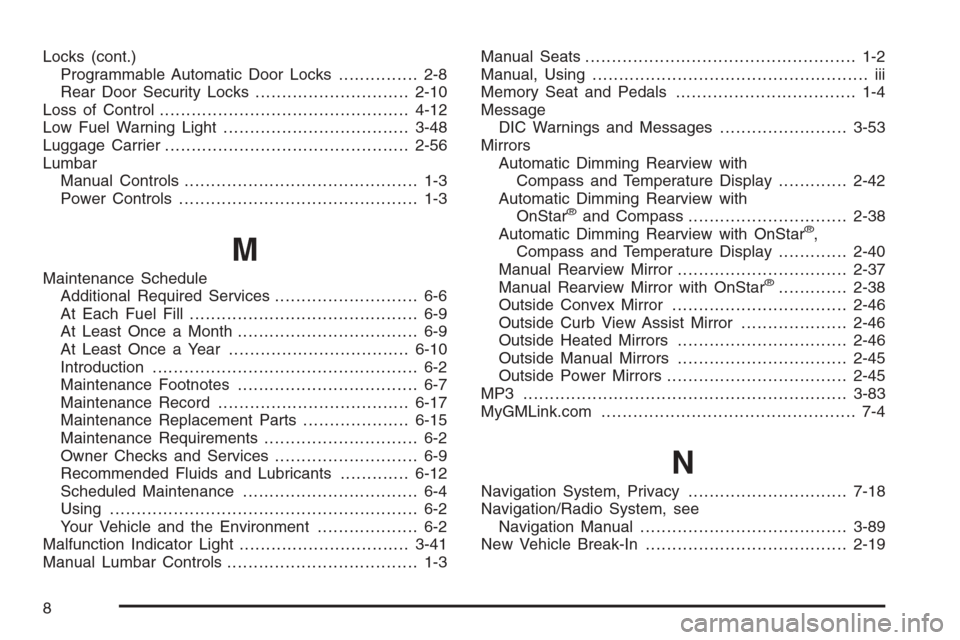
Locks (cont.)
Programmable Automatic Door Locks............... 2-8
Rear Door Security Locks.............................2-10
Loss of Control...............................................4-12
Low Fuel Warning Light...................................3-48
Luggage Carrier..............................................2-56
Lumbar
Manual Controls............................................ 1-3
Power Controls............................................. 1-3
M
Maintenance Schedule
Additional Required Services........................... 6-6
At Each Fuel Fill........................................... 6-9
At Least Once a Month.................................. 6-9
At Least Once a Year..................................6-10
Introduction.................................................. 6-2
Maintenance Footnotes.................................. 6-7
Maintenance Record....................................6-17
Maintenance Replacement Parts....................6-15
Maintenance Requirements............................. 6-2
Owner Checks and Services........................... 6-9
Recommended Fluids and Lubricants.............6-12
Scheduled Maintenance................................. 6-4
Using.......................................................... 6-2
Your Vehicle and the Environment................... 6-2
Malfunction Indicator Light................................3-41
Manual Lumbar Controls.................................... 1-3Manual Seats................................................... 1-2
Manual, Using.................................................... iii
Memory Seat and Pedals.................................. 1-4
Message
DIC Warnings and Messages........................3-53
Mirrors
Automatic Dimming Rearview with
Compass and Temperature Display.............2-42
Automatic Dimming Rearview with
OnStar
®and Compass..............................2-38
Automatic Dimming Rearview with OnStar®,
Compass and Temperature Display.............2-40
Manual Rearview Mirror................................2-37
Manual Rearview Mirror with OnStar
®.............2-38
Outside Convex Mirror.................................2-46
Outside Curb View Assist Mirror....................2-46
Outside Heated Mirrors................................2-46
Outside Manual Mirrors................................2-45
Outside Power Mirrors..................................2-45
MP3 .............................................................3-83
MyGMLink.com................................................ 7-4
N
Navigation System, Privacy..............................7-18
Navigation/Radio System, see
Navigation Manual.......................................3-89
New Vehicle Break-In......................................2-19
8
Page 467 of 472
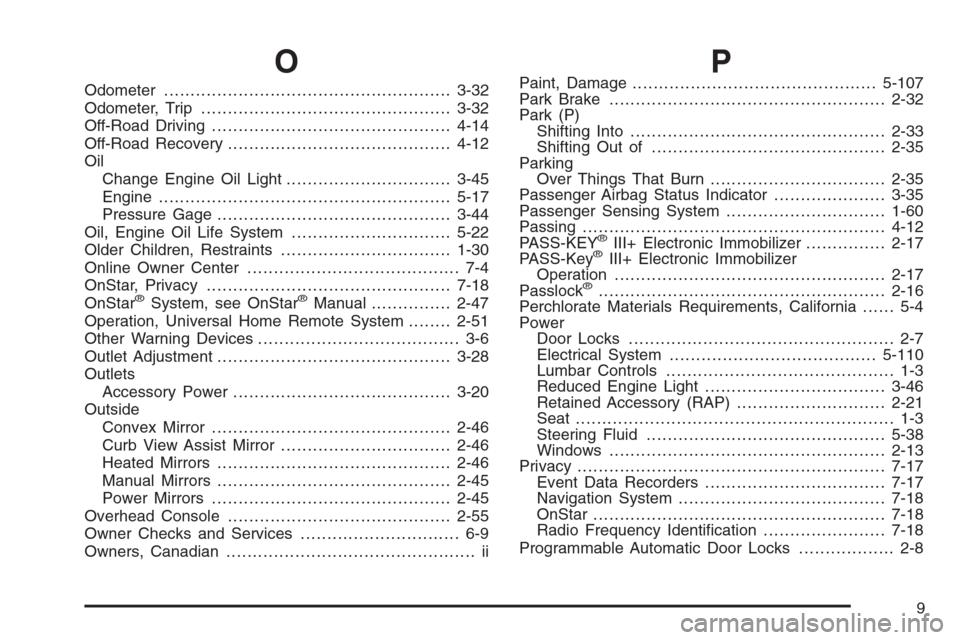
O
Odometer......................................................3-32
Odometer, Trip...............................................3-32
Off-Road Driving.............................................4-14
Off-Road Recovery..........................................4-12
Oil
Change Engine Oil Light...............................3-45
Engine.......................................................5-17
Pressure Gage............................................3-44
Oil, Engine Oil Life System..............................5-22
Older Children, Restraints................................1-30
Online Owner Center........................................ 7-4
OnStar, Privacy..............................................7-18
OnStar
®System, see OnStar®Manual...............2-47
Operation, Universal Home Remote System........2-51
Other Warning Devices...................................... 3-6
Outlet Adjustment............................................3-28
Outlets
Accessory Power.........................................3-20
Outside
Convex Mirror.............................................2-46
Curb View Assist Mirror................................2-46
Heated Mirrors............................................2-46
Manual Mirrors............................................2-45
Power Mirrors.............................................2-45
Overhead Console..........................................2-55
Owner Checks and Services.............................. 6-9
Owners, Canadian............................................... ii
PPaint, Damage..............................................5-107
Park Brake....................................................2-32
Park (P)
Shifting Into................................................2-33
Shifting Out of............................................2-35
Parking
Over Things That Burn.................................2-35
Passenger Airbag Status Indicator.....................3-35
Passenger Sensing System..............................1-60
Passing.........................................................4-12
PASS-KEY
®III+ Electronic Immobilizer...............2-17
PASS-Key®III+ Electronic Immobilizer
Operation...................................................2-17
Passlock
®......................................................2-16
Perchlorate Materials Requirements, California...... 5-4
Power
Door Locks.................................................. 2-7
Electrical System.......................................5-110
Lumbar Controls........................................... 1-3
Reduced Engine Light..................................3-46
Retained Accessory (RAP)............................2-21
Seat............................................................ 1-3
Steering Fluid.............................................5-38
Windows....................................................2-13
Privacy..........................................................7-17
Event Data Recorders..................................7-17
Navigation System.......................................7-18
OnStar.......................................................7-18
Radio Frequency Identi�cation.......................7-18
Programmable Automatic Door Locks.................. 2-8
9