reset CHEVROLET UPLANDER 2005 1.G Owners Manual
[x] Cancel search | Manufacturer: CHEVROLET, Model Year: 2005, Model line: UPLANDER, Model: CHEVROLET UPLANDER 2005 1.GPages: 460, PDF Size: 2.75 MB
Page 116 of 460
Power Sliding Door Second Row
Passenger Override (Deactivation)
To help avoid accidental operation of the sliding door(s)
by using the passenger PSD activation switch, press
the override (deactivation) part of the overhead console
switch. The door can still be manually opened from
the inside or outside with the override (deactivation) on.
To open a power sliding door(s) manually when the
overhead console switch is in override (deactivation)
position, pull the inside or outside door handle and slide
the door all the way back.
To close the door(s) manually when the override
switch(es) is in the override (deactivation) position, pull
the inside or outside door handle and slide the door
all the way forward to the latched position.
To stop the door(s) immediately while the door(s) is
opening or closing, press the PSD override
(deactivation) part of the switch.
Pressing the PSD button(s) on the remote keyless entry
will open and close the door unless the door has
been manually locked using the mechanical slider.
Resetting the Power Sliding Door
The power sliding door may operate incorrectly or not at
all because of the following conditions:
A low voltage or dead battery
A disconnected battery
If the instrument panel PSD/fuse 21, LHPSD/fuse
24 or RHPSD/fuse 25 are removed or blown.
SeeFuses and Circuit Breakers on page 5-96for more
information about your fuse panel.
If any of these conditions occur, the power sliding door
may need to be reset. If your vehicle has the dual
power sliding doors, both doors will have to be reset. To
reset a door, do the following:
1. Check to be sure the power sliding door is unlocked
and securely closed.
2. Turn the ignition to LOCK.
3. If the power sliding door overhead console switch is
in the override (deactivation) position, return to the
activation position.
4. Open the sliding door using the remote keyless entry
transmitter, overhead console switch, or passenger
switch. Allow the door to travel fully open.
2-22
Page 144 of 460
Using HomeLink®
Press and hold the appropriate HomeLink®button for at
least half of a second. The indicator light will come
on while the signal is being transmitted.
Erasing HomeLink®Buttons
To erase programming from the three buttons do the
following:
1. Press and hold down the two outside buttons until
the indicator light begins to �ash, after 20 seconds.
Do not hold the two outside buttons for longer
than 30 seconds.
2. Release both buttons.
HomeLink
®is now in the train (learning) mode and can
be programmed at any time beginning with Step 2
under “Programming HomeLink
®” shown earlier in this
section.
Individual buttons cannot be erased, but they can be
reprogrammed. See “Reprogramming a Single
HomeLink
®Button” following this section.
Reprogramming a Single HomeLink®
Button
To program a device to HomeLink®using a HomeLink®
button previously trained, follow these steps:
1. Press and hold the desired HomeLink
®button. Do
not release the button.
2. The indicator light will begin to �ash after
20 seconds. While still holding the HomeLink
®
button, proceed with Step 2 under “Programming
HomeLink®” shown earlier in this section.
Resetting Defaults
To reset HomeLink®to default settings do the following:
1. Hold down the two outside buttons for about
20 seconds until the indicator light begins to �ash.
2. Continue to hold both buttons until the HomeLink
®
indicator light turns off.
3. Release both buttons.
For questions or comments, contact HomeLink
®at
1-800-355-3515, or on the Internet at
www.homelink.com.
2-50
Page 164 of 460
Setting Cruise Control
{CAUTION:
If you leave your cruise control on when you
are not using cruise, you might hit a button
and go into cruise when you do not want to.
You could be startled and even lose control.
Keep the cruise control switch off until you
want to use cruise control.
1. Push the button at the end of the cruise control
lever to turn the cruise control on.
2. Accelerate to the desired speed.
3. Push down on the cruise control lever and release
it. This will set the speed in cruise control.
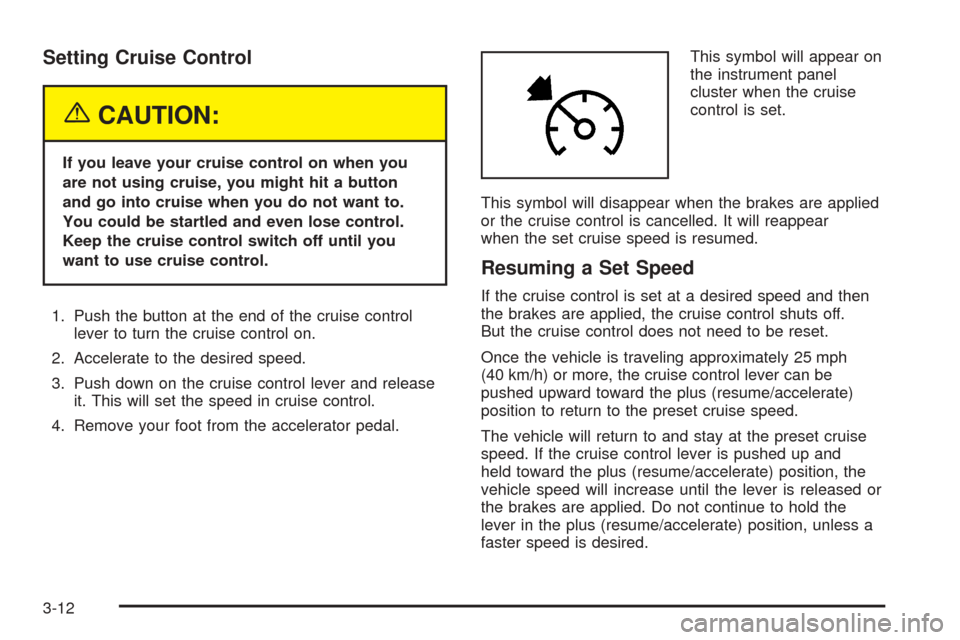
4. Remove your foot from the accelerator pedal.This symbol will appear on
the instrument panel
cluster when the cruise
control is set.
This symbol will disappear when the brakes are applied
or the cruise control is cancelled. It will reappear
when the set cruise speed is resumed.
Resuming a Set Speed
If the cruise control is set at a desired speed and then
the brakes are applied, the cruise control shuts off.
But the cruise control does not need to be reset.
Once the vehicle is traveling approximately 25 mph
(40 km/h) or more, the cruise control lever can be
pushed upward toward the plus (resume/accelerate)
position to return to the preset cruise speed.
The vehicle will return to and stay at the preset cruise
speed. If the cruise control lever is pushed up and
held toward the plus (resume/accelerate) position, the
vehicle speed will increase until the lever is released or
the brakes are applied. Do not continue to hold the
lever in the plus (resume/accelerate) position, unless a
faster speed is desired.
3-12
Page 176 of 460
When adding electrical equipment, be sure to follow the
proper installation instructions included with the
equipment.
Notice:Improper use of the power outlet can cause
damage not covered by your warranty. Do not
hang any type of accessory or accessory bracket
from the plug because the power outlets are
designed for accessory power plugs only.
Power Outlet 115 Volt Alternating
Current
Your vehicle may have a power outlet that can be used
to plug in auxiliary electrical equipment with a
maximum limit of 150 watts. If you try to use equipment
that requires more than the limit, a protection circuit
will cut the power supply. To reset the outlet, unplug the
item and plug it back in or turn the ignition key to
OFF or ACC and then back on. The power will
automatically restart when equipment that operates
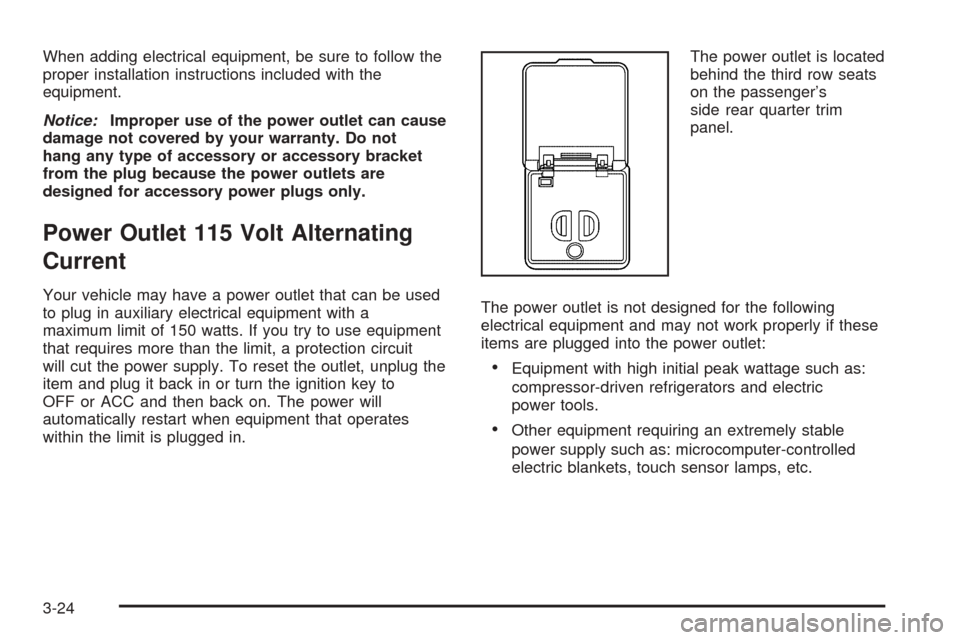
within the limit is plugged in.The power outlet is located
behind the third row seats
on the passenger’s
side rear quarter trim
panel.
The power outlet is not designed for the following
electrical equipment and may not work properly if these
items are plugged into the power outlet:
Equipment with high initial peak wattage such as:
compressor-driven refrigerators and electric
power tools.
Other equipment requiring an extremely stable
power supply such as: microcomputer-controlled
electric blankets, touch sensor lamps, etc.
3-24
Page 185 of 460
Speedometer and Odometer
Your speedometer lets you see your speed in both
miles per hour (mph) and kilometers per hour (km/h).
Your odometer shows how far your vehicle has
been driven, in either miles (used in the United States)
or kilometers (used in Canada).
Your vehicle has a tamper-resistant odometer.
You may wonder what happens if your vehicle needs a
new odometer installed. The new one can be set to
the mileage total of the old odometer.
Trip Odometer
The trip odometer can display how far you have driven
since you last reset it.
For more information seeDIC Operation and Displays
on page 3-45.
Tachometer
The tachometer displays the engine speed in revolutions
per minute (rpm).
Safety Belt Reminder Light
When the key is turned to RUN or START, a chime will
come on for several seconds to remind people to
fasten their safety belts.
The safety belt light will
also come on and stay on
for several seconds. If
the driver’s belt is already
buckled, neither the
chime nor the light will
come on.
3-33
Page 190 of 460
If the light comes on while you are driving, pull off the
road and stop carefully. You may notice that the pedal is
harder to push. Or, the pedal may go closer to the
�oor. It may take longer to stop. If the light is still on,
have the vehicle towed for service. SeeAnti-Lock Brake
System Warning Light on page 3-38andTowing Your
Vehicle on page 4-39.
{CAUTION:
Your brake system may not be working
properly if the brake system warning light is
on. Driving with the brake system warning light
on can lead to an accident. If the light is still
on after you have pulled off the road and
stopped carefully, have the vehicle towed for
service.
Anti-Lock Brake System Warning
Light
Your vehicle has an
anti-lock brake system
warning light. The anti-lock
brake system warning light
should come on for a few
seconds when you turn the
ignition key to RUN.
If the anti-lock brake system warning light stays on
longer than normal after you’ve started your engine, turn
the ignition off. Or, if the light comes on and stays on
when you’re driving, stop as soon as possible and turn
the ignition off. Then start the engine again to reset
the system. If the light still stays on, or comes on again
while you’re driving, the anti-lock brake system needs
service and you do not have anti-lock brakes.
The anti-lock brake system warning light should come
on brie�y when you turn the ignition key to RUN. If
the light does not come on then, have it �xed so it will
be ready to warn you if there is a problem.
3-38
Page 197 of 460
Driver Information Center (DIC)
Your vehicle has a Driver Information Center (DIC).
All messages will appear in the DIC display located in
the instrument panel cluster, below the tachometer. The
DIC buttons are located on the center of the instrument
panel, below the center outlets.
The DIC comes on when the ignition is on. After a short
delay, the DIC will display WELCOME DRIVER (1 or 2)
if a personalized key 1 or 2 is used, and then the
information that was last displayed before the engine
was turned off.
The DIC displays the odometer, trip odometers, fuel
economy, trip computer, vehicle system information, and
compass display, if equipped. It also displays warning
messages if a system problem is detected. In addition,
the DIC displays phone numbers that are called
using the OnStar
®system, if equipped. SeeOnStar®
System on page 2-44.If equipped, the outside air temperature automatically
appears in the bottom right corner of the DIC display
when viewing all of the information screens, except for
the oil life screens. If the outside air temperature is
at or below 37°F (3°C), the temperature reading
will toggle between displaying the outside temperature
and the word ICE for two minutes. If there is a problem
with the system that controls the temperature display,
the letters OC (open circuit) or SC (short circuit)
will appear on the display. If this occurs, have the
vehicle serviced by your GM dealer.
The DIC also allows some features to be customized or
personalized, if equipped. SeeDIC Vehicle
Personalization (Uplevel Only) on page 3-68for more
information.
DIC Operation and Displays
The DIC has different modes which can be accessed by
pressing the DIC buttons located on the center of the
instrument panel. The buttons are the information,
set/reset, and menu buttons.
The button functions are detailed in the following pages.
3-45
Page 198 of 460
DIC Buttons
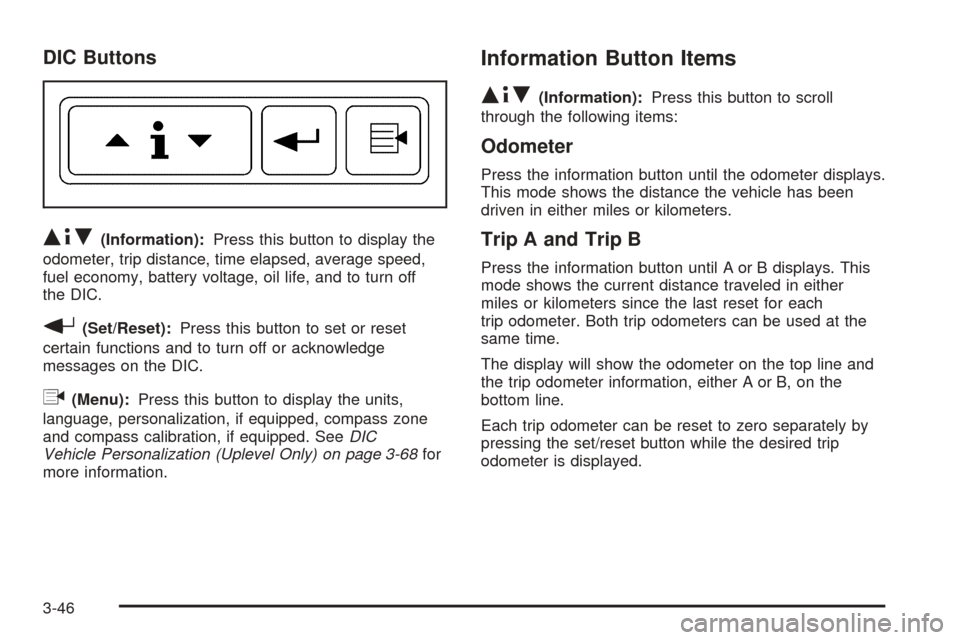
Q4R(Information):Press this button to display the
odometer, trip distance, time elapsed, average speed,
fuel economy, battery voltage, oil life, and to turn off
the DIC.
r(Set/Reset):Press this button to set or reset
certain functions and to turn off or acknowledge
messages on the DIC.
q(Menu):Press this button to display the units,
language, personalization, if equipped, compass zone
and compass calibration, if equipped. SeeDIC
Vehicle Personalization (Uplevel Only) on page 3-68for
more information.
Information Button Items
Q4R
(Information):Press this button to scroll
through the following items:
Odometer
Press the information button until the odometer displays.
This mode shows the distance the vehicle has been
driven in either miles or kilometers.
Trip A and Trip B
Press the information button until A or B displays. This
mode shows the current distance traveled in either
miles or kilometers since the last reset for each
trip odometer. Both trip odometers can be used at the
same time.
The display will show the odometer on the top line and
the trip odometer information, either A or B, on the
bottom line.
Each trip odometer can be reset to zero separately by
pressing the set/reset button while the desired trip
odometer is displayed.
3-46
Page 199 of 460
There is also a retroactive trip odometer function that
performs the following for each trip odometer:
If the vehicle’s speed has exceeded 3 mph (5 km/h)
during the current ignition cycle, this function will
set the trip odometer to the distance driven
during the current ignition cycle.
If the vehicle’s speed has not exceeded 3 mph
(5 km/h), this function will set the trip odometer
to the distance driven during the previous ignition
cycle plus the distance driven during the current
ignition cycle.
Press and hold the set/reset button for three seconds,
then release the button. The retroactive trip odometer
value will be set into the currently displayed trip
odometer.
Time Elapsed
Press the information button until TIME ELAPSED :00
displays. This mode is like a stopwatch, in that you can
clock the time it takes to get from one point to another.
Each of the �elds for the hours, minutes, and seconds
are two numeric digits.Once TIME ELAPSED :00 is displayed, press the
set/reset button to start the timing feature. Press the
set/reset button again to stop it. If you will be starting
and stopping your vehicle, during a trip for instance, the
TIME ELAPSED feature will automatically start timing
where it left off when you last stopped. To reset it, press
and hold the set/reset button for approximately
1.5 seconds. The display will return to zero.
Average Speed
Press the information button until AVERAGE SPEED
displays. This mode shows the average speed of the
vehicle in miles per hour (mph) or kilometers per hour
(km/h). This average is calculated based on the various
vehicle speed recorded since the last reset of this value.
To reset the value, press the information button to display
AVERAGE SPEED, then press and hold the set/reset
button. The display will return to zero.
3-47
Page 200 of 460
Fuel Range
Press the information button until FUEL RANGE
displays. This mode shows the approximate number of
remaining miles or kilometers the vehicle can be
driven without refueling.
Fuel range is based on several factors, including
distance travelled, fuel used, fuel capacity, etc. This
estimate will change if driving conditions change.
For example, if driving in traffic and making frequent
stops, this mode may read one number, but if the vehicle
is driven on a freeway, the number may change even
though the same amount of fuel is in the fuel tank. This
is because different driving conditions produce
different fuel economies. Generally, freeway driving
produces better fuel economy than city driving.
Fuel range cannot be reset.
If your vehicle is low on fuel, FUEL RANGE LOW will
display followed by the LOW FUEL message. See “LOW
FUEL” underDIC Warnings and Messages on
page 3-51for more information.
Average Fuel Economy
Press the information button until AVG ECONOMY
displays. This mode shows the approximate average
miles per gallon (mpg) or liters per 100 kilometers
(L/100 km). This number is calculated based on the
number of mpg (L/100 km) recorded since the last time
this menu item was reset. To reset AVG ECONOMY,
press and hold the set/reset button. The display
will return to zero.
Instantaneous Fuel Economy
Press the information button until INST ECONOMY
displays. This mode shows the current fuel economy at
a particular moment and will change frequently as
driving conditions change. This mode shows the
instantaneous fuel economy in miles per gallon (mpg) or
liters per 100 kilometers (L/100 km). Unlike average
fuel economy, this screen cannot be reset.
Battery
Press the information button until BATTERY displays.
This mode shows the current battery voltage.
If there is a problem with the battery charging system, a
DIC message will display. SeeDIC Warnings and
Messages on page 3-51for more information.
3-48