AUX CHEVROLET VENTURE 2003 1.G Owners Manual
[x] Cancel search | Manufacturer: CHEVROLET, Model Year: 2003, Model line: VENTURE, Model: CHEVROLET VENTURE 2003 1.GPages: 486, PDF Size: 3.3 MB
Page 251 of 486
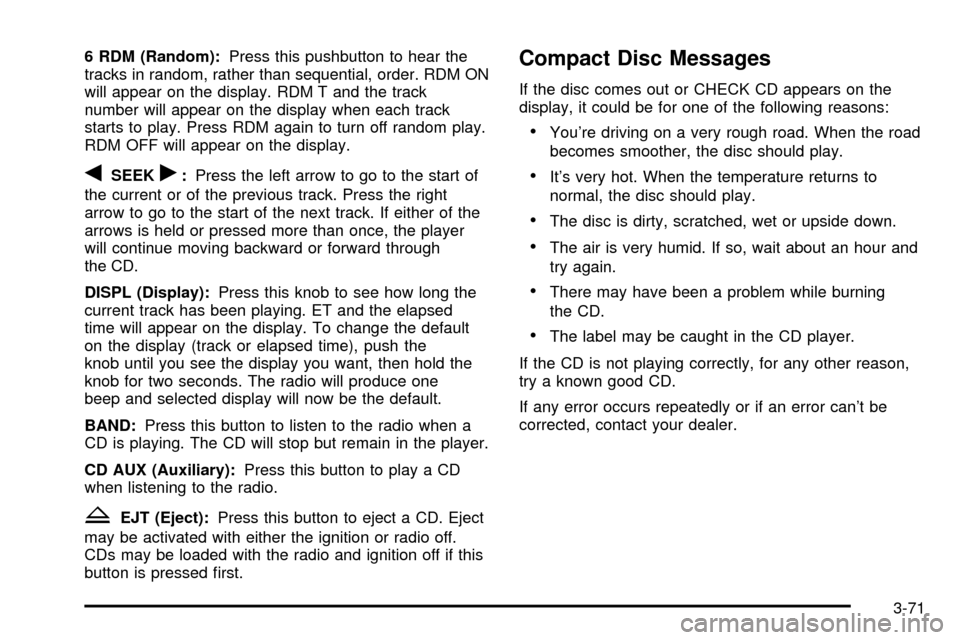
6 RDM (Random):Press this pushbutton to hear the
tracks in random, rather than sequential, order. RDM ON
will appear on the display. RDM T and the track
number will appear on the display when each track
starts to play. Press RDM again to turn off random play.
RDM OFF will appear on the display.
qSEEKr:Press the left arrow to go to the start of
the current or of the previous track. Press the right
arrow to go to the start of the next track. If either of the
arrows is held or pressed more than once, the player
will continue moving backward or forward through
the CD.
DISPL (Display):Press this knob to see how long the
current track has been playing. ET and the elapsed
time will appear on the display. To change the default
on the display (track or elapsed time), push the
knob until you see the display you want, then hold the
knob for two seconds. The radio will produce one
beep and selected display will now be the default.
BAND:Press this button to listen to the radio when a
CD is playing. The CD will stop but remain in the player.
CD AUX (Auxiliary):Press this button to play a CD
when listening to the radio.
ZEJT (Eject):Press this button to eject a CD. Eject
may be activated with either the ignition or radio off.
CDs may be loaded with the radio and ignition off if this
button is pressed ®rst.
Compact Disc Messages
If the disc comes out or CHECK CD appears on the
display, it could be for one of the following reasons:
·You're driving on a very rough road. When the road
becomes smoother, the disc should play.
·It's very hot. When the temperature returns to
normal, the disc should play.
·The disc is dirty, scratched, wet or upside down.
·The air is very humid. If so, wait about an hour and
try again.
·There may have been a problem while burning
the CD.
·The label may be caught in the CD player.
If the CD is not playing correctly, for any other reason,
try a known good CD.
If any error occurs repeatedly or if an error can't be
corrected, contact your dealer.
3-71
Page 268 of 486
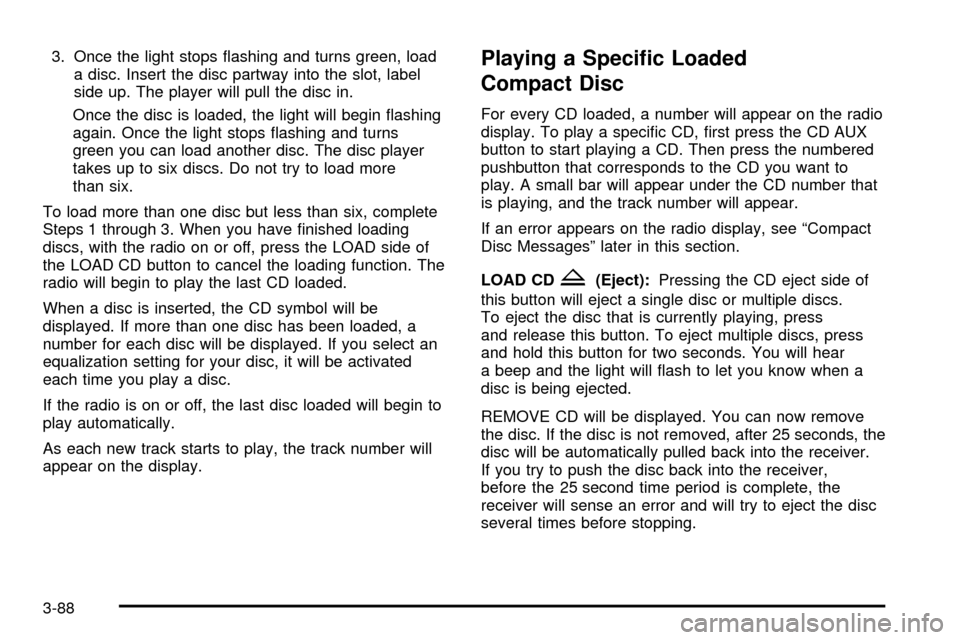
3. Once the light stops ¯ashing and turns green, load
a disc. Insert the disc partway into the slot, label
side up. The player will pull the disc in.
Once the disc is loaded, the light will begin ¯ashing
again. Once the light stops ¯ashing and turns
green you can load another disc. The disc player
takes up to six discs. Do not try to load more
than six.
To load more than one disc but less than six, complete
Steps 1 through 3. When you have ®nished loading
discs, with the radio on or off, press the LOAD side of
the LOAD CD button to cancel the loading function. The
radio will begin to play the last CD loaded.
When a disc is inserted, the CD symbol will be
displayed. If more than one disc has been loaded, a
number for each disc will be displayed. If you select an
equalization setting for your disc, it will be activated
each time you play a disc.
If the radio is on or off, the last disc loaded will begin to
play automatically.
As each new track starts to play, the track number will
appear on the display.Playing a Speci®c Loaded
Compact Disc
For every CD loaded, a number will appear on the radio
display. To play a speci®c CD, ®rst press the CD AUX
button to start playing a CD. Then press the numbered
pushbutton that corresponds to the CD you want to
play. A small bar will appear under the CD number that
is playing, and the track number will appear.
If an error appears on the radio display, see ªCompact
Disc Messagesº later in this section.
LOAD CD
Z(Eject):Pressing the CD eject side of
this button will eject a single disc or multiple discs.
To eject the disc that is currently playing, press
and release this button. To eject multiple discs, press
and hold this button for two seconds. You will hear
a beep and the light will ¯ash to let you know when a
disc is being ejected.
REMOVE CD will be displayed. You can now remove
the disc. If the disc is not removed, after 25 seconds, the
disc will be automatically pulled back into the receiver.
If you try to push the disc back into the receiver,
before the 25 second time period is complete, the
receiver will sense an error and will try to eject the disc
several times before stopping.
3-88
Page 273 of 486
Headphones
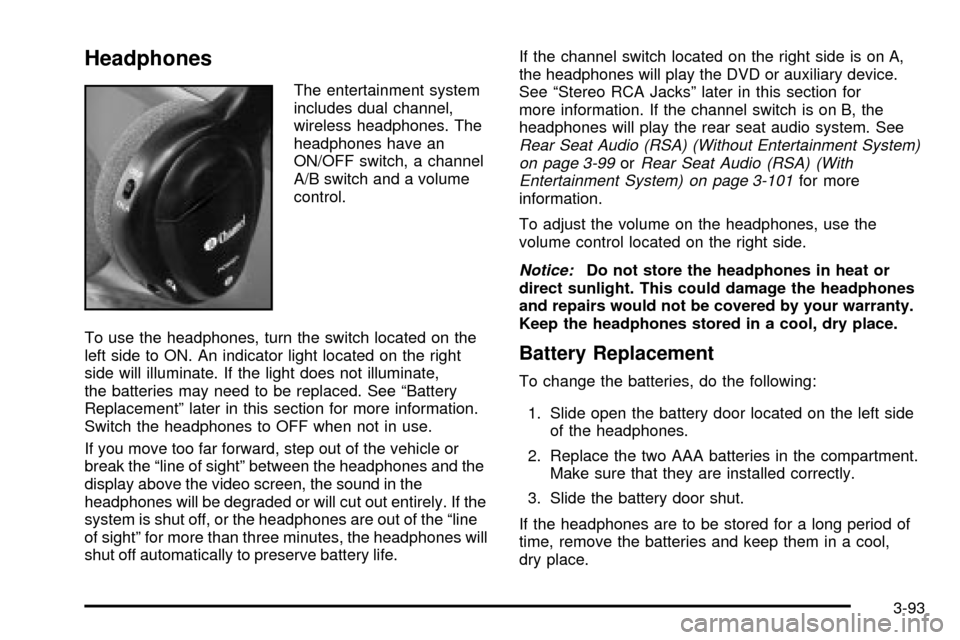
The entertainment system
includes dual channel,
wireless headphones. The
headphones have an
ON/OFF switch, a channel
A/B switch and a volume
control.
To use the headphones, turn the switch located on the
left side to ON. An indicator light located on the right
side will illuminate. If the light does not illuminate,
the batteries may need to be replaced. See ªBattery
Replacementº later in this section for more information.
Switch the headphones to OFF when not in use.
If you move too far forward, step out of the vehicle or
break the ªline of sightº between the headphones and the
display above the video screen, the sound in the
headphones will be degraded or will cut out entirely. If the
system is shut off, or the headphones are out of the ªline
of sightº for more than three minutes, the headphones will
shut off automatically to preserve battery life.If the channel switch located on the right side is on A,
the headphones will play the DVD or auxiliary device.
See ªStereo RCA Jacksº later in this section for
more information. If the channel switch is on B, the
headphones will play the rear seat audio system. See
Rear Seat Audio (RSA) (Without Entertainment System)
on page 3-99orRear Seat Audio (RSA) (With
Entertainment System) on page 3-101for more
information.
To adjust the volume on the headphones, use the
volume control located on the right side.
Notice:Do not store the headphones in heat or
direct sunlight. This could damage the headphones
and repairs would not be covered by your warranty.
Keep the headphones stored in a cool, dry place.
Battery Replacement
To change the batteries, do the following:
1. Slide open the battery door located on the left side
of the headphones.
2. Replace the two AAA batteries in the compartment.
Make sure that they are installed correctly.
3. Slide the battery door shut.
If the headphones are to be stored for a long period of
time, remove the batteries and keep them in a cool,
dry place.
3-93
Page 274 of 486
Stereo RCA Jacks
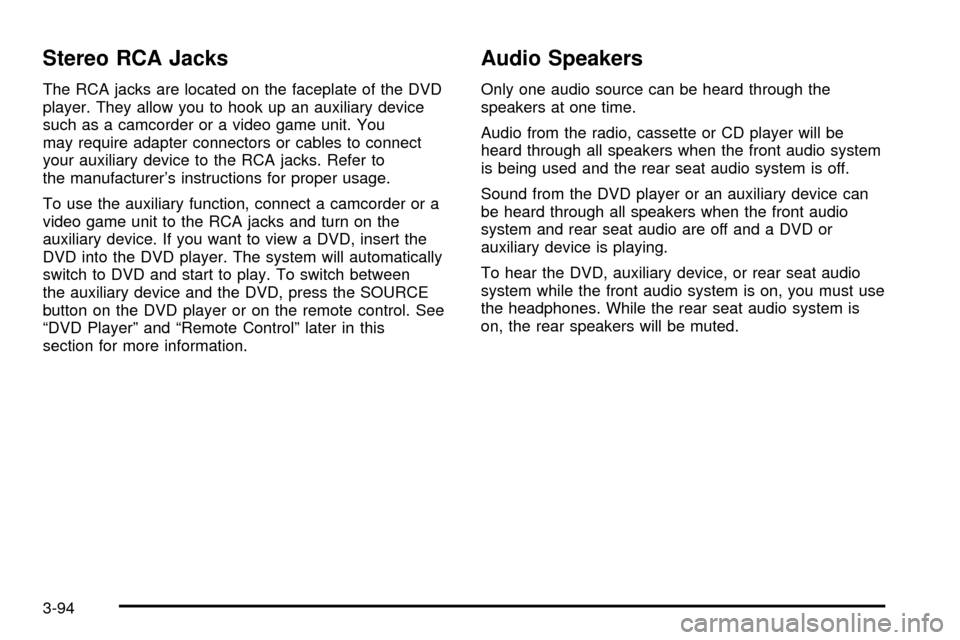
The RCA jacks are located on the faceplate of the DVD
player. They allow you to hook up an auxiliary device
such as a camcorder or a video game unit. You
may require adapter connectors or cables to connect
your auxiliary device to the RCA jacks. Refer to
the manufacturer's instructions for proper usage.
To use the auxiliary function, connect a camcorder or a
video game unit to the RCA jacks and turn on the
auxiliary device. If you want to view a DVD, insert the
DVD into the DVD player. The system will automatically
switch to DVD and start to play. To switch between
the auxiliary device and the DVD, press the SOURCE
button on the DVD player or on the remote control. See
ªDVD Playerº and ªRemote Controlº later in this
section for more information.
Audio Speakers
Only one audio source can be heard through the
speakers at one time.
Audio from the radio, cassette or CD player will be
heard through all speakers when the front audio system
is being used and the rear seat audio system is off.
Sound from the DVD player or an auxiliary device can
be heard through all speakers when the front audio
system and rear seat audio are off and a DVD or
auxiliary device is playing.
To hear the DVD, auxiliary device, or rear seat audio
system while the front audio system is on, you must use
the headphones. While the rear seat audio system is
on, the rear speakers will be muted.
3-94
Page 276 of 486
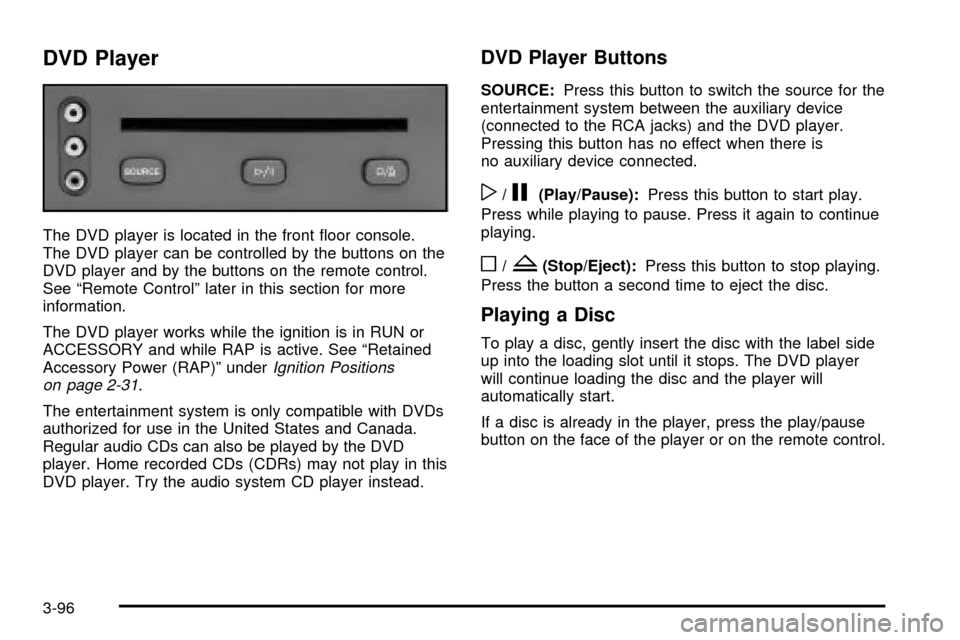
DVD Player
The DVD player is located in the front ¯oor console.
The DVD player can be controlled by the buttons on the
DVD player and by the buttons on the remote control.
See ªRemote Controlº later in this section for more
information.
The DVD player works while the ignition is in RUN or
ACCESSORY and while RAP is active. See ªRetained
Accessory Power (RAP)º under
Ignition Positions
on page 2-31.
The entertainment system is only compatible with DVDs
authorized for use in the United States and Canada.
Regular audio CDs can also be played by the DVD
player. Home recorded CDs (CDRs) may not play in this
DVD player. Try the audio system CD player instead.
DVD Player Buttons
SOURCE:Press this button to switch the source for the
entertainment system between the auxiliary device
(connected to the RCA jacks) and the DVD player.
Pressing this button has no effect when there is
no auxiliary device connected.
w/j(Play/Pause):Press this button to start play.
Press while playing to pause. Press it again to continue
playing.
o/Z(Stop/Eject):Press this button to stop playing.
Press the button a second time to eject the disc.
Playing a Disc
To play a disc, gently insert the disc with the label side
up into the loading slot until it stops. The DVD player
will continue loading the disc and the player will
automatically start.
If a disc is already in the player, press the play/pause
button on the face of the player or on the remote control.
3-96
Page 278 of 486
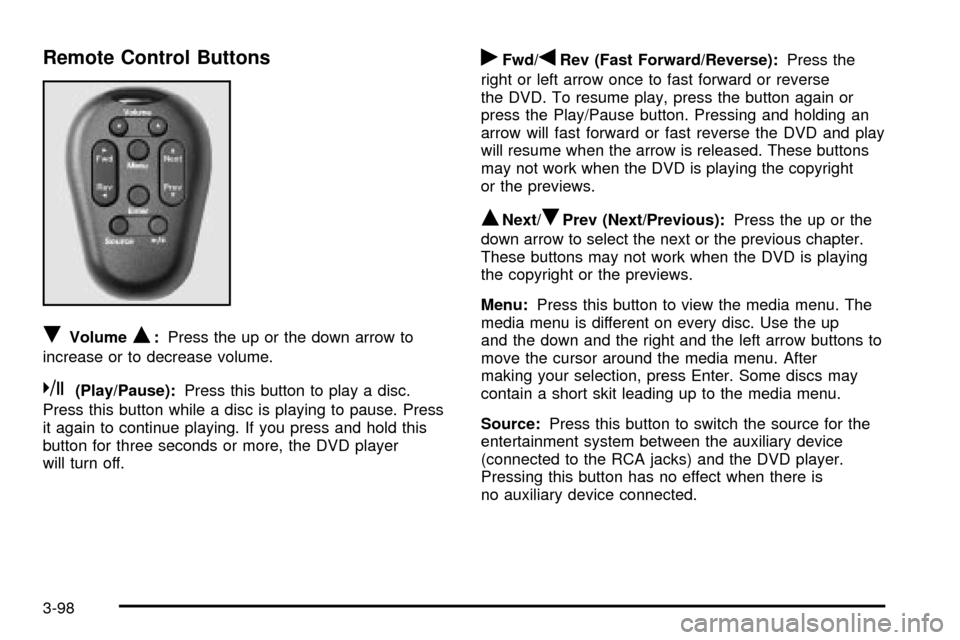
Remote Control Buttons
RVolumeQ:Press the up or the down arrow to
increase or to decrease volume.
k(Play/Pause):Press this button to play a disc.
Press this button while a disc is playing to pause. Press
it again to continue playing. If you press and hold this
button for three seconds or more, the DVD player
will turn off.
rFwd/qRev (Fast Forward/Reverse):Press the
right or left arrow once to fast forward or reverse
the DVD. To resume play, press the button again or
press the Play/Pause button. Pressing and holding an
arrow will fast forward or fast reverse the DVD and play
will resume when the arrow is released. These buttons
may not work when the DVD is playing the copyright
or the previews.
QNext/RPrev (Next/Previous):Press the up or the
down arrow to select the next or the previous chapter.
These buttons may not work when the DVD is playing
the copyright or the previews.
Menu:Press this button to view the media menu. The
media menu is different on every disc. Use the up
and the down and the right and the left arrow buttons to
move the cursor around the media menu. After
making your selection, press Enter. Some discs may
contain a short skit leading up to the media menu.
Source:Press this button to switch the source for the
entertainment system between the auxiliary device
(connected to the RCA jacks) and the DVD player.
Pressing this button has no effect when there is
no auxiliary device connected.
3-98
Page 283 of 486
·If your vehicle has the AM-FM Radio with Six-Disc
Compact Disc Player with Equalization and Radio
Data System (RDS), press this button to switch
to playing a different CD when multiple CDs
are loaded into the CD player.
CD TAPE:Press this button to switch between playing
a cassette tape, a compact disc, a DVD or an auxiliary
device when the headphones are on channel B. If one of
the devices is not loaded, the system will skip over
the device when this button is pressed.
Theft-Deterrent Feature
(Non-RDS Radios)
THEFTLOCKžis designed to discourage theft of your
radio. The feature works automatically by learning
a portion of the Vehicle Identi®cation Number (VIN). If
the radio is moved to a different vehicle, it will not
operate and LOCKED will be displayed.
When the radio and vehicle are turned off, the blinking
red light indicates that THEFTLOCK is armed.
With THEFTLOCK activated, your radio will not operate
if stolen.
Theft-Deterrent Feature
(RDS Radios)
THEFTLOCKžis designed to discourage theft of your
radio. The feature works automatically by learning
a portion of the Vehicle Identi®cation Number (VIN). If
the radio is moved to a different vehicle, it will not
operate and LOCKED will be displayed.
When the ignition is off and RAP is not active, the
blinking red light indicates that THEFTLOCK is armed.
With THEFTLOCK activated, your radio will not
operate if stolen.
DVD Distortion
You may experience video distortion when operating
cellular phones, scanners, CB radios, Global Position
Systems (GPS)*, two-way radios, mobile fax, or
walkie talkies.
It may be necessary to turn off the DVD player when
operating one of these devices in or near the vehicle.
*Excludes the OnStar
žSystem.
3-103
Page 428 of 486
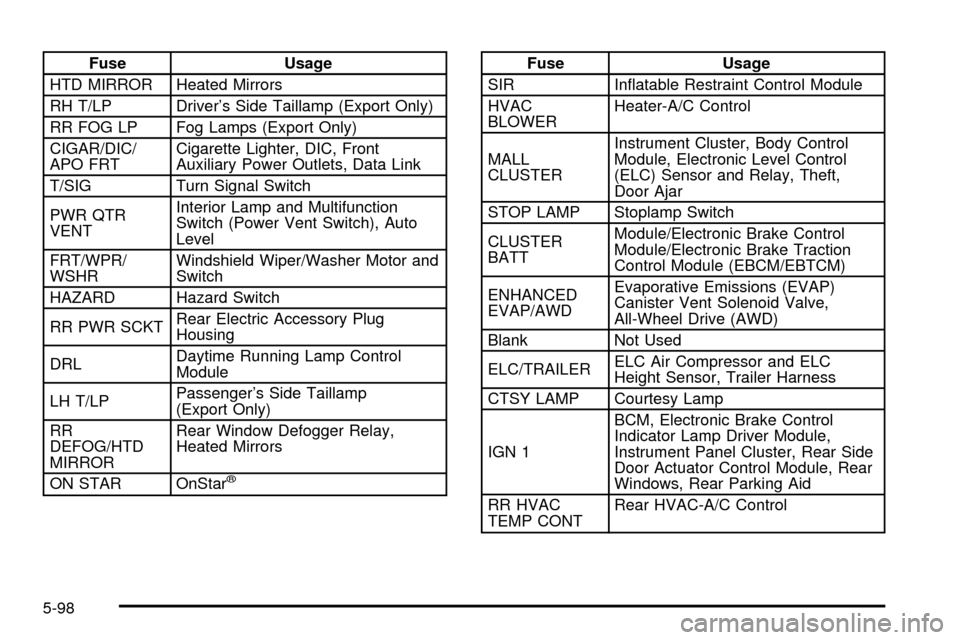
Fuse Usage
HTD MIRROR Heated Mirrors
RH T/LP Driver's Side Taillamp (Export Only)
RR FOG LP Fog Lamps (Export Only)
CIGAR/DIC/
APO FRTCigarette Lighter, DIC, Front
Auxiliary Power Outlets, Data Link
T/SIG Turn Signal Switch
PWR QTR
VENTInterior Lamp and Multifunction
Switch (Power Vent Switch), Auto
Level
FRT/WPR/
WSHRWindshield Wiper/Washer Motor and
Switch
HAZARD Hazard Switch
RR PWR SCKTRear Electric Accessory Plug
Housing
DRLDaytime Running Lamp Control
Module
LH T/LPPassenger's Side Taillamp
(Export Only)
RR
DEFOG/HTD
MIRRORRear Window Defogger Relay,
Heated Mirrors
ON STAR OnStar
ž
Fuse Usage
SIR In¯atable Restraint Control Module
HVAC
BLOWERHeater-A/C Control
MALL
CLUSTERInstrument Cluster, Body Control
Module, Electronic Level Control
(ELC) Sensor and Relay, Theft,
Door Ajar
STOP LAMP Stoplamp Switch
CLUSTER
BATTModule/Electronic Brake Control
Module/Electronic Brake Traction
Control Module (EBCM/EBTCM)
ENHANCED
EVAP/AWDEvaporative Emissions (EVAP)
Canister Vent Solenoid Valve,
All-Wheel Drive (AWD)
Blank Not Used
ELC/TRAILERELC Air Compressor and ELC
Height Sensor, Trailer Harness
CTSY LAMP Courtesy Lamp
IGN 1BCM, Electronic Brake Control
Indicator Lamp Driver Module,
Instrument Panel Cluster, Rear Side
Door Actuator Control Module, Rear
Windows, Rear Parking Aid
RR HVAC
TEMP CONTRear HVAC-A/C Control
5-98