hood release CHEVROLET VENTURE 2003 1.G Owners Manual
[x] Cancel search | Manufacturer: CHEVROLET, Model Year: 2003, Model line: VENTURE, Model: CHEVROLET VENTURE 2003 1.GPages: 486, PDF Size: 3.3 MB
Page 131 of 486
{CAUTION:
If your vehicle is facing downward on a steep
grade (15 percent or more), the door may not
stay open and could slam shut, possibly
injuring someone. To make sure the door does
not slam shut, turn on the power sliding door
feature. Then if the door closes, it will close
under the control of the power door system.
If you want to close the power sliding door(s) when the
override switch(es) is turned off, pull the inside or
outside handle or the edge of the door. Move the door
about 4 inches (10 cm) toward the closed position
and release it. The door will close completely and latch
for you.
To close the power sliding door(s) when the override
switch(es) is turned on, pull the inside or outside handle
and slide the door all the way forward to the latched
position.
Resetting the Power Sliding Door
The power sliding door may operate incorrectly or not at
all because of the following conditions:
·A low voltage or dead battery,
·disconnecting the battery, or
·if the instrument panel PWR/HEATED SEAT PSD
fuse or the underhood fuse 8, 27 or 29 are
removed or blown.
See
Fuses and Circuit Breakers on page 5-96for more
information about your fuse panel.
If any of these conditions occur, the power sliding door
will need to be reset. If your vehicle has the dual
power sliding doors, both doors will have to be reset. To
reset a door, do the following:
1. Check to be sure the power sliding door is unlocked
and securely closed.
2. Turn the ignition key to OFF.
2-21
Page 185 of 486
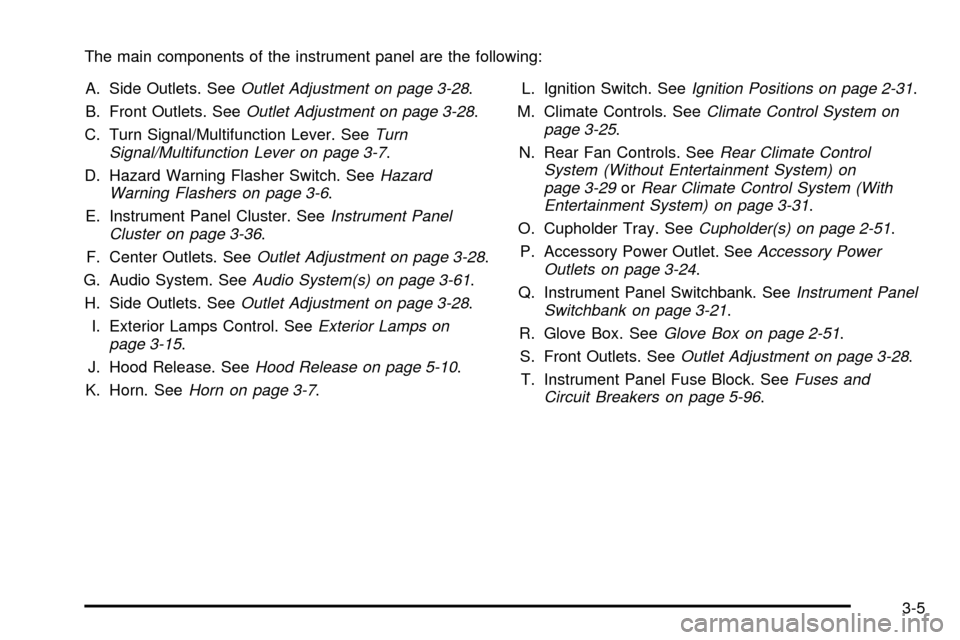
The main components of the instrument panel are the following:
A. Side Outlets. See
Outlet Adjustment on page 3-28.
B. Front Outlets. See
Outlet Adjustment on page 3-28.
C. Turn Signal/Multifunction Lever. See
Turn
Signal/Multifunction Lever on page 3-7.
D. Hazard Warning Flasher Switch. See
Hazard
Warning Flashers on page 3-6.
E. Instrument Panel Cluster. See
Instrument Panel
Cluster on page 3-36.
F. Center Outlets. See
Outlet Adjustment on page 3-28.
G. Audio System. See
Audio System(s) on page 3-61.
H. Side Outlets. See
Outlet Adjustment on page 3-28.
I. Exterior Lamps Control. See
Exterior Lamps on
page 3-15.
J. Hood Release. See
Hood Release on page 5-10.
K. Horn. See
Horn on page 3-7.L. Ignition Switch. See
Ignition Positions on page 2-31.
M. Climate Controls. See
Climate Control System on
page 3-25.
N. Rear Fan Controls. See
Rear Climate Control
System (Without Entertainment System) on
page 3-29
orRear Climate Control System (With
Entertainment System) on page 3-31.
O. Cupholder Tray. See
Cupholder(s) on page 2-51.
P. Accessory Power Outlet. See
Accessory Power
Outlets on page 3-24.
Q. Instrument Panel Switchbank. See
Instrument Panel
Switchbank on page 3-21.
R. Glove Box. See
Glove Box on page 2-51.
S. Front Outlets. See
Outlet Adjustment on page 3-28.
T. Instrument Panel Fuse Block. See
Fuses and
Circuit Breakers on page 5-96.
3-5
Page 331 of 486
Service............................................................5-3
Doing Your Own Service Work.........................5-3
Adding Equipment to the Outside of
Your Vehicle..............................................5-4
Fuel................................................................5-4
Gasoline Octane............................................5-4
Gasoline Speci®cations....................................5-5
California Fuel...............................................5-5
Additives.......................................................5-6
Fuels in Foreign Countries...............................5-6
Filling Your Tank............................................5-7
Filling a Portable Fuel Container.......................5-9
Checking Things Under the Hood....................5-10
Hood Release..............................................5-10
Engine Compartment Overview.......................5-12
Engine Oil...................................................5-13
Engine Air Cleaner/Filter................................5-18
Automatic Transaxle Fluid..............................5-20
Engine Coolant.............................................5-23
Radiator Pressure Cap..................................5-26
Engine Overheating.......................................5-26
Cooling System............................................5-29
Power Steering Fluid.....................................5-37
Windshield Washer Fluid................................5-38
Brakes........................................................5-40Battery........................................................5-43
Jump Starting...............................................5-44
All-Wheel Drive..............................................5-50
Bulb Replacement..........................................5-52
Halogen Bulbs..............................................5-52
Headlamps..................................................5-52
Front Turn Signal, Sidemarker and
Parking Lamps..........................................5-54
Taillamps, Turn Signal, Stoplamps and
Back-up Lamps.........................................5-56
Replacement Bulbs.......................................5-57
Windshield Wiper Blade Replacement..............5-58
Tires..............................................................5-60
In¯ation - Tire Pressure.................................5-61
Tire Inspection and Rotation...........................5-62
When It Is Time for New Tires.......................5-63
Buying New Tires.........................................5-64
Uniform Tire Quality Grading..........................5-65
Wheel Alignment and Tire Balance..................5-66
Wheel Replacement......................................5-66
Tire Chains..................................................5-67
Accessory In¯ator.........................................5-68
If a Tire Goes Flat........................................5-70
Changing a Flat Tire.....................................5-71
Compact Spare Tire......................................5-86
Section 5 Service and Appearance Care
5-1
Page 340 of 486
Checking Things Under
the Hood
{CAUTION:
An electric fan under the hood can start up
and injure you even when the engine is not
running. Keep hands, clothing and tools away
from any underhood electric fan.
{CAUTION:
Things that burn can get on hot engine parts
and start a ®re. These include liquids like fuel,
oil, coolant, brake ¯uid, windshield washer and
other ¯uids, and plastic or rubber. You or
others could be burned. Be careful not to drop
or spill things that will burn onto a hot engine.
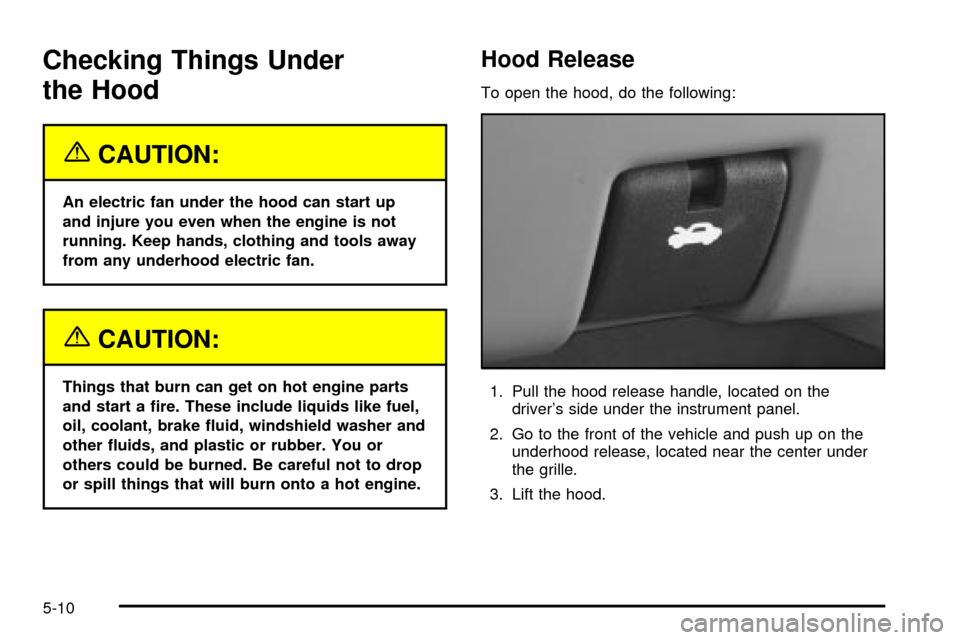
Hood Release
To open the hood, do the following:
1. Pull the hood release handle, located on the
driver's side under the instrument panel.
2. Go to the front of the vehicle and push up on the
underhood release, located near the center under
the grille.
3. Lift the hood.
5-10
Page 341 of 486
4. Pull forward on the hood prop to release it from its
storage clip.
The hood prop may be hot due to increased engine
temperatures under the hood, so be careful when
handling it. Use your hood prop sleeve when
handling the hood prop.
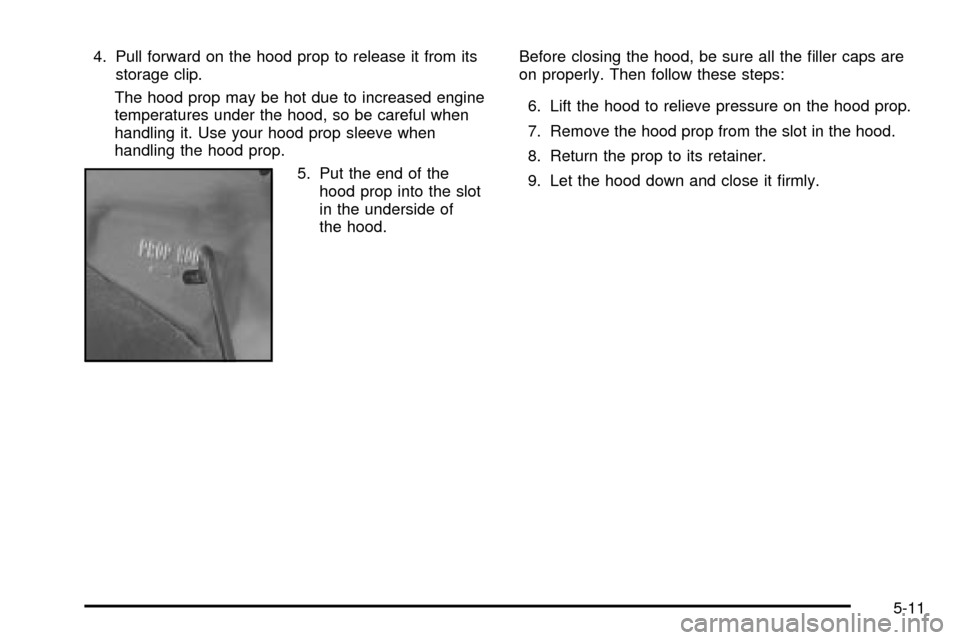
5. Put the end of the
hood prop into the slot
in the underside of
the hood.Before closing the hood, be sure all the ®ller caps are
on properly. Then follow these steps:
6. Lift the hood to relieve pressure on the hood prop.
7. Remove the hood prop from the slot in the hood.
8. Return the prop to its retainer.
9. Let the hood down and close it ®rmly.
5-11
Page 446 of 486
At Least Once a Year
Key Lock Cylinders Service
Lubricate the key lock cylinders with the lubricant
speci®ed in Part D.
Body Lubrication Service
Lubricate all key lock cylinders, hood latch assemblies,
secondary latches, pivots, spring anchor and release
pawl, hood and door hinges, rear folding seats, fuel door
hinge, liftgate hinges, power sliding door cable and
sliding door track(s). Part D tells you what to use. More
frequent lubrication may be required when exposed
to a corrosive environment.
Starter Switch Check
{CAUTION:
When you are doing this inspection, the
vehicle could move suddenly. If the vehicle
moves, you or others could be injured.
1. Before you start, be sure you have enough room
around the vehicle.
2. Firmly apply both the parking brake and the regular
brake. See
Parking Brake on page 2-38if
necessary.
Do not use the accelerator pedal, and be ready to
turn off the engine immediately if it starts.
3. Try to start the engine in each gear. The starter
should work only in PARK (P) or NEUTRAL (N).
If the starter works in any other position, your
vehicle needs service.
6-12
Page 452 of 486
Usage Fluid/Lubricant
Hood Latch
Assembly,
Secondary
Latch, Pivots,
Spring Anchor
and Release
PawlLubriplate Lubricant Aerosol (GM
Part No. U.S. 12346293, in Canada
992723, or equivalent) or lubricant
meeting requirements of NLGI #2,
Category LB or GC-LB.
Hood and Door
Hinges, Rear
Folding Seat,
Fuel Door
Hinge, Liftgate
Hinges, Power
Sliding Door
CableMulti-Purpose Lubricant, Superlube
(GM Part No. U.S. 12346241, in
Canada 10953474, or equivalent).Usage Fluid/Lubricant
Sliding Door
TrackLubriplate Lubricant Aerosol (GM
Part No. U.S. 12346293, in Canada
992723, or equivalent) or lubricant
meeting requirements of NLGI #2,
Category LB or GC-LB.
Weatherstrip
ConditioningDielectric Silicone Grease (GM Part
No. U.S. 12345579, in Canada
10953014, or equivalent).
6-18
Page 476 of 486
Hood............................................................5-10
Checking Things Under................................5-10
Release.....................................................5-10
Horn............................................................... 3-7
How the System Works...................................3-23
How to Add Coolant to the Coolant
Recovery Tank............................................5-31
How to Add Coolant to the Radiator..................5-34
How to Add Fluid Automatic Transaxle Fluid.......5-22
How to Check Automatic
Transaxle Fluid...........................................5-20
How to Check Power Steering Fluid..................5-38
How to Check................................................5-61
How to Inspect the Engine Air Cleaner/Filter.......5-19
How to Use This Manual...................................... ii
How to Wear Safety Belts Properly...................1-35
Hydroplaning..................................................4-18
I
If No Steam Is Coming From Your Engine..........5-28
If Steam Is Coming From Your Engine...............5-27
If the Light Is Flashing.....................................3-46
If the Light Is On Steady.................................3-47
If You Are Stuck in Sand, Mud, Ice or Snow.......4-30
If You Do Decide To Pull A Trailer.....................4-37If You're Caught in a Blizzard...........................4-28
Ignition Positions.............................................2-31
Ignition Transaxle Lock Check..........................6-13
Infants and Young Children, Restraints...............1-58
In¯ation -- Tire Pressure..................................5-61
Inspection......................................................6-16
Brake System.............................................6-16
Engine Cooling System................................6-16
Exhaust System..........................................6-15
Fuel System...............................................6-16
Part C - Periodic Maintenance.......................6-15
Steering, Suspension and Front Drive Axle
Boot and Seal.........................................6-15
Throttle System...........................................6-16
Transfer Care (Power Transfer Unit) and
Carrier Assembly-Differential (Rear Drive
Module) All-Wheel Drive............................6-16
Instrument Panel Brightness.............................3-17
Instrument Panel Fuse Block............................5-97
Instrument Panel.............................................3-36
Cluster.......................................................3-36
Overview..................................................... 3-4
Switchbank.................................................3-21
Interior Lamps Control.....................................3-17
Interior Lamps Override...................................3-17
Interior Lamps................................................3-17
8