reset CHEVROLET VENTURE 2004 1.G Owners Manual
[x] Cancel search | Manufacturer: CHEVROLET, Model Year: 2004, Model line: VENTURE, Model: CHEVROLET VENTURE 2004 1.GPages: 516, PDF Size: 3.33 MB
Page 131 of 516

Resetting the Power Sliding Door
The power sliding door may operate incorrectly or not at
all because of the following conditions:
A low voltage or dead battery
A disconnected battery
If the instrument panel PWR/HEATED SEAT PSD
fuse or the underhood fuse 8, 27, or 29 are
removed or blown.
SeeFuses and Circuit Breakers on page 5-96for more
information about your fuse panel.
If any of these conditions occur, the power sliding door
will need to be reset. If your vehicle has the dual power
sliding doors, both doors will have to be reset. To reset a
door, do the following:
1. Check to be sure the power sliding door is unlocked
and securely closed.
2. Turn the ignition key to OFF.3. If the power sliding door override is on, press the
textured end of the power sliding door override
switch to turn it off.
4. Remove fuse 29 from the underhood fuse block.
Leave it out for 30 seconds.
5. Reinstall the fuse and wait 10 seconds.
6. Turn the power sliding door override on by pressing
the end of the switch with the override symbol on it.
7. Press the power sliding door switch(es) to open the
power sliding door.
8. Open the door all of the way.
9. Wait �ve seconds and close the door by pressing
the power sliding door switch(es).
10. Wait �ve seconds and repeat Steps 7 through 9.
If the door does not rest in the fully open position after
repeating Step 7, repeat Steps 7 through 9 again. If
the door still does not operate correctly, see your dealer
for service.
2-21
Page 162 of 516

Reprogramming a Single HomeLink®
Button
To program a device to HomeLink®using a HomeLink®
button previously trained, follow these steps:
1. Press and hold the desired HomeLink
®button.
Do not release the button.
2. The indicator light will begin to �ash after
20 seconds. While still holding the HomeLink
®
button, proceed with Step 2 under “Programming
HomeLink®.”
Resetting Defaults
To reset HomeLink®to default settings do the following:
1. Hold down the two outside buttons for about
20 seconds until the indicator light begins to �ash.
2. Continue to hold both buttons until the HomeLink
®
indicator light turns off.
3. Release both buttons.
For questions or comments, contact HomeLink
®
at 1-800-355-3515, or on the internet at
www.homelink.com.
Storage Areas
Your vehicle’s large carrying capacity can store many
items. If you have the extended wheelbase version, you
can carry even larger items. You can also use the
�oor pins that are used to attach the seats, to secure
larger loads.
Glove Box
Your vehicle has a glove box below the instrument
panel. To open the glove box, lift the latch release.
The glove box door has a detent to prevent the door
from lowering too far. Open the glove box until the door
is partway open, then pull the door down if you need
it fully open. To close the glove box, the door must
be pushed up past the detent.
2-52
Page 196 of 516

Resuming a Set Speed
Suppose you set your cruise control at a desired speed
and then you apply the brake. This, of course, shuts
off the cruise control. But you do not need to reset
it. Once you are going about 25 mph (40 km/h) or more,
you can move the cruise control switch from ON to
resume/accelerate (R/A) brie�y. You will go back up to
your chosen speed and stay there.
If you hold the switch at R/A, the vehicle will keep going
faster until you release the switch or apply the brake.
So unless you want to go faster, do not hold the switch
at R/A.
Increasing Speed While Using Cruise
Control
To increase your speed while using cruise control,
do one of the following:
Use the accelerator pedal to get to the higher
speed. Press the SET button at the end of the lever,
then release the button and the accelerator pedal.
You will begin to cruise at the higher speed.
Move the cruise switch from ON to R/A. Hold it
there until you get up to the speed you want,
and then release the switch. To increase your speed
in very small amounts, move the switch to R/A
brie�y and then release it. Each time you do this,
your vehicle will go about 1 mph (1.6 km/h) faster.
The accelerate feature will work whether or not you have
set an initial cruise control speed.
Reducing Speed While Using Cruise
Control
To reduce your speed while using cruise control, do one
of the following:
Press the SET button at the end of the lever until you
reach the lower speed you want, then release it.
To slow down in very small amounts, press the SET
button brie�y. Each time you do this, you will go
about 1 mph (1.6 km/h) slower.
3-14
Page 221 of 516

Speedometer and Odometer
Your speedometer lets you see your speed in both
miles per hour (mph) and kilometers per hour (km/h).
Your odometer shows how far your vehicle has
been driven, in either miles (used in the United States)
or kilometers (used in Canada).
Your vehicle has a tamper-resistant odometer.
You may wonder what happens if your vehicle needs a
new odometer installed. If the new one can be set to
the mileage total of the old odometer, then that will
be done. If it cannot be, it will be set at zero and a label
must be put on the driver’s door to show the old
mileage reading when the new odometer was installed.
Dual Trip Odometers
In addition to the standard odometer, the cluster can also
display two separate trip odometers, designated by the
letter A or B in the display window, as well as your
vehicle’s Engine Oil Life, which is designated by the word
OIL in the display window. The display can be toggled
between the odometer, the trip odometers, and engine oil
life by quickly pressing and releasing the trip/reset button
located to the right of the temperature gage. The display
toggles once each time the trip/reset button is pressed for
less than 1.5 seconds. The display toggles in the
following sequence: Odometer - Trip Odometer A - Trip
Odometer B - Engine Oil Life. If the engine oil life is left on
the display, it will automatically toggle back to the
odometer after about 15 seconds. Each of the two trip
odometers can be used to keep track of different trip
distances, such as the mileage of a long trip and the
mileage driven on the current tank of fuel. The trip
odometers will continue to keep track of miles
(kilometers) driven even if they are not currently
displayed. To reset the odometer to zero, press and hold
the trip/reset button for at least 1.5 seconds, but less than
three seconds. Only the trip odometer that is showing in
the display will be reset.
3-39
Page 222 of 516

Retro-Active Reset
Each of the two trip odometers has a feature called
retro-active reset. This feature can be used to set either
or both trip odometer(s) to the number of miles
(kilometers) driven since the ignition was last turned on.
This can be used if you forget to reset your trip odometer
at the beginning of a trip. To use the retro-active reset
feature, press and hold the trip/reset button for at least
three seconds. The trip odometer will then display the
number of miles (kilometers) driven since the ignition was
last turned on and you began driving. If you use the
retro-active reset feature after you have started the
vehicle, but before you begin moving, the display will
show the number of miles (kilometers) you drove during
the last ignition cycle. Once you begin driving, the trip
odometer will accumulate mileage. For example, if you
have driven 5.0 miles (8.0 km) since you started your
vehicle, and then activate the retro-active reset feature,
the display will show 5.0 miles (8.0 km). As you drive, the
display will then increase to 5.1 miles (8.2 km), 5.2 miles
(8.4 km), etc. Only the trip odometer that is displayed will
be affected by the retro-active reset so that both trip
odometers can be used separately.
Tachometer
Your vehicle may have a tachometer that displays the
engine speed in revolutions per minute (rpm).
Notice:If you operate the engine with the
tachometer in the shaded warning area, your vehicle
could be damaged, and the damages would not
be covered by your warranty. Do not operate
the engine with the tachometer in the shaded
warning area.
3-40
Page 225 of 516

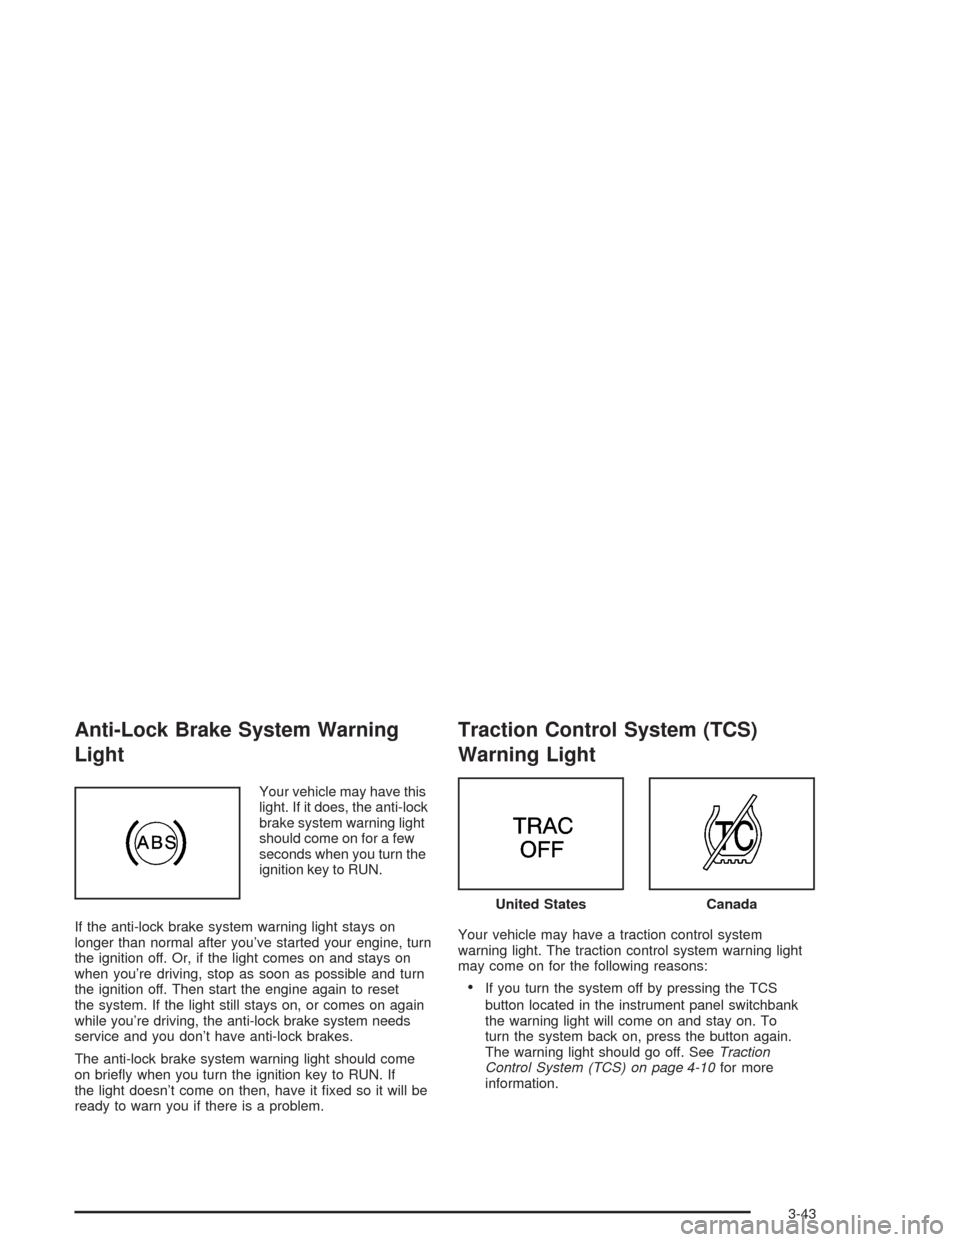
Anti-Lock Brake System Warning
Light
Your vehicle may have this
light. If it does, the anti-lock
brake system warning light
should come on for a few
seconds when you turn the
ignition key to RUN.
If the anti-lock brake system warning light stays on
longer than normal after you’ve started your engine, turn
the ignition off. Or, if the light comes on and stays on
when you’re driving, stop as soon as possible and turn
the ignition off. Then start the engine again to reset
the system. If the light still stays on, or comes on again
while you’re driving, the anti-lock brake system needs
service and you don’t have anti-lock brakes.
The anti-lock brake system warning light should come
on brie�y when you turn the ignition key to RUN. If
the light doesn’t come on then, have it �xed so it will be
ready to warn you if there is a problem.
Traction Control System (TCS)
Warning Light
Your vehicle may have a traction control system
warning light. The traction control system warning light
may come on for the following reasons:
If you turn the system off by pressing the TCS
button located in the instrument panel switchbank
the warning light will come on and stay on. To
turn the system back on, press the button again.
The warning light should go off. SeeTraction
Control System (TCS) on page 4-10for more
information.
United StatesCanada
3-43
Page 239 of 516

All-Wheel Drive Disable Warning
Message
Your vehicle may have this message. If it does, it will
come on when there is a spare tire on the vehicle, or
when the anti-lock brake system warning light comes on,
or when the rear differential �uid is overheating. This
message will go out when the differential �uid cools.
The all-wheel drive system will be disabled until the
compact spare tire is replaced by a full-size tire. If the
warning message is still on after putting on the full-size
tire, you need to reset the warning message. To
reset the warning message, turn the ignition off and
then back on again. If the message stays on, see your
dealer right away. SeeAll-Wheel Drive (AWD)
System on page 4-11for more information.
Low Fuel Warning Message
If your fuel is low, the warning message will come on
and stay on until you add fuel.
If the warning message is still on after adding fuel, you
need to reset the warning message. To reset the
warning message, turn the ignition off and then back on.
If the message stays on, see your dealer. United StatesCanada
United StatesCanada
3-57
Page 242 of 516

Manual Compass Calibration
If the compass appears erratic and the calibration
symbol does not appear, you must manually put the
compass into the calibration mode.
Turn the ignition on and cycle the DIC to the
compass/temperature mode. Press both the E/M and
MODE buttons simultaneously for at least 10 seconds
until the calibration symbol appears. Release both
buttons and complete three 360° turns in an area free
from large metal objects. The calibration symbol will turn
off and the compass reading will be displayed.
Error Displays
An error of the vehicle’s speed sensor or fuel
sender will cause -E- to be displayed.
In the absence of vehicle communications, a dash
“- -” is displayed.
If one of these error messages appear, see your dealer.
Trip Computer
There are �ve trip computer displays available by
pushing the MODE button. The information will appear
in the following order:
AVG ECON (Average Fuel Economy):This shows the
average fuel economy since the last reset.INST ECON (Instant Fuel Economy):This shows fuel
economy for the most recent second of driving.
RANGE (Trip Range):This shows the estimated
distance that can be traveled with the remaining fuel.
The fuel economy used to calculate range is based
on the last few hours of driving.
FUEL USED (Trip Fuel Used):This shows the
accumulated fuel used since the last reset.
AVG SPEED (Average Speed):This shows the
average speed since the last reset.
Resetting the Trip Computer
Press and hold the MODE and E/M buttons for at least
two seconds. The reset is acknowledged with the
display showing all segments brie�y. A reset can only
be done in AVG ECON, FUEL USED and AVG SPEED
displays. AVG ECON, FUEL USED and AVG SPEED
can only be reset independently. Only the mode
that is displayed will be reset.
3-60
Page 244 of 516

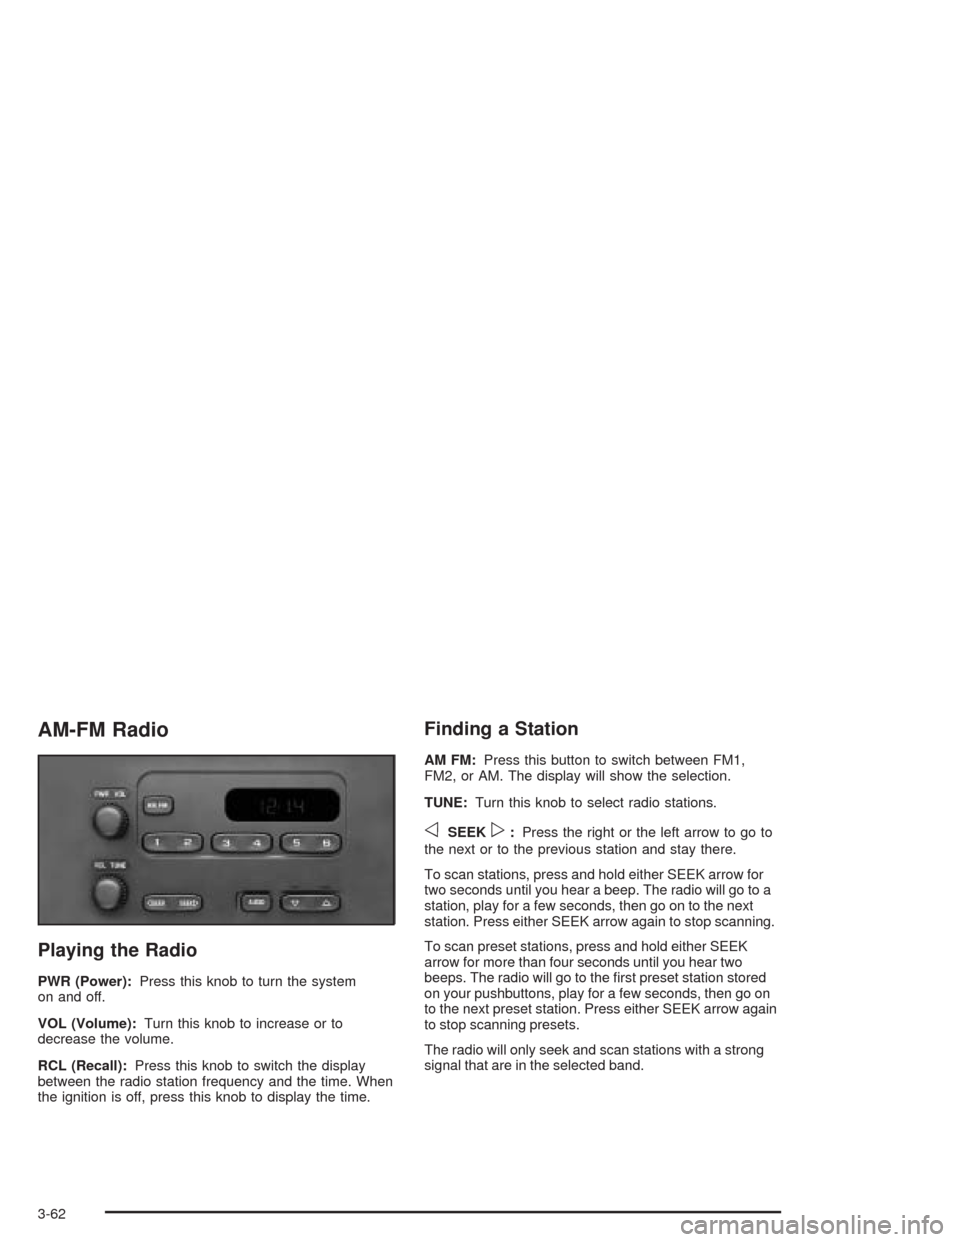
AM-FM Radio
Playing the Radio
PWR (Power):Press this knob to turn the system
on and off.
VOL (Volume):Turn this knob to increase or to
decrease the volume.
RCL (Recall):Press this knob to switch the display
between the radio station frequency and the time. When
the ignition is off, press this knob to display the time.
Finding a Station
AM FM:Press this button to switch between FM1,
FM2, or AM. The display will show the selection.
TUNE:Turn this knob to select radio stations.
oSEEKp:Press the right or the left arrow to go to
the next or to the previous station and stay there.
To scan stations, press and hold either SEEK arrow for
two seconds until you hear a beep. The radio will go to a
station, play for a few seconds, then go on to the next
station. Press either SEEK arrow again to stop scanning.
To scan preset stations, press and hold either SEEK
arrow for more than four seconds until you hear two
beeps. The radio will go to the �rst preset station stored
on your pushbuttons, play for a few seconds, then go on
to the next preset station. Press either SEEK arrow again
to stop scanning presets.
The radio will only seek and scan stations with a strong
signal that are in the selected band.
3-62
Page 245 of 516

Setting Preset Stations
Up to 18 stations (six FM1, six FM2, and six AM) can be
programmed on the six numbered pushbuttons, by
performing the following steps:
1. Turn the radio on.
2. Press AM FM to select FM1, FM2, or AM.
3. Tune in the desired station.
4. Press and hold one of the six numbered
pushbuttons until you hear a beep. Whenever that
numbered pushbutton is pressed, the station
that was set will return.
5. Repeat the steps for each pushbutton.
Setting the Tone (Bass/Treble)
AUDIO:To adjust the bass and the treble, press and
release AUDIO until BAS or TRE appears on the
display. Then press and hold the up or the down arrow
to increase or to decrease. If a station is weak or
noisy, decrease the treble.
To adjust bass or treble to the middle position, select
BAS or TRE. Then press and hold AUDIO for more than
two seconds until you hear a beep. B and a zero or T
and a zero will appear on the display.
To adjust both tone controls and both speaker controls
to the middle position, �rst end out of audio mode
by pressing another button, causing the radio to perform
that function, or by waiting �ve seconds for the display
to return to time of day. Then press and hold AUDIO for
more than two seconds until you hear a beep. CEN
will appear on the display.
3-63