sensor CHEVROLET VOLT 2014 1.G User Guide
[x] Cancel search | Manufacturer: CHEVROLET, Model Year: 2014, Model line: VOLT, Model: CHEVROLET VOLT 2014 1.GPages: 394, PDF Size: 5.86 MB
Page 188 of 394
(8,1)Chevrolet VOLT Owner Manual (GMNA-Localizing-U.S./Canada-6014139) -
2014 - CRC - 9/16/13
8-8 Climate Controls
Sensors
Solar Sensor
The solar sensor is on top of the
instrument panel, near the
windshield, where it monitors solar
intensity.
The climate control system uses the
sensor information to adjust the
temperature, fan speed,
recirculation, and air delivery mode
for best comfort.
Do not cover the sensor; otherwise
the automatic climate control system
may not work properly.Humidity Sensor
The humidity sensor is near the
base of the inside rearview mirror.
The climate control system uses the
sensor information to adjust the
temperature and recirculation for
best comfort.
Outside Air Temperature Sensor
The outside air temperature sensor
is located behind the front grille of
the vehicle. The vehicle uses the
sensor information to display
outside air temperature. The climate
control system uses the information
to adjust the climate system
operation.
Air Vents
Use the louvers on the air vents to
change the direction of the airflow.
Use the thumbwheels near each
vent to open and close off the
airflow.
Operation Tips
.Keep all outlets open whenever
possible for best system
performance.
.Keep the path under all seats
clear of objects to help circulate
the air inside the vehicle more
effectively.
.Use of non-GM approved hood
deflectors can adversely affect
the performance of the system.
.Do not attach any devices to the
air vent slats, this restricts
airflow and may cause damage
to the air vents.
Page 226 of 394
(38,1)Chevrolet VOLT Owner Manual (GMNA-Localizing-U.S./Canada-6014139) -
2014 - CRC - 9/16/13
9-38 Driving and Operating
Driver Assistance
Systems
Forward Collision Alert
(FCA) System
The FCA system may help to avoid
or reduce the harm caused by
front-end crashes. FCA provides a
visual alert and beeps when
approaching a vehicle directly
ahead too quickly. FCA also
provides a visual alert if following
another vehicle much too closely.
The forward-looking FCA camera
sensor is on the windshield ahead
of the rearview mirror. FCA detects
vehicles within a distance of
approximately 60 m (197 ft) and
operates at speeds above 40 km/h
(25 mph).
{Warning
FCA is a warning system and
does not apply the brakes. When
approaching a slower-moving or
stopped vehicle ahead too rapidly,
or when following a vehicle too
closely, FCA may not provide a
warning with enough time to help
avoid a crash. FCA does not warn
of pedestrians, animals, signs,
guardrails, bridges, construction
barrels, or other objects. Be ready
to take action and apply the
brakes. For more information, see
Defensive Driving on page 9-5.
Detecting the Vehicle Ahead
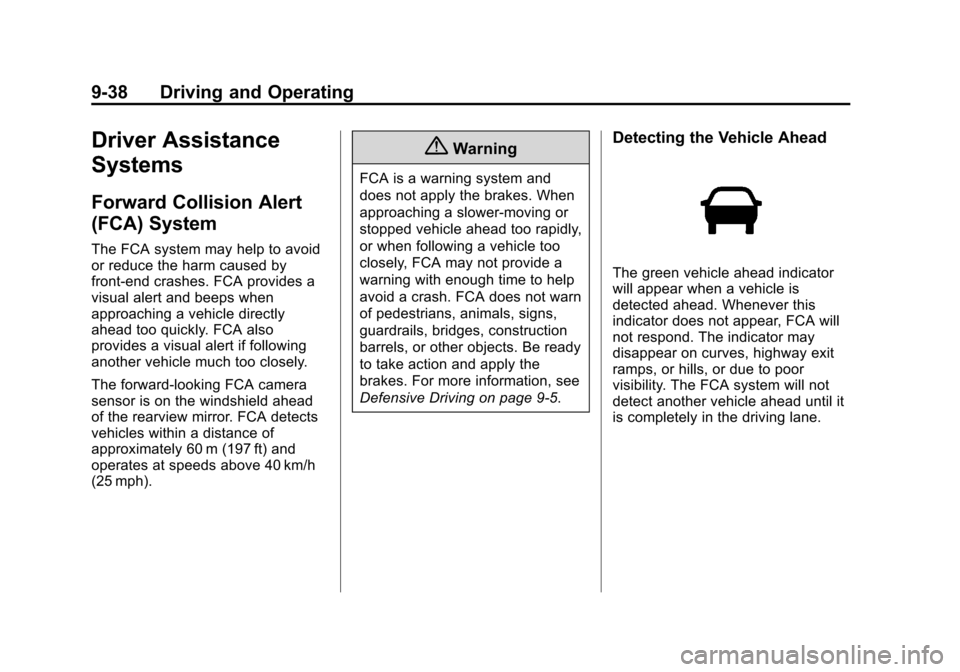
The green vehicle ahead indicator
will appear when a vehicle is
detected ahead. Whenever this
indicator does not appear, FCA will
not respond. The indicator may
disappear on curves, highway exit
ramps, or hills, or due to poor
visibility. The FCA system will not
detect another vehicle ahead until it
is completely in the driving lane.
Page 227 of 394
(39,1)Chevrolet VOLT Owner Manual (GMNA-Localizing-U.S./Canada-6014139) -
2014 - CRC - 9/16/13
Driving and Operating 9-39
{Warning
FCA does not provide a warning
to help avoid a crash, unless it
detects a vehicle. FCA may not
detect a vehicle ahead if the FCA
sensor is blocked by dirt, snow,
or ice, or if the windshield is
damaged. It may also not detect a
vehicle on winding or hilly roads,
or in conditions that can limit
visibility such as fog, rain,
or snow, or if the headlamps or
windshield are not cleaned or in
proper condition. Keep the
windshield, headlamps, and FCA
sensors clean and in good repair.
Tailgating Alert
The vehicle ahead indicator will
change to amber if following the
vehicle ahead much too closely. Collision Alert
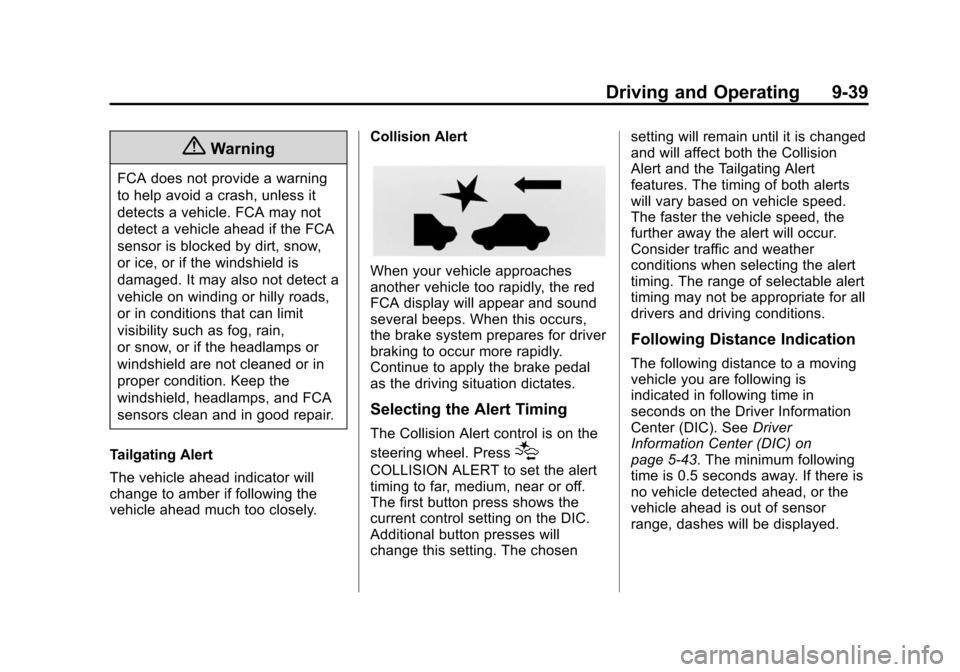
When your vehicle approaches
another vehicle too rapidly, the red
FCA display will appear and sound
several beeps. When this occurs,
the brake system prepares for driver
braking to occur more rapidly.
Continue to apply the brake pedal
as the driving situation dictates.
Selecting the Alert Timing
The Collision Alert control is on the
steering wheel. Press
[
COLLISION ALERT to set the alert
timing to far, medium, near or off.
The first button press shows the
current control setting on the DIC.
Additional button presses will
change this setting. The chosensetting will remain until it is changed
and will affect both the Collision
Alert and the Tailgating Alert
features. The timing of both alerts
will vary based on vehicle speed.
The faster the vehicle speed, the
further away the alert will occur.
Consider traffic and weather
conditions when selecting the alert
timing. The range of selectable alert
timing may not be appropriate for all
drivers and driving conditions.
Following Distance Indication
The following distance to a moving
vehicle you are following is
indicated in following time in
seconds on the Driver Information
Center (DIC). See
Driver
Information Center (DIC) on
page 5-43. The minimum following
time is 0.5 seconds away. If there is
no vehicle detected ahead, or the
vehicle ahead is out of sensor
range, dashes will be displayed.
Page 228 of 394
(40,1)Chevrolet VOLT Owner Manual (GMNA-Localizing-U.S./Canada-6014139) -
2014 - CRC - 9/16/13
9-40 Driving and Operating
Unnecessary Alerts
FCA may sometimes set
unnecessary alerts to turning
vehicles, vehicles in other lanes,
objects that are not vehicles,
or shadows. These alerts are
normal operation and the vehicle
does not need service.
Other Messages
There are messages that may
appear on the Driver Information
Center (DIC) in the instrument
cluster to provide information about
FCA. SeeObject Detection System
Messages on page 5-50.
Cleaning the System
If the FCA system does not seem to
operate properly, clean the outside
of the windshield area in front of the
camera sensor before considering
taking the vehicle in for service.
Ultrasonic Parking Assist
If available, the Ultrasonic Front and
Rear Parking Assist (UFRPA) or
Ultrasonic Rear Parking Assist
(URPA) system assists the driver
with parking and avoiding objects.
At speeds less than 8 km/h (5 mph),
the system detects objects up to
2.5 m (8 ft) behind the vehicle, and
at least 25 cm (10 in) off the ground.
If the vehicle has the UFRPA
system, it detects objects up to
1.2 m (4 ft) in front of the vehicle,
and at least 25 cm (10 in) off the
ground. This distance may be less
during warmer or humid weather.
{Warning
The parking assist system does
not detect children, pedestrians,
bicyclists, animals, or objects
located below the bumper or that
are too close or too far from the
vehicle. It is not available at
speeds greater than 8 km/h
(Continued)
Warning (Continued)
(5 mph). To prevent injury, death,
or vehicle damage, even with
parking assist, always check the
area around the vehicle and
check all mirrors before moving
forward or backing.
How the System Works
When the vehicle is shifted into
R (Reverse) the park assist sensors
are automatically turned on. After
the vehicle is shifted out of
R (Reverse), the Rear Parking
Assist is turned off and the Front
Parking Assist (if equipped) stays
on until the vehicle is above a
speed of 8 km/h (5 mph). For Front
Parking Assist to be active again
without shifting into R (Reverse), the
park assist button in the overhead
console must be pressed. See
“Turning the System On and Off”
later in this section.
Page 229 of 394
(41,1)Chevrolet VOLT Owner Manual (GMNA-Localizing-U.S./Canada-6014139) -
2014 - CRC - 9/16/13
Driving and Operating 9-41
When the vehicle is in N (Neutral),
the system may be active. The
Parking Assist system may need to
be turned off during a car wash to
avoid repeating alerts. See“Turning
the System On and Off” later in this
section to turn the system off.
For vehicles with UFRPA,
high-toned beeps from the front
speakers are for objects detected
near the front bumper. Low-toned
beeps from the rear speakers are
for objects detected near the rear
bumper. The interval between the
beeps becomes shorter as the
vehicle gets closer to the obstacle.
When the distance is less than
30 cm (12 in) the beeping is a
continuous tone for five seconds.
Objects Detected by Both the
Front and Rear Sensors (If
Equipped)
In general, if objects are detected at
the same time near both the front
and rear bumpers while backing up, the beeps only sound to indicate
that objects are close to the rear
bumper.
However, if an object comes within
0.3 m (1 ft) of the front bumper while
the vehicle is backing up and at the
same time there is another object
further than 0.3 m (1 ft) from the rear
bumper, then the beeps only sound
to indicate the object that is closer
to the front bumper.
Turning the System On and Off
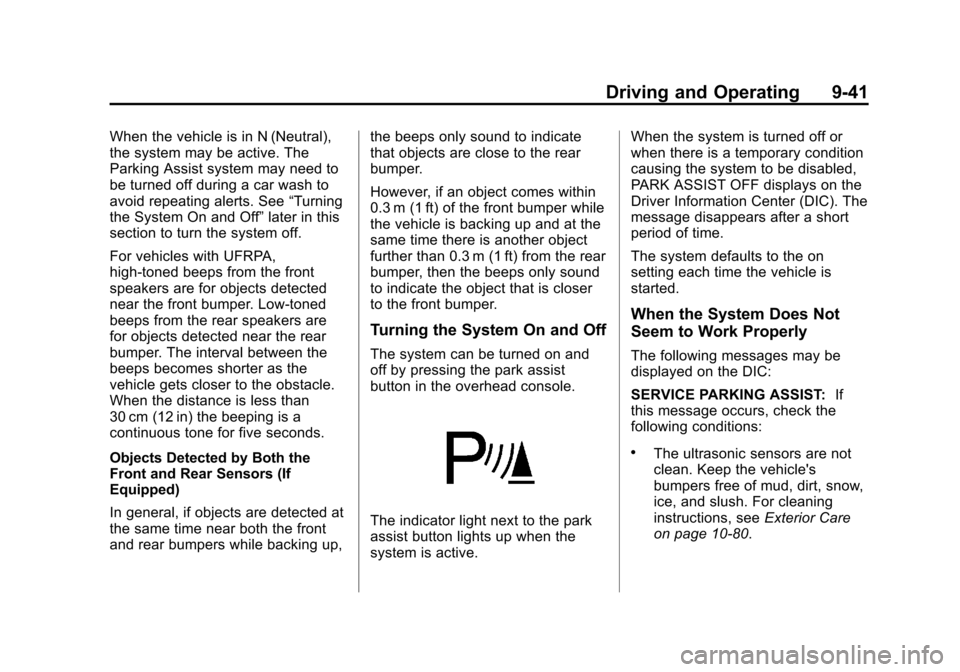
The system can be turned on and
off by pressing the park assist
button in the overhead console.
The indicator light next to the park
assist button lights up when the
system is active.When the system is turned off or
when there is a temporary condition
causing the system to be disabled,
PARK ASSIST OFF displays on the
Driver Information Center (DIC). The
message disappears after a short
period of time.
The system defaults to the on
setting each time the vehicle is
started.
When the System Does Not
Seem to Work Properly
The following messages may be
displayed on the DIC:
SERVICE PARKING ASSIST:
If
this message occurs, check the
following conditions:
.The ultrasonic sensors are not
clean. Keep the vehicle's
bumpers free of mud, dirt, snow,
ice, and slush. For cleaning
instructions, see Exterior Care
on page 10-80.
Page 230 of 394
(42,1)Chevrolet VOLT Owner Manual (GMNA-Localizing-U.S./Canada-6014139) -
2014 - CRC - 9/16/13
9-42 Driving and Operating
.The park assist sensors are
covered by frost or ice. Frost or
ice can form around and behind
the sensors and may not always
be seen; this can occur after
washing the vehicle in cold
weather. The message may not
clear until the frost or ice has
melted.
If the above conditions do not exist,
take the vehicle to your dealer to
repair the system.
PARK ASSIST OFF: If the system
does not activate due to a
temporary condition, the message
displays on the DIC. This can occur
under the following conditions:
.The driver has disabled the
system.
.An object was hanging out of the
hatch during the last drive cycle.
Once the object is removed, the
system will return to normal
operation.
.An object or cover is attached to
the front of the vehicle.
.The bumper is damaged. Take
the vehicle to your dealer to
repair the system.
.Other conditions, such as
vibrations from a jackhammer or
the compression of air brakes on
a very large truck, are affecting
system performance.
Rear Vision
Camera (RVC)
The vehicle may have a Rear Vision
Camera (RVC) system. Read this
entire section before using it.
The RVC system can assist the
driver when backing up by
displaying a view of the area behind
the vehicle.
{Warning
The RVC system does not display
children, pedestrians, bicyclists,
animals, or any other object
located outside the camera's field
(Continued)
Warning (Continued)
of view, below the bumper,
or under the vehicle. Perceived
distances may be different from
actual distances. Do not back the
vehicle using only the RVC
screen, during longer, higher
speed backing maneuvers,
or where there could be cross
traffic. Failure to use proper care
before backing may result in
injury, death, or vehicle damage.
Always check behind and around
the vehicle before backing.
How the System Works
When the vehicle is shifted into
R (Reverse), the image of the area
behind the vehicle appears in the
center stack display. The previous
screen displays when the vehicle is
shifted out of R (Reverse) after
approximately 10 seconds.
Page 233 of 394
(45,1)Chevrolet VOLT Owner Manual (GMNA-Localizing-U.S./Canada-6014139) -
2014 - CRC - 9/16/13
Driving and Operating 9-45
.Ice, snow, mud, or anything else
has built up on the camera lens.
Clean the lens, rinse it with
water, and wipe it with a soft
cloth.
.The back of the vehicle was in
an accident. The position and
mounting angle of the camera
can change or the camera can
be affected. Be sure to have the
camera and its position and
mounting angle checked at your
dealer.
Lane Departure
Warning (LDW)
If equipped, LDW may help avoid
crashes due to unintentional lane
departures. It may provide a
warning if the vehicle is crossing
a detected lane marker without
using a turn signal. LDW uses a
camera sensor to detect the lane
markings. It only operates at speeds
of 56 km/h (35 mph) or greater.When the vehicle crosses a
detected lane marking, the LDW
indicator will flash and three beeps
will be sounded from the left or right
side, depending on the lane
departure direction. LDW will not
warn if the turn signal is on in the
departure direction, or if a sharp
maneuver is made.
{Warning
The LDW system is an aid to help
the vehicle stay in the driving
lane. It does not steer the vehicle.
The LDW system may not:
.Provide enough time to avoid
a crash.
.Detect lane markings under
bad weather conditions or if
the windshield is dirty.
.Detect lane markings and will
not detect road edges.
(Continued)
Warning (Continued)
.Warn that the vehicle is
crossing a lane marking if the
system does not detect the
lane marking.
If LDW only detects lane
markings on one side of the road,
it will only warn you when
departing the lane on the side
where it has detected a lane
marker. Even with LDW, always
keep your attention on the road
and maintain proper vehicle
position within the lane, or vehicle
damage, injury, or death could
occur. Always keep the
windshield clean and do not use
LDW in bad weather conditions.
Page 234 of 394
(46,1)Chevrolet VOLT Owner Manual (GMNA-Localizing-U.S./Canada-6014139) -
2014 - CRC - 9/16/13
9-46 Driving and Operating
How the System Works
The LDW camera sensor is on the
windshield ahead of the rearview
mirror.
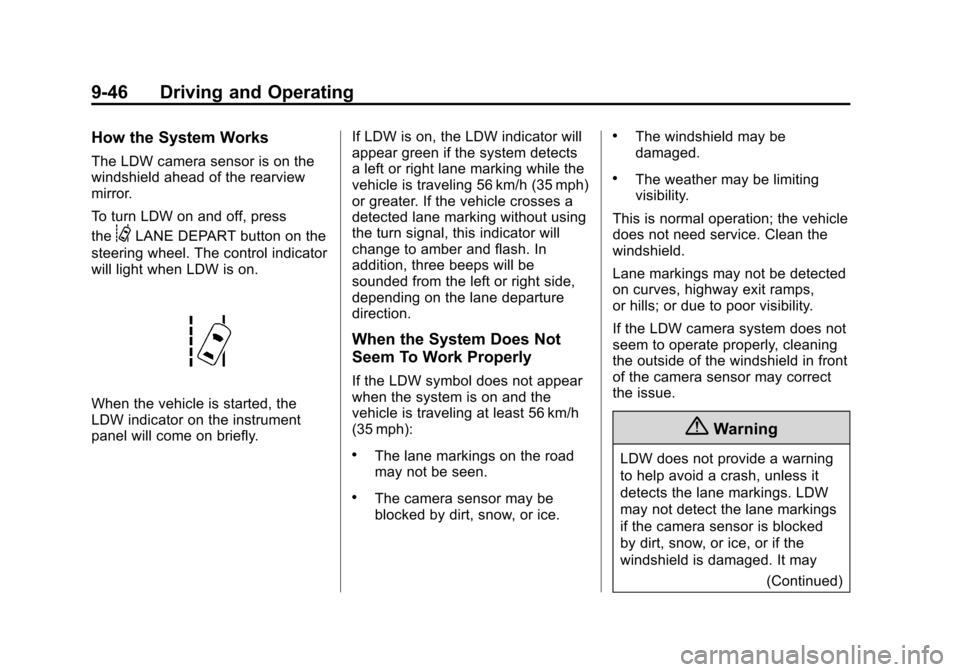
To turn LDW on and off, press
the
@LANE DEPART button on the
steering wheel. The control indicator
will light when LDW is on.
When the vehicle is started, the
LDW indicator on the instrument
panel will come on briefly. If LDW is on, the LDW indicator will
appear green if the system detects
a left or right lane marking while the
vehicle is traveling 56 km/h (35 mph)
or greater. If the vehicle crosses a
detected lane marking without using
the turn signal, this indicator will
change to amber and flash. In
addition, three beeps will be
sounded from the left or right side,
depending on the lane departure
direction.
When the System Does Not
Seem To Work Properly
If the LDW symbol does not appear
when the system is on and the
vehicle is traveling at least 56 km/h
(35 mph):
.The lane markings on the road
may not be seen.
.The camera sensor may be
blocked by dirt, snow, or ice.
.The windshield may be
damaged.
.The weather may be limiting
visibility.
This is normal operation; the vehicle
does not need service. Clean the
windshield.
Lane markings may not be detected
on curves, highway exit ramps,
or hills; or due to poor visibility.
If the LDW camera system does not
seem to operate properly, cleaning
the outside of the windshield in front
of the camera sensor may correct
the issue.
{Warning
LDW does not provide a warning
to help avoid a crash, unless it
detects the lane markings. LDW
may not detect the lane markings
if the camera sensor is blocked
by dirt, snow, or ice, or if the
windshield is damaged. It may (Continued)
Page 235 of 394
(47,1)Chevrolet VOLT Owner Manual (GMNA-Localizing-U.S./Canada-6014139) -
2014 - CRC - 9/16/13
Driving and Operating 9-47
Warning (Continued)
also not detect a lane on winding
or hilly roads, or in conditions that
can limit visibility such as fog,
rain, or snow, or if the headlamps
or windshield are not cleaned or
in proper condition. Keep the
windshield, headlamps, and
camera sensors clean and in
good repair.
LDW warnings may occur due to tar
marks, shadows, cracks in the road,
or other road imperfections. This is
normal system operation; the
vehicle does not need service.
Charging
Plug-In Charging
This section explains the process
for charging the vehicle's high
voltage battery. Do not allow the
vehicle to remain in temperature
extremes for long periods without
being driven or plugged in. It is
recommended that the vehicle be
plugged in when temperatures are
below 0°C (32°F) and above 32°C
(90°F) to maximize high voltage
battery life.
When using a 120-volt AC electrical
outlet, it will take approximately
10 hours to charge the vehicle with
the 12 amp AC current setting or
16 hours using the default 8 amp
AC current setting. When using a
240-volt charging station, it will take
approximately four hours to charge
the vehicle. Charge times will vary
with outside temperature. There are three ways to program how the
vehicle is charged. See
Programmable Charging on
page 5-31.
The charging system may run fans
and pumps that result in sounds
from the vehicle while it is turned
off. Additional unexpected clicking
sounds may be caused by the
electrical devices used while
charging.
While the charge cord is plugged
into the vehicle, the vehicle cannot
be driven.
Charging
Start Charge
1. Make sure the vehicle is parked
and turned off.
2. Push the rearward edge of the charge port door in and release
to open the door.
Page 296 of 394
(48,1)Chevrolet VOLT Owner Manual (GMNA-Localizing-U.S./Canada-6014139) -
2014 - CRC - 9/16/13
10-48 Vehicle Care
For additional information
regarding how much weight the
vehicle can carry, and an
example of the Tire and Loading
Information label, seeVehicle
Load Limits on page 9-12. How
the vehicle is loaded affects
vehicle handling and ride
comfort. Never load the vehicle
with more weight than it was
designed to carry.
When to Check
Check the tires once a month
or more.
How to Check
Use a good quality pocket-type
gauge to check the tire
pressure. Proper tire inflation
cannot be determined by looking
at the tire. Check the tire
inflation pressure when the tires
are cold, meaning the vehicle has not been driven for at least
three hours or no more than
1.6 km (1 mi).
Remove the valve cap from the
tire valve stem. Press the tire
gauge firmly onto the valve to
get the pressure measurement.
If the cold tire inflation pressure
matches the recommended
pressure on the Tire and
Loading Information label, no
further adjustment is necessary.
If the inflation pressure is low,
add air until the recommended
pressure is reached. If the
inflation pressure in high, press
on the metal stem in the center
of the tire valve to release air.
Re-check the tire pressure with
the tire gauge.
Return the valve caps on the
valve stems to keep out dirt and
moisture and prevent leaks.Tire Pressure Monitor
System
The Tire Pressure Monitor System
(TPMS) uses radio and sensor
technology to check tire pressure
levels. The TPMS sensors monitor
the air pressure in your tires and
transmit tire pressure readings to a
receiver located in the vehicle.
Each tire, including the spare (if
provided), should be checked
monthly when cold and inflated to
the inflation pressure recommended
by the vehicle manufacturer on the
vehicle placard or tire inflation
pressure label. (If your vehicle has
tires of a different size than the size
indicated on the vehicle placard or
tire inflation pressure label, you
should determine the proper tire
inflation pressure for those tires.)
As an added safety feature, your
vehicle has been equipped with a
tire pressure monitoring system
(TPMS) that illuminates a low tire