CHRYSLER 200 2011 1.G Owners Manual
Manufacturer: CHRYSLER, Model Year: 2011, Model line: 200, Model: CHRYSLER 200 2011 1.GPages: 490, PDF Size: 5.55 MB
Page 271 of 490
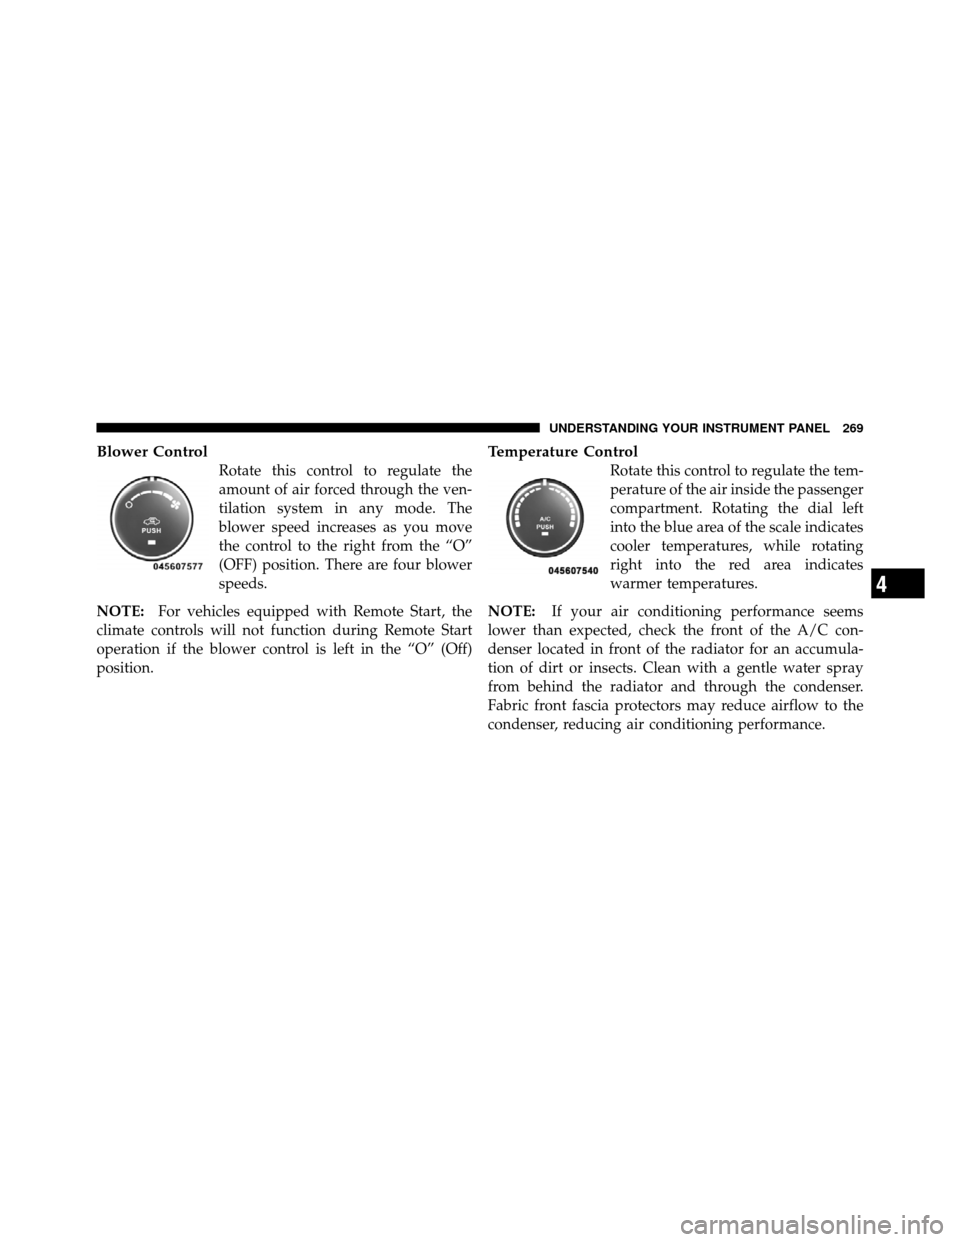
Blower Control
Rotate this control to regulate the
amount of air forced through the ven-
tilation system in any mode. The
blower speed increases as you move
the control to the right from the “O”
(OFF) position. There are four blower
speeds.
NOTE: For vehicles equipped with Remote Start, the
climate controls will not function during Remote Start
operation if the blower control is left in the “O” (Off)
position.
Temperature Control
Rotate this control to regulate the tem-
perature of the air inside the passenger
compartment. Rotating the dial left
into the blue area of the scale indicates
cooler temperatures, while rotating
right into the red area indicates
warmer temperatures.
NOTE: If your air conditioning performance seems
lower than expected, check the front of the A/C con-
denser located in front of the radiator for an accumula-
tion of dirt or insects. Clean with a gentle water spray
from behind the radiator and through the condenser.
Fabric front fascia protectors may reduce airflow to the
condenser, reducing air conditioning performance.
4
UNDERSTANDING YOUR INSTRUMENT PANEL 269
Page 272 of 490
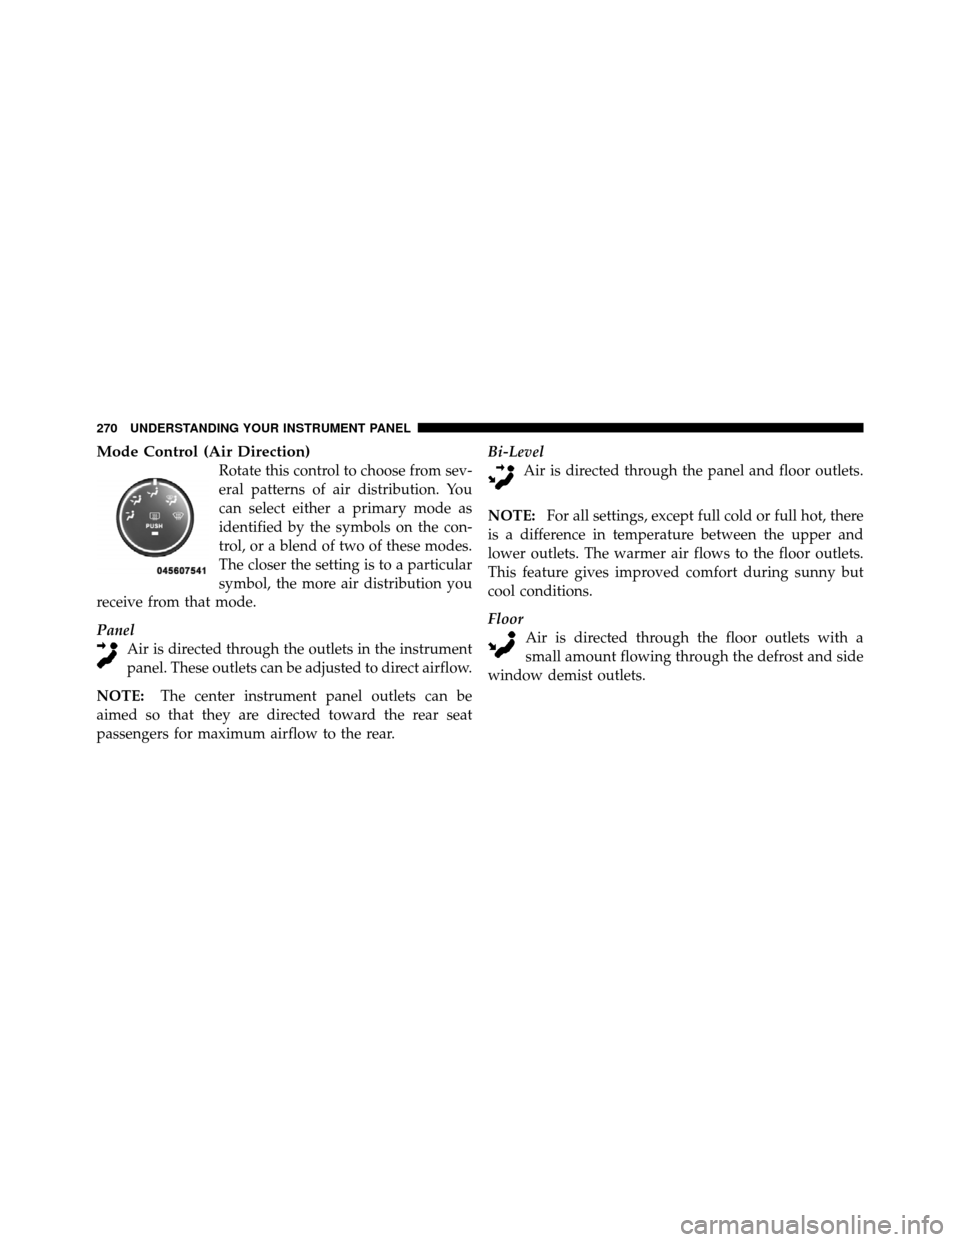
Mode Control (Air Direction)
Rotate this control to choose from sev-
eral patterns of air distribution. You
can select either a primary mode as
identified by the symbols on the con-
trol, or a blend of two of these modes.
The closer the setting is to a particular
symbol, the more air distribution you
receive from that mode.
Panel Air is directed through the outlets in the instrument
panel. These outlets can be adjusted to direct airflow.
NOTE: The center instrument panel outlets can be
aimed so that they are directed toward the rear seat
passengers for maximum airflow to the rear. Bi-Level
Air is directed through the panel and floor outlets.
NOTE: For all settings, except full cold or full hot, there
is a difference in temperature between the upper and
lower outlets. The warmer air flows to the floor outlets.
This feature gives improved comfort during sunny but
cool conditions.
Floor Air is directed through the floor outlets with a
small amount flowing through the defrost and side
window demist outlets.
270 UNDERSTANDING YOUR INSTRUMENT PANEL
Page 273 of 490
MixAir is directed through the floor, defrost, and side
window demist outlets. This setting works best in
cold or snowy conditions that require extra heat to
the windshield. This setting is good for maintaining
comfort while reducing moisture on the windshield.
Defrost Air is directed through the windshield and side
window demist outlets. Use this mode with maxi-
mum blower and temperature settings for best wind-
shield and side window defrosting.
NOTE: The air conditioning compressor operates in
Mix, Defrost, or a blend of these modes, even if the Air
Conditioning (A/C) button is not pressed. This dehu-
midifies the air to help dry the windshield. To improve
fuel economy, use these modes only when necessary. Recirculation Control
Pressing the Recirculation Control button will
temporarily put the system in recirculation
mode. This can be used when outside condi-
tions such as smoke, odors, dust, or high
humidity are present. Activating recirculation will cause
the LED in the control button to illuminate. After ten
minutes, the system will return to normal mode function
and the LED will turn off.
NOTE:
•Continuous use of the Recirculation mode may make
the inside air stuffy and window fogging may occur.
Extended use of this mode is not recommended.
•The use of the Recirculation mode in cold or damp
weather will cause windows to fog on the inside,
because of moisture buildup inside the vehicle. Select
the outside air position for maximum defogging.
4
UNDERSTANDING YOUR INSTRUMENT PANEL 271
Page 274 of 490
•The A/C will engage automatically to prevent fogging
when the recirculation button is pressed and the mode
control is set to panel or Bi-Level.
•Recirculated air is not allowed in Floor, Mix or Defrost
modes. If the Recirculation button is depressed while
in any of these modes, the LED indicator will flash
several times then go out. Recirculation will be dis-
abled automatically is these modes are selected.
•The A/C can be deselected manually without disturb-
ing the mode control selection.
•When the ignition switch is turned to the LOCK
position, the recirculation feature will be cancelled.
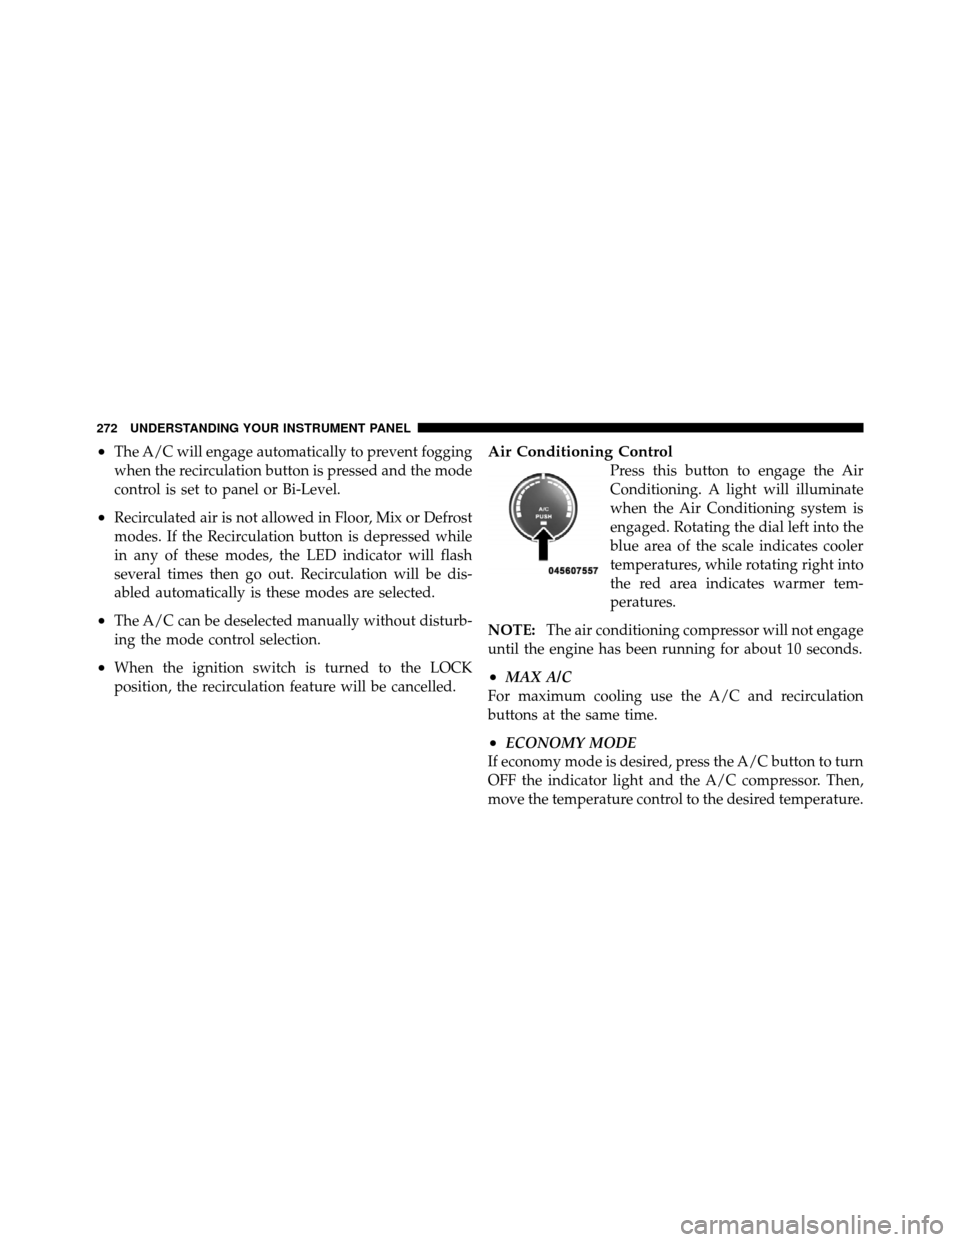
Air Conditioning Control
Press this button to engage the Air
Conditioning. A light will illuminate
when the Air Conditioning system is
engaged. Rotating the dial left into the
blue area of the scale indicates cooler
temperatures, while rotating right into
the red area indicates warmer tem-
peratures.
NOTE: The air conditioning compressor will not engage
until the engine has been running for about 10 seconds.
•MAX A/C
For maximum cooling use the A/C and recirculation
buttons at the same time.
•ECONOMY MODE
If economy mode is desired, press the A/C button to turn
OFF the indicator light and the A/C compressor. Then,
move the temperature control to the desired temperature.
272 UNDERSTANDING YOUR INSTRUMENT PANEL
Page 275 of 490
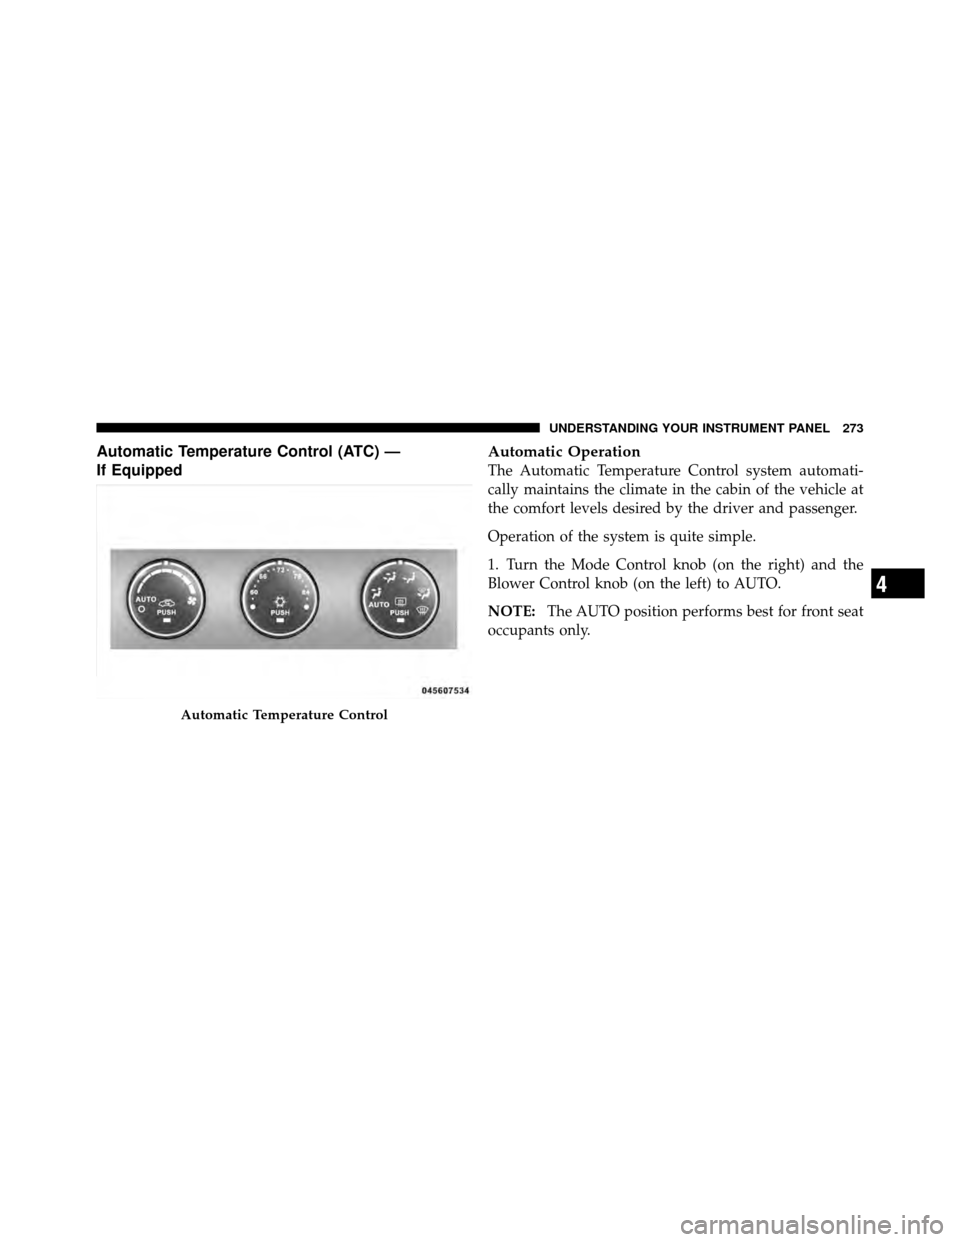
Automatic Temperature Control (ATC) —
If EquippedAutomatic Operation
The Automatic Temperature Control system automati-
cally maintains the climate in the cabin of the vehicle at
the comfort levels desired by the driver and passenger.
Operation of the system is quite simple.
1. Turn the Mode Control knob (on the right) and the
Blower Control knob (on the left) to AUTO.
NOTE:
The AUTO position performs best for front seat
occupants only.
Automatic Temperature Control
4
UNDERSTANDING YOUR INSTRUMENT PANEL 273
Page 276 of 490
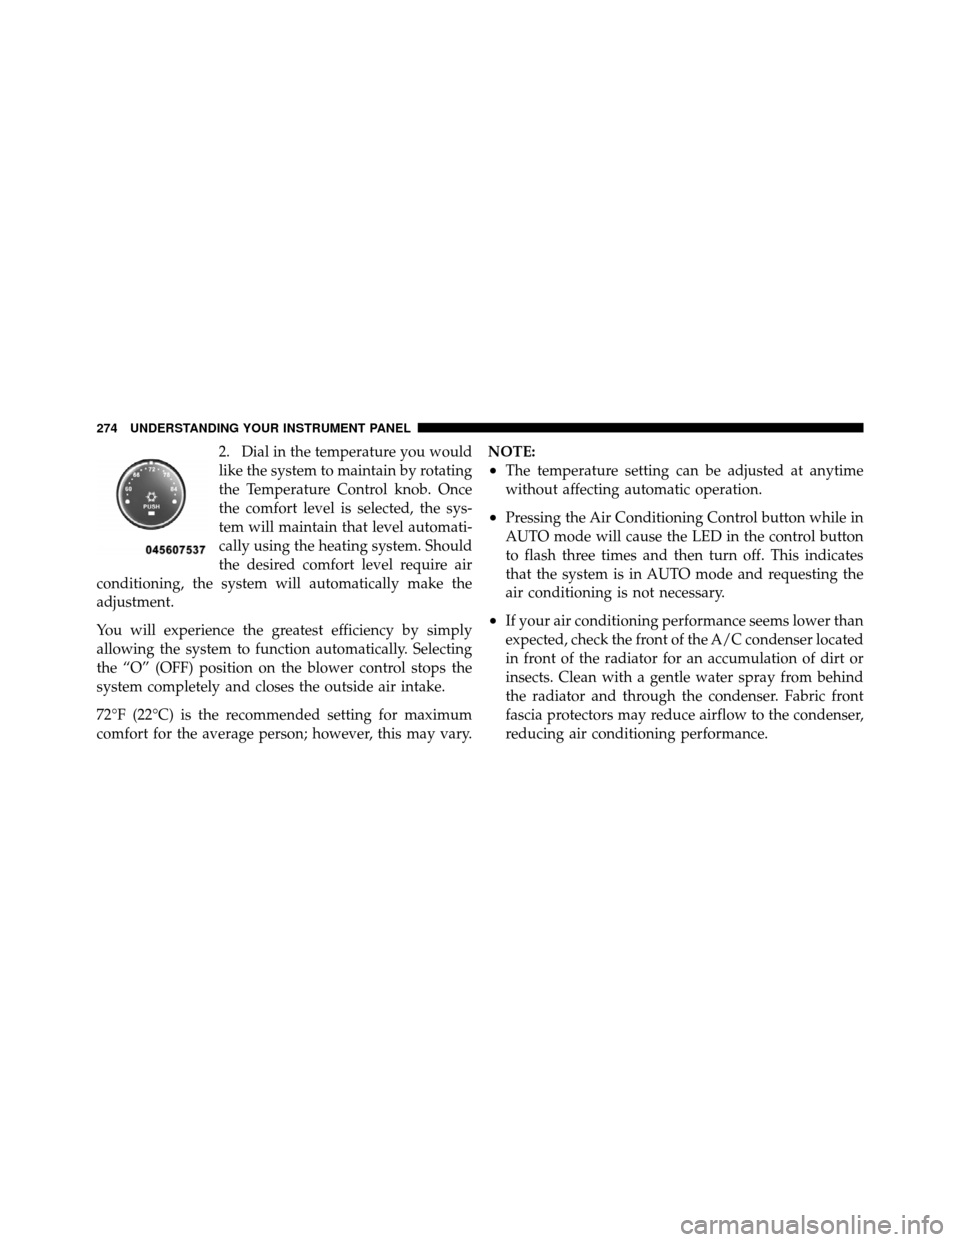
2. Dial in the temperature you would
like the system to maintain by rotating
the Temperature Control knob. Once
the comfort level is selected, the sys-
tem will maintain that level automati-
cally using the heating system. Should
the desired comfort level require air
conditioning, the system will automatically make the
adjustment.
You will experience the greatest efficiency by simply
allowing the system to function automatically. Selecting
the “O” (OFF) position on the blower control stops the
system completely and closes the outside air intake.
72°F (22°C) is the recommended setting for maximum
comfort for the average person; however, this may vary. NOTE:
•The temperature setting can be adjusted at anytime
without affecting automatic operation.
•Pressing the Air Conditioning Control button while in
AUTO mode will cause the LED in the control button
to flash three times and then turn off. This indicates
that the system is in AUTO mode and requesting the
air conditioning is not necessary.
•If your air conditioning performance seems lower than
expected, check the front of the A/C condenser located
in front of the radiator for an accumulation of dirt or
insects. Clean with a gentle water spray from behind
the radiator and through the condenser. Fabric front
fascia protectors may reduce airflow to the condenser,
reducing air conditioning performance.
274 UNDERSTANDING YOUR INSTRUMENT PANEL
Page 277 of 490
•While operating in AUTO, the system will not auto-
matically sense the presence of fog, mist or ice on the
windshield. The defrost mode must be manually se-
lected to clear the windshield and side glass.
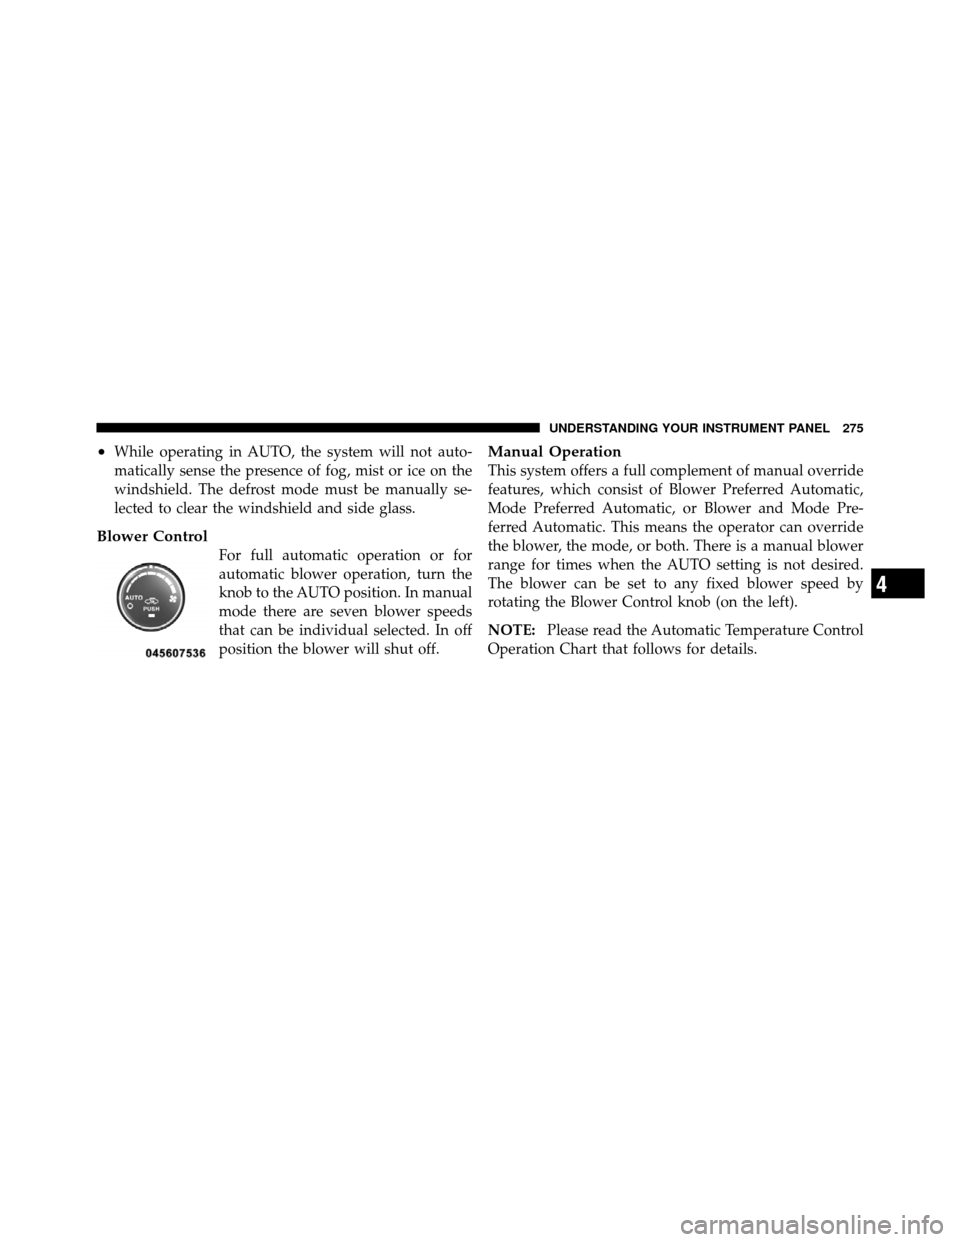
Blower Control
For full automatic operation or for
automatic blower operation, turn the
knob to the AUTO position. In manual
mode there are seven blower speeds
that can be individual selected. In off
position the blower will shut off.
Manual Operation
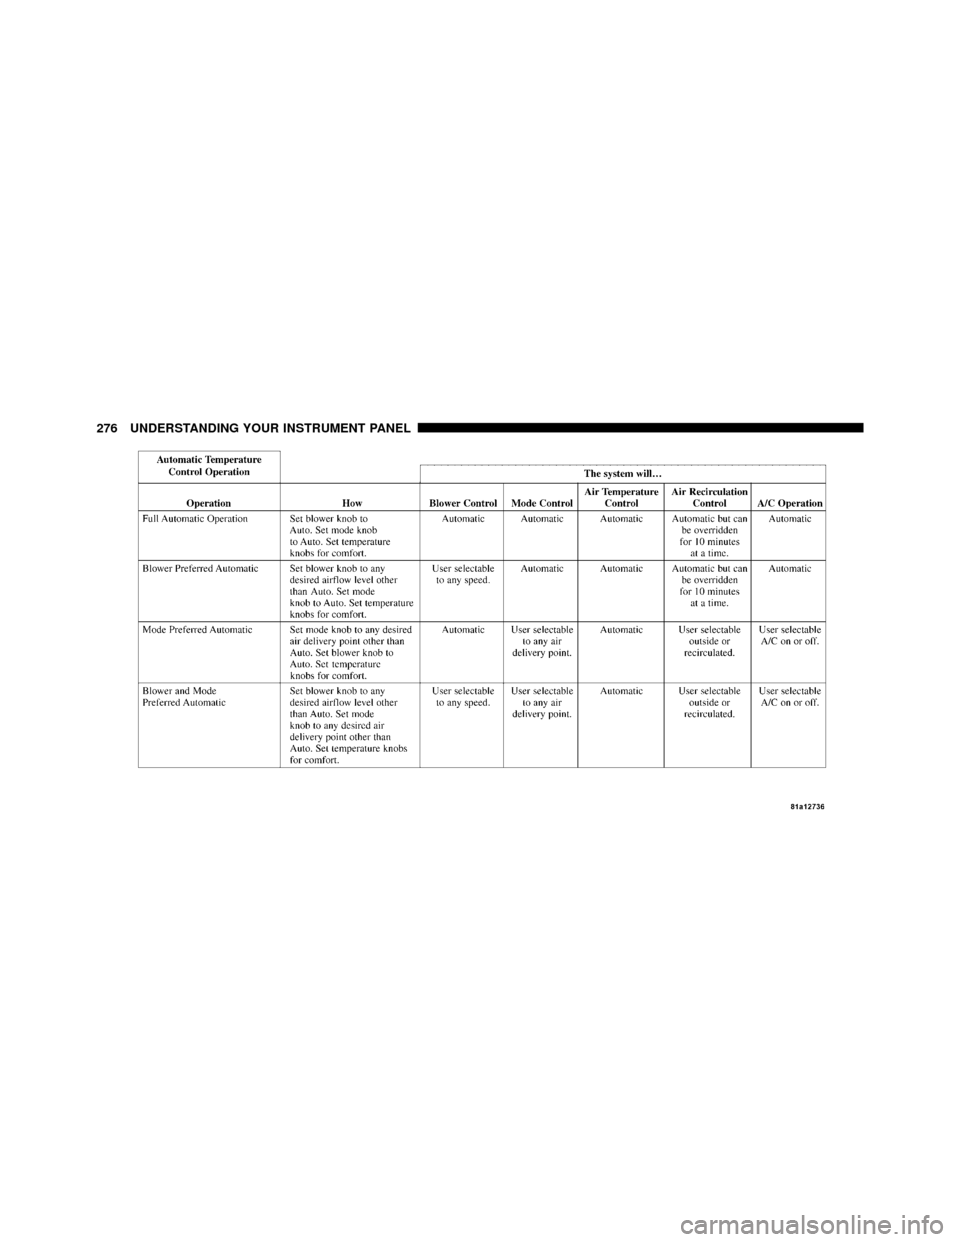
This system offers a full complement of manual override
features, which consist of Blower Preferred Automatic,
Mode Preferred Automatic, or Blower and Mode Pre-
ferred Automatic. This means the operator can override
the blower, the mode, or both. There is a manual blower
range for times when the AUTO setting is not desired.
The blower can be set to any fixed blower speed by
rotating the Blower Control knob (on the left).
NOTE:Please read the Automatic Temperature Control
Operation Chart that follows for details.
4
UNDERSTANDING YOUR INSTRUMENT PANEL 275
Page 278 of 490
276 UNDERSTANDING YOUR INSTRUMENT PANEL
Page 279 of 490
The operator can override the AUTO mode setting to
change airflow distribution by rotating the Mode Control
knob (on the right) to one of the following positions.
•PanelAir is directed through the outlets in the instrument
panel. These outlets can be adjusted to direct airflow.
NOTE: The center instrument panel outlets can be
aimed so that they are directed toward the rear seat
passengers for maximum airflow to the rear.
•Bi-Level Air is directed through the panel and floor outlets.
NOTE: For all settings, except full cold or full hot, there
is a difference in temperature between the upper and
lower outlets. The warmer air flows to the floor outlets.
This feature gives improved comfort during sunny but
cool conditions.
•Floor Air is directed through the floor outlets with a
small amount flowing through the defrost and side
window demist outlets.
•Mix Air is directed through the floor, defrost, and side
window demist outlets. This setting works best in
cold or snowy conditions that require extra heat to
the windshield. This setting is good for maintaining
comfort while reducing moisture on the windshield.
•Defrost Air is directed through the windshield and side
window demist outlets. Use this mode with maxi-
mum blower and temperature settings for best wind-
shield and side window defrosting.
4
UNDERSTANDING YOUR INSTRUMENT PANEL 277
Page 280 of 490
•Air Conditioner ControlPress this button to turn on the air
conditioning during manual operation
only. When the air conditioning is
turned on, cool dehumidified air will
flow through the outlets selected with
the Mode control dial. Press this but-
ton a second time to turn OFF the air
conditioning. An LED in the button illuminates when
manual compressor operation is selected.
•Recirculation Control
The system will automatically control recircu-
lation. However, pressing the Recirculation
Control button will temporarily put the system
in recirculation mode. This can be used when
outside conditions such as smoke, odors, dust, or high
humidity are present. Activating recirculation will cause
the LED in the control button to illuminate. After ten
minutes, the system will return to normal AUTO mode
function and the LED will turn off. NOTE:
•When the ignition switch is turned to the LOCK
position, the recirculation feature will be cancelled.
•In cold weather, use of the Recirculation mode may lead
to excessive window fogging. The Recirculation mode
is not allowed in the floor, defrost, or Mix mode in order
to improve window clearing. Recirculation will be
disabled automatically if these modes are selected.
•Extended use of recirculation may cause the windows
to fog. If the interior of the windows begins to fog,
press the Recirculation button to return to outside air.
Some temp/humidity conditions will cause captured
interior air to condense on windows and hamper
visibility. For this reason, the system will not allow
Recirculation to be selected while in floor, defrost, or
Mix mode. Attempting to use the recirculation while in
these modes will cause the LED in the control button
to blink and then turn off.
278 UNDERSTANDING YOUR INSTRUMENT PANEL