stop start CHRYSLER 200 2013 1.G User Guide
[x] Cancel search | Manufacturer: CHRYSLER, Model Year: 2013, Model line: 200, Model: CHRYSLER 200 2013 1.GPages: 108, PDF Size: 3.81 MB
Page 11 of 108
WARNING!
• Do not start or run an engine in a closed garage or confined area. Exhaust gas containsCarbon Monoxide (CO) which is odorless and colorless. Carbon Monoxide is poisonous
and can cause you or others to be severely injured or killed when inhaled.
• Keep Key Fob transmitters away from children. Operation of the Remote Start System,
windows, door locks or other controls could cause you and others to be severely injured or
killed.
THEFT ALARM
To Arm:
• Press the Key Fob LOCK button or the power door lock switch while the door is open.
To Disarm:
• Press the Key Fob UNLOCK button or turn the ignition to the ON/RUN position.
SEAT BELT
• Be sure everyone in your vehicle is in a seat and using a seat belt properly.
• Position the lap belt across your thighs, below your abdomen. To remove slack in the lapportion, pull up a bit on the shoulder belt. To loosen the lap belt if it is too tight, tilt the latch
plate and pull on the lap belt. A snug belt reduces the risk of sliding under the belt in a collision.
• Position the shoulder belt on your chest so that it is comfortable and not resting on your neck. The retractor will withdraw any slack in the belt.
• A shoulder belt placed behind you will not protect you from injury during a collision. You are more likely to hit your head in a collision if you do not wear your shoulder belt. The lap and
shoulder belt are meant to be used together.
• A belt that is too loose will not protect you properly. In a sudden stop you could move too far forward, increasing the possibility of injury. Wear your seat belt snugly.
• A frayed or torn belt could rip apart in a collision and leave you with no protection. Inspect the belt system periodically, checking for cuts, frays, or loose parts. Damaged parts must be
replaced immediately. Do not disassemble or modify the system. Seat belt assemblies must be
replaced after a collision if they have been damaged (bent retractor, torn webbing, etc.).
• The seat belts for both front seating positions are equipped with pretensioning devices that are designed to remove slack from the seat belt in the event of a collision.
• A deployed pretensioner or a deployed air bag must be replaced immediately.
WARNING!
In a collision, you and your passengers can suffer much greater injuries if you are not buckled
up properly. You can strike the interior of your vehicle or other passengers, or you can be
thrown out of the vehicle. Always be sure you and others in your vehicle are buckled up
properly.
GETTING STARTED
9
Page 15 of 108
FRONT SEATS
Power Seat
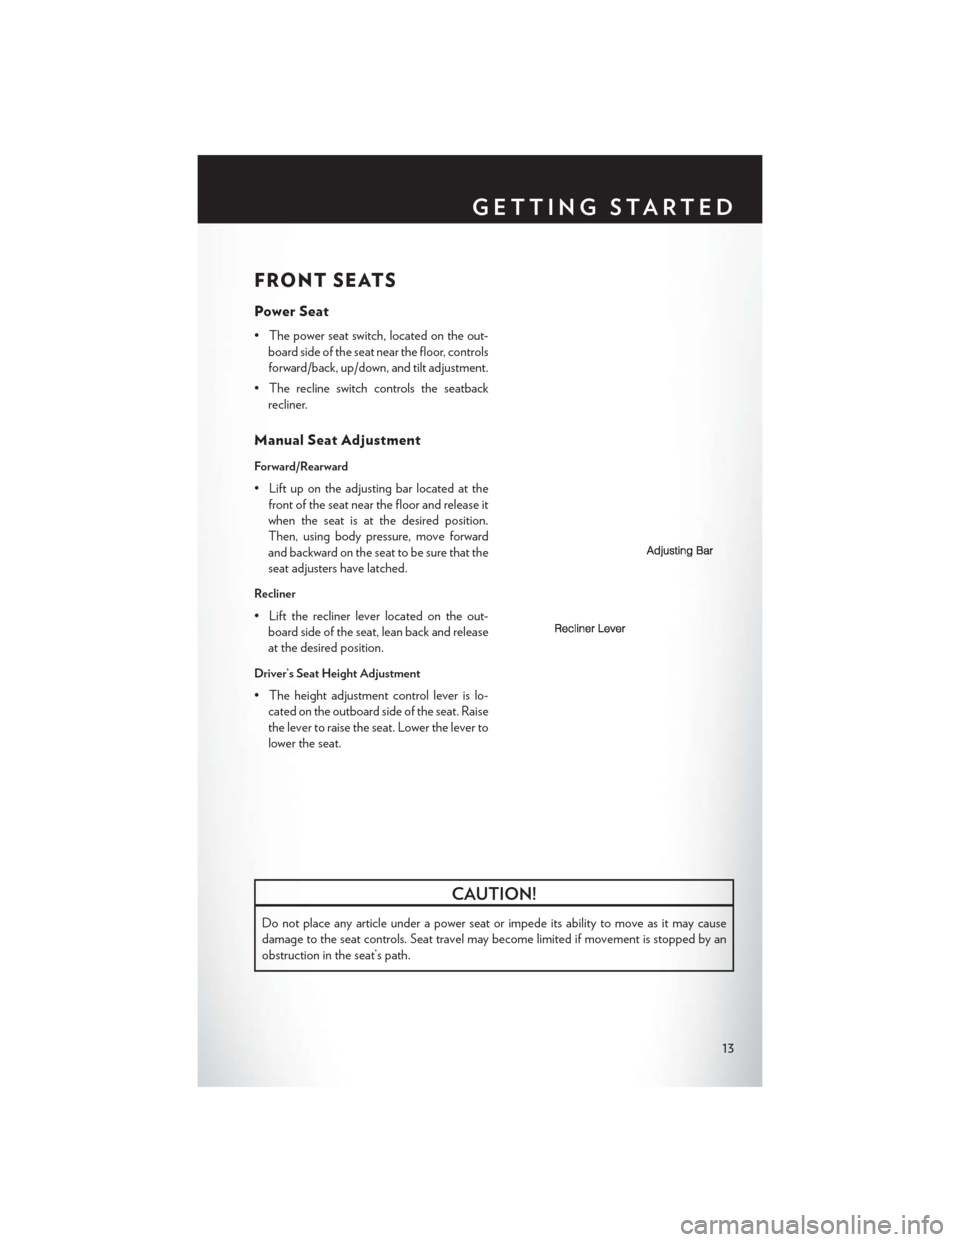
• The power seat switch, located on the out-board side of the seat near the floor, controls
forward/back, up/down, and tilt adjustment.
• The recline switch controls the seatback recliner.
Manual Seat Adjustment
Forward/Rearward
• Lift up on the adjusting bar located at thefront of the seat near the floor and release it
when the seat is at the desired position.
Then, using body pressure, move forward
and backward on the seat to be sure that the
seat adjusters have latched.
Recliner
• Lift the recliner lever located on the out-board side of the seat, lean back and release
at the desired position.
Driver’s Seat Height Adjustment
• The height adjustment control lever is lo-cated on the outboard side of the seat. Raise
the lever to raise the seat. Lower the lever to
lower the seat.
CAUTION!
Do not place any article under a power seat or impede its ability to move as it may cause
damage to the seat controls. Seat travel may become limited if movement is stopped by an
obstruction in the seat’s path.
GETTING STARTED
13
Page 36 of 108
CD/DVD Disc Operation
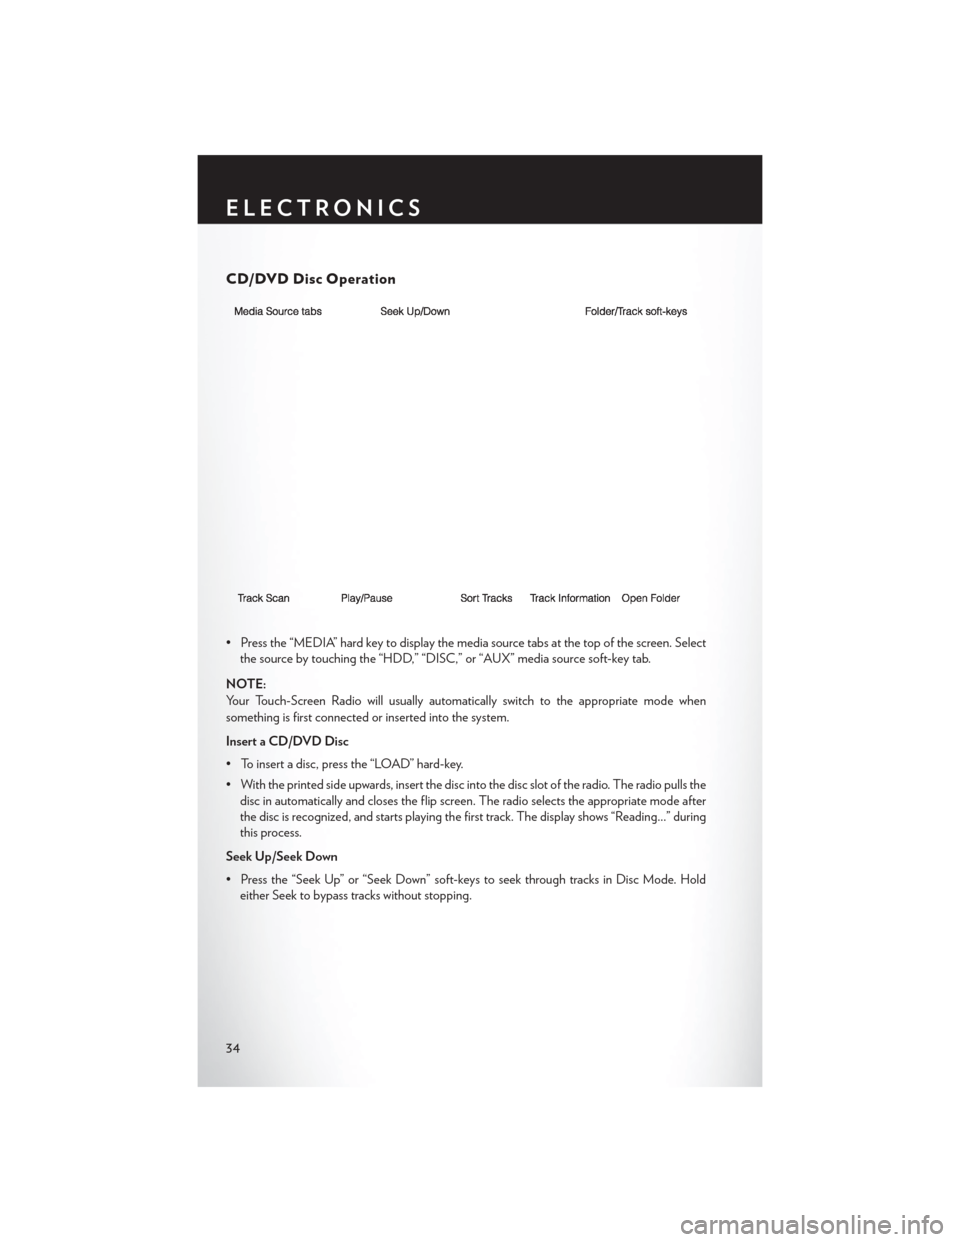
• Press the “MEDIA” hard key to display the media source tabs at the top of the screen. Selectthe source by touching the “HDD,” “DISC,” or “AUX” media source soft-key tab.
NOTE:
Your Touch-Screen Radio will usually automatically switch to the appropriate mode when
something is first connected or inserted into the system.
Insert a CD/DVD Disc
• To insert a disc, press the “LOAD” hard-key.
• With the printed side upwards, insert the disc into the disc slot of the radio. The radio pulls the disc in automatically and closes the flip screen. The radio selects the appropriate mode after
the disc is recognized, and starts playing the first track. The display shows “Reading...” during
this process.
Seek Up/Seek Down
• Press the “Seek Up” or “Seek Down” soft-keys to seek through tracks in Disc Mode. Hold either Seek to bypass tracks without stopping.
ELECTRONICS
34
Page 45 of 108
CD/DVD Disc Operation
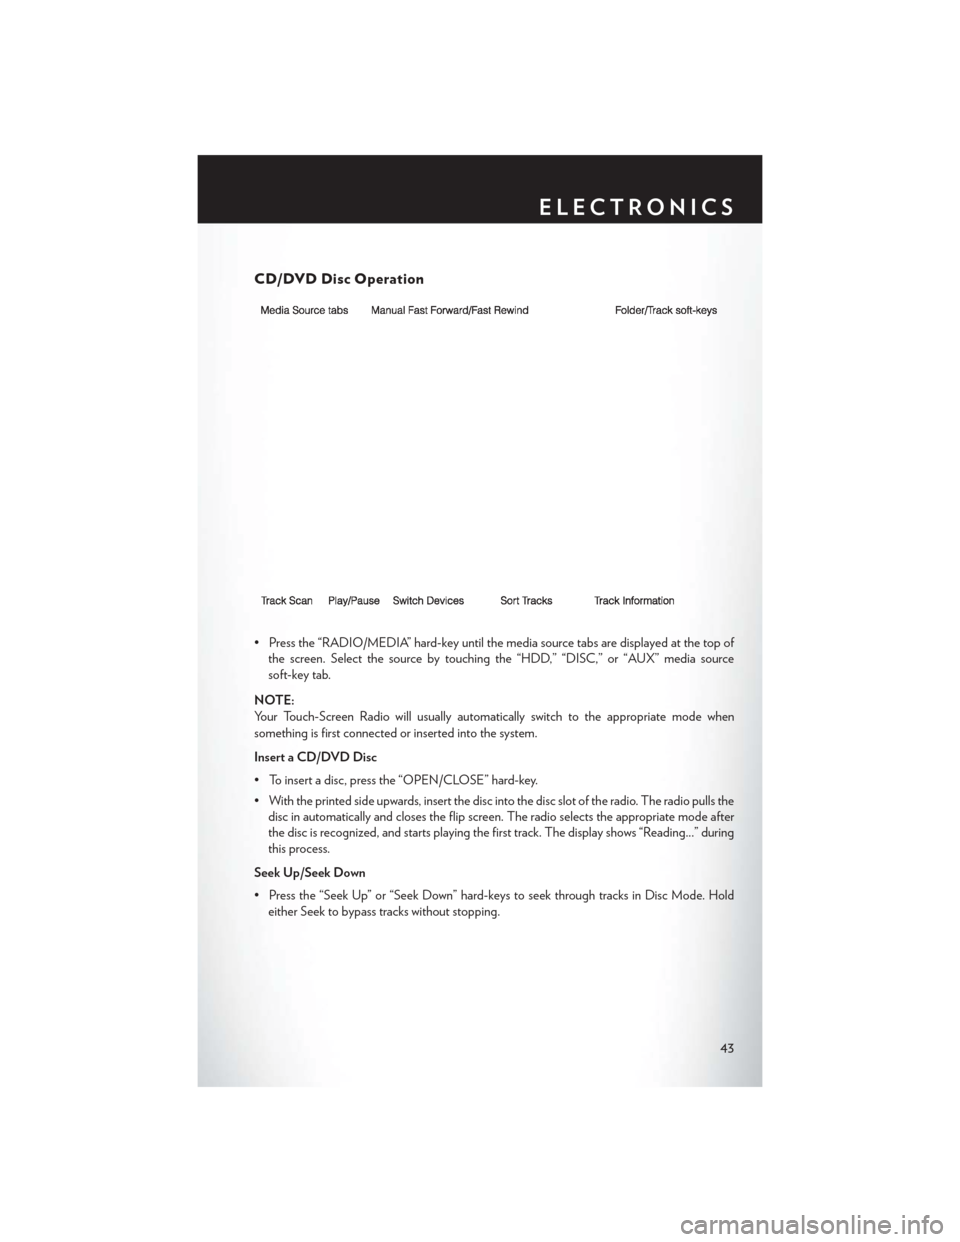
• Press the “RADIO/MEDIA” hard-key until the media source tabs are displayed at the top ofthe screen. Select the source by touching the “HDD,” “DISC,” or “AUX” media source
soft-key tab.
NOTE:
Your Touch-Screen Radio will usually automatically switch to the appropriate mode when
something is first connected or inserted into the system.
Insert a CD/DVD Disc
• To insert a disc, press the “OPEN/CLOSE” hard-key.
• With the printed side upwards, insert the disc into the disc slot of the radio. The radio pulls the disc in automatically and closes the flip screen. The radio selects the appropriate mode after
the disc is recognized, and starts playing the first track. The display shows “Reading...” during
this process.
Seek Up/Seek Down
• Press the “Seek Up” or “Seek Down” hard-keys to seek through tracks in Disc Mode. Hold either Seek to bypass tracks without stopping.
ELECTRONICS
43
Page 62 of 108
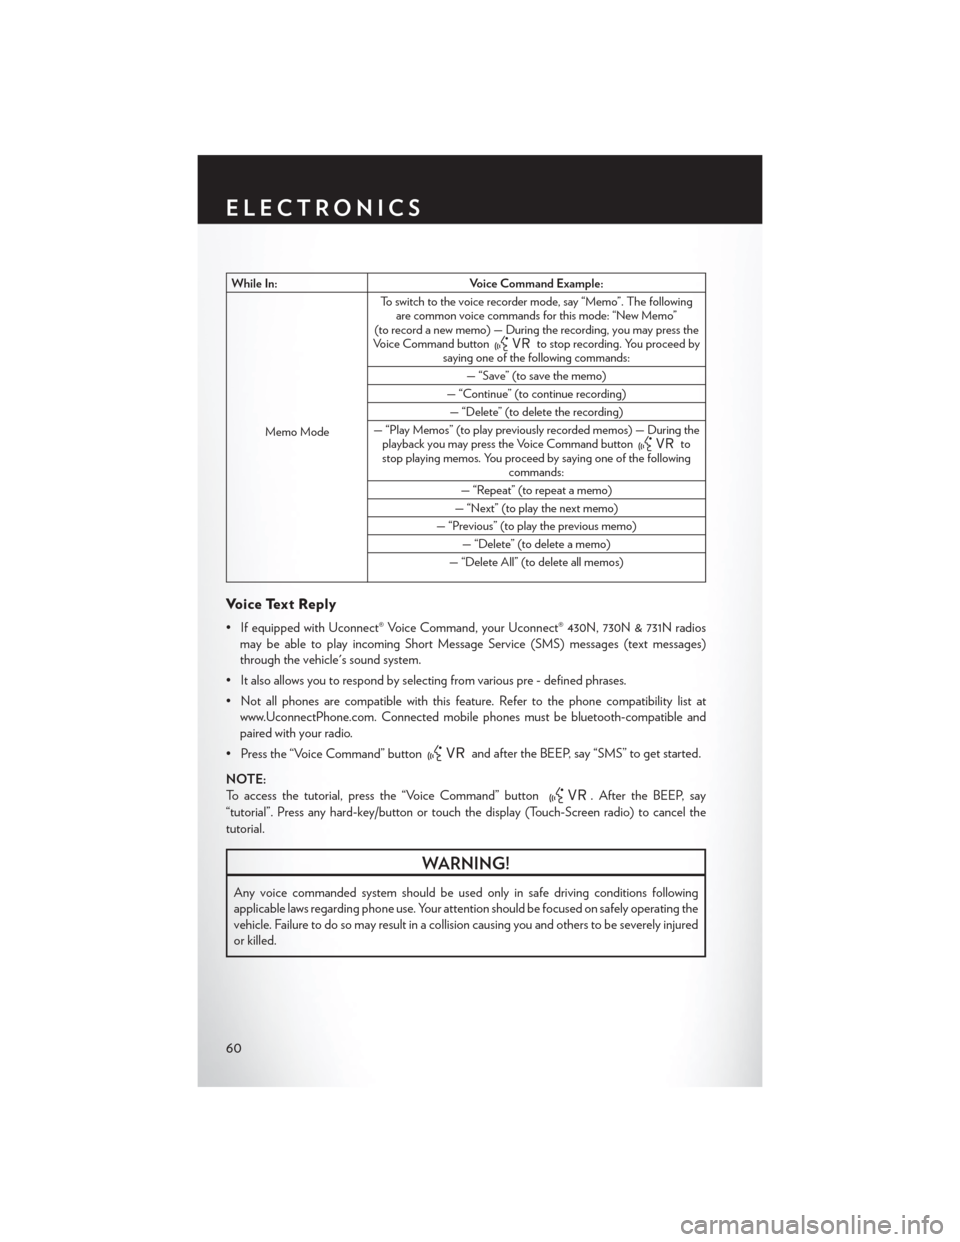
While In:Voice Command Example:
Memo Mode To switch to the voice recorder mode, say “Memo”. The following
are common voice commands for this mode: “New Memo”
(to record a new memo) — During the recording, you may press the
Voice Command button
to stop recording. You proceed by
saying one of the following commands:
— “Save” (to save the memo)
— “Continue” (to continue recording) — “Delete” (to delete the recording)
— “Play Memos” (to play previously recorded memos) — During the playback you may press the Voice Command button
to
stop playing memos. You proceed by saying one of the following commands:
— “Repeat” (to repeat a memo)
— “Next” (to play the next memo)
— “Previous” (to play the previous memo) — “Delete” (to delete a memo)
— “Delete All” (to delete all memos)
Voice Text Reply
• If equipped with Uconnect® Voice Command, your Uconnect® 430N, 730N & 731N radios may be able to play incoming Short Message Service (SMS) messages (text messages)
through the vehicle's sound system.
• It also allows you to respond by selecting from various pre - defined phrases.
• Not all phones are compatible with this feature. Refer to the phone compatibility list at www.UconnectPhone.com. Connected mobile phones must be bluetooth-compatible and
paired with your radio.
• Press the “Voice Command” button
and after the BEEP, say “SMS” to get started.
NOTE:
To access the tutorial, press the “Voice Command” button
. After the BEEP, say
“tutorial”. Press any hard-key/button or touch the display (Touch-Screen radio) to cancel the
tutorial.
WARNING!
Any voice commanded system should be used only in safe driving conditions following
applicable laws regarding phone use. Your attention should be focused on safely operating the
vehicle. Failure to do so may result in a collision causing you and others to be severely injured
or killed.
ELECTRONICS
60
Page 71 of 108
ROADSIDE ASSISTANCE
• Dial toll-free 1-800-521-2779 for U.S. Residents or 1-800-363-4869 for Canadian Residents.
• Provide your name, vehicle identification number, license plate number, and your location,including the telephone number from which you are calling.
• Briefly describe the nature of the problem and answer a few simple questions.
• You will be given the name of the service provider and an estimated time of arrival. If you feel you are in an “unsafe situation”, please let us know. With your consent, we will contact local
police or safety authorities.
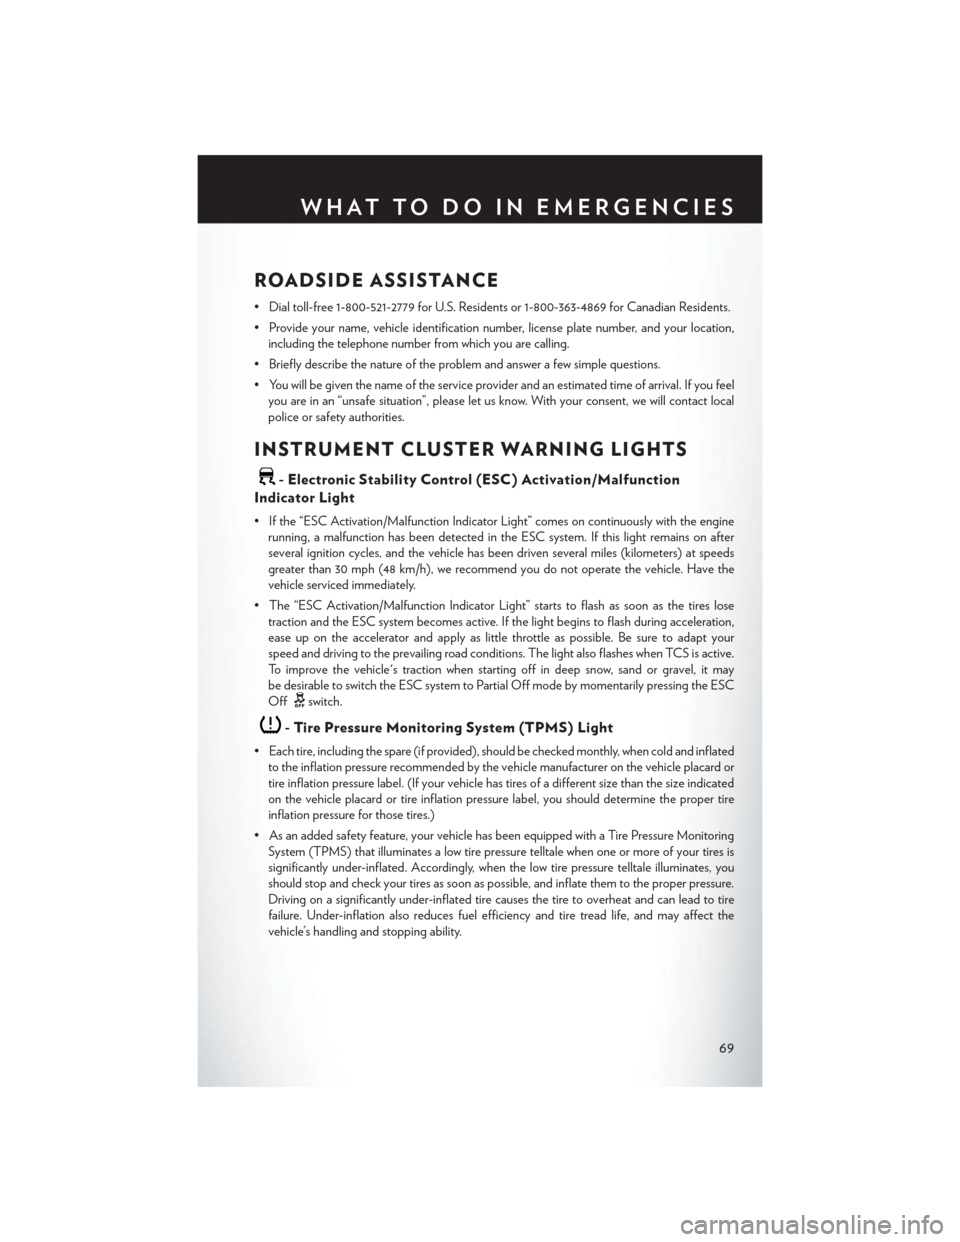
INSTRUMENT CLUSTER WARNING LIGHTS
- Electronic Stability Control (ESC) Activation/Malfunction
Indicator Light
• If the “ESC Activation/Malfunction Indicator Light” comes on continuously with the engine running, a malfunction has been detected in the ESC system. If this light remains on after
several ignition cycles, and the vehicle has been driven several miles (kilometers) at speeds
greater than 30 mph (48 km/h), we recommend you do not operate the vehicle. Have the
vehicle serviced immediately.
• The “ESC Activation/Malfunction Indicator Light” starts to flash as soon as the tires lose traction and the ESC system becomes active. If the light begins to flash during acceleration,
ease up on the accelerator and apply as little throttle as possible. Be sure to adapt your
speed and driving to the prevailing road conditions. The light also flashes when TCS is active.
To improve the vehicle's traction when starting off in deep snow, sand or gravel, it may
be desirable to switch the ESC system to Partial Off mode by momentarily pressing the ESC
Off
switch.
- Tire Pressure Monitoring System (TPMS) Light
• Each tire, including the spare (if provided), should be checked monthly, when cold and inflatedto the inflation pressure recommended by the vehicle manufacturer on the vehicle placard or
tire inflation pressure label. (If your vehicle has tires of a different size than the size indicated
on the vehicle placard or tire inflation pressure label, you should determine the proper tire
inflation pressure for those tires.)
• As an added safety feature, your vehicle has been equipped with a Tire Pressure Monitoring System (TPMS) that illuminates a low tire pressure telltale when one or more of your tires is
significantly under-inflated. Accordingly, when the low tire pressure telltale illuminates, you
should stop and check your tires as soon as possible, and inflate them to the proper pressure.
Driving on a significantly under-inflated tire causes the tire to overheat and can lead to tire
failure. Under-inflation also reduces fuel efficiency and tire tread life, and may affect the
vehicle’s handling and stopping ability.
WHAT TO DO IN EMERGENCIES
69
Page 72 of 108
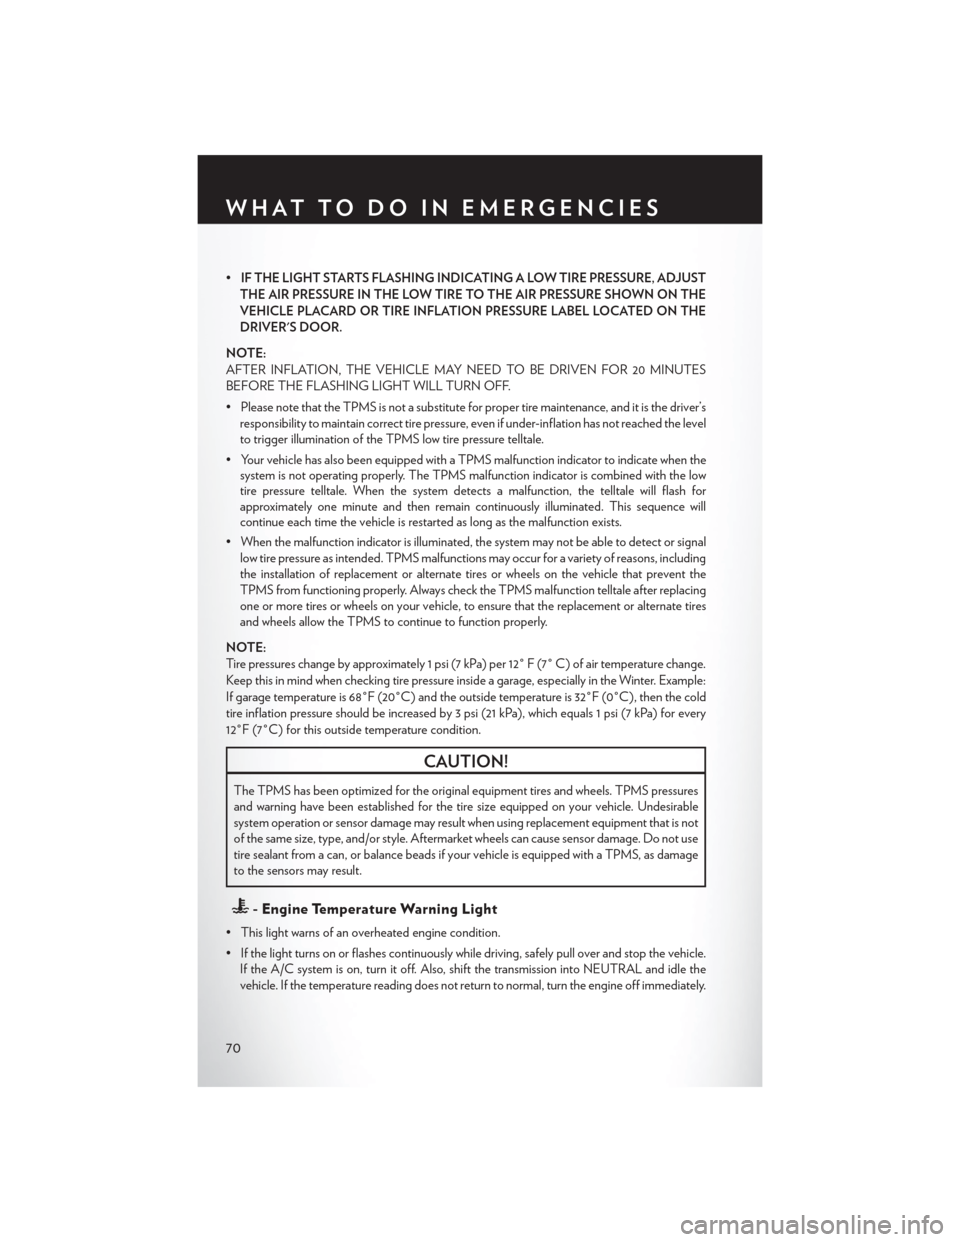
•IF THE LIGHT STARTS FLASHING INDICATING A LOW TIRE PRESSURE, ADJUST
THE AIR PRESSURE IN THE LOW TIRE TO THE AIR PRESSURE SHOWN ON THE
VEHICLE PLACARD OR TIRE INFLATION PRESSURE LABEL LOCATED ON THE
DRIVER'S DOOR.
NOTE:
AFTER INFLATION, THE VEHICLE MAY NEED TO BE DRIVEN FOR 20 MINUTES
BEFORE THE FLASHING LIGHT WILL TURN OFF.
• Please note that the TPMS is not a substitute for proper tire maintenance, and it is the driver’s responsibility to maintain correct tire pressure, even if under-inflation has not reached the level
to trigger illumination of the TPMS low tire pressure telltale.
• Your vehicle has also been equipped with a TPMS malfunction indicator to indicate when the system is not operating properly. The TPMS malfunction indicator is combined with the low
tire pressure telltale. When the system detects a malfunction, the telltale will flash for
approximately one minute and then remain continuously illuminated. This sequence will
continue each time the vehicle is restarted as long as the malfunction exists.
• When the malfunction indicator is illuminated, the system may not be able to detect or signal low tire pressure as intended. TPMS malfunctions may occur for a variety of reasons, including
the installation of replacement or alternate tires or wheels on the vehicle that prevent the
TPMS from functioning properly. Always check the TPMS malfunction telltale after replacing
one or more tires or wheels on your vehicle, to ensure that the replacement or alternate tires
and wheels allow the TPMS to continue to function properly.
NOTE:
Tire pressures change by approximately 1 psi (7 kPa) per 12° F (7° C) of air temperature change.
Keep this in mind when checking tire pressure inside a garage, especially in the Winter. Example:
If garage temperature is 68°F (20°C) and the outside temperature is 32°F (0°C), then the cold
tire inflation pressure should be increased by 3 psi (21 kPa), which equals 1 psi (7 kPa) for every
12°F (7°C) for this outside temperature condition.
CAUTION!
The TPMS has been optimized for the original equipment tires and wheels. TPMS pressures
and warning have been established for the tire size equipped on your vehicle. Undesirable
system operation or sensor damage may result when using replacement equipment that is not
of the same size, type, and/or style. Aftermarket wheels can cause sensor damage. Do not use
tire sealant from a can, or balance beads if your vehicle is equipped with a TPMS, as damage
to the sensors may result.
- Engine Temperature Warning Light
• This light warns of an overheated engine condition.
• If the light turns on or flashes continuously while driving, safely pull over and stop the vehicle. If the A/C system is on, turn it off. Also, shift the transmission into NEUTRAL and idle the
vehicle. If the temperature reading does not return to normal, turn the engine off immediately.
WHAT TO DO IN EMERGENCIES
70
Page 73 of 108
• We recommend that you do not operate the vehicle or engine damage will occur. Have thevehicle serviced immediately.
WARNING!
A hot engine cooling system is dangerous. You or others could be badly burned by steam or
boiling coolant. You may want to call an authorized dealer for service if your vehicle overheats.
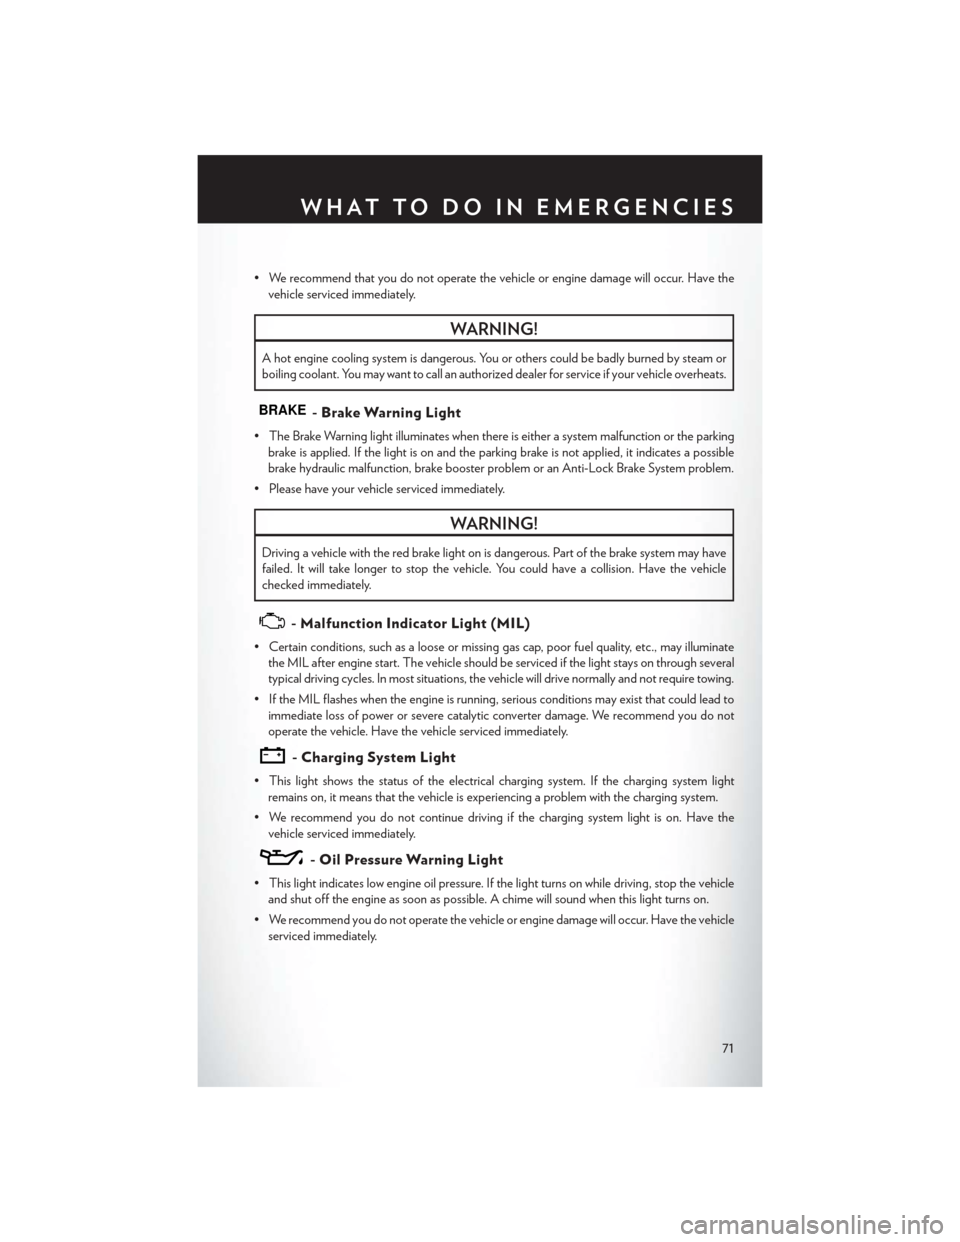
BRAKE- Brake Warning Light
• The Brake Warning light illuminates when there is either a system malfunction or the parkingbrake is applied. If the light is on and the parking brake is not applied, it indicates a possible
brake hydraulic malfunction, brake booster problem or an Anti-Lock Brake System problem.
• Please have your vehicle serviced immediately.
WARNING!
Driving a vehicle with the red brake light on is dangerous. Part of the brake system may have
failed. It will take longer to stop the vehicle. You could have a collision. Have the vehicle
checked immediately.
- Malfunction Indicator Light (MIL)
• Certain conditions, such as a loose or missing gas cap, poor fuel quality, etc., may illuminate the MIL after engine start. The vehicle should be serviced if the light stays on through several
typical driving cycles. In most situations, the vehicle will drive normally and not require towing.
• If the MIL flashes when the engine is running, serious conditions may exist that could lead to immediate loss of power or severe catalytic converter damage. We recommend you do not
operate the vehicle. Have the vehicle serviced immediately.
- Charging System Light
• This light shows the status of the electrical charging system. If the charging system lightremains on, it means that the vehicle is experiencing a problem with the charging system.
• We recommend you do not continue driving if the charging system light is on. Have the vehicle serviced immediately.
- Oil Pressure Warning Light
• This light indicates low engine oil pressure. If the light turns on while driving, stop the vehicleand shut off the engine as soon as possible. A chime will sound when this light turns on.
• We recommend you do not operate the vehicle or engine damage will occur. Have the vehicle serviced immediately.
WHAT TO DO IN EMERGENCIES
71
Page 74 of 108
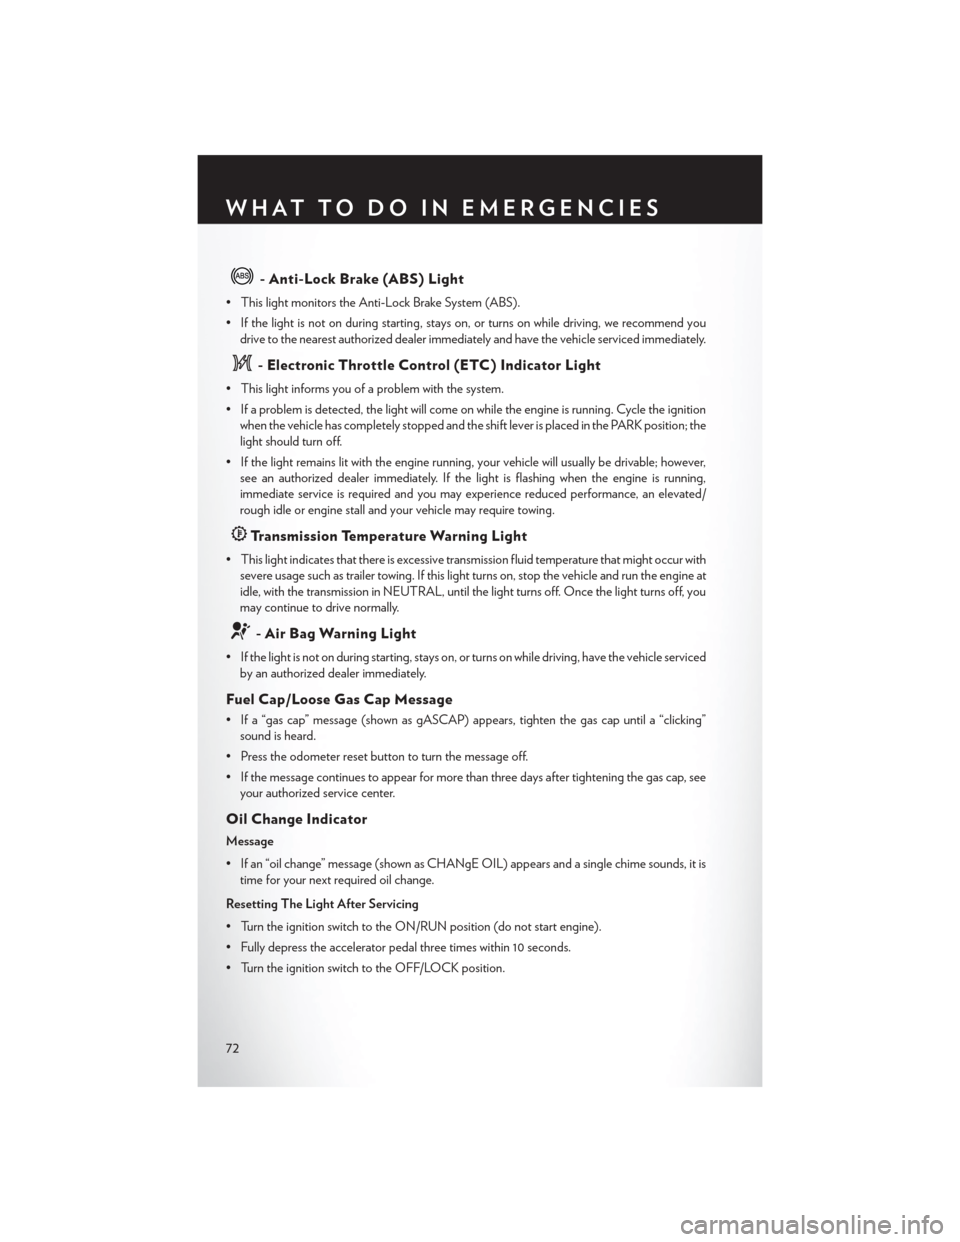
- Anti-Lock Brake (ABS) Light
• This light monitors the Anti-Lock Brake System (ABS).
• If the light is not on during starting, stays on, or turns on while driving, we recommend youdrive to the nearest authorized dealer immediately and have the vehicle serviced immediately.
- Electronic Throttle Control (ETC) Indicator Light
• This light informs you of a problem with the system.
• If a problem is detected, the light will come on while the engine is running. Cycle the ignitionwhen the vehicle has completely stopped and the shift lever is placed in the PARK position; the
light should turn off.
• If the light remains lit with the engine running, your vehicle will usually be drivable; however, see an authorized dealer immediately. If the light is flashing when the engine is running,
immediate service is required and you may experience reduced performance, an elevated/
rough idle or engine stall and your vehicle may require towing.
Transmission Temperature Warning Light
• This light indicates that there is excessive transmission fluid temperature that might occur withsevere usage such as trailer towing. If this light turns on, stop the vehicle and run the engine at
idle, with the transmission in NEUTRAL, until the light turns off. Once the light turns off, you
may continue to drive normally.
- Air Bag Warning Light
• If the light is not on during starting, stays on, or turns on while driving, have the vehicle servicedby an authorized dealer immediately.
Fuel Cap/Loose Gas Cap Message
• If a “gas cap” message (shown as gASCAP) appears, tighten the gas cap until a “clicking”sound is heard.
• Press the odometer reset button to turn the message off.
• If the message continues to appear for more than three days after tightening the gas cap, see your authorized service center.
Oil Change Indicator
Message
• If an “oil change” message (shown as CHANgE OIL) appears and a single chime sounds, it istime for your next required oil change.
Resetting The Light After Servicing
• Turn the ignition switch to the ON/RUN position (do not start engine).
• Fully depress the accelerator pedal three times within 10 seconds.
• Turn the ignition switch to the OFF/LOCK position.
WHAT TO DO IN EMERGENCIES
72
Page 80 of 108
WARNING!
• Being under a jacked-up vehicle is dangerous. The vehicle could slip off the jack and fall onyou. You could be crushed. Never put any part of your body under a vehicle that is on a
jack. If you need to get under a raised vehicle, take it to a service center where it can be
raised on a lift.
• Never start or run the engine while the vehicle is on a jack.
• The jack is designed to be used as a tool for changing tires only. The jack should not be
used to lift the vehicle for service purposes. The vehicle should be jacked on a firm level
surface only. Avoid ice or slippery areas.
• Do not attempt to change a tire on the side of the vehicle close to moving traffic, pull far
enough off the road to avoid the danger of being hit when operating the jack or changing
the wheel.
• Carefully follow these tire changing warnings to help prevent personal injury or damage to
your vehicle:
• Always park on a firm, level surface as far from the edge of the roadway as possiblebefore raising the vehicle.
• Turn on the Hazard Warning flasher.
• Block the wheel diagonally opposite the wheel to be raised.
• Set the parking brake firmly and set an automatic transmission in PARK; a manual
transmission in REVERSE.
• Do not let anyone sit in the vehicle when it is on a jack.
• Do not get under the vehicle when it is on a jack.
• Only use the jack in the positions indicated and for lifting this vehicle during a tire change.
• If working on or near a roadway, be extremely careful of motor traffic.
• To assure that spare tires, flat or inflated, are securely stowed, spares must be stowed with
the valve stem facing the ground.
• Raising the vehicle higher than necessary can make the vehicle less stable. It could slip off
the jack and hurt someone near it. Raise the vehicle only enough to remove the tire.
• To avoid possible personal injury, handle the wheel covers with care to avoid contact with
any sharp edges.
• A loose tire or jack thrown forward in a collision or hard stop could injure the occupants in
the vehicle. Have the deflated (flat) tire repaired or replaced immediately.
• To avoid the risk of forcing the vehicle off the jack, do not tighten the lug nuts fully until the
vehicle is lowered to the ground. Failure to follow this warning may result in personal injury.
WHAT TO DO IN EMERGENCIES
78