warning CHRYSLER 200 2015 2.G Owner's Manual
[x] Cancel search | Manufacturer: CHRYSLER, Model Year: 2015, Model line: 200, Model: CHRYSLER 200 2015 2.GPages: 220, PDF Size: 3.7 MB
Page 45 of 220
FORWARD COLLISION WARNING (FCW) WITH
MITIGATION
The Forward Collision Warning (FCW) system with mitigation provides the driver with audible
warnings, visual warnings (within the EVIC/DID), and may apply a brake jerk to warn the driver
when it detects a potential frontal collision. The warnings and limited braking are intended to
provide the driver with enough time to react, avoid or mitigate the potential collision.
NOTE:
FCW monitors the information from the forward looking sensors as well as the Electronic Brake
Controller (EBC), to calculate the probability of a forward collision. When the system determines
that a forward collision is probable, the driver will be provided with audible and visual warnings
and may provide a brake jerk warning. If the driver does not take action based upon these
progressive warnings, then the system will provide a limited level of active braking to help slow the
vehicle and mitigate the potential forward collision. If the driver reacts to the warnings by braking
and the system determines that the driver intends to avoid the collision by braking but has not
applied sufficient brake force, the system will compensate and provide additional brake force as
required.
Turning FCW ON Or OFF
NOTE:
The default status of FCW is “On”, this allows the system to warn you of a possible collision with
the vehicle in front of you when you are farther away and it applies limited braking. This gives you
the most reaction time to avoid a possible collision.
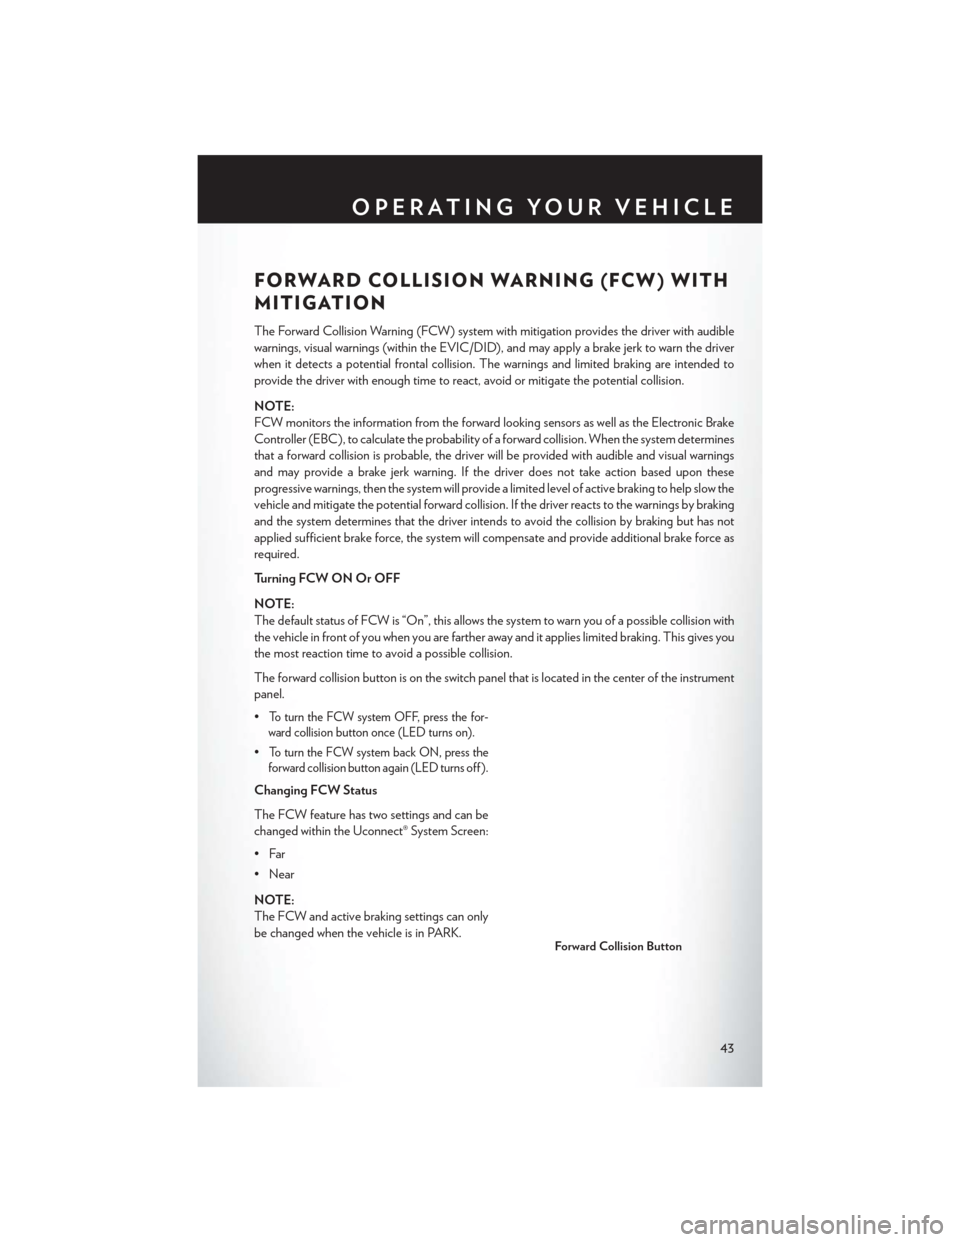
The forward collision button is on the switch panel that is located in the center of the instrument
panel.
•
To turn the FCW system OFF, press the for-
ward collision button once (LED turns on).
•To turn the FCW system back ON, press the
forward collision button again (LED turns off ).
Changing FCW Status
The FCW feature has two settings and can be
changed within the Uconnect® System Screen:
•Far
• Near
NOTE:
The FCW and active braking settings can only
be changed when the vehicle is in PARK.
Forward Collision Button
OPERATING YOUR VEHICLE
43
Page 46 of 220
Far
The default status of FCW is the “Far” setting.
The far setting provides warnings for potential collisions more distant in front of the vehicle,
allowing the driver to have the most reaction time to avoid a collision.
This setting is designed to provide early warnings per NHTSA (National Highway Traffic Safety
Administration) recommendations.
More cautious drivers that do not mind frequent warnings may prefer this setting.
NOTE:
This setting gives you the most reaction time.
Near
Changing the FCW status to the “Near” setting, allows the system to warn you of a potential
frontal collision when you are much closer.
This setting provides less reaction time than the “Far” setting, which allows for a more dynamic
driving experience.
More dynamic or aggressive drivers that want to avoid frequent warnings may prefer this setting.
Off
Changing the FCW status to “Off ” prevents the system from warning you of a possible collision
with the vehicle in front of you.
Turning Active Braking ON Or OFF
The Active Braking feature has two settings and can be changed within the Uconnect® System
Screen:
•On
•Off
Changing the Active Braking status to “Off ” prevents the system from providing limited
autonomous braking, or additional brake support if the driver is not braking adequately in the
event of a potential frontal collision.
NOTE:
If FCW is set to “Off ”, “FCW OFF” will be displayed in the EVIC/DID.
Refer to the Owner's Manual on the DVD for further details.
WARNING!
Forward Collision Warning (FCW) is not intended to avoid a collision on its own, nor can
FCW detect every type of potential collision. The driver has the responsibility to avoid a
collision by controlling the vehicle via braking and steering. Failure to follow this warning could
lead to serious injury or death.
OPERATING YOUR VEHICLE
44
Page 54 of 220
WARNING!
• Never use the PARK position as a substitute for the parking brake. Always apply theparking brake fully when parked to guard against vehicle movement and possible injury or
damage.
• Your vehicle could move and injure you and others if it is not in PARK. Make sure the
transmission is in PARK before leaving the vehicle.
• It is dangerous to shift out of PARK or NEUTRAL if the engine speed is higher than idle
speed. If your foot is not firmly pressing the brake pedal, the vehicle could accelerate
quickly forward or in reverse. You could lose control of the vehicle and hit someone or
something. Only shift into gear when the engine is idling normally and your foot is firmly
pressing the brake pedal.
• Unintended movement of a vehicle could injure those in or near the vehicle. As with all
vehicles, you should never exit a vehicle while the engine is running. Before exiting a
vehicle, always apply the parking brake, shift the transmission into PARK, turn the engine
OFF, and remove the key fob. When the ignition is in the OFF position, the transmission
is locked in PARK, securing the vehicle against unwanted movement.
• When leaving the vehicle, always make sure the ignition is in the OFF position, remove the
key fob from the vehicle, and lock the vehicle.
• Never leave children alone in a vehicle, or with access to an unlocked vehicle. Allowing
children to be in a vehicle unattended is dangerous for a number of reasons. A child or
others could be seriously or fatally injured. Children should be warned not to touch the
parking brake, brake pedal or the transmission gear selector.
• Do not leave the key fob in or near the vehicle (or in a location accessible to children), and
do not leave the ignition in the ACC or ON/RUN position. A child could operate power
windows, other controls, or move the vehicle.
OPERATING YOUR VEHICLE
52
Page 55 of 220
PADDLE SHIFT MODE
• When the transmission is in DRIVE orSPORT mode, it will operate automatically,
shifting between the nine available gears.
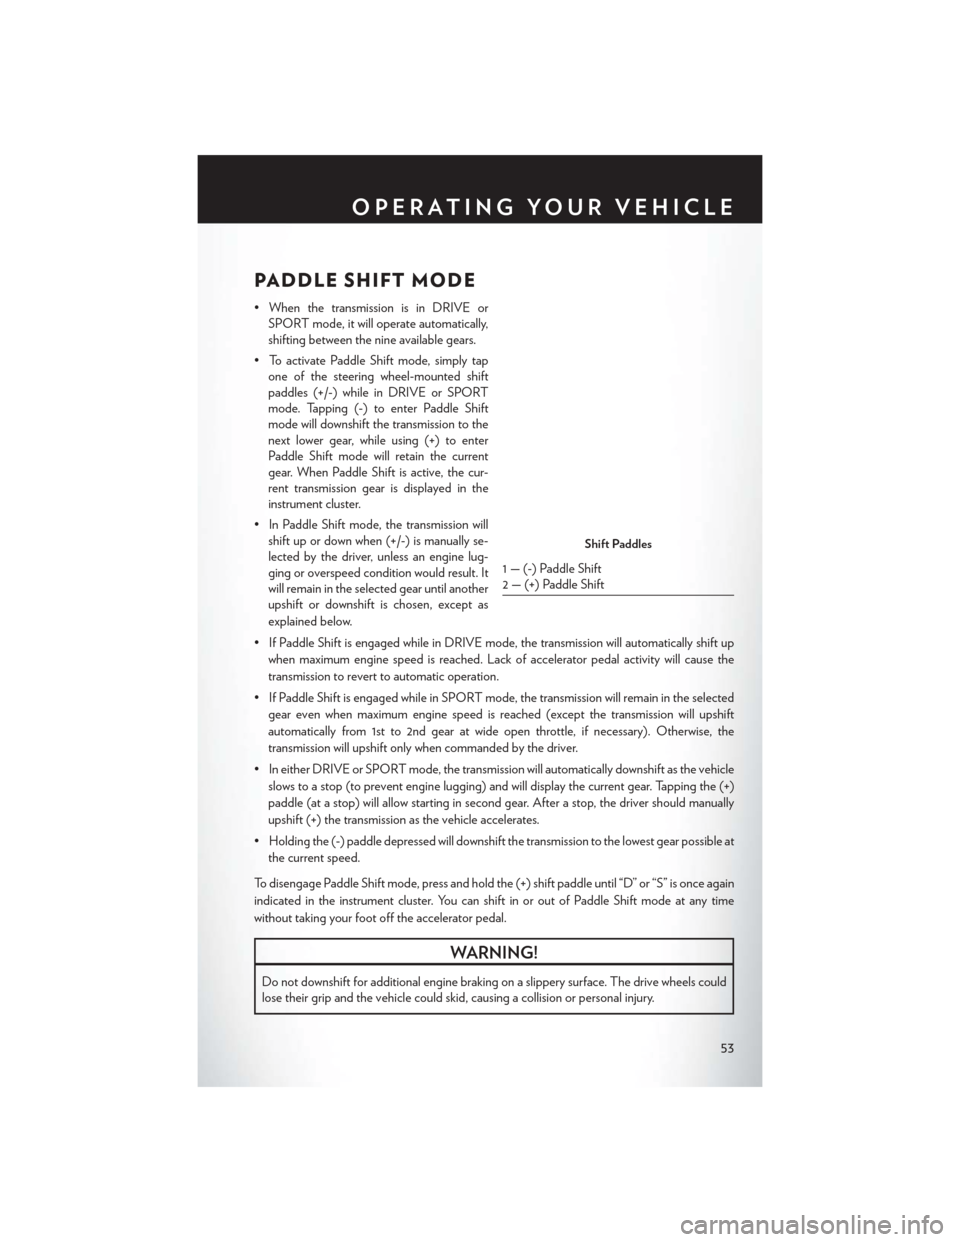
• To activate Paddle Shift mode, simply tap one of the steering wheel-mounted shift
paddles (+/-) while in DRIVE or SPORT
mode. Tapping (-) to enter Paddle Shift
mode will downshift the transmission to the
next lower gear, while using (+) to enter
Paddle Shift mode will retain the current
gear. When Paddle Shift is active, the cur-
rent transmission gear is displayed in the
instrument cluster.
• In Paddle Shift mode, the transmission will shift up or down when (+/-) is manually se-
lected by the driver, unless an engine lug-
ging or overspeed condition would result. It
will remain in the selected gear until another
upshift or downshift is chosen, except as
explained below.
• If Paddle Shift is engaged while in DRIVE mode, the transmission will automatically shift up when maximum engine speed is reached. Lack of accelerator pedal activity will cause the
transmission to revert to automatic operation.
• If Paddle Shift is engaged while in SPORT mode, the transmission will remain in the selected gear even when maximum engine speed is reached (except the transmission will upshift
automatically from 1st to 2nd gear at wide open throttle, if necessary). Otherwise, the
transmission will upshift only when commanded by the driver.
• In either DRIVE or SPORT mode, the transmission will automatically downshift as the vehicle slows to a stop (to prevent engine lugging) and will display the current gear. Tapping the (+)
paddle (at a stop) will allow starting in second gear. After a stop, the driver should manually
upshift (+) the transmission as the vehicle accelerates.
• Holding the (-) paddle depressed will downshift the transmission to the lowest gear possible at the current speed.
To disengage Paddle Shift mode, press and hold the (+) shift paddle until “D” or “S” is once again
indicated in the instrument cluster. You can shift in or out of Paddle Shift mode at any time
without taking your foot off the accelerator pedal.
WARNING!
Do not downshift for additional engine braking on a slippery surface. The drive wheels could
lose their grip and the vehicle could skid, causing a collision or personal injury.
Shift Paddles
1 — (-) Paddle Shift
2 — (+) Paddle Shift
OPERATING YOUR VEHICLE
53
Page 57 of 220
To Manually Turn On The Stop/Start System
Press the STOP/START Off switch (located on the switch bank). The light on the switch will turn off.
For complete details on the Stop/Start System refer to the “Stop/Start System” in the “Starting
and Operating” section located in your owners manual on the DVD for further information.
ELECTRIC PARKING BRAKE (EPB)
Your vehicle is equipped with an Electric Parking Brake System (EPB) that offers simple
operation, and some additional features that make the parking brake more convenient and useful.
The parking brake switch is located in the center console.
To engage the parking brake manually, pull up
on the switch momentarily.
To release the parking brake manually, the igni-
tion switch must be in the ON/RUN position.
Push on the brake pedal, then push the parking
brake switch down momentarily.
The parking brake will disengage automatically
when the ignition switch in the RUN position,
the transmission is in DRIVE or REVERSE, the
driver seat belt is buckled, and an attempt is
made to drive away by pressing the accelerator
pedal.
NOTE:
• You may hear a slight whirring sound fromthe back of the vehicle while the parking brake engages or disengages.
• Once the parking brake is fully engaged, the BRAKE warning lamp in the instrument cluster and the LED indicator on the switch will illuminate. Once the parking brake is fully disengaged,
the BRAKE warning lamp in the instrument cluster and the LED indicator on the switch will
extinguish.
• If your foot is on the brake pedal while you are engaging or disengaging the parking brake, you may notice a small amount of brake pedal movement.
• The parking brake can be engaged even when the ignition switch is OFF, however, it can only be disengaged when the ignition switch is in the ON/RUN position.
• The EPB fault lamp will illuminate if the EPB switch is held for longer than 20 seconds in either the released or applied position. The light will extinguish upon releasing the switch.
• Refer to the Starting and Operating section of your vehicle’s Owner’s Manual on the DVD for further details.
Parking Brake Switch
OPERATING YOUR VEHICLE
55
Page 58 of 220
CAUTION!
If the Brake System Warning Light remains on with the parking brake released, a brake system
malfunction is indicated. Have the brake system serviced by an authorized dealer immediately.
WARNING!
• Never use the PARK position as a substitute for the parking brake. Always apply theparking brake fully when parked to guard against vehicle movement and possible injury or
damage.
• When leaving the vehicle, always make sure the ignition is in the OFF position, remove the
key fob from the vehicle, and lock your vehicle.
• Never leave children alone in a vehicle, or with access to an unlocked vehicle. Allowing
children to be in a vehicle unattended is dangerous for a number of reasons. A child or
others could be seriously or fatally injured. Children should be warned not to touch the
parking brake, brake pedal or the transmission gear selector.
• Do not leave the Key Fob in or near the vehicle, (or in a location accessible to children),
and do not leave the ignition in the ACC or ON/RUN position. A child could operate
power windows, other controls, or move the vehicle.
• Be sure the parking brake is fully disengaged before driving; failure to do so can lead to
brake failure and a collision.
• Always fully apply the parking brake when leaving your vehicle, or it may roll and cause
damage or injury. Also be certain to leave the transmission in PARK. Failure to do so may
allow the vehicle to roll and cause damage or injury.
• Driving the vehicle with the parking brake engaged, or repeated use of the parking brake
to slow the vehicle may cause serious damage to the brake system.
OPERATING YOUR VEHICLE
56
Page 59 of 220
PARKSENSE®
ParkSense® Front And Rear Park Assist
ParkSense® can be enabled and disabled by pressing the ParkSense® switch located on the switch
panel below the Uconnect® display.
The six ParkSense® sensors, located in the rear
fascia/bumper, monitor the area behind the
vehicle that is within the sensors’ field of view.
The sensors can detect obstacles from approxi-
mately 12 in (30 cm) up to 79 in (200 cm) from
the rear fascia/bumper in the horizontal direc-
tion, depending on the location, type and ori-
entation of the obstacle.
The six ParkSense® sensors, located in the front
fascia/bumper, monitor the area in front of the
vehicle that is within the sensors’ field of view.
The sensors can detect obstacles from approxi-
mately 12 in (30 cm) up to 47 in (120 cm) from
the front fascia/bumper in the horizontal direc-
tion, depending on the location, type and ori-
entation of the obstacle.
When an object is detected within 2 meters behind the rear bumper while the vehicle is in
REVERSE, a warning will display in the Electronic Vehicle Information Center (EVIC) or Driver
Information Display (DID). In addition a chime will sound (when Sound and Display is selected
from the Customer Programmable Features screen of the Uconnect® System). As the vehicle
moves closer to the object, the chime rate will change from single 1/2 second tone (for rear only),
to slow (for rear only), to fast, to continuous.
Refer to your Owner's Manual on the DVD for further details.
ParkSense® Switch
OPERATING YOUR VEHICLE
57
Page 60 of 220
ParkSense® Active Park Assist
The ParkSense® Active Park Assist system can be enabled and disabled with the ParkSense®
Active Park Assist switch, located on the switch panel below the Uconnect® display.
The ParkSense® Active Park Assist system is
intended to assist the driver during parallel and
perpendicular parking maneuvers by identify-
ing a proper parking space, providing audible/
visual instructions, and controlling the steering
wheel. The ParkSense® Active Park Assist sys-
tem is defined as “semi-automatic” since the
driver maintains control of the accelerator, shift
lever and brakes. Depending on the driver’s
parking maneuver selection, the ParkSense®
Active Park Assist system is capable of maneu-
vering a vehicle into a parallel or a perpendicu-
lar parking space on either side (i.e., driver side
or passenger side).
Refer to your Owner's Manual on the DVD for
further details.
CAUTION!
•ParkSense® is only a parking aid and it is unable to recognize every obstacle, including small
obstacles. Parking curbs might be temporarily detected or not detected at all. Obstacles
located above or below the sensors will not be detected when they are in close proximity.
• The vehicle must be driven slowly when using ParkSense® in order to be able to stop intime when an obstacle is detected. It is recommended that the driver looks over his/her
shoulder when using ParkSense®.
WARNING!
• Drivers must be careful when backing up even when using ParkSense®. Always checkcarefully behind your vehicle, look behind you, and be sure to check for pedestrians,
animals, other vehicles, obstructions, and blind spots before backing up. You are respon-
sible for safety and must continue to pay attention to your surroundings. Failure to do so
can result in serious injury or death.
•
Before using ParkSense®, it is strongly recommended that the ball mount and hitch ball
assembly is disconnected from the vehicle when the vehicle is not used for towing. Failure to do
so can result in injury or damage to vehicles or obstacles because the hitch ball will be much
closer to the obstacle than the rear fascia when the loudspeaker sounds the continuous tone.
Also, the sensors could detect the ball mount and hitch ball assembly, depending on its size and
shape, giving a false indication that an obstacle is behind the vehicle.
ParkSense® Active Park Assist Switch
OPERATING YOUR VEHICLE
58
Page 61 of 220
LANESENSE
The LaneSense system can be enabled and disabled with the LaneSense button, located on the
switch panel below the Uconnect® display.
• Press the LaneSense button to turn the sys-tem ON (LED turns off ).
The LaneSense system is operational at speeds
above 37 mph (60 km/h) and below 112 mph
(180 km/h). The LaneSense system uses a for-
ward looking camera to detect lane markings
and measure vehicle position within the lane
boundaries.
When both lane markings are detected and the
driver unintentionally drifts out of the lane (no
turn signal applied), the LaneSense system
provides a haptic warning in the form of torque
applied to the steering wheel to prompt the
driver to remain within the lane boundaries. If
the driver continues to unintentionally drift out
of the lane, the LaneSense system provides a visual warning through the Electronic Vehicle
Information Center (EVIC) or Driver Information Display (DID) to prompt the driver to remain
within the lane boundaries.
The driver may manually override the haptic warning by applying torque into the steering wheel
at any time.
When only a single lane marking is detected and the driver unintentionally drifts across the lane
marking (no turn signal applied), the LaneSense system provides a visual warning through the
Electronic Vehicle Information Center (EVIC) or Driver Information Display (DID) to prompt
the driver to remain within the lane. When only a single lane marking is detected, a haptic
(torque) warning will not be provided.
Refer to your Owner's Manual on the DVD for further details.
NOTE:
When operating conditions have been met, the LaneSense system will monitor if the driver’s
hands are on the steering wheel and provides an audible warning to the driver when the driver’s
hands are not detected on the steering wheel. The system will cancel if the driver does not return
their hands to the wheel.
LaneSense Button
OPERATING YOUR VEHICLE
59
Page 62 of 220
PARKVIEW® REAR BACK-UP CAMERA
You can see an on-screen image of the rear of your vehicle whenever the shift lever is put into
REVERSE. The ParkView® Rear Back-Up Camera image will be displayed on the radio display
screen, located on the center stack of the instrument panel.
If the radio display screen appears foggy, clean the camera lens located on the rear of the vehicle
above the rear license plate.
Refer to your Owner's Manual on the DVD for further details.
WARNING!
Drivers must be careful when backing up; even when using the ParkView® Rear Back-Up
Camera. Always check carefully behind your vehicle, and be sure to check for pedestrians,
animals, other vehicles, obstructions, or blind spots before backing up. You must continue to
pay attention while backing up. Failure to do so can result in serious injury or death.
BLIND SPOT MONITORING
The Blind Spot Monitoring (BSM) system uses two radar-based sensors, located inside the rear
bumper fascia, to detect Highway licensable vehicles (automobiles, trucks, motorcycles etc.) that
enter the blind spot zones from the rear/front/side of the vehicle.
The Blind Spot Monitoring (BSM) system warning light, located in the outside mirrors, will
illuminate if a vehicle moves into a blind spot zone.
The BSM system can also be configured to sound an audible (chime) alert and mute the radio to
notify you of objects that have entered the detection zones.
Refer to your Owner's Manual on the DVD for further details.
OPERATING YOUR VEHICLE
60