display CHRYSLER 200 2015 2.G Service Manual
[x] Cancel search | Manufacturer: CHRYSLER, Model Year: 2015, Model line: 200, Model: CHRYSLER 200 2015 2.GPages: 220, PDF Size: 3.7 MB
Page 144 of 220
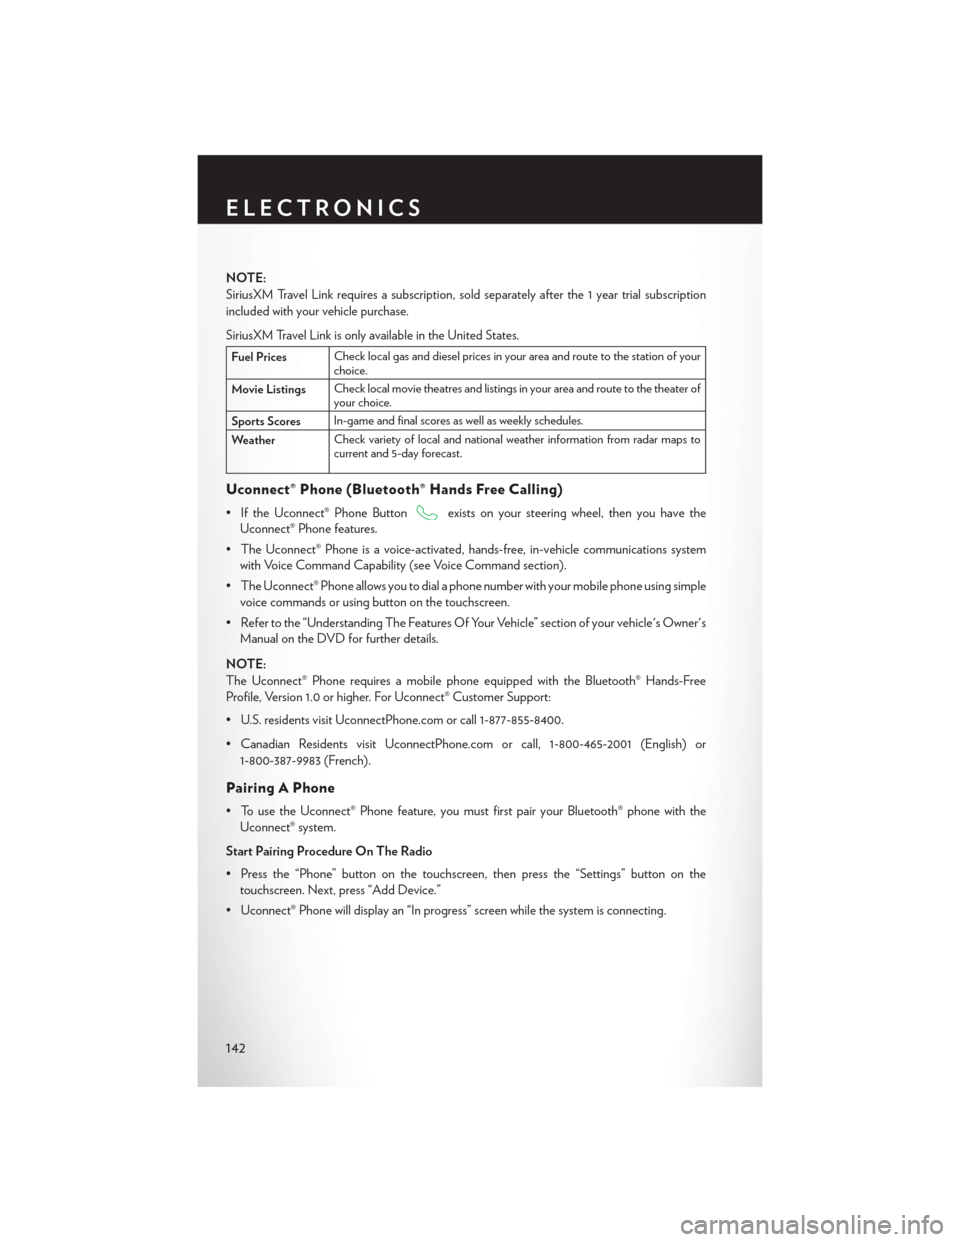
NOTE:
SiriusXM Travel Link requires a subscription, sold separately after the 1 year trial subscription
included with your vehicle purchase.
SiriusXM Travel Link is only available in the United States.
Fuel PricesCheck local gas and diesel prices in your area and route to the station of your
choice.
Movie Listings Check local movie theatres and listings in your area and route to the theater of
your choice.
Sports Scores In-game and final scores as well as weekly schedules.
Weather Check variety of local and national weather information from radar maps to
current and 5-day forecast.
Uconnect® Phone (Bluetooth® Hands Free Calling)
• If the Uconnect® Phone Buttonexists on your steering wheel, then you have the
Uconnect® Phone features.
• The Uconnect® Phone is a voice-activated, hands-free, in-vehicle communications system with Voice Command Capability (see Voice Command section).
• The Uconnect® Phone allows you to dial a phone number with your mobile phone using simple voice commands or using button on the touchscreen.
• Refer to the “Understanding The Features Of Your Vehicle” section of your vehicle's Owner's Manual on the DVD for further details.
NOTE:
The Uconnect® Phone requires a mobile phone equipped with the Bluetooth® Hands-Free
Profile, Version 1.0 or higher. For Uconnect® Customer Support:
• U.S. residents visit UconnectPhone.com or call 1-877-855-8400.
• Canadian Residents visit UconnectPhone.com or call, 1-800-465-2001 (English) or 1-800-387-9983 (French).
Pairing A Phone
• To use the Uconnect® Phone feature, you must first pair your Bluetooth® phone with theUconnect® system.
Start Pairing Procedure On The Radio
• Press the “Phone” button on the touchscreen, then press the “Settings” button on the touchscreen. Next, press “Add Device.”
• Uconnect® Phone will display an “In progress” screen while the system is connecting.
ELECTRONICS
142
Page 146 of 220
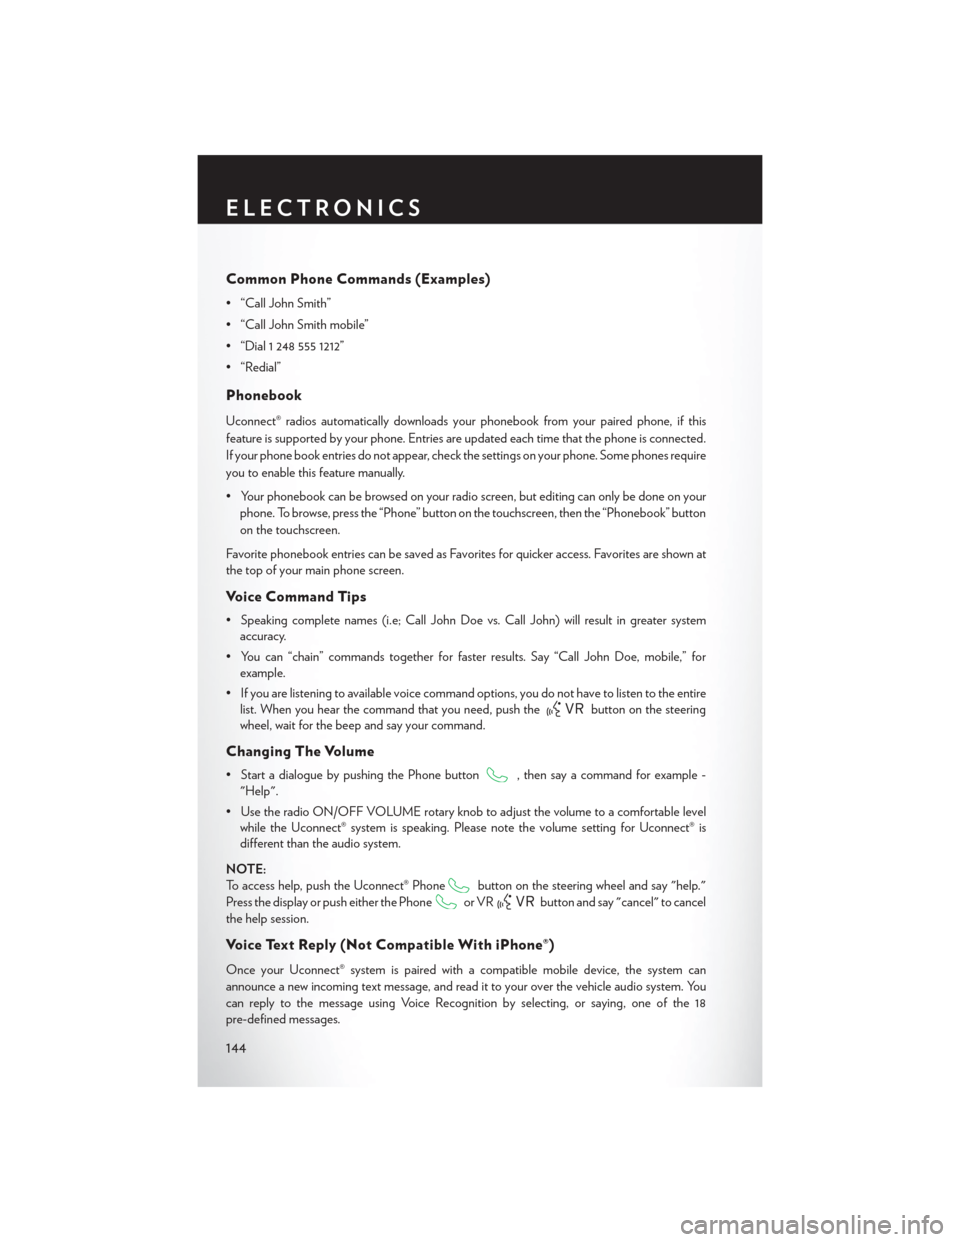
Common Phone Commands (Examples)
• “Call John Smith”
• “Call John Smith mobile”
• “Dial 1 248 555 1212”
• “Redial”
Phonebook
Uconnect® radios automatically downloads your phonebook from your paired phone, if this
feature is supported by your phone. Entries are updated each time that the phone is connected.
If your phone book entries do not appear, check the settings on your phone. Some phones require
you to enable this feature manually.
• Your phonebook can be browsed on your radio screen, but editing can only be done on yourphone. To browse, press the “Phone” button on the touchscreen, then the “Phonebook” button
on the touchscreen.
Favorite phonebook entries can be saved as Favorites for quicker access. Favorites are shown at
the top of your main phone screen.
Voice Command Tips
• Speaking complete names (i.e; Call John Doe vs. Call John) will result in greater system accuracy.
• You can “chain” commands together for faster results. Say “Call John Doe, mobile,” for example.
• If you are listening to available voice command options, you do not have to listen to the entire list. When you hear the command that you need, push the
button on the steering
wheel, wait for the beep and say your command.
Changing The Volume
• Start a dialogue by pushing the Phone button, then say a command for example -
"Help".
• Use the radio ON/OFF VOLUME rotary knob to adjust the volume to a comfortable level while the Uconnect® system is speaking. Please note the volume setting for Uconnect® is
different than the audio system.
NOTE:
To access help, push the Uconnect® Phone
button on the steering wheel and say "help."
Press the display or push either the Phone
or VRbutton and say "cancel" to cancel
the help session.
Voice Text Reply (Not Compatible With iPhone®)
Once your Uconnect® system is paired with a compatible mobile device, the system can
announce a new incoming text message, and read it to your over the vehicle audio system. You
can reply to the message using Voice Recognition by selecting, or saying, one of the 18
pre-defined messages.
ELECTRONICS
144
Page 148 of 220
ELECTRONIC VEHICLE INFORMATION
CENTER (EVIC) AND DRIVER INFORMATION
DISPLAY (DID)
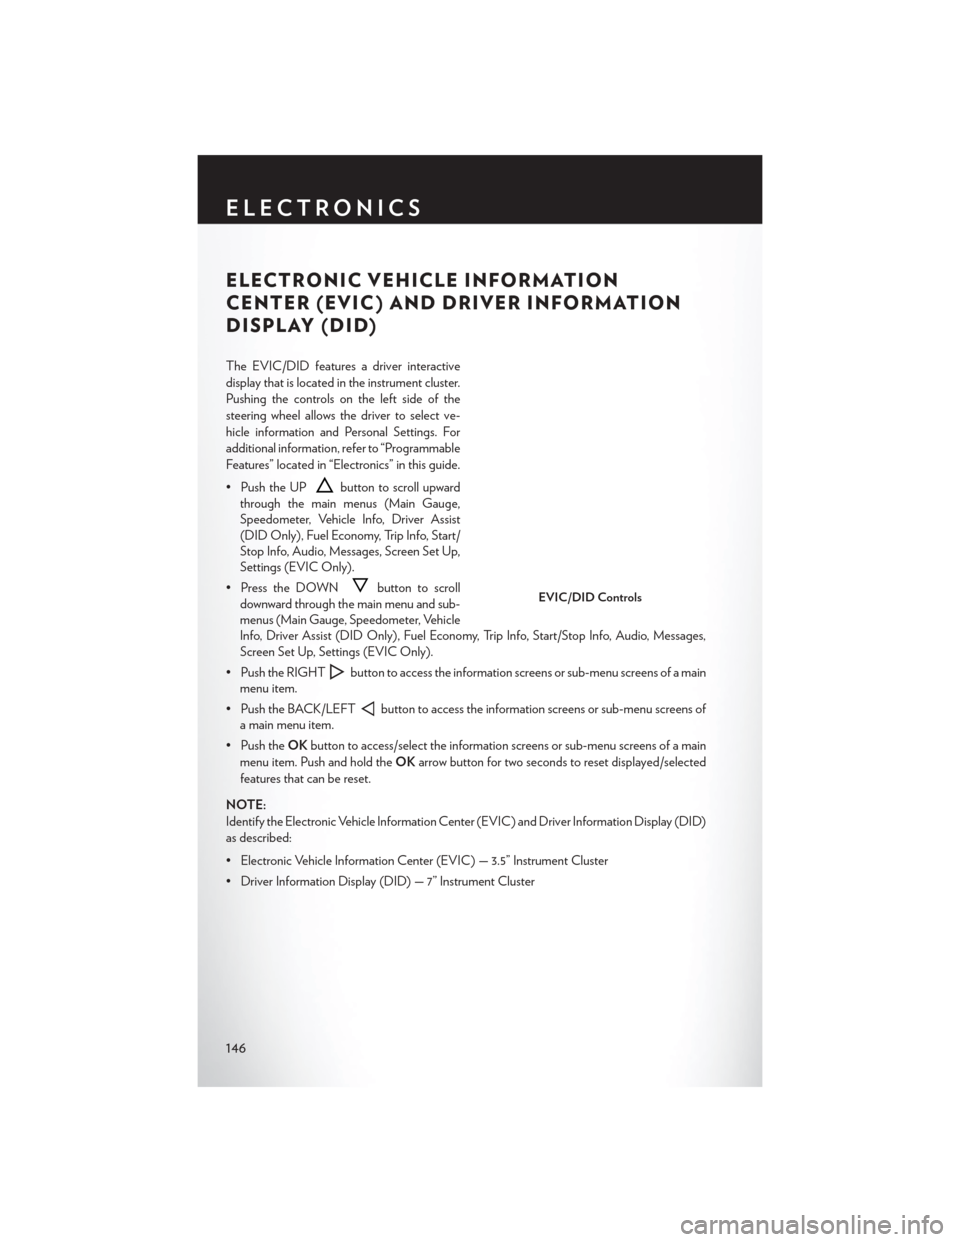
The EVIC/DID features a driver interactive
display that is located in the instrument cluster.
Pushing the controls on the left side of the
steering wheel allows the driver to select ve-
hicle information and Personal Settings. For
additional information, refer to “Programmable
Features” located in “Electronics” in this guide.
• Push the UP
button to scroll upward
through the main menus (Main Gauge,
Speedometer, Vehicle Info, Driver Assist
(DID Only), Fuel Economy, Trip Info, Start/
Stop Info, Audio, Messages, Screen Set Up,
Settings (EVIC Only).
• Press the DOWN
button to scroll
downward through the main menu and sub-
menus (Main Gauge, Speedometer, Vehicle
Info, Driver Assist (DID Only), Fuel Economy, Trip Info, Start/Stop Info, Audio, Messages,
Screen Set Up, Settings (EVIC Only).
• Push the RIGHT
button to access the information screens or sub-menu screens of a main
menu item.
• Push the BACK/LEFT
button to access the information screens or sub-menu screens of
a main menu item.
• Push the OKbutton to access/select the information screens or sub-menu screens of a main
menu item. Push and hold the OKarrow button for two seconds to reset displayed/selected
features that can be reset.
NOTE:
Identify the Electronic Vehicle Information Center (EVIC) and Driver Information Display (DID)
as described:
• Electronic Vehicle Information Center (EVIC) — 3.5” Instrument Cluster
• Driver Information Display (DID) — 7” Instrument Cluster
EVIC/DID Controls
ELECTRONICS
146
Page 149 of 220
EVIC/DID Main Menu Selectable Items
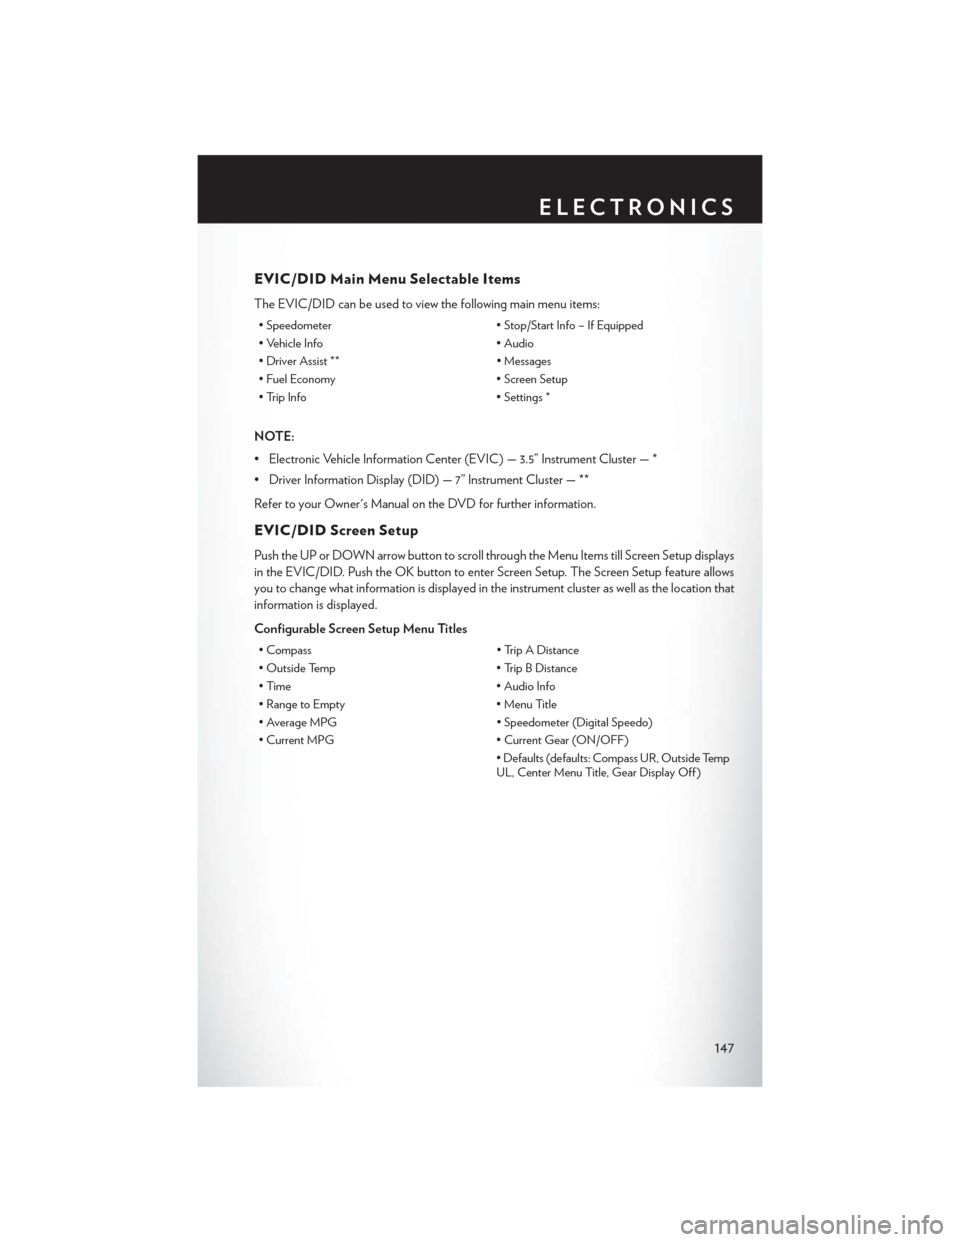
The EVIC/DID can be used to view the following main menu items:
• Speedometer• Stop/Start Info – If Equipped
• Vehicle Info • Audio
• Driver Assist ** • Messages
• Fuel Economy • Screen Setup
• Trip Info • Settings *
NOTE:
• Electronic Vehicle Information Center (EVIC) — 3.5” Instrument Cluster — *
• Driver Information Display (DID) — 7” Instrument Cluster — **
Refer to your Owner's Manual on the DVD for further information.
EVIC/DID Screen Setup
Push the UP or DOWN arrow button to scroll through the Menu Items till Screen Setup displays
in the EVIC/DID. Push the OK button to enter Screen Setup. The Screen Setup feature allows
you to change what information is displayed in the instrument cluster as well as the location that
information is displayed.
Configurable Screen Setup Menu Titles
• Compass • Trip A Distance
• Outside Temp • Trip B Distance
• Time • Audio Info
• Range to Empty • Menu Title
• Average MPG • Speedometer (Digital Speedo)
• Current MPG • Current Gear (ON/OFF)
• Defaults (defaults: Compass UR, Outside Temp
UL, Center Menu Title, Gear Display Off )
ELECTRONICS
147
Page 150 of 220
PROGRAMMABLE FEATURES
Uconnect® Customer Programmable Features
The Uconnect® system allows you to access Customer Programmable feature settings such as
Display, Clock, Safety/Assistance, Lights, Doors & Locks, Auto-On Comfort & Remote Start,
Engine Off Operation, Compass Settings, Audio, Trailer Brake, Phone/Bluetooth®, Suspension
and SiriusXM Setup and System Information through buttons on the touchscreen.
• Push the “Controls” button located near the bottom of the touchscreen, then push the“Settings” button on the touchscreen to access the Settings screen. When making a selection,
scroll up or down until the preferred setting is highlighted, then press and release the preferred
setting until a check-mark appears next to the setting, showing that setting has been selected.
The following feature settings are available:
• Display • Voice
• Units • Doors & Locks
• Safety/Assistance • Engine Off Options
• Auto-On Comfort & Remote Start • Audio
• Phone/Bluetooth® • SiriusXM Setup
• Lights • System Information
• Clock • Compass
Refer to “Uconnect Settings/Customer Programmable Features” found within “Understanding
Your Instrument Panel” located in your Owner's Manual on the DVD for further information.
UNIVERSAL GARAGE DOOR OPENER
(HomeLink®)
HomeLink® replaces up to three hand-held
transmitters that operate devices such as ga-
rage door openers, motorized gates, lighting or
home security systems. The HomeLink® unit is
powered by your vehicles 12 Volt battery.
The HomeLink® buttons that are located in the
overhead console or sunvisor designate the
three different HomeLink® channels.
The HomeLink® indicator is located above the
center button.
Homelink® Indicator
ELECTRONICS
148
Page 192 of 220
MAINTENANCE SCHEDULE
Your vehicle is equipped with an automatic oil change indicator system. The oil change indicator
system will remind you that it is time to take your vehicle in for scheduled maintenance.
Based on engine operation conditions, the oil change indicator message will illuminate. This
means that service is required for your vehicle. Operating conditions such as frequent short-trips,
trailer tow, extremely hot or cold ambient temperatures will influence when the “Oil Change
Required” message is displayed. Severe Operating Conditions can cause the change oil message
to illuminate as early as 3,500 miles (5,600 km) since last reset. Have your vehicle serviced as soon
as possible, within the next 500 miles (805 km).
Your authorized dealer will reset the oil change indicator message after completing the scheduled oil
change. If a scheduled oil change is performed by someone other than your authorized dealer, the
message can be reset by referring to the steps described under “Oil Change Reset” in “Electronic
Vehicle Information Center (EVIC)” or "Driver Information Display (DID)” in “Understanding Your
Instrument Panel” in your Owners Manual on the DVD for further information.
NOTE:
Under no circumstances should oil change intervals exceed 10,000 miles (16,000 km) or twelve
months, whichever comes first.
Severe Duty All Models
Change Engine Oil at 4000 miles (6,500 km) if the vehicle is operated in a dusty and off road
environment. This type of vehicle use is considered Severe Duty.
Once A Month Or Before A Long Trip:
• Check engine oil level.
• Check windshield washer fluid level.
• Check tire pressure and look for unusual wear or damage. Rotate tires at the first sign ofirregular wear, even if it occurs before the oil indicator system turns on.
• Check the fluid levels of the coolant reservoir and brake master cylinder, fill as needed.
• Check function of all interior and exterior lights.
Required Maintenance Intervals.
Refer to the maintenance schedules on the following page for the required maintenance intervals.
At Every Oil Change Interval As Indicated By Oil Change Indicator System:
• Change oil and filter
• Rotate the tires. Rotate at the first sign of irregular wear, even if it occurs before the oil
indicator system turns on.
• Inspect battery and clean and tighten terminals as required
• Inspect brake pads, shoes, rotors, drums, hoses and park brake
• Inspect engine cooling system protection and hoses
• Inspect exhaust system
• Inspect engine air cleaner if using in dusty or off-road conditions
MAINTAINING YOUR VEHICLE
190
Page 210 of 220
Malfunction Indicator Light (MIL) . . .159
Oil Pressure Warning Light......155
Park/Headlight ON Indicator .....160
SeatBeltReminderLight .......158
Tire Pressure Monitoring System (TPMS)
Light ................ .156
Transmission Temperature Warning
Light ................ .157
Turn Signal Indicator .........160
Vehicle Security Light .........160
Clutch ................. .189
Clutch Fluid .............. .189
CompactSpareTire ...........199
Cooling System ............. .189
Adding Coolant (Antifreeze) .....189
Coolant Capacity ...........188
Coolant Level ............189
Disposal of Used Coolant ......189
Drain, Flush, and Refill ........189
Inspection ............. .189
Points to Remember .........189
Pressure Cap ............ .189
Selection of Coolant
(Antifreeze) ...........188, 189
Corrosion Protection ...........189
Cruise Control (Speed Control) ......38
Cruise Light ................38
Customer Assistance ...........202
Customer Programmable Features . . . .148
Deck Lid, Emergency Release .......16
Deck Lid, Power Release ..........16
Defects, Reporting ............203
Defroster, Rear Window ........45, 46
Defroster, Windshield .........45, 46
Dimmer Control ..............36
Dimmer Switch, Headlight .........36
Disabled Vehicle Towing .........155
Disarming, Security System ........17
Discharged Battery ............176
Disposal Antifreeze (Engine Coolant) .....189
Door Locks ................10
Door Locks ...............13
D
riverCockpit ...............6
Driver Information Display Controls ............... .146
DID................. .146EVIC/DID ..............146
Programmable Features
........147
Electric Parking Brake ...........55
Electronics Your Vehicle's Sound System . . .64, 65
Electronic Speed Control (Cruise Control) ............38
Electronic Stability Control (ESC) . . . .159
Electronic Stability Control (ESC) OFF Indicator ............... .160
Electronic Throttle Control Warning Light ................ .156
Electronic Vehicle Information Center Controls ............... .146
EVIC.................146
Programmable Features ........147
Electronic Vehicle Information Center (EVIC)..............146, 147
Programmable Features ........13
Emergency Deck Lid Release .......16
Emergency, In Case of Brake Warning Light .........158
Jacking ............... .168
Overheating .............161
Towing ............... .155
Emergency Trunk Release .........16
Engine Air Cleaner ............. .189
Break-In Recommendations ......35
Checking Oil Level ..........189
Compartment .............184
Coolant (Antifreeze) .........188
Cooling ............... .189
Oil............... .188, 189
Oil Filler Cap ............ .189
Oil Selection ...........188, 189
Overheating .............161
Starting ................14
Stopping ................14
Temperature Warning Light ......157
EventDataRecorder.......... .181
EVIC EVIC/DID ..............146
Exhaust System ............. .189
FAQ.................. .205
INDEX
208