remote control CHRYSLER 200 2015 2.G User Guide
[x] Cancel search | Manufacturer: CHRYSLER, Model Year: 2015, Model line: 200, Model: CHRYSLER 200 2015 2.GPages: 220, PDF Size: 3.7 MB
Page 3 of 220
INTRODUCTION/WELCOME
WELCOME FROM CHRYSLER
GROUPLLC ..................3
CONTROLS AT A GLANCE
DRIVER COCKPIT...............6
INSTRUMENT CLUSTER ...........8
GETTING STARTED
KEYFOB ....................10
REMOTE START...............11
KEYLESS ENTER-N-GO™ ..........12
TRUNK LOCK AND RELEASE ........16
VEHICLE SECURITY ALARM ........17
SEAT BELT SYSTEMS .............18
SUPPLEMENTAL RESTRAINT SYSTEM
(SRS)—AIRBAGS ..............19
CHILD RESTRAINTS .............25
HEAD RESTRAINTS .............28
FRONTSEATS .................29
REAR SEAT ...................31
HEATED/VENTILATED SEATS .......32
HEATED STEERING WHEEL ........33
TILT/TELESCOPING STEERING
COLUMN ...................34
OPERATING YOUR VEHICLE
ENGINE BREAK-IN
RECOMMENDATIONS ............35
TURN SIGNAL/HIGH BEAM LEVER ....35
HEADLIGHT SWITCH ............36
WIPER/WASHER LEVER ...........37
ELECTRONIC SPEED CONTROL .....38
ADAPTIVE CRUISE CONTROL (ACC) . . 40
FORWARD COLLISION WARNING (FCW)
WITHMITIGATION .............43
MANUAL CLIMATE CONTROLS WITHOUT
TOUCHSCREEN ...............45
MANUAL CLIMATE CONTROLS WITH
TOUCHSCREEN ...............46
AUTOMATIC TEMPERATURE CONTROLS
(ATC) .....................48
NINE-SPEED AUTOMATIC
TRANSMISSION ................51
PADDLE SHIFT MODE ............53
STOP/START SYSTEM — 2.4L ENGINE . . . 54
ELECTRIC PARKING BRAKE (EPB) .....55
PARKSENSE® ..................57
LANESENSE . .................59
PARKVIEW® REAR BACK-UP CAMERA . . 60
BLIND SPOT MONITORING ........60
POWER SUNROOF ..............61
WIND BUFFETING . . ............63
ELECTRONICS
YOUR VEHICLE'S SOUND SYSTEM . . . . 64
IDENTIFYING YOUR RADIO ........66
Uconnect® ACCESS . . . ...........67
Uconnect® 3.0 . . ................84
Uconnect® 5.0 ..................86
Uconnect® 8.4A ................98
Uconnect® 8.4AN . . .............129
STEERING WHEEL AUDIO CONTROLS. . 145
ELECTRONIC VEHICLE INFORMATION
CENTER (EVIC) AND DRIVER
INFORMATION DISPLAY (DID) ......146
PROGRAMMABLE FEATURES .......148
UNIVERSAL GARAGE DOOR OPENER
(HomeLink®) ..................148
POWER INVERTER .............151
POWER OUTLET ..............152
UTILITY
TRAILER TOWING WEIGHTS (MAXIMUM
TRAILER WEIGHT RATINGS) .......153
RECREATIONAL TOWING (BEHIND
MOTORHOME, ETC.) ...........153
WHAT TO DO IN EMERGENCIES
ROADSIDE ASSISTANCE ..........155
INSTRUMENT CLUSTER WARNING
LIGHTS ....................155
INSTRUMENT CLUSTER INDICATOR
LIGHTS ....................160
IF YOUR ENGINE OVERHEATS ......161
TIRESERVICEKIT ..............161
JACKING AND TIRE CHANGING ....168
JUMP-STARTING ..............176
FREEING A STUCK VEHICLE .......178
MANUAL PARK RELEASE ..........179
TOWING A DISABLED VEHICLE .....181
EVENT DATA RECORDER (EDR) .....181
MAINTAINING YOUR VEHICLE
OPENING THE HOOD...........182
ENGINE COMPARTMENT .........184
FLUIDCAPACITIES .............188
FLUIDS, LUBRICANTS AND
GENUINE PARTS ..............188
MAINTENANCE PROCEDURES ......189
MAINTENANCE SCHEDULE .......190
FUSES .....................193
TIRE PRESSURES ...............198
SPARE TIRES — IF EQUIPPED .......199
WHEEL AND WHEEL TRIM CARE . . . . 200
REPLACEMENT BULBS ...........201
TABLE OF CONTENTS
Page 13 of 220
Panic Alarm
• To turn the Panic Alarm feature ON or OFF, push and hold the PANIC button on the RKEtransmitter for at least one second and release. When the Panic Alarm is on, the headlights and
park lights will flash, the horn will pulse on and off and the interior lights will turn on.
• The Panic Alarm will stay on for three minutes unless you turn it off by pushing the PANIC button a second time or if the vehicle speed is 5 mph (8 km/h) or greater.
NOTE:
When you turn off the Panic Alarm by pushing the PANIC button a second time, you may have
to move closer to the vehicle due to the radio frequency noises of the system.
WARNING!
• When leaving the vehicle, always make sure the ignition is in the OFF position, remove the key fob from the vehicle, and lock your vehicle.
• Never leave children alone in a vehicle, or with access to an unlocked vehicle. Allowing
children to be in a vehicle unattended is dangerous for a number of reasons. A child or
others could be seriously or fatally injured. Children should be warned not to touch the
parking brake, brake pedal or the transmission gear selector.
• Do not leave the Key Fob in or near the vehicle (or in a location accessible to children). A
child could operate power windows, other controls, or move the vehicle.
REMOTE START
• Push the REMOTE START buttonx2on the Key Fob twice within five seconds. Pushing
the REMOTE START button a third time shuts the engine off.
• To drive the vehicle, push the UNLOCK button and cycle the ignition to the ON/RUN position.
With Remote Start, the engine will only run for 15 minutes (timeout) unless the ignition is cycled
to the ON/RUN position.
The vehicle must be cycled to the ON/RUN position after two consecutive timeouts.
WARNING!
• Do not start or run an engine in a closed garage or confined area. Exhaust gas contains Carbon Monoxide (CO) which is odorless and colorless. Carbon Monoxide is poisonous
and can cause you or others to be severely injured or killed when inhaled.
• Keep Key Fob transmitters away from children. Operation of the Remote Start System,
windows, door locks or other controls could cause you and others to be severely injured or
killed.
GETTING STARTED
11
Page 34 of 220
WARNING!
• Be certain that the seatback is securely locked into position. If the seatback is not securelylocked into position, the seat will not provide the proper stability for child seats and/or
passengers. An improperly latched seat could cause you and others to severely injured or
killed.
• The cargo area in the rear of the vehicle (with the rear seatbacks in the locked-up or
folded-down position) should not be used as a play area by children when the vehicle is in
motion. They could be severely injured or killed in a collision. Children should be seated
and using the proper restraint system.
HEATED/VENTILATED SEATS
Front Ventilated Seats
Located in the seat cushion and seatback are small fans that draw the air from the passenger
compartment and pull air through fine perforations in the seat cover to help keep the driver and
front passenger cooler in higher ambient temperatures.
There are two ventilated seat control buttons located in the touchscreen that allow the driver and
passenger to operate the seats independently.
The ventilated seat buttons are used to control the speed of the fans located in the seat.
To operate the system, press the “Controls” button on touchscreen located on the bottom of the
Uconnect® display.
• Press the ventilated seat button
once to choose HIGH.
• Press the ventilated seat button
a second time to choose LOW.
• Press the ventilated seat button
a third time to turn the ventilated seat OFF.
NOTE:
Vehicle Equipped With Remote Start
On models that are equipped with remote start, this feature can be programmed to come on
during a remote start through the Uconnect® system. Refer to “Uconnect® Settings” in “Under-
standing Your Instrument Panel” in the Owner's Manual on the DVD.
Front Heated Seats
The front heated seats control buttons are located within the climate or controls screen of the
touchscreen.
• Press the heated seat button
once to turn the High setting On.
• Press the heated seat button
a second time to turn the Low setting On.
• Press the heated seat button
a third time to turn the heating elements Off.
If the High-level setting is selected, the system will automatically switch to Low-level after
approximately 60 minutes. The Low-level setting will turn Off automatically after approximately
45 minutes.
GETTING STARTED
32
Page 35 of 220
NOTE:
Vehicle Equipped With Remote Start
On models that are equipped with remote start, this feature can be programmed to come on
during a remote start through the Uconnect® system. Refer to “Uconnect® Settings” in “Under-
standing Your Instrument Panel” in the Owner's Manual on the DVD.
WARNING!
• Persons who are unable to feel pain to the skin because of advanced age, chronic illness,diabetes, spinal cord injury, medication, alcohol use, exhaustion or other physical condi-
tions must exercise care when using the seat heater. It may cause burns even at low
temperatures, especially if used for long periods of time.
• Do not place anything on the seat that insulates against heat, such as a blanket or cushion.
This may cause the seat heater to overheat. Sitting in a seat that has been overheated
could cause serious burns due to the increased surface temperature of the seat.
HEATED STEERING WHEEL
The steering wheel contains a heating element that heats the steering wheel to one temperature
setting.
The heated steering wheel control button is located within the Uconnect® system. You can gain
access to the control buttons through the climate screen or the controls screen.
• Press the heated steering wheel button
once to turn the heating element ON.
• Press the heated steering wheel button
a second time to turn the heating element OFF.
Once the heated steering wheel has been turned on, it will operate for up to 80 minutes before
automatically shutting off. The heated steering wheel can shut off early or may not turn on when
the steering wheel is already warm.
NOTE:
Vehicle Equipped With Remote Start
On models that are equipped with remote start, this feature can be programmed to come on
during a remote start through the Uconnect® system. Refer to “Uconnect® Settings” in “Under-
standing Your Instrument Panel” in the Owner's Manual on the DVD.
WARNING!
• Persons who are unable to feel pain to the skin because of advanced age, chronic illness, diabetes, spinal cord injury, medication, alcohol use, exhaustion, or other physical condi-
tions must exercise care when using the steering wheel heater. It may cause burns even at
low temperatures, especially if used for long periods.
• Do not place anything on the steering wheel that insulates against heat, such as a blanket
or steering wheel covers of any type and material. This may cause the steering wheel
heater to overheat.
GETTING STARTED
33
Page 72 of 220
Download The Uconnect® Access App
The Uconnect® Access smartphone app allows you to remotely lock or unlock your doors, start
your engine (if equipped) and activate your horn and lights from virtually anywhere. The
smartphone app also features Via Mobile (if equipped) which uses your smartphone’s data plan
to access your personal Pandora®, iHeartRadio, Slacker Radio and Aha™ by HARMAN accounts
and control them using your vehicle touchscreen.
The Uconnect® Access app is only compatible with select iPhone® and Android smartphones.
Visit UconnectPhone.com or call 1-877-855-8400 to confirm that your smartphone is compatible
with Uconnect®. Once you’ve confirmed your smartphone is compatible, Android and iPhone®
users should visit their respective app store and search for “Uconnect Access” to download the
app.
Set Up Your Via Mobile Profile — If Equipped
Setting up your Via Mobile profile means entering your login information for each App so that
they can work in your vehicle. Complete your Via Mobile Profile online during registration of your
Uconnect® Access system. Access this pageby logging into your Mopar Owner Connect
account (moparownerconnect.com), going to Edit Profile, then Via Mobile Profile.
If you already have an account with these Apps, scroll down and press “Link” to enter your
information. If you do not have an account, you can create a new one.
Aha™ by HARMAN (www.aharadio.com)
• Enter your email address and password for Aha™, or create a new Aha™ account.
• You can link your Facebook, Twitter or Slacker accounts on the Aha™ website.
iHeartRadio (www.iHeartRadio.com)
• Enter your email address and password for iHeartRadio, or create a new iHeartRadio account.
• Select “Activate” to continue,
• Select “Close” to complete activation.
Pandora® (www.pandora.com)
• Enter your Pandora® username/email address and password, then click “Save.”
• Create a new Pandora® account.
Slacker Radio (www.slacker.com)
• Enter your Slacker username/email address and password, then click “Save.”
• Create a new Slacker Radio account.
Invite family and friends to use the Via Mobile Apps in your vehicle by setting up their own Via
Mobile profile.
ELECTRONICS
70
Page 74 of 220
Purchasing WiFi Hotspot While In Your Vehicle
You must set up a Uconnect® Access Payment Account online (log in tomoparownerconnect.com, go
to Edit Profile, then Uconnect® Payment Account, to set up and manage your Payment
Account).
1. To purchase WiFi while in your vehicle, ensure the vehicle is running and in Park. Press the “Apps” button on the touchscreen, then select WiFi within the “Apps” menu. Follow the
on-screen instructions. When asked for your payment PIN, use the 4-digit PIN you established
when setting up your payment account on Mopar Owner Connect.
NOTE:
This may be different than the Uconnect® Security PIN you established for using features such as
Remote Vehicle Start. After purchasing WiFi, it may take up to 30 minutes (with the vehicle
running) before the WiFi will be active in your vehicle.
2. Select WiFi again, then note the hotspot name. Select this network when connecting devices to the hotspot. Also click on View/Edit Passphrase, then note the security passphrase you will
need to connect to the network on each device.
If your devices cannot see the WiFi Hotspot network after 30 minutes, please contact Uconnect®
Care by pressing the ASSIST button on the rearview mirror, or by calling 1-855-792-4241.
Using Uconnect® Access
Getting Started With Apps
Applications (Apps) and features in your Uconnect® Access system deliver services that are
customized for the driver and are certified by Chrysler Group, LLC. Two different types are:
1. Built-In Features — use the built-in 3G Cellular Network on your Uconnect® 8.4AN radio.
2. Uconnect® Access Via Mobile (if equipped) — Via Mobile uses the Uconnect® Access app
and your smartphone's data plan to access your personal Pandora®, iHeartRadio, Aha™ by
HARMAN and Slacker Radio accounts from the vehicle and control them using the vehicle
touchscreen. Customer’s data plan charges will apply. Available on Uconnect® 8.4A and
8.4AN Radios (if equipped).
Get started with your Uconnect® Access apps by pressing the Uconnect® “Apps” button on the
menu bar at the bottom right corner of the radio touchscreen. Available apps and features are
organized by the tabs on the left of the screen:
Favorite Apps — This is the default screen when you first press the “Apps” button on the
touchscreen, and is a good place to put the apps you use most frequently. To make an App
a “favorite”, press the “settings” button on the touchscreen to the right of the app, and select
“Make a favorite.”
ELECTRONICS
72
Page 88 of 220
The functions of the portable device are controlled using the device buttons, not the buttons on
the radio. The volume may be controlled using the radio or portable device.
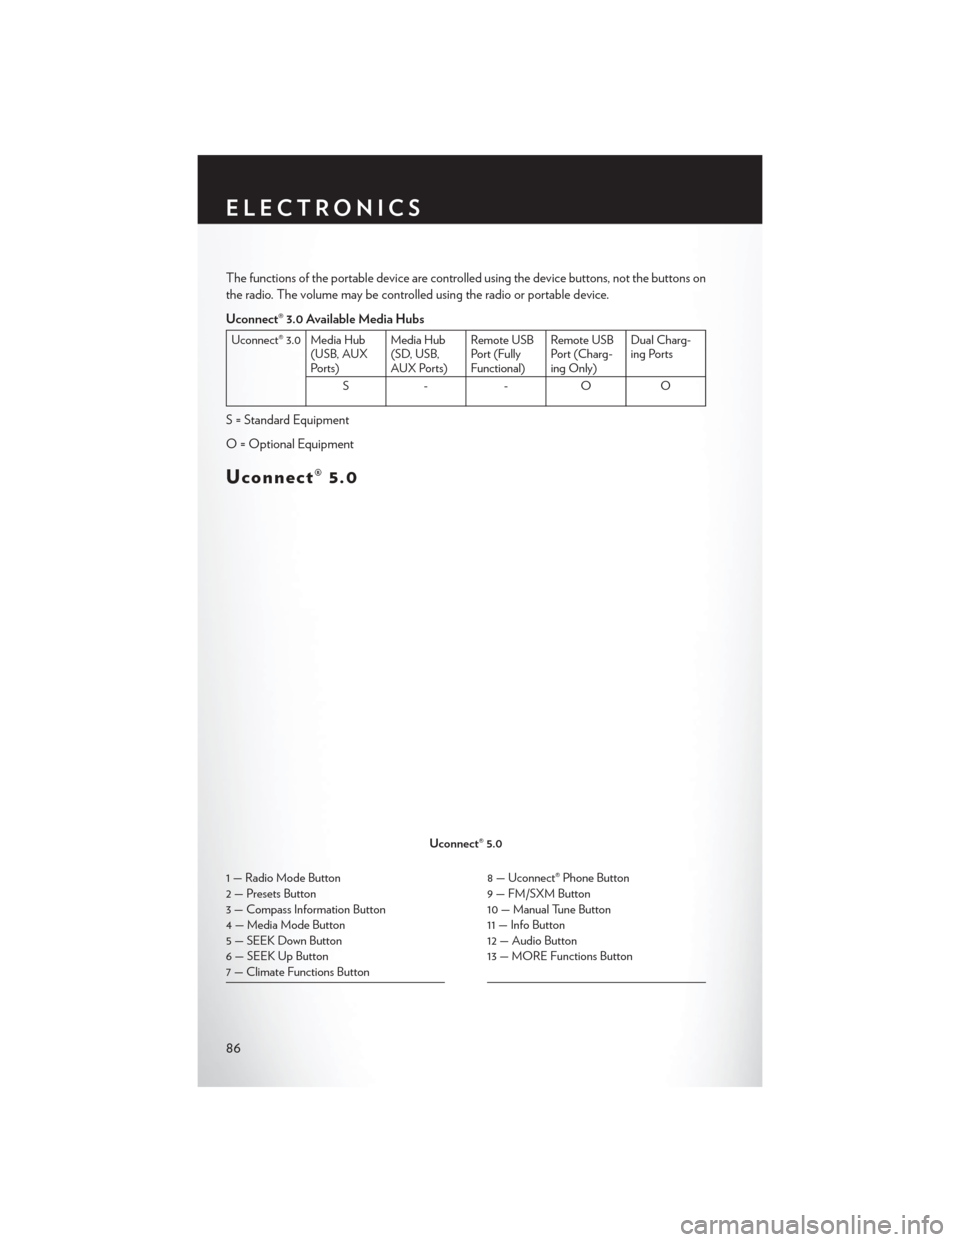
Uconnect® 3.0 Available Media Hubs
Uconnect® 3.0 Media Hub(USB, AUX
Ports) Media Hub
(SD, USB,
AUX Ports)Remote USB
Port (Fully
Functional)Remote USB
Port (Charg-
ing Only)Dual Charg-
ing Ports
S- -OO
S = Standard Equipment
O = Optional Equipment
Uconnect® 5.0
1 — Radio Mode Button
2 — Presets Button
3 — Compass Information Button
4 — Media Mode Button
5 — SEEK Down Button
6 — SEEK Up Button
7 — Climate Functions Button8 — Uconnect® Phone Button
9 — FM/SXM Button
10 — Manual Tune Button
11 — Info Button
12 — Audio Button
13 — MORE Functions Button
Uconnect® 5.0
ELECTRONICS
86
Page 91 of 220
USB/Audio Jack (AUX)/Bluetooth® Operation
USB/iPod®
• USB/iPod® Mode is entered by either inserting a USB Jump Drive or iPod® cable into the USBport or by pushing the MEDIA button on the faceplate located left of the display. Once in
Media Mode, press the “source” button on the touchscreen and select “USB/iPod.”
• Push the MEDIA button on the faceplate, then press the “source” button on the touchscreen and then select “USB/iPod” to change the mode to the USB device if the device is connected,
allowing the music from your portable device to play through the vehicle's speakers.
Audio Jack (AUX)
The AUX allows a portable device, such as an MP3 player or an iPod®, to be plugged into the
radio and utilize the vehicle’s audio system, using a 3.5 mm audio cable, to amplify the source and
play through the vehicle speakers.
• Push the MEDIA button on the faceplate, then press the “source” button on the touchscreen and then select “AUX” to change the mode to auxiliary device if the audio jack is connected,
allowing the music from your portable device to play through the vehicle's speakers.
The functions of the portable device are controlled using the device buttons, not the buttons on
the radio. The volume may be controlled using the radio or portable device.
Bluetooth®
If using a Bluetooth® - equipped device, you may also be able to stream music to your vehicle's
sound system.
• Push the MEDIA button on the faceplate, then press the “source” button on the touchscreen. Select “Bluetooth” to change the mode to Bluetooth® if the device is paired, allowing the music
from your portable device to play through the vehicle's speakers.
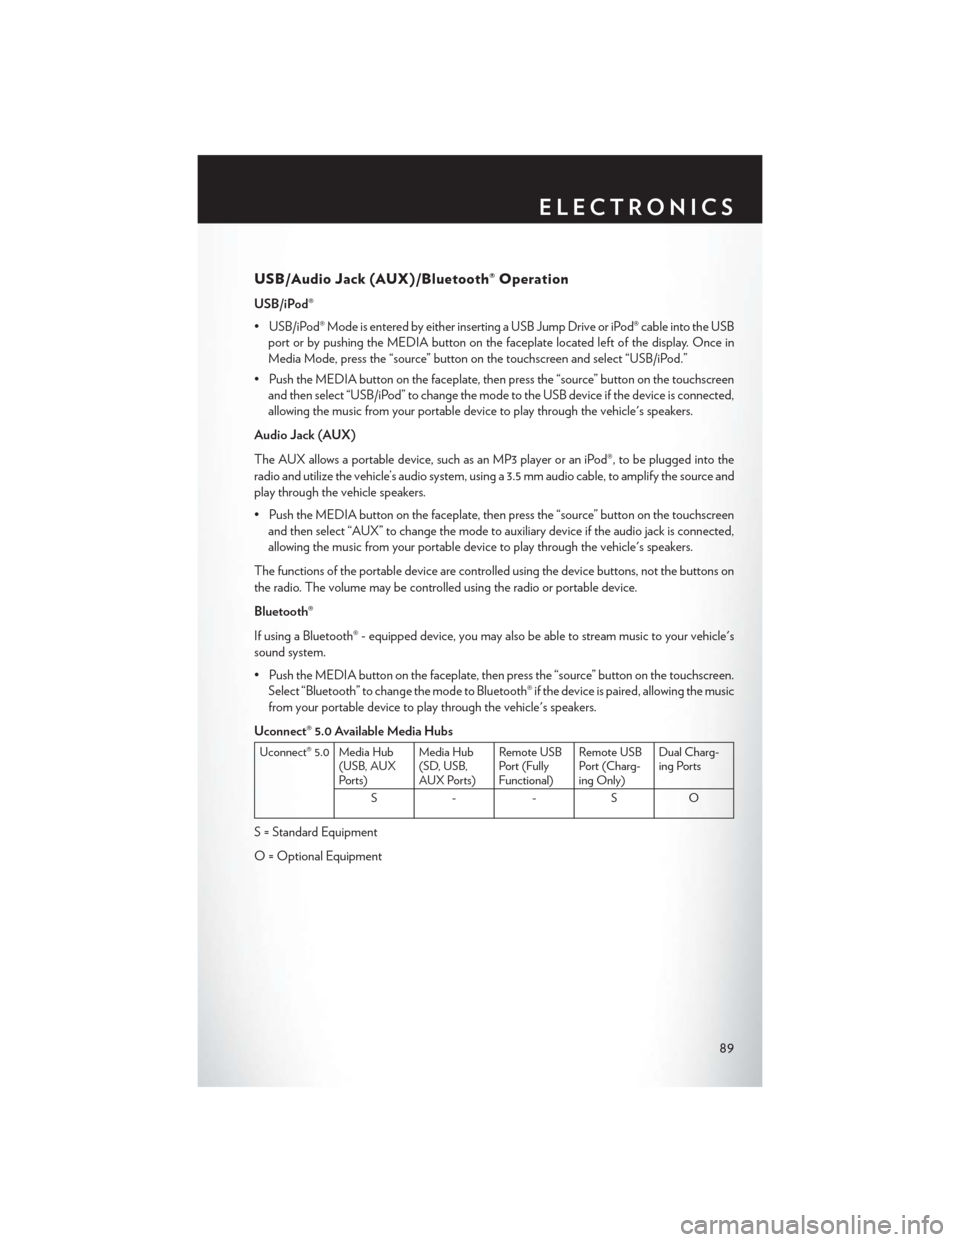
Uconnect® 5.0 Available Media Hubs
Uconnect® 5.0 Media Hub (USB, AUX
Ports) Media Hub
(SD, USB,
AUX Ports)Remote USB
Port (Fully
Functional)Remote USB
Port (Charg-
ing Only)Dual Charg-
ing Ports
S- -SO
S = Standard Equipment
O = Optional Equipment
ELECTRONICS
89
Page 106 of 220
NOTE:
• When connecting your iPod® device for the first time, the system may take several minutes toread your music, depending on the number of files. For example, the system will take
approximately five minutes for every 1000 songs loaded on the device. Also during the
reading process, the Shuffle and Browse functions will be disabled. This process is needed to
ensure the full use of your iPod® features and only happens the first time it is connected. After
the first time, the reading process of your iPod® will take considerably less time unless changes
are made or new songs are added to the playlist.
• The USB port supports certain Mini, Classic, Nano, Touch, and iPhone® devices. The USB port also supports playing music from compatible external USB Mass Storage Class memory
devices. Some iPod® software versions may not fully support the USB port features. Please visit
Apple’s website for iPod® software updates.
Audio Jack (AUX)
The AUX allows a portable device, such as an MP3 player or an iPod®, to be plugged into the
radio and utilize the vehicle’s sound system, using a 3.5 mm audio cable, to amplify the source and
play through the vehicle speakers.
• Pressing the “AUX” button on the touchscreen will change the mode to auxiliary device if the audio jack is connected, allowing the music from your portable device to be heard through the
vehicle's speakers. In order to activate the AUX, plug in the audio jack.
• The functions of the portable device are controlled using the device buttons. The volume may be controlled using the radio or portable device.
• To route the audio cable out of the center console, use the access cut out in the front of the console.
Bluetooth® Streaming Audio
If using a Bluetooth® - equipped device, you may also be able to stream music to your vehicle's
sound system. Your connected device must be Bluetooth-compatible, and paired with your
system (see Uconnect® Phone for pairing instructions).
• You can access the music from your connected Bluetooth® device by Pressing the “Bluetooth®” button on the touchscreen while in Media mode.
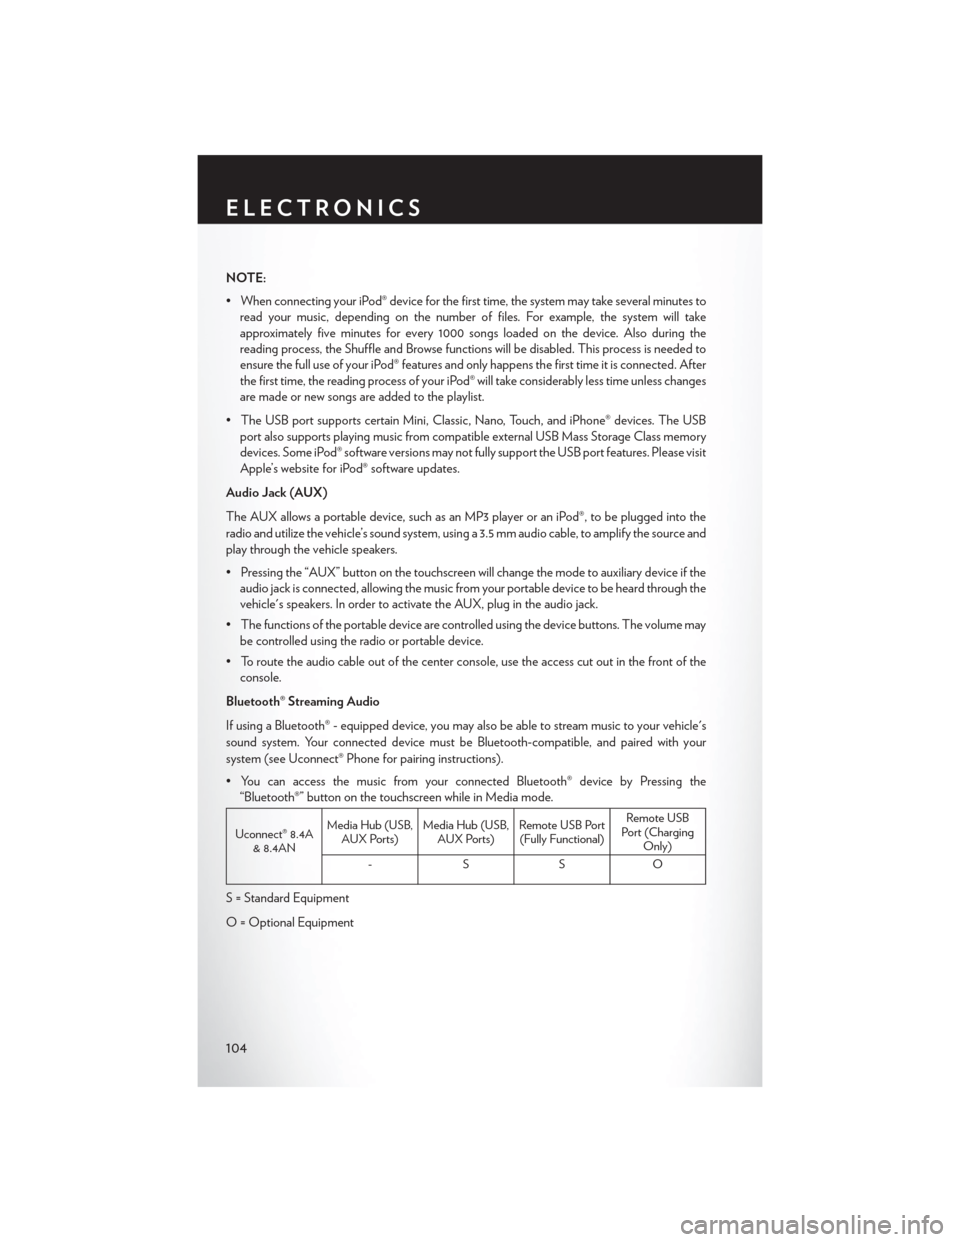
Uconnect® 8.4A & 8.4AN Media Hub (USB,
AUX Ports) Media Hub (USB,
AUX Ports) Remote USB Port
(Fully Functional) Remote USB
Port (Charging Only)
-SSO
S = Standard Equipment
O = Optional Equipment
ELECTRONICS
104
Page 138 of 220
NOTE:
• When connecting your iPod® device for the first time, the system may take several minutes toread your music, depending on the number of files. For example, the system will take
approximately five minutes for every 1000 songs loaded on the device. Also during the
reading process, the Shuffle and Browse functions will be disabled. This process is needed to
ensure the full use of your iPod® features and only happens the first time it is connected. After
the first time, the reading process of your iPod® will take considerably less time unless changes
are made or new songs are added to the playlist.
• The USB port supports certain Mini, Classic, Nano, Touch, and iPhone® devices. The USB port also supports playing music from compatible external USB Mass Storage Class memory
devices. Some iPod® software versions may not fully support the USB port features. Please visit
Apple’s website for iPod® software updates.
Audio Jack (AUX)
The AUX allows a portable device, such as an MP3 player or an iPod®, to be plugged into the
radio and utilize the vehicle’s sound system, using a 3.5 mm audio cable, to amplify the source and
play through the vehicle speakers.
• Pressing the “AUX” button on the touchscreen will change the mode to auxiliary device if the audio jack is connected, allowing the music from your portable device to be heard through the
vehicle's speakers. In order to activate the AUX, plug in the audio jack.
• The functions of the portable device are controlled using the device buttons. The volume may be controlled using the radio or portable device.
• To route the audio cable out of the center console, use the access cut out in the front of the console.
Bluetooth® Streaming Audio
If using a Bluetooth® - equipped device, you may also be able to stream music to your vehicle's
sound system. Your connected device must be Bluetooth-compatible, and paired with your
system (see Uconnect® Phone for pairing instructions).
• You can access the music from your connected Bluetooth® device by pressing the “Bluetooth®” button on the touchscreen while in Media mode.
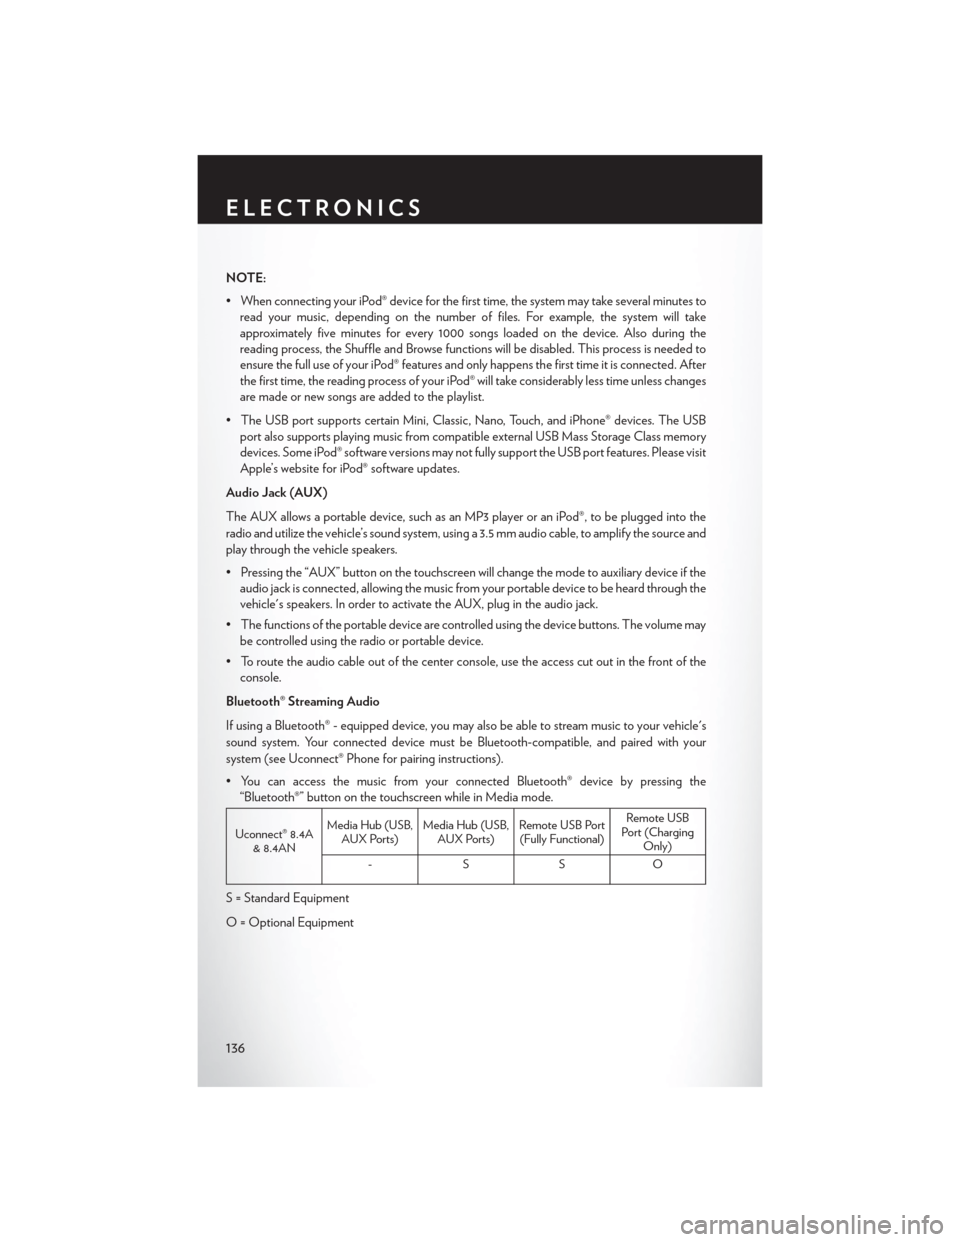
Uconnect® 8.4A & 8.4AN Media Hub (USB,
AUX Ports) Media Hub (USB,
AUX Ports) Remote USB Port
(Fully Functional) Remote USB
Port (Charging Only)
-SSO
S = Standard Equipment
O = Optional Equipment
ELECTRONICS
136