display CHRYSLER 200 CONVERTIBLE 2013 1.G Owner's Manual
[x] Cancel search | Manufacturer: CHRYSLER, Model Year: 2013, Model line: 200 CONVERTIBLE, Model: CHRYSLER 200 CONVERTIBLE 2013 1.GPages: 116, PDF Size: 3.04 MB
Page 57 of 116
Entering Your Home Location
• Press the “NAV” hard-key on the right side of the radio.
• From the Nav – Main Menu, touch “Guide Me Home” to enter your home address. If no homeaddress has been set, touch “YES” to access the Enter Home Address menu.
• Touch “Street Address” to enter your address. Touch the soft-key with your state’s name and enter your street name into the speller.
• Once the street name has been input, touch “CONTINUE” to confirm. Enter the house number into the next screen. If more than one city has this address, you will then need to select
your city from a list.
•
Once the address is entered completely, the system shows a map of your home address area.
Touch “SAVE” to confirm the address. The system will then ask if you want to go there, yes or no.
Change Home Address
• This procedure will allow you to change your Home Address if one has already been entered.
• Press the “MENU” hard-key, touch “My Files” and then touch “My Address Book.”
• Touch “Home,” then touch “Edit Contacts” and then “Change Address.”
• Touch the soft-key with your state’s name and enter your street name into the speller.
• Once the street name has been input, touch “CONTINUE” to confirm.
• Enter the house number into the next screen. If more than one city has this address, you will then need to select your city from a list.
• Touch the “SAVE” soft-key to confirm the address.
Go Home
• From the NAV main menu, touch “Guide Me Home” when you want to route to your home destination.
Where Am I Now?
• From the NAV main menu, touch “Where Am I Now?.” The Where Am I Now? menu displays location information for the current vehicle position.
• Touch the “NEARBY POI”soft-key to search for a local Point of Interest.
• Touch the “SAVE LOCATION” soft-key to save the current location in the Saved Locations memory.
ELECTRONICS
55
Page 58 of 116
Route Guidance
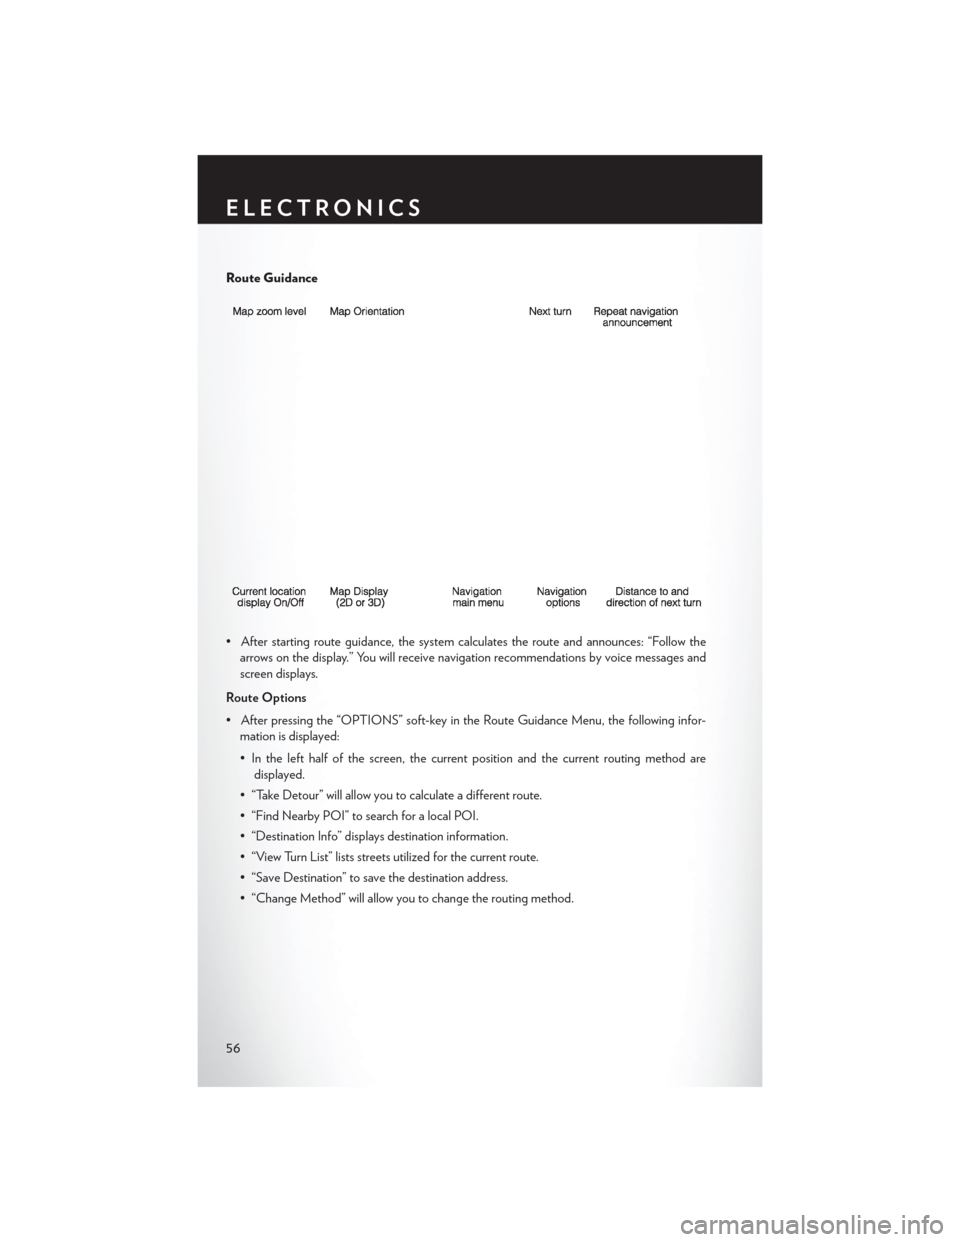
• After starting route guidance, the system calculates the route and announces: “Follow thearrows on the display.” You will receive navigation recommendations by voice messages and
screen displays.
Route Options
• After pressing the “OPTIONS” soft-key in the Route Guidance Menu, the following infor- mation is displayed:
• In the left half of the screen, the current position and the current routing method aredisplayed.
• “Take Detour” will allow you to calculate a different route.
• “Find Nearby POI” to search for a local POI.
• “Destination Info” displays destination information.
• “View Turn List” lists streets utilized for the current route.
• “Save Destination” to save the destination address.
• “Change Method” will allow you to change the routing method.
ELECTRONICS
56
Page 59 of 116
SiriusXM SATELLITE RADIO/TRAVEL LINK
• SiriusXM Travel Link requires a subscription, sold separately after the 1 year trial subscriptionincluded with your vehicle purchase.
• SiriusXM Travel Link is only available in the United States.
• The following describes features that are available when in SiriusXM Satellite Radio mode.
• To access SiriusXM Satellite Radio, press the “RADIO/MEDIA” or “RADIO” and then touch the “SAT” soft-key tab.
Info
• Touch the “i” soft-key to view detailed information about the current Sirius XM Satellite channel.
SiriusXM Parental Controls
• SiriusXM offers the option to permanently block selected channels. Call 1-888-539-7474 and request the Family Package.
• Uconnect® 430/430N and 730N: Press the “MENU” hard-key while in SiriusXM Satellite Radio Mode, then touch the “Channel Lock” to enable and/or disable desired channels. The
SEEK and SCAN function will then only display channels without Channel lock.
Search/Browse
• Touch the “magnifying glass” soft-key to search/browse the SiriusXM channel listing by Favorites and Categories such as Song, Artist and Channel Name. The Search/Browse also
allows you manage your Favorites.
ELECTRONICS
57
Page 60 of 116
SiriusXM Satellite Radio Favorites (SAT Favorites)
• You can save 50 favorite songs and 50 favorite artists.
• Touch the “add favorite” soft-key to addeither the song or the artist of the currently
playing program to the SAT Favorites list.
The favorite star will appear in the upper
right corner, below the SAT soft key.
• You will see a favorite star indicator in the upper right side of the screen below the SAT
soft-key and a pop up will alert you that a
favorite song or artist is currently playing on
one of the SiriusXM satellite radio channels.
NOTE:
Refer to your Uconnect® 730N or 430/430N
User's Manual for more information.
Display SAT Favorites List
• Touch the “Search/Browse” soft-key and select “Favorites” from the SAT Browse screen.
• Touch the desired favorites soft-key to switch the SAT tuner to the corresponding
channel.
• You may use the “LIST” soft-key to toggle between:• Favorite Songs.
• Favorite Artists.
• Currently playing favorites.
ELECTRONICS
58
Page 61 of 116
Replay
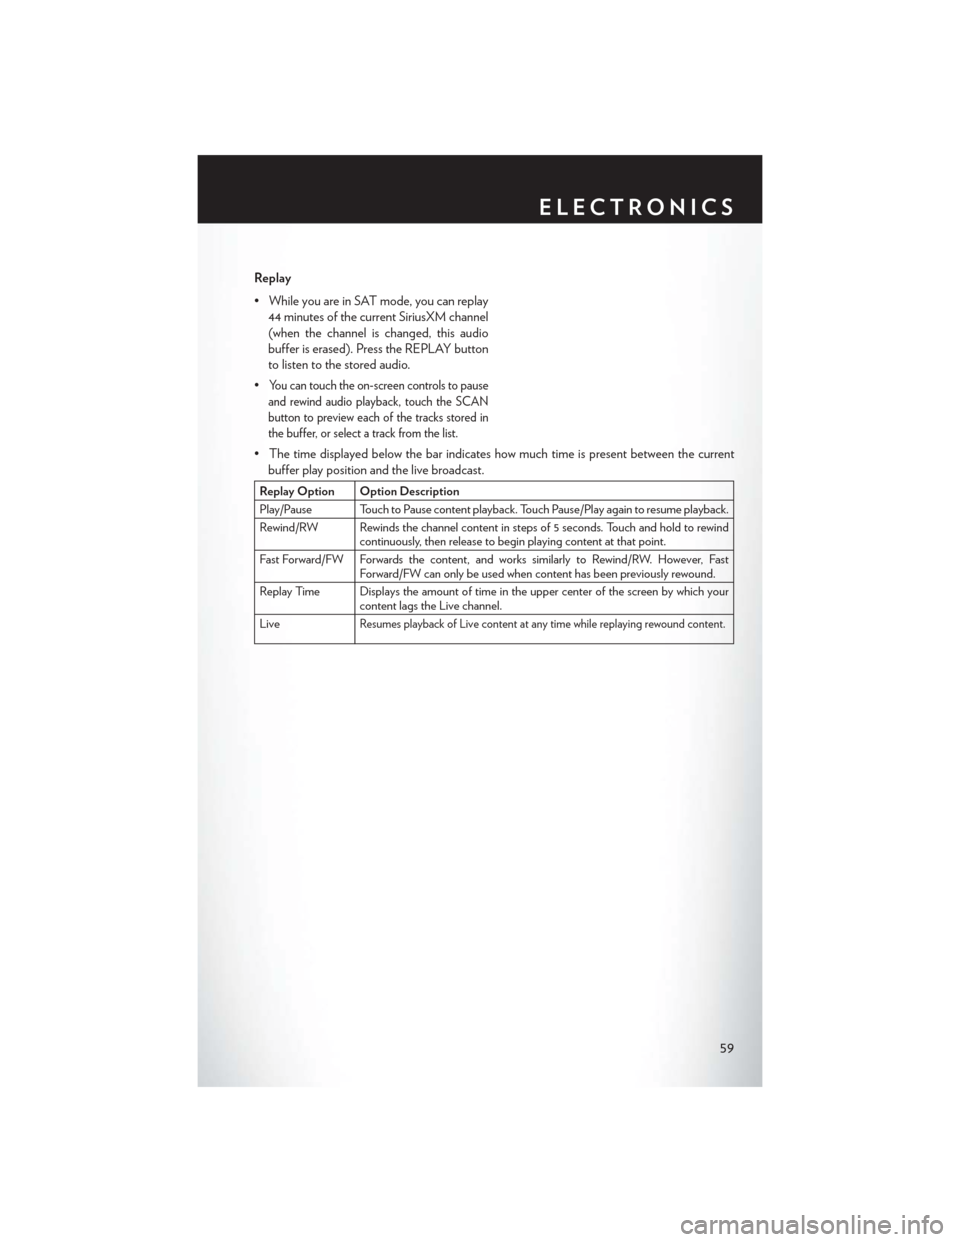
• While you are in SAT mode, you can replay44 minutes of the current SiriusXM channel
(when the channel is changed, this audio
buffer is erased). Press the REPLAY button
to listen to the stored audio.
•
You can touch the on-screen controls to pause
and rewind audio playback, touch the SCAN
button to preview each of the tracks stored in
the buffer, or select a track from the list.
• The time displayed below the bar indicates how much time is present between the current buffer play position and the live broadcast.
Replay Option Option Description
Play/Pause Touch to Pause content playback. Touch Pause/Play again to resume playback.
Rewind/RW Rewinds the channel content in steps of 5 seconds. Touch and hold to rewind continuously, then release to begin playing content at that point.
Fast Forward/FW Forwards the content, and works similarly to Rewind/RW. However, Fast Forward/FW can only be used when content has been previously rewound.
Replay Time Displays the amount of time in the upper center of the screen by which your content lags the Live channel.
Live
Resumes playback of Live content at any time while replaying rewound content.
ELECTRONICS
59
Page 64 of 116
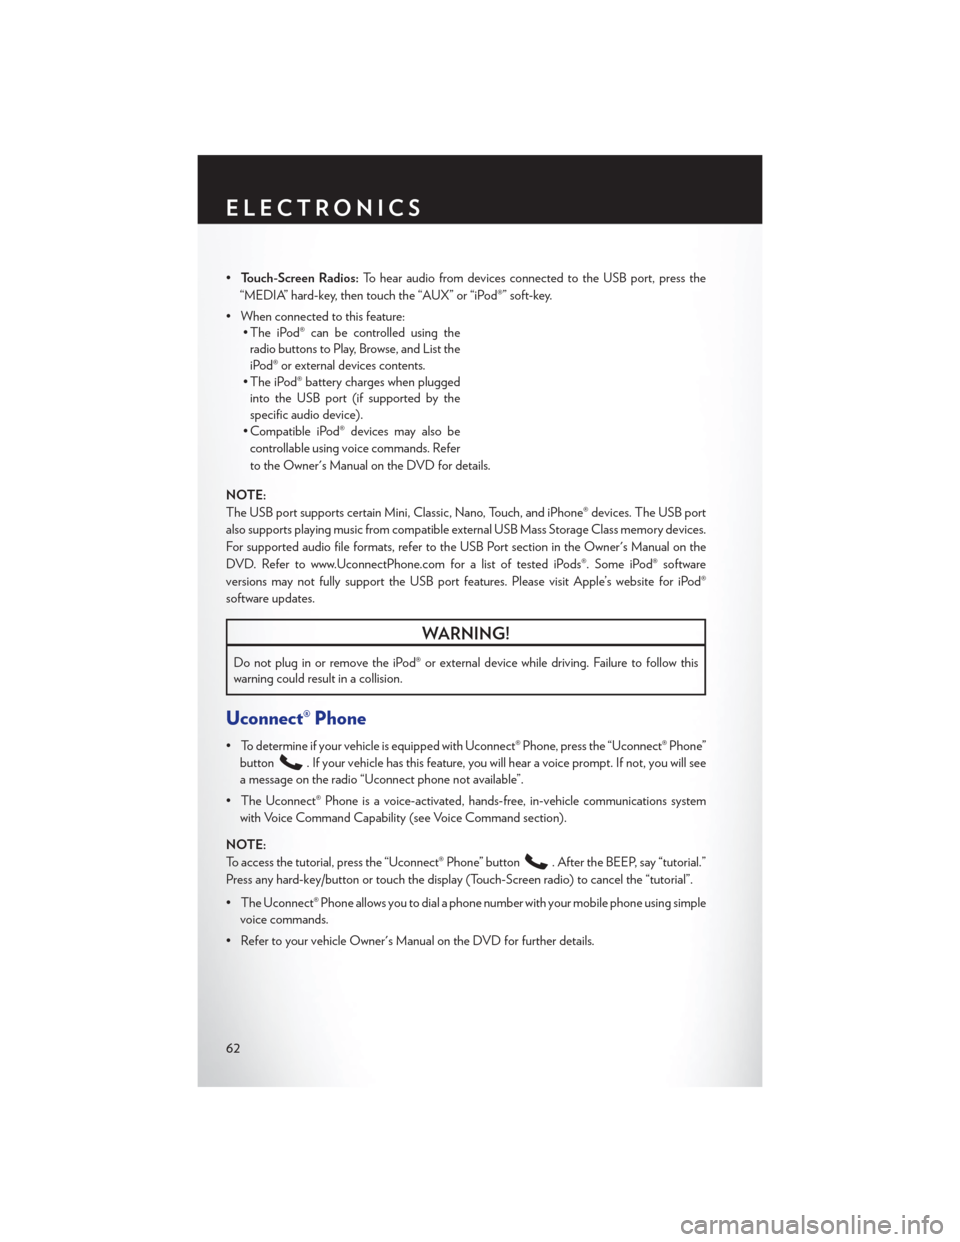
•Touch-Screen Radios: To hear audio from devices connected to the USB port, press the
“MEDIA” hard-key, then touch the “AUX” or “iPod®” soft-key.
• When connected to this feature: • The iPod® can be controlled using the
radio buttons to Play, Browse, and List the
iPod® or external devices contents.
• The iPod® battery charges when plugged into the USB port (if supported by the
specific audio device).
• Compatible iPod® devices may also be
controllable using voice commands. Refer
to the Owner's Manual on the DVD for details.
NOTE:
The USB port supports certain Mini, Classic, Nano, Touch, and iPhone® devices. The USB port
also supports playing music from compatible external USB Mass Storage Class memory devices.
For supported audio file formats, refer to the USB Port section in the Owner's Manual on the
DVD. Refer to www.UconnectPhone.com for a list of tested iPods®. Some iPod® software
versions may not fully support the USB port features. Please visit Apple’s website for iPod®
software updates.
WARNING!
Do not plug in or remove the iPod® or external device while driving. Failure to follow this
warning could result in a collision.
Uconnect® Phone
• To determine if your vehicle is equipped with Uconnect® Phone, press the “Uconnect® Phone” button
. If your vehicle has this feature, you will hear a voice prompt. If not, you will see
a message on the radio “Uconnect phone not available”.
• The Uconnect® Phone is a voice-activated, hands-free, in-vehicle communications system with Voice Command Capability (see Voice Command section).
NOTE:
To access the tutorial, press the “Uconnect® Phone” button
. After the BEEP, say “tutorial.”
Press any hard-key/button or touch the display (Touch-Screen radio) to cancel the “tutorial”.
• The Uconnect® Phone allows you to dial a phone number with your mobile phone using simple voice commands.
• Refer to your vehicle Owner's Manual on the DVD for further details.
ELECTRONICS
62
Page 70 of 116
Voice Text Reply
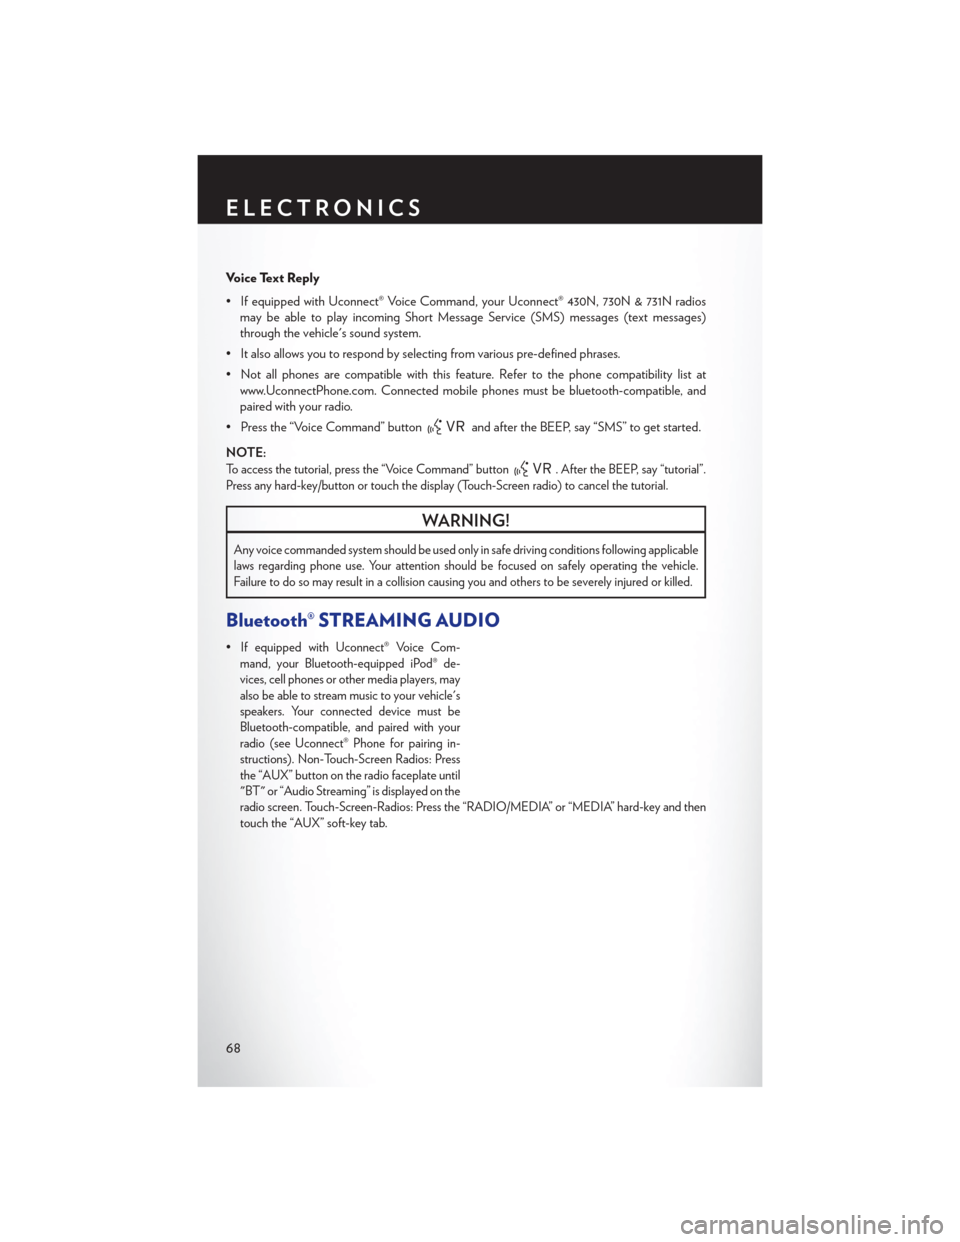
• If equipped with Uconnect® Voice Command, your Uconnect® 430N, 730N & 731N radiosmay be able to play incoming Short Message Service (SMS) messages (text messages)
through the vehicle's sound system.
• It also allows you to respond by selecting from various pre-defined phrases.
• Not all phones are compatible with this feature. Refer to the phone compatibility list at www.UconnectPhone.com. Connected mobile phones must be bluetooth-compatible, and
paired with your radio.
• Press the “Voice Command” button
and after the BEEP, say “SMS” to get started.
NOTE:
To access the tutorial, press the “Voice Command” button. After the BEEP, say “tutorial”.
Press any hard-key/button or touch the display (Touch-Screen radio) to cancel the tutorial.
WARNING!
Any voice commanded system should be used only in safe driving conditions following applicable
laws regarding phone use. Your attention should be focused on safely operating the vehicle.
Failure to do so may result in a collision causing you and others to be severely injured or killed.
Bluetooth® STREAMING AUDIO
•If equipped with Uconnect® Voice Com-
mand, your Bluetooth-equipped iPod® de-
vices, cell phones or other media players, may
also be able to stream music to your vehicle's
speakers. Your connected device must be
Bluetooth-compatible, and paired with your
radio (see Uconnect® Phone for pairing in-
structions). Non-Touch-Screen Radios: Press
the “AUX” button on the radio faceplate until
"BT" or “Audio Streaming” is displayed on the
radio screen. Touch-Screen-Radios: Press the “RADIO/MEDIA” or “MEDIA” hard-key and then
touch the “AUX” soft-key tab.
ELECTRONICS
68
Page 71 of 116
ELECTRONIC VEHICLE INFORMATION CENTER (EVIC)
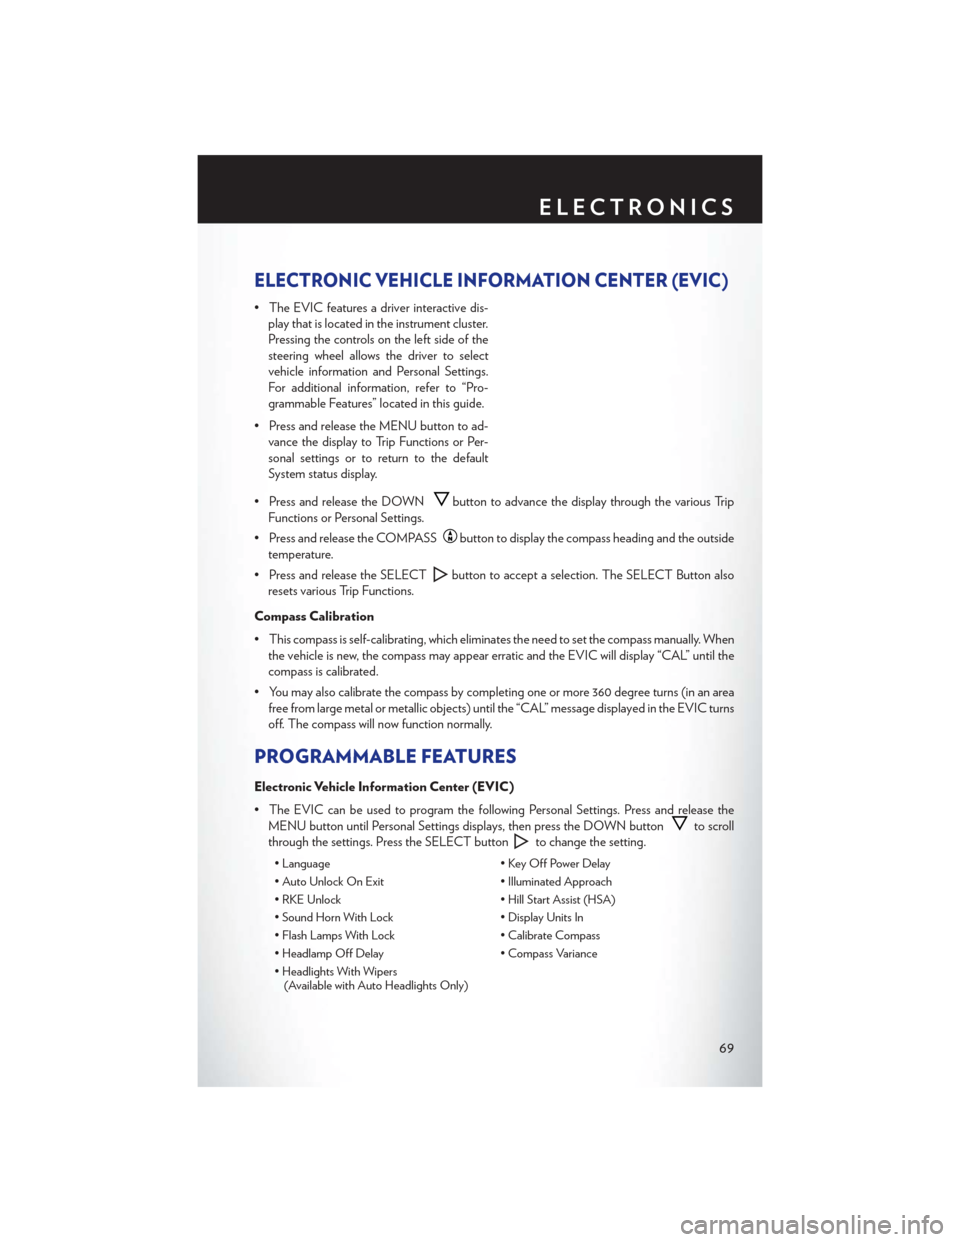
• The EVIC features a driver interactive dis-play that is located in the instrument cluster.
Pressing the controls on the left side of the
steering wheel allows the driver to select
vehicle information and Personal Settings.
For additional information, refer to “Pro-
grammable Features” located in this guide.
• Press and release the MENU button to ad- vance the display to Trip Functions or Per-
sonal settings or to return to the default
System status display.
• Press and release the DOWN
button to advance the display through the various Trip
Functions or Personal Settings.
• Press and release the COMPASS
button to display the compass heading and the outside
temperature.
• Press and release the SELECT
button to accept a selection. The SELECT Button also
resets various Trip Functions.
Compass Calibration
• This compass is self-calibrating, which eliminates the need to set the compass manually. When the vehicle is new, the compass may appear erratic and the EVIC will display “CAL” until the
compass is calibrated.
• You may also calibrate the compass by completing one or more 360 degree turns (in an area free from large metal or metallic objects) until the “CAL” message displayed in the EVIC turns
off. The compass will now function normally.
PROGRAMMABLE FEATURES
Electronic Vehicle Information Center (EVIC)
• The EVIC can be used to program the following Personal Settings. Press and release theMENU button until Personal Settings displays, then press the DOWN button
to scroll
through the settings. Press the SELECT button
to change the setting.
• Language • Key Off Power Delay
• Auto Unlock On Exit • Illuminated Approach
• RKE Unlock • Hill Start Assist (HSA)
• Sound Horn With Lock • Display Units In
• Flash Lamps With Lock • Calibrate Compass
• Headlamp Off Delay • Compass Variance
• Headlights With Wipers (Available with Auto Headlights Only)
ELECTRONICS
69
Page 99 of 116
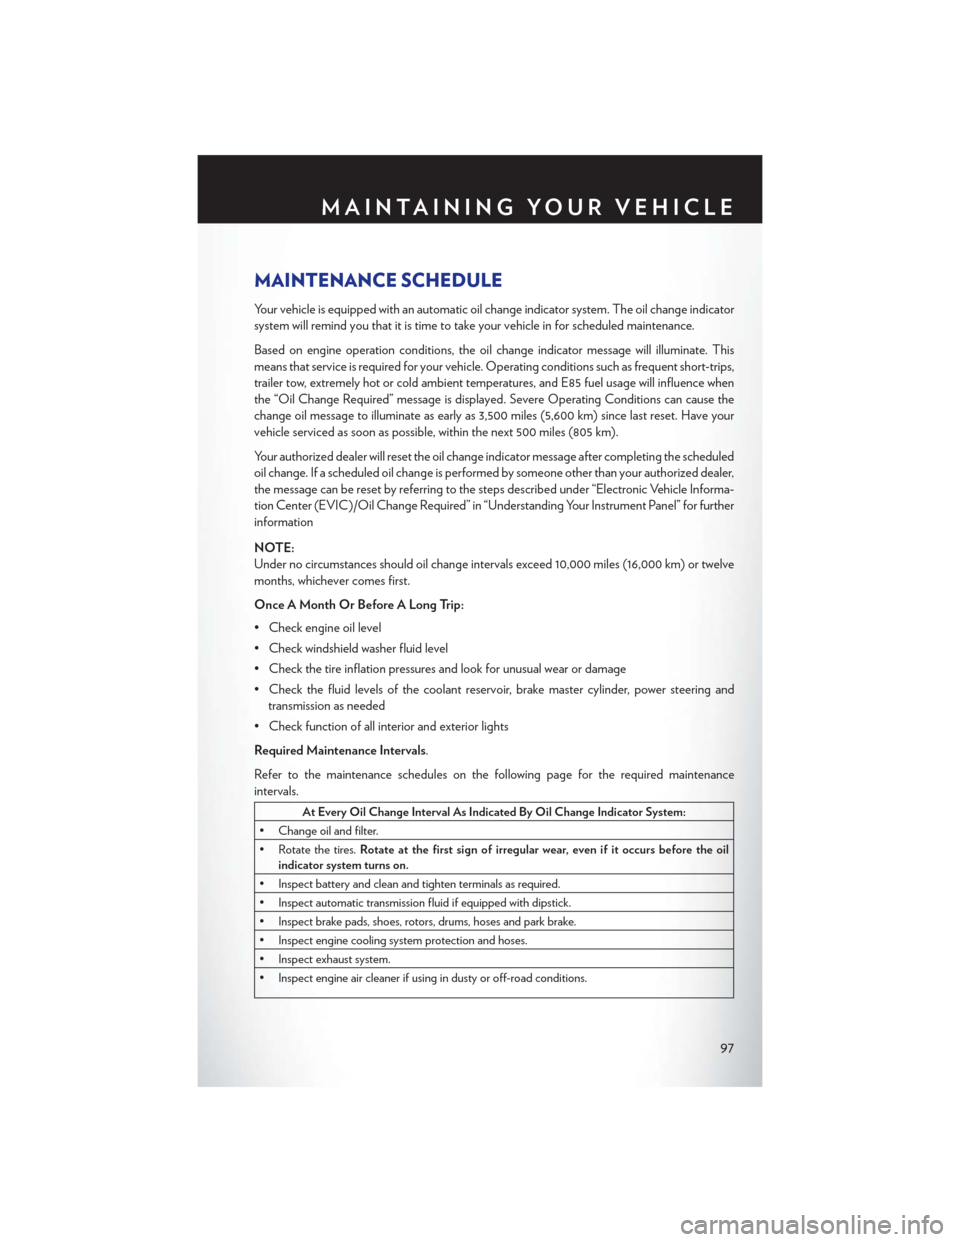
MAINTENANCE SCHEDULE
Your vehicle is equipped with an automatic oil change indicator system. The oil change indicator
system will remind you that it is time to take your vehicle in for scheduled maintenance.
Based on engine operation conditions, the oil change indicator message will illuminate. This
means that service is required for your vehicle. Operating conditions such as frequent short-trips,
trailer tow, extremely hot or cold ambient temperatures, and E85 fuel usage will influence when
the “Oil Change Required” message is displayed. Severe Operating Conditions can cause the
change oil message to illuminate as early as 3,500 miles (5,600 km) since last reset. Have your
vehicle serviced as soon as possible, within the next 500 miles (805 km).
Your authorized dealer will reset the oil change indicator message after completing the scheduled
oil change. If a scheduled oil change is performed by someone other than your authorized dealer,
the message can be reset by referring to the steps described under “Electronic Vehicle Informa-
tion Center (EVIC)/Oil Change Required” in “Understanding Your Instrument Panel” for further
information
NOTE:
Under no circumstances should oil change intervals exceed 10,000 miles (16,000 km) or twelve
months, whichever comes first.
Once A Month Or Before A Long Trip:
• Check engine oil level
• Check windshield washer fluid level
• Check the tire inflation pressures and look for unusual wear or damage
• Check the fluid levels of the coolant reservoir, brake master cylinder, power steering andtransmission as needed
• Check function of all interior and exterior lights
Required Maintenance Intervals.
Refer to the maintenance schedules on the following page for the required maintenance
intervals.
At Every Oil Change Interval As Indicated By Oil Change Indicator System:
• Change oil and filter.
• Rotate the tires. Rotate at the first sign of irregular wear, even if it occurs before the oil
indicator system turns on.
• Inspect battery and clean and tighten terminals as required.
• Inspect automatic transmission fluid if equipped with dipstick.
• Inspect brake pads, shoes, rotors, drums, hoses and park brake.
• Inspect engine cooling system protection and hoses.
• Inspect exhaust system.
• Inspect engine air cleaner if using in dusty or off-road conditions.
MAINTAINING YOUR VEHICLE
97