audio CHRYSLER 200 CONVERTIBLE 2013 1.G User Guide
[x] Cancel search | Manufacturer: CHRYSLER, Model Year: 2013, Model line: 200 CONVERTIBLE, Model: CHRYSLER 200 CONVERTIBLE 2013 1.GPages: 116, PDF Size: 3.04 MB
Page 3 of 116
INTRODUCTION/WELCOME
WELCOME FROM CHRYSLER
GROUPLLC ..................2
CONTROLS AT A GLANCE
DRIVER COCKPIT...............4
INSTRUMENT CLUSTER ...........6
GETTING STARTED
KEYFOB.....................8
REMOTE START................9
THEFT ALARM .................9
SUPPLEMENTAL RESTRAINT
SYSTEM (SRS) — AIR BAGS .........10
SEATBELT ...................11
CHILD RESTRAINTS .............11
FRONTSEATS ................15
HEATEDSEATS ................17
TILT/TELESCOPING STEERING
COLUMN ...................18
OPERATING YOUR VEHICLE
ENGINE BREAK-IN
RECOMMENDATIONS ............19
TURN SIGNAL/LIGHTS LEVER .......19
WIPER/WASHER LEVER ...........21
SPEED CONTROL ..............22
MANUAL CLIMATE CONTROLS ......23
AUTOMATIC TEMPERATURE
CONTROLS (ATC) ..............24
POWER CONVERTIBLE TOP
OPERATION .................25
WIND BUFFETING . . ............27
ELECTRONICS
YOUR VEHICLE'S SOUND SYSTEM ....28
Uconnect® 130 .................30
Uconnect® 130 WITH SiriusXM SATELLITE
RADIO .....................32
Uconnect® 430/430N ..............35
Uconnect® 730N . . ..............45
SiriusXM SATELLITE RADIO/TRAVEL
LINK .......................57
STEERING WHEEL AUDIO CONTROLS..61
iPod®/USB/MP3 CONTROL .........61
Uconnect® Phone ................62
Uconnect® VOICE COMMAND .......66
Bluetooth® STREAMING AUDIO ......68
ELECTRONIC VEHICLE INFORMATION
CENTER (EVIC) ................69
PROGRAMMABLE FEATURES .......69UNIVERSAL GARAGE DOOR OPENER
(HomeLink®)
..................71
POWER OUTLETS ..............73
UTILITY
TRAILER TOWING WEIGHTS (MAXIMUM
TRAILER WEIGHT RATINGS) ........74
RECREATIONAL TOWING
(BEHIND MOTORHOME, ETC.) ......75
WHAT TO DO IN EMERGENCIES
ROADSIDE ASSISTANCE..........76
INSTRUMENT CLUSTER WARNING
LIGHTS .....................76
IF YOUR ENGINE OVERHEATS ......80
JACKING AND TIRE CHANGING . . . . . 81
BATTERY LOCATION ............86
JUMP-STARTING ...............86
SHIFT LEVER OVERRIDE ..........88
TOWING A DISABLED VEHICLE .....89
FREEING A STUCK VEHICLE .......90
EVENT DATA RECORDER (EDR) . . ....91
MAINTAINING YOUR VEHICLE
OPENING THE HOOD . . .........92
ENGINE COMPARTMENT .........93
FLUIDSANDCAPACITIES .........95
MAINTENANCE SCHEDULE ........97
MAINTENANCE RECORD . ........100
FUSES .....................101
TIRE PRESSURES ...............103
WHEEL AND WHEEL TRIM CARE ....104
EXTERIOR BULBS ..............104
CUSTOMER ASSISTANCE
CHRYSLER GROUP LLC CUSTOMER
CENTER...................105
CHRYSLER CANADA INC. CUSTOMER
CENTER ...................105
ASSISTANCE FOR THE HEARING
IMPAIRED ..................105
PUBLICATIONS ORDERING ........105
REPORTING SAFETY DEFECTS IN
THE 50 UNITED STATES AND
WASHINGTON, D.C. ............106
MOPAR ACCESSORIES
AUTHENTIC ACCESSORIES BY
MOPAR® ...................107
INDEX................... 108
FAQ(HowTo?)
FREQUENTLY ASKED QUESTIONS ....111
TABLE OF CONTENTS
Page 7 of 116
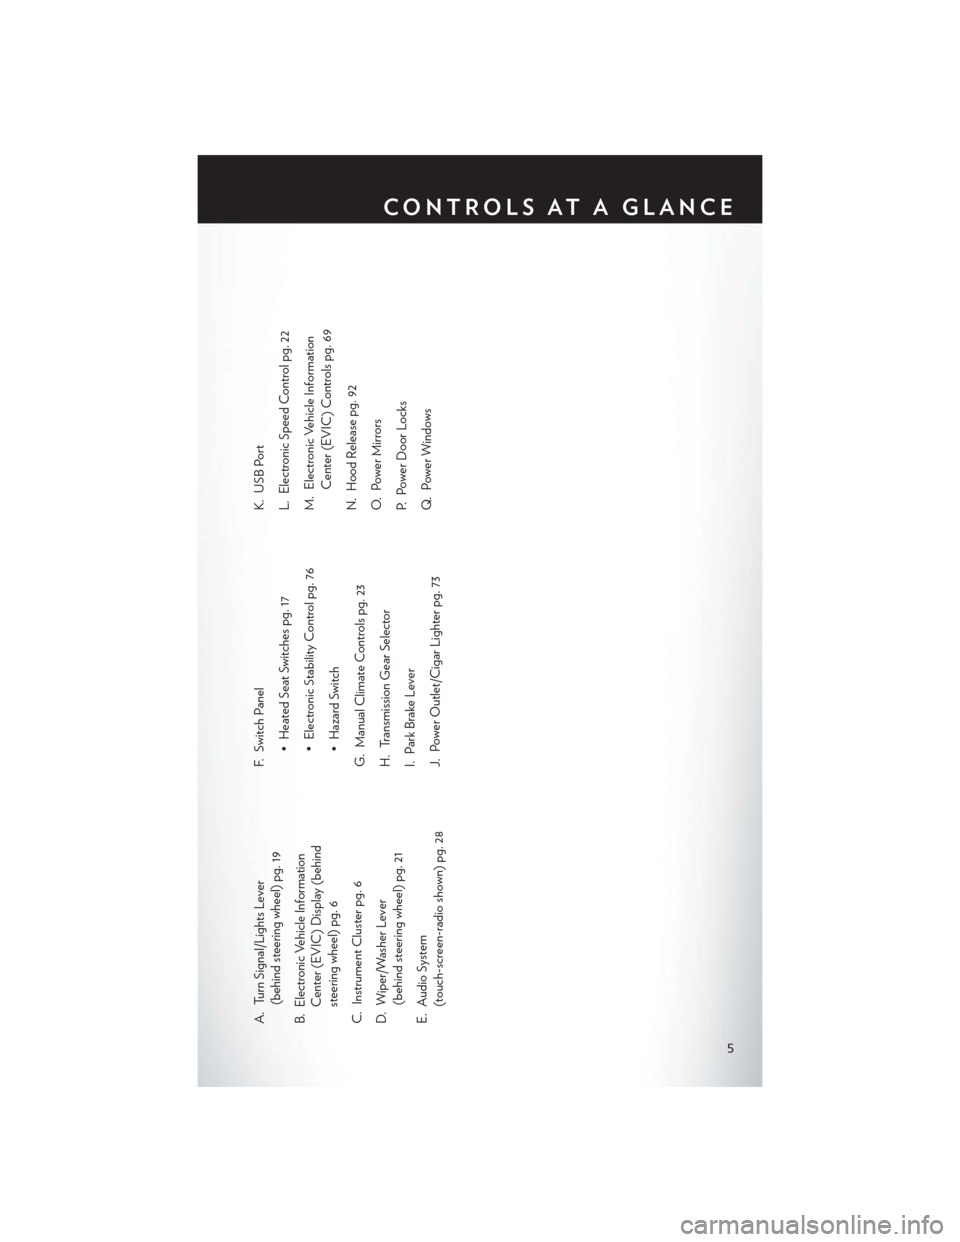
A. Turn Signal/Lights Lever(behind steering wheel) pg. 19
B. Electronic Vehicle Information Center (EVIC) Display (behind
steering wheel) pg. 6
C. Instrument Cluster pg. 6
D. Wiper/Washer Lever (behind steering wheel) pg. 21
E. Audio System (touch-screen-radio shown) pg. 28 F. Switch Panel
• Heated Seat Switches pg. 17
• Electronic Stability Control pg. 76
• Hazard Switch
G. Manual Climate Controls pg. 23
H. Transmission Gear Selector
I. Park Brake Lever
J. Power Outlet/Cigar Lighter pg. 73 K. USB Port
L. Electronic Speed Control pg. 22
M. Electronic Vehicle Information
Center (EVIC) Controls pg. 69
N. Hood Release pg. 92
O. Power Mirrors
P. Power Door Locks
Q. Power Windows
CONTROLS AT A GLANCE
5
Page 33 of 116
Radio Operation
Seek Up/Down Buttons
• Press to seek through radio stations in AM or FM bands.
• Hold either button to bypass stations without stopping.
Store Radio Presets
• Press the “SET/RND” button once and SET 1 will show in the display. Then select button (1–6).
• A second station may be added to each push button. Press the “SET/RND” button twice andSET 2 will show in the display. Then select button (1–6).
CD/DISC Operation
Seek Up/Down Buttons
• Press to seek through CD tracks.
• Hold either button to bypass tracks without stopping.
SET/RND Button (Random Play)
• Press this button while the CD is playing to activate Random Play.
• This feature plays the selections on the CD in random order to provide an interesting change of pace.
Audio Jack Operation
• The AUX/Audio Jack provides a means to connect a portable audio device, such as an MP3 player, or an iPod®, to the vehicles sound system. This requires the use of a 3.5 mm stereo audio
patch cable.
• Pressing the AUX button will change the mode to auxiliary device if the Audio Jack is connected, allowing the music from your portable device to play through the vehicle's
speakers.
• The functions of the portable device are controlled using the device buttons, not the buttons on the radio. The volume may be controlled using the radio or portable device.
ELECTRONICS
31
Page 35 of 116
Equalizer, Balance And Fade
• Press the “TUNE/SCROLL” control knob and BASS, MID, TREBLE, BALANCE and FADEwill display. Rotate the “TUNE/SCROLL” control knob to select the desired setting.
Radio Operation
Seek Up/Down Buttons
• Press to seek through radio stations in AM, FM, or SAT bands.
• Hold either button to bypass stations without stopping.
Store Radio Presets
• Press the “SET/RND” button once and SET 1 will show in the display. Then select button (1–6).
• A second station may be added to each push button. Press the “SET/RND” button twice and SET 2 will show in the display. Then select button (1–6).
Music Type
• Press the “MUSIC TYPE” button to activate this mode. Press the “MUSIC TYPE” button again or turn the “TUNE/SCROLL” control knob to select the desired music type (Adult Hits,
Country, Jazz, Oldies, Rock, etc.).
• Once a music type is chosen and the icon is displayed, press either “SEEK” button and the radio will only search for stations with the selected music type.
NOTE:
The Music Type function only operates when in FM mode.
SETUP Button
• Pressing the “SETUP” button allows you to select between items that are available in that particular mode.
• Turn the “TUNE/SCROLL” control knob to scroll through the entries. Push the “AUDIO/ SELECT” button to select an entry and make changes.
SiriusXM Satellite Radio
• SiriusXM Satellite Radio gives you over 130 channels, including 100% commercial-free music from nearly every genre, plus all your favorite sports, news, talk and entertainment channels–all
with crystal clear, coast-to-coast coverage, all in one place and all at your fingertips.
• To access SiriusXM Satellite Radio, press the “SAT” hard-key.
ELECTRONICS
33
Page 36 of 116
CD/DISC Operation
Seek Up/Down Buttons
• Press to seek through CD tracks.
• Hold either button to bypass tracks without stopping.
SET/RND Button (Random Play)
• Press this button while the CD is playing to activate Random Play.
• This feature plays the selections on the CD in random order to provide an interesting changeof pace.
LIST Button
• Press the “LIST” button to bring up a list of all folders on the CD. Scroll up or down the list by turning the “TUNE/SCROLL” control knob.
• To select a folder from the list, press the “TUNE/SCROLL” control knob and the radio will begin playing the files contained in that folder.
Audio Jack Operation
• The AUX/Audio Jack provides a means to connect a portable audio device, such as an MP3 player, or an iPod®, to the vehicles sound system. This requires the use of a 3.5 mm stereo audio
patch cable.
• Pressing the AUX button will change the mode to auxiliary device if the Audio Jack is connected, allowing the music from your portable device to play through the vehicle's
speakers.
• The functions of the portable device are controlled using the device buttons, not the buttons on the radio. The volume may be controlled using the radio or portable device.
ELECTRONICS
34
Page 38 of 116
Equalizer, Balance And Fade
Audio Control Menu
• Press the “AUDIO” hard-key on the rightside of the radio.
• Use either the arrow soft-keys or the cross- hair on the screen to change Balance and
Fade. The “CENTER” soft-key resets the
settings.
•
Touch the “Equalizer” soft-key and use either
the arrow soft-keys or the sliders on the screen
to adjust BASS, MID, and/or TREBLE.
Display Settings
• Press the “MENU” hard-key and touch the “Display Settings” soft-key to access the
Display Settings menu.
• Select the “Daytime Colors” soft-key to switch to manual daytime mode and to ad-
just the brightness of the display using day-
time colors.
• Select the “Nighttime Colors” soft-key to switch to manual nighttime mode and to
adjust the brightness of the display using nighttime colors.
• Select the “Auto Color Mode” soft-key to switch to automatic daytime/nighttime mode and to control the brightness of the display using the dimmer switch of the vehicle.
• Touch the “EXIT” soft-key to save your settings.
ELECTRONICS
36
Page 41 of 116
Audio Jack Operation
• The AUX/Audio Jack provides a means to connect a portable audio device, such as an MP3player or an iPod®, to the vehicles sound system. This requires the use of a 3.5 mm stereo audio
patch cable.
• Pressing the “MEDIA” hard-key and then the “AUX” soft-key to change the mode to auxiliary device if the Audio Jack is connected, allowing the music from your portable device to play
through the vehicle's speakers.
• The functions of the portable device are controlled using the device itself, not the buttons on the radio. The volume may be controlled using the radio or portable device.
Hard Disk Drive (HDD) Operation
• The Hard Disk Drive (HDD) mode gives you access to the audio files on the internal hard disk drive. It functions similar to a CD player, with the exception that the internal HDD can hold
more tracks.
• It is also possible to import display pictures to the internal hard disk drive. The pictures can be displayed on the right half of the radio screen.
• Before using the HDD mode, you will need to copy songs and pictures to the internal hard drive. Songs and pictures can be added to the hard drive by using a CD or USB device
(e.g. thumb drive or memory stick).
NOTE:
HDD supports only .jpg/JPEG formats for photos.
NOTE:
WMA/MP3 Files and Selective Songs from a CD can also be added to the HDD. See the
Uconnect® 430/430N User's Manual for more information.
Copying Music From CD
• Press the “LOAD” hard-key.
• Insert a disc, then press the “MY FILES” hard-key and then select “MY MUSIC soft-key.”
• Touch the “Add Music Files to HDD” soft-key, then touch the “Disc” soft-key in the next screen to start the process.
NOTE:
• You might need to select the folder or title depending on the CD, then press “DONE”
to start the copy process.
• The copy progress is shown in the lower left corner of the screen.
ELECTRONICS
39
Page 44 of 116
Changing the Navigation Voice Prompt Volume
1. Program a destination.
2. While traveling on your route, touch the upper left area of the map screen where your nextturn is displayed.
3. The Navigation system will then repeat the distance to your next turn.
4. While the Navigation system is speaking, use the ON/OFF VOLUME rotary knob to adjust the volume to a comfortable level. Please note the volume setting for Navigation Voice
Prompt is different than the audio system.
NOTE:
For your own safety and the safety of others, it is not possible to use certain features while the
vehicle is in motion.
Main Navigation Menu
Finding Points Of Interest
• From the main Navigation menu, touch the “Where To?” soft-key, then touch the “Points of Interest” soft-key.
• Select a Category and then a subcategory, if necessary.
• Select your destination and touch the “Go” soft-key.
Finding A Place By Spelling The Name
• From the Main Navigation Menu, touch the “Where To?” soft-key, then touch the “Points of Interest” soft-key and then touch the “Spell Name” soft-key.
• Enter the name of your destination.
• Touch the “Done” soft-key.
• Select your destination and touch the “Go” soft-key.
ELECTRONICS
42
Page 48 of 116
Equalizer, Balance And Fade
Audio Control Menu
•
Press the “MENU” hard-key on the right side
of the radio. Then press the “Audio Control”
soft-key to get to the audio control menu.
•Use either the arrow soft-keys or the cross-hair
on the screen to change Balance and Fade. The
“CENTER” soft-key resets the settings.
•Touch the “Equalizer” soft-key and use either
the arrow soft-keys or the sliders on the screen
to adjust BASS, MID, and/or TREBLE.
Display Settings
• Press the “MENU” hard-key and touch the Display Settings soft-key to access the Dis-
play Settings menu.
•
Select the “Daytime Colors” soft-key to switch
to manual daytime mode and to adjust the
brightness of the display using daytime colors.
• Select the “Nighttime Colors” soft-key to switch to manual nighttime mode and to
adjust the brightness of the display using
nighttime colors.
• Select the “Auto Color Mode” soft-key to switch to automatic daytime/ nighttime mode and to control the brightness of the display using the dimmer switch of the vehicle.
• Touch the “EXIT” soft-key to save your settings.
ELECTRONICS
46
Page 51 of 116
Audio Jack Operation
• The AUX/Audio Jack provides a means to connect a portable audio device, such as an MP3player or an iPod®, to the vehicles sound system. This requires the use of a 3.5 mm stereo audio
patch cable.
• Pressing the “RADIO/MEDIA” hard-key and then the “AUX” soft-key to change the mode to auxiliary device if the Audio Jack is connected, allowing the music from your portable device
to play through the vehicle's speakers.
• The functions of the portable device are controlled using the device itself, not the buttons on the radio. The volume may be controlled using the radio or portable device.
Hard Disk Drive (HDD) Operation
• The Hard Disk Drive (HDD) mode gives you access to the audio files on the internal hard disk drive. It functions similar to a CD player, with the exception that the internal HDD can hold
more tracks.
• It is also possible to import display pictures to the internal hard disk drive. The pictures can be displayed on the right half of the radio screen.
• Before using the HDD mode, you will need to copy songs and pictures to the internal hard drive. Songs and pictures can be added to the hard drive by using a CD or USB device
(e.g. thumb drive or memory stick).
NOTE:
HDD supports only .jpg/JPEG formats for photos.
NOTE:
WMA/MP3 Files and Selective Songs from a CD can also be added to the HDD. See the
Uconnect® 730N User's Manual for more information.
ELECTRONICS
49