lock CHRYSLER 300 2012 2.G Owner's Manual
[x] Cancel search | Manufacturer: CHRYSLER, Model Year: 2012, Model line: 300, Model: CHRYSLER 300 2012 2.GPages: 124, PDF Size: 3.67 MB
Page 22 of 124
ADJUSTABLE PEDALS
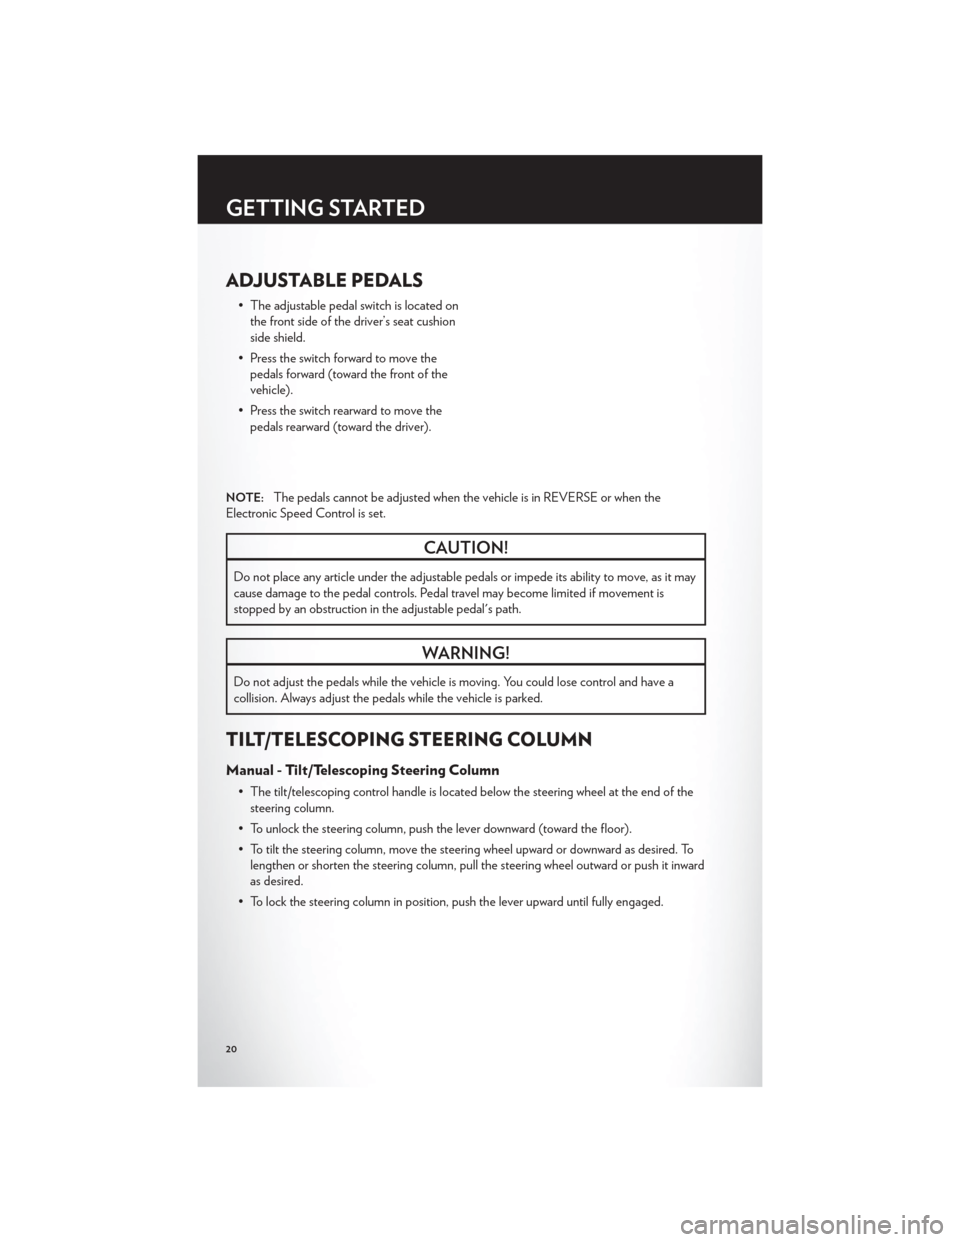
• The adjustable pedal switch is located onthe front side of the driver’s seat cushion
side shield.
• Press the switch forward to move the pedals forward (toward the front of the
vehicle).
• Press the switch rearward to move the pedals rearward (toward the driver).
NOTE:The pedals cannot be adjusted when the vehicle is in REVERSE or when the
Electronic Speed Control is set.
CAUTION!
Do not place any article under the adjustable pedals or impede its ability to move, as it may
cause damage to the pedal controls. Pedal travel may become limited if movement is
stopped by an obstruction in the adjustable pedal's path.
WARNING!
Do not adjust the pedals while the vehicle is moving. You could lose control and have a
collision. Always adjust the pedals while the vehicle is parked.
TILT/TELESCOPING STEERING COLUMN
Manual - Tilt/Telescoping Steering Column
• The tilt/telescoping control handle is located below the steering wheel at the end of the steering column.
• To unlock the steering column, push the lever downward (toward the floor).
• To tilt the steering column, move the steering wheel upward or downward as desired. To lengthen or shorten the steering column, pull the steering wheel outward or push it inward
as desired.
• To lock the steering column in position, push the lever upward until fully engaged.
GETTING STARTED
20
Page 23 of 124
Power - Tilt/Telescoping Steering Column
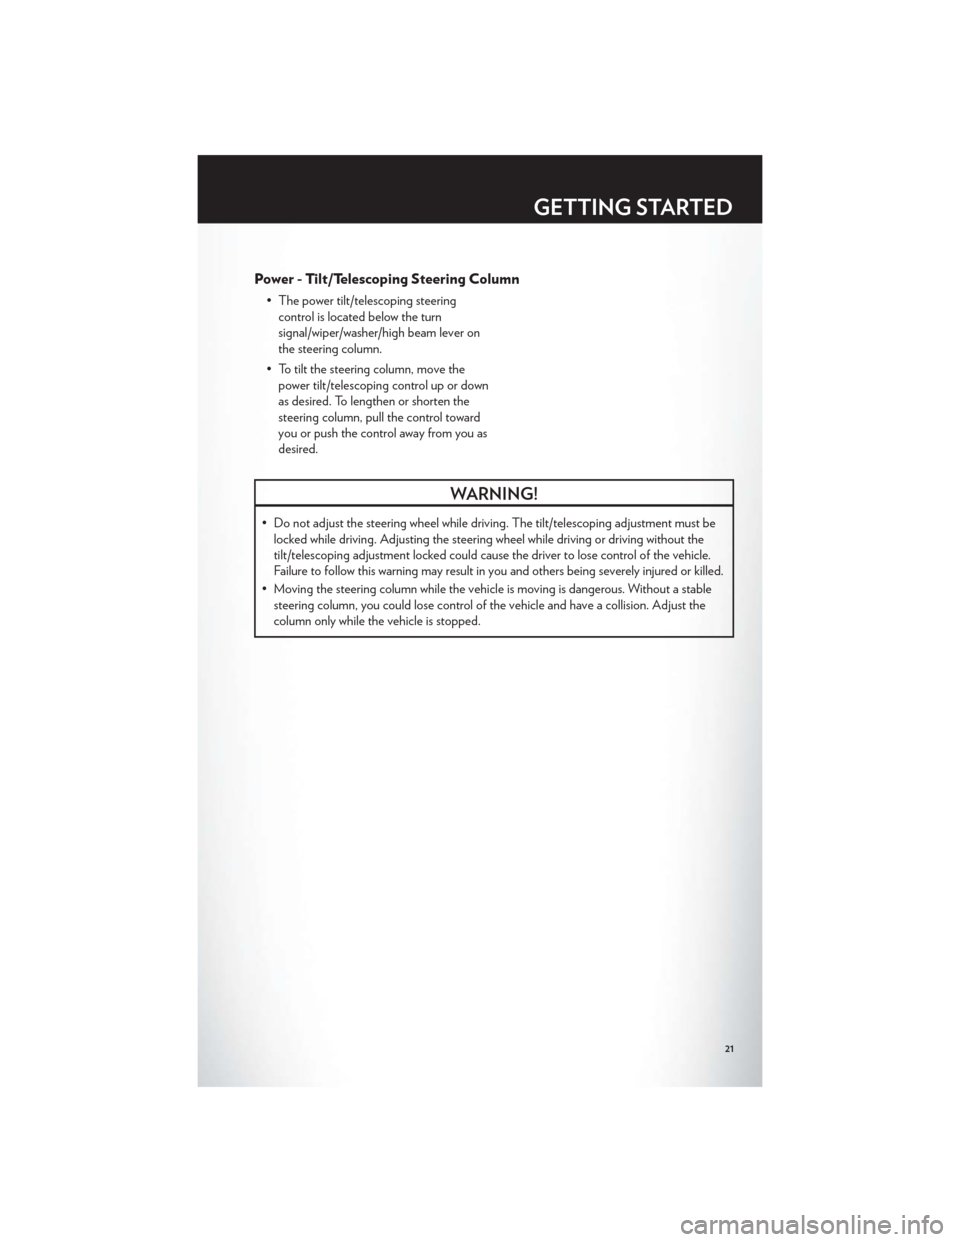
• The power tilt/telescoping steeringcontrol is located below the turn
signal/wiper/washer/high beam lever on
the steering column.
• To tilt the steering column, move the power tilt/telescoping control up or down
as desired. To lengthen or shorten the
steering column, pull the control toward
you or push the control away from you as
desired.
WARNING!
• Do not adjust the steering wheel while driving. The tilt/telescoping adjustment must belocked while driving. Adjusting the steering wheel while driving or driving without the
tilt/telescoping adjustment locked could cause the driver to lose control of the vehicle.
Failure to follow this warning may result in you and others being severely injured or killed.
• Moving the steering column while the vehicle is moving is dangerous. Without a stable steering column, you could lose control of the vehicle and have a collision. Adjust the
column only while the vehicle is stopped.
GETTING STARTED
21
Page 31 of 124

Shifting From PARK to DRIVE
• Firmly depress the brake pedal, press thelock button on the shift lever, then pull
and hold the shift lever fully rearward until
“D” is displayed in the EVIC.
• To shift back into PARK from DRIVE, bring the vehicle to a complete stop, fully
depress the brake pedal, press the lock
button on the shift lever, then push and
hold the shift lever fully forward until “P” is
displayed in the EVIC.
Shifting From REVERSE to NEUTRAL
• Pull the shift lever rearward to the first detent and release. “N” will display in the EVIC.
• To shift back into REVERSE from NEUTRAL, firmly depress the brake pedal, press thelock button on the shift lever, then push the shift lever forward to the first detent and
release. “R” will display in the EVIC.
Shifting From NEUTRAL to DRIVE
• Firmly depress the brake pedal, press the lock button on the shift lever, then pull the shiftlever rearward and release. “D” will display in the EVIC.
• To shift back into NEUTRAL from DRIVE, firmly depress the brake pedal, press the lock button on the shift lever, then push the shift lever forward and release. “N” will display in
the EVIC.
Shifting From REVERSE to DRIVE
• Bring the vehicle to a complete stop, firmly depress the brake pedal, press the lock buttonon the shift lever, then pull the shift lever rearward and release when “D” is displayed in
the EVIC.
• To shift back into REVERSE from DRIVE, bring the vehicle to a complete stop, firmly depress the brake pedal, press the lock button on the shift lever, then push the shift lever
forward and release when “R” is displayed in the EVIC.
OPERATING YOUR VEHICLE
29
Page 40 of 124
IDENTIFYING YOUR RADIO
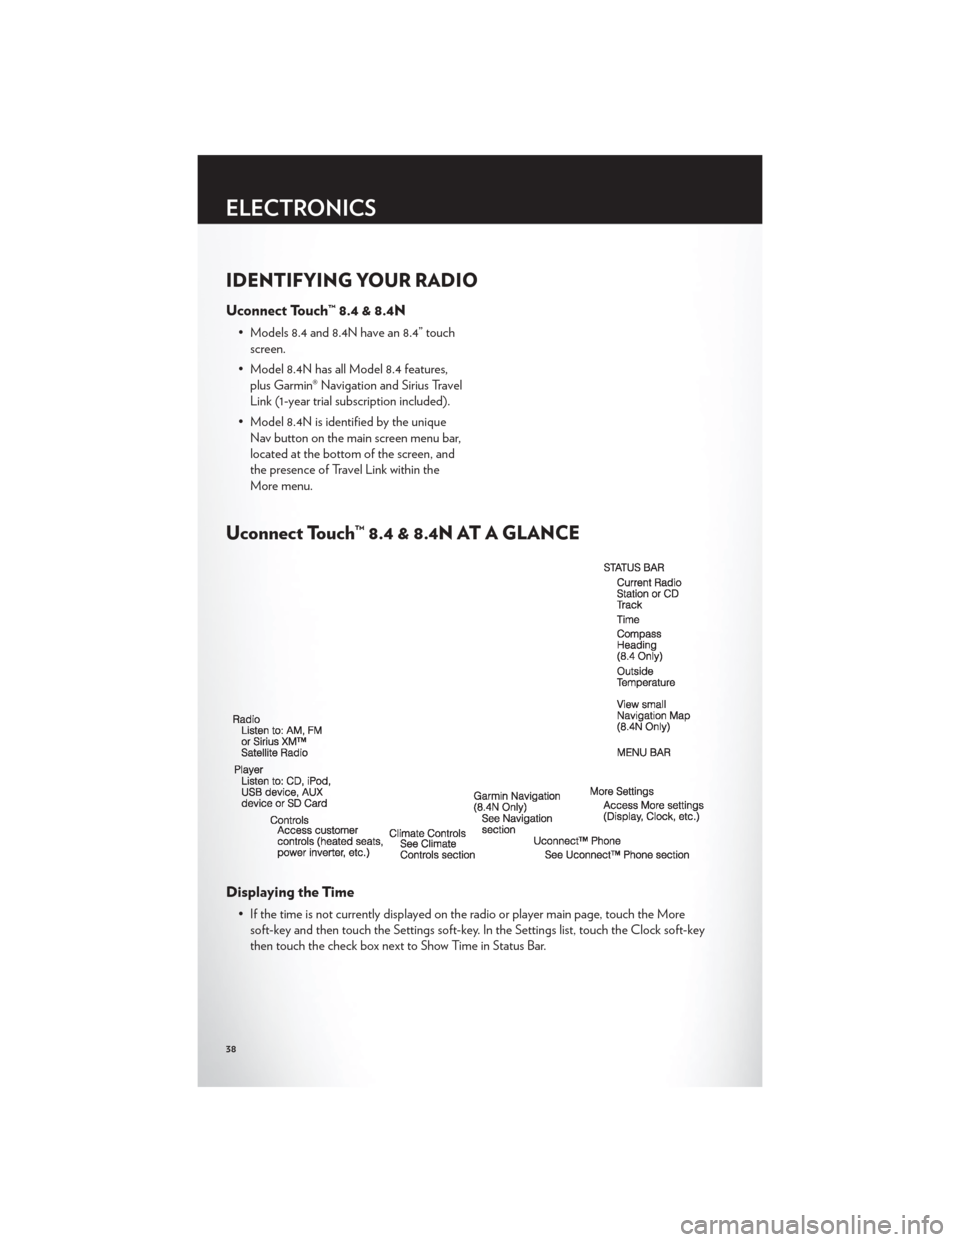
Uconnect Touch™ 8.4 & 8.4N
• Models 8.4 and 8.4N have an 8.4” touchscreen.
• Model 8.4N has all Model 8.4 features, plus Garmin® Navigation and Sirius Travel
Link (1-year trial subscription included).
• Model 8.4N is identified by the unique Nav button on the main screen menu bar,
located at the bottom of the screen, and
the presence of Travel Link within the
More menu.
Uconnect Touch™ 8.4 & 8.4N AT A GLANCE
Displaying the Time
• If the time is not currently displayed on the radio or player main page, touch the Moresoft-key and then touch the Settings soft-key. In the Settings list, touch the Clock soft-key
then touch the check box next to Show Time in Status Bar.
ELECTRONICS
38
Page 41 of 124
Setting the Time
• Model 8.4N synchronizes time automatically via GPS, so should not require any timeadjustment. If you do need to set the time manually, follow the instructions below for
Model 8.4.
• For Model 8.4, turn the unit on, then touch the time display at the top of the screen. Touch Yes.
• If the time is not displayed at the top of the screen, touch More soft-key and then Settings soft-key. In the Settings screen, touch the Clock soft-key, then check or uncheck
this option.
• Touch + or – next to Set Time Hours and Set Time Minutes to adjust the time.
• If these features are not available, uncheck the Sync with GPS box.
• Touch X to save your settings and exit out of the Clock Setting screen.
Audio Settings
• Touch of the Audio soft-key to activate the Audio settings screen to adjust Balance\Fade, Equalizer, and Speed Adjusted Volume.
• You can return to the Radio screen by touching the X located at the top right.
Balance/Fade
• Touch the Balance/Fade soft-key to Balance audio between the front speakers or fade the audio between the rear and front speakers.
• Touching the Front, Rear, Left, or Right soft-keys or touch and drag the blue Speaker Icon to adjust the Balance/Fade.
Equalizer
• Touch the Equalizer soft-key to activate the Equalizer screen.
• Touch the + or - soft-keys, or by touching and dragging over the level bar for each of theequalizer bands. The level value, which spans between plus or minus 9, is displayed at the
bottom of each of the Bands.
Speed Adjusted Volume
• Touch the Speed Adjusted Volume soft-key to activate the Speed Adjusted Volumescreen. The Speed Adjusted Volume is adjusted by touching the + and - buttons or by
touching and dragging over the level bar. This alters the automatic adjustment of the
audio volume with variation to vehicle speed.
ELECTRONICS
39
Page 43 of 124
Sirius XM™ SATELLITE RADIO
• Sirius XM™ Satellite Radio gives you over 130 channels, including 100% commercial-freemusic from nearly every genre, plus all your favorite sports, news, talk and entertainment
channels –all with crystal clear, coast-to-coast coverage, all in one place and all at your
fingertips.
• To access Sirius XM™ Satellite Radio, touch the SAT soft-key on the main Radio screen.
• The following describes features that are available when in Sirius XM™ Satellite Radio mode.
Selecting Sirius XM™ Satellite Channels
Seek Up/Seek Down
• Touch the Seek arrow soft-keys for less than two seconds to seek through channels in SATmode.
• Touch and hold either arrow soft-key for more than two seconds to bypass channels without stopping. The radio will stop at the next listenable channel once the arrow
soft-key is released.
Direct Tune
• Tune directly to a SAT channel by pressing the “Tune” button on the screen, and enteringthe desired station number.
Jump
• Automatically tells you when Traffic & Weather for a favorite city is available, and givesyou the option to switch to that channel. Touch Jump to activate the feature. After
listening to Traffic and Weather, touch Jump again to return to the previous channel.
Fav
• Activates the favorites menu. You can add up to 50 favorite artists or songs. Just touchAdd Fav Artist or Add Fav Song while the song is playing. You will then be alerted any
time one of these songs, or works by these artists, is playing on other Sirius XM™
channels.
Sirius XM™ Parental Controls
• You can skip or hide certain channels from view if you do not want access to them. Touchthe More soft-key, then the Settings soft-key, next touch the Sirius Setup soft-key, then
select Channel Skip. Touch the box, check-mark, next to the channel you want skipped.
They will not show up in normal usage.
• Sirius XM™ also offers the option to permanently block selected channels. Call 1-888-539-7474 and request the Family Package.
ELECTRONICS
41
Page 58 of 124
Compass Calibration
• This compass is self-calibrating, which eliminates the need to set the compass manually.When the vehicle is new, the compass may appear erratic and the EVIC will display “CAL”
until the compass is calibrated.
• You may also calibrate the compass by completing one or more 360 degree turns (in an area free from large metal or metallic objects) until the “CAL” message displayed in the
EVIC turns off. The compass will now function normally.
ECO
• The ECO message will appear in your EVIC display whenever you are driving in a fuelefficient manner.
• This feature allows you to monitor when you are driving in a fuel efficient manner, and it can be used to modify driving habits in order to increase fuel economy.
PROGRAMMABLE FEATURES
Electronic Vehicle Information Center (EVIC)
• The EVIC can be used to view or change the following settings. Press the UPor
DOWN
button until System Setup displays, then press the SELECTbutton.
Scroll through the settings using the UP or DOWN buttons. Press the SELECT
button to change the setting. Press the BACK button to scroll back to a previous menu or
sub menu.
• Fuel Economy • Vehicle Info (Customer Information
Features)
• Vehicle Speed • Messages
• Trip Info • Turn Menu Off
• Units
Uconnect Touch™ Customer Programmable Features
• The Uconnect Touch™ 8.4 system allows you to access Customer Programmable feature settings such as Display, Clock, Safety/Assistance, Lights, Doors & Locks, Heated Seats,
Engine Off Operation, Compass Settings, Audio, Phone/ Bluetooth and SIRIUS Setup
through soft-keys.
• Touch the More soft-key to on the bottom of the screen, then touch the Settings soft-key to access the Settings screen. When making a selection, scroll up or down until the
preferred setting is highlighted, then press and release the preferred setting until a
check-mark appears next to the setting, showing that setting has been selected. The
following feature settings are available:
• Display • Clock
• Safety / Assistance • Doors & Locks
• Auto-On Comfort & Remote Start • Engine Off Options
• Compass Settings • Audio
• Phone / Bluetooth • SIRIUS Setup
ELECTRONICS
56
Page 60 of 124
• Continue to hold both buttons and observe the indicator light. The Homelink® indicatorwill flash slowly and then rapidly after Homelink® has received the frequency signal from
the hand-held transmitter. Release both buttons after the indicator light changes from
slow to rapid.
• At the garage door opener motor (in the garage), locate the “LEARN” or “TRAINING” button. This can usually be found where the hanging antenna wire is attached to the
garage door opener motor. Firmly press and release the “LEARN” or “TRAINING”
button.
NOTE:You have 30 seconds in which to initiate the next step after the LEARN button has
been pressed.
• Return to the vehicle and press the programmed HomeLink® button twice (holding thebutton for two seconds each time). If the device is plugged in and activates, programming
is complete.
NOTE:If the device does not activate, press the button a third time (for two seconds) to
complete the training.
• To program the remaining two HomeLink® buttons, repeat each step for each remainingbutton. DO NOT erase the channels.
Programming A Non-Rolling Code
• For programming Garage Door Openers manufactured before 1995.
• Turn the ignition switch to the ON/RUN position.
• Place the hand-held transmitter 1 to 3 in (3 to 8 cm) away from the HomeLink® buttonyou wish to program while keeping the HomeLink® indicator light in view.
• Simultaneously press and hold both the HomeLink® button you want to program and the hand-held transmitter button.
• Continue to hold both buttons and observe the indicator light. The Homelink® indicator will flash slowly and then rapidly after Homelink® has received the frequency signal from
the hand-held transmitter. Release both buttons after the indicator light changes from
slow to rapid.
• Press and hold the programmed HomeLink® button and observe the indicator light.
NOTE:
• If the indicator light stays on constantly, programming is complete and the garage door (or device) should activate when the HomeLink® button is pressed.
• To program the two remaining HomeLink® buttons, repeat each step for each remaining button. DO NOT erase the channels.
Using HomeLink®
• To operate, press and release the programmed HomeLink® button. Activation will nowoccur for the programmed device (i.e., garage door opener, gate operator, security
system, entry door lock, home/office lighting, etc.,). The hand-held transmitter of the
device may also be used at any time.
ELECTRONICS
58
Page 72 of 124
BRAKE- Brake Warning Light
• The Brake Warning light illuminates when there is either a system malfunction or theparking brake is applied. If the light is on and the parking brake is not applied, it indicates
a possible brake hydraulic malfunction, brake booster problem or an Anti-Lock Brake
System problem.
• Please have your vehicle serviced immediately.
WARNING!
Driving a vehicle with the red brake light on is dangerous. Part of the brake system may
have failed. It will take longer to stop the vehicle. You could have a collision. Have the
vehicle checked immediately.
- Malfunction Indicator Light (MIL)
• Certain conditions, such as a poor fuel quality, etc., may illuminate the MIL after engine start. The vehicle should be serviced if the light stays on through several typical driving
cycles. In most situations, the vehicle will drive normally and not require towing.
• If the MIL flashes when the engine is running, serious conditions may exist that could lead to immediate loss of power or severe catalytic converter damage. We recommend you do
not operate the vehicle. Have the vehicle serviced immediately.
- Electronic Stability Control (ESC) OFF Indicator Light
• This light indicates the Electronic Stability Control (ESC) is off.
- Charging System Light
• This light shows the status of the electrical charging system. If the charging system lightremains on, it means that the vehicle is experiencing a problem with the charging system.
• We recommend you do not continue driving if the charging system light is on. Have the vehicle serviced immediately.
- Oil Pressure Warning Light
• This light indicates low engine oil pressure. If the light turns on while driving, stop thevehicle and shut off the engine as soon as possible. A chime will sound for four minutes
when this light turns on.
• We recommend you do not operate the vehicle or engine damage will occur. Have the vehicle serviced immediately.
- Anti-Lock Brake (ABS) Light
• This light monitors the Anti-Lock Brake System (ABS).
• If the light is not on during starting, stays on, or turns on while driving, we recommendyou drive to the nearest service center and have the vehicle serviced immediately.
WHAT TO DO IN EMERGENCIES
70
Page 73 of 124
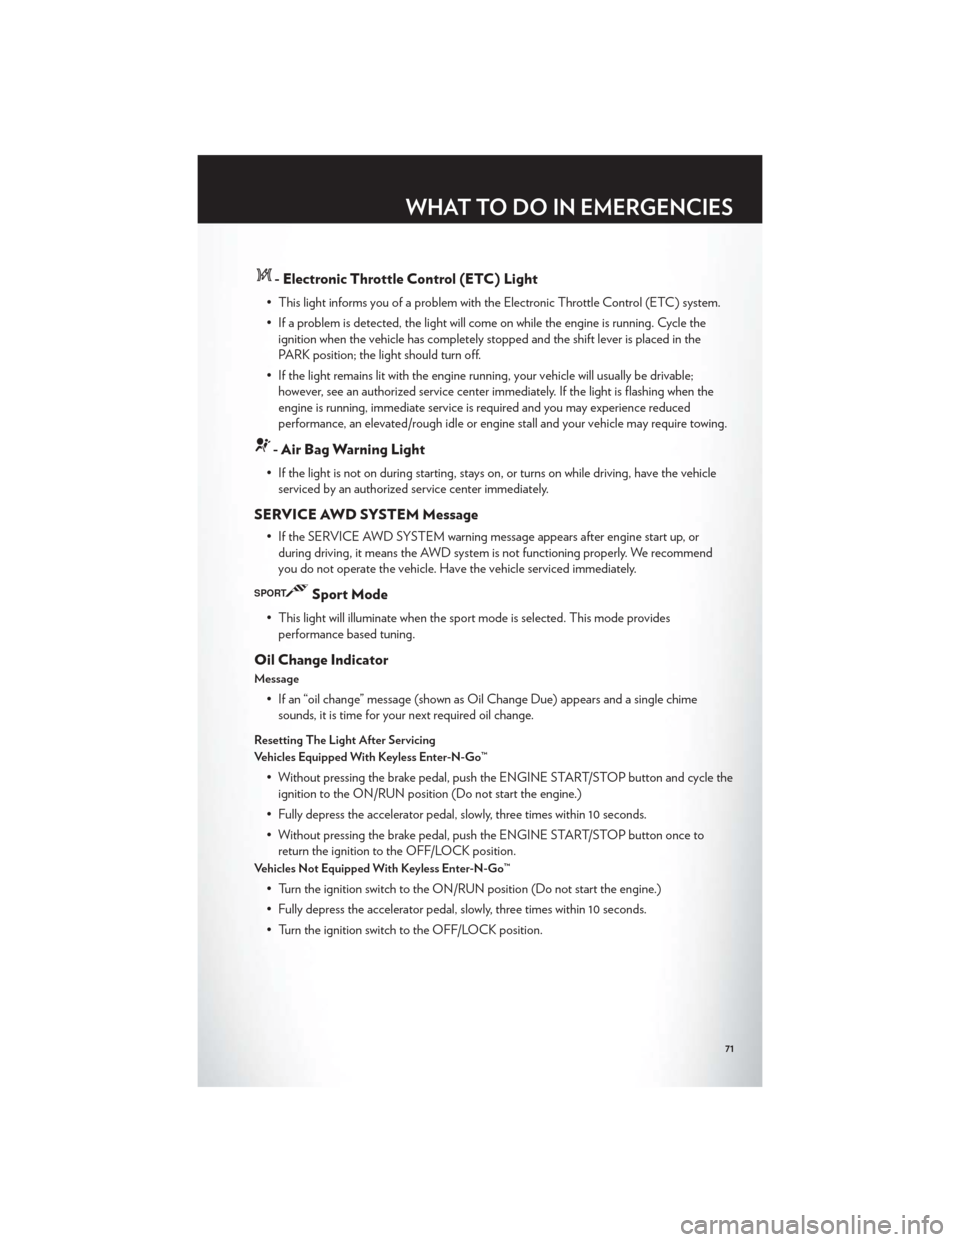
- Electronic Throttle Control (ETC) Light
• This light informs you of a problem with the Electronic Throttle Control (ETC) system.
• If a problem is detected, the light will come on while the engine is running. Cycle theignition when the vehicle has completely stopped and the shift lever is placed in the
PARK position; the light should turn off.
• If the light remains lit with the engine running, your vehicle will usually be drivable; however, see an authorized service center immediately. If the light is flashing when the
engine is running, immediate service is required and you may experience reduced
performance, an elevated/rough idle or engine stall and your vehicle may require towing.
- Air Bag Warning Light
• If the light is not on during starting, stays on, or turns on while driving, have the vehicleserviced by an authorized service center immediately.
SERVICE AWD SYSTEM Message
• If the SERVICE AWD SYSTEM warning message appears after engine start up, orduring driving, it means the AWD system is not functioning properly. We recommend
you do not operate the vehicle. Have the vehicle serviced immediately.
SPORTSport Mode
• This light will illuminate when the sport mode is selected. This mode providesperformance based tuning.
Oil Change Indicator
Message
• If an “oil change” message (shown as Oil Change Due) appears and a single chimesounds, it is time for your next required oil change.
Resetting The Light After Servicing
Vehicles Equipped With Keyless Enter-N-Go™
• Without pressing the brake pedal, push the ENGINE START/STOP button and cycle theignition to the ON/RUN position (Do not start the engine.)
• Fully depress the accelerator pedal, slowly, three times within 10 seconds.
• Without pressing the brake pedal, push the ENGINE START/STOP button once to return the ignition to the OFF/LOCK position.
Vehicles Not Equipped With Keyless Enter-N-Go™
• Turn the ignition switch to the ON/RUN position (Do not start the engine.)
• Fully depress the accelerator pedal, slowly, three times within 10 seconds.
• Turn the ignition switch to the OFF/LOCK position.
WHAT TO DO IN EMERGENCIES
71