stop start CHRYSLER 300 2015 2.G User Guide
[x] Cancel search | Manufacturer: CHRYSLER, Model Year: 2015, Model line: 300, Model: CHRYSLER 300 2015 2.GPages: 574, PDF Size: 14.59 MB
Page 176 of 574
WARNING!
•Adaptive Cruise Control (ACC) is a convenience
system. It is not a substitute for active driving
involvement. It is always the driver ’s responsibil-
ity to be attentive of road, traffic, and weather
conditions, vehicle speed, distance to the vehicle
ahead; and, most importantly, brake operation to
ensure safe operation of the vehicle under all road
conditions. Your complete attention is always re-
quired while driving to maintain safe control of
your vehicle. Failure to follow these warnings can
result in a collision and death or serious personal
injury.
•The ACC system:
•Does not react to pedestrians, oncoming vehicles,
and stationary objects (e.g., a stopped vehicle in a
traffic jam or a disabled vehicle).
(Continued)
WARNING!(Continued)
•Cannot take street, traffic, and weather condi-
tions into account, and may be limited upon
adverse sight distance conditions.
•Does not always fully recognize complex driving
conditions, which can result in wrong or missing
distance warnings.
•Will bring the vehicle to a complete stop while
following a target vehicle and hold the vehicle
for 2 seconds in the stop position. If the target
vehicle does not start moving within two seconds
the ACC system will display a message that the
system will release the brakes and that the
brakes must be applied manually. An audible
chime will sound when the brakes are released.
You should switch off the ACC system:
(Continued)
174 UNDERSTANDING THE FEATURES OF YOUR VEHICLE
Page 188 of 574
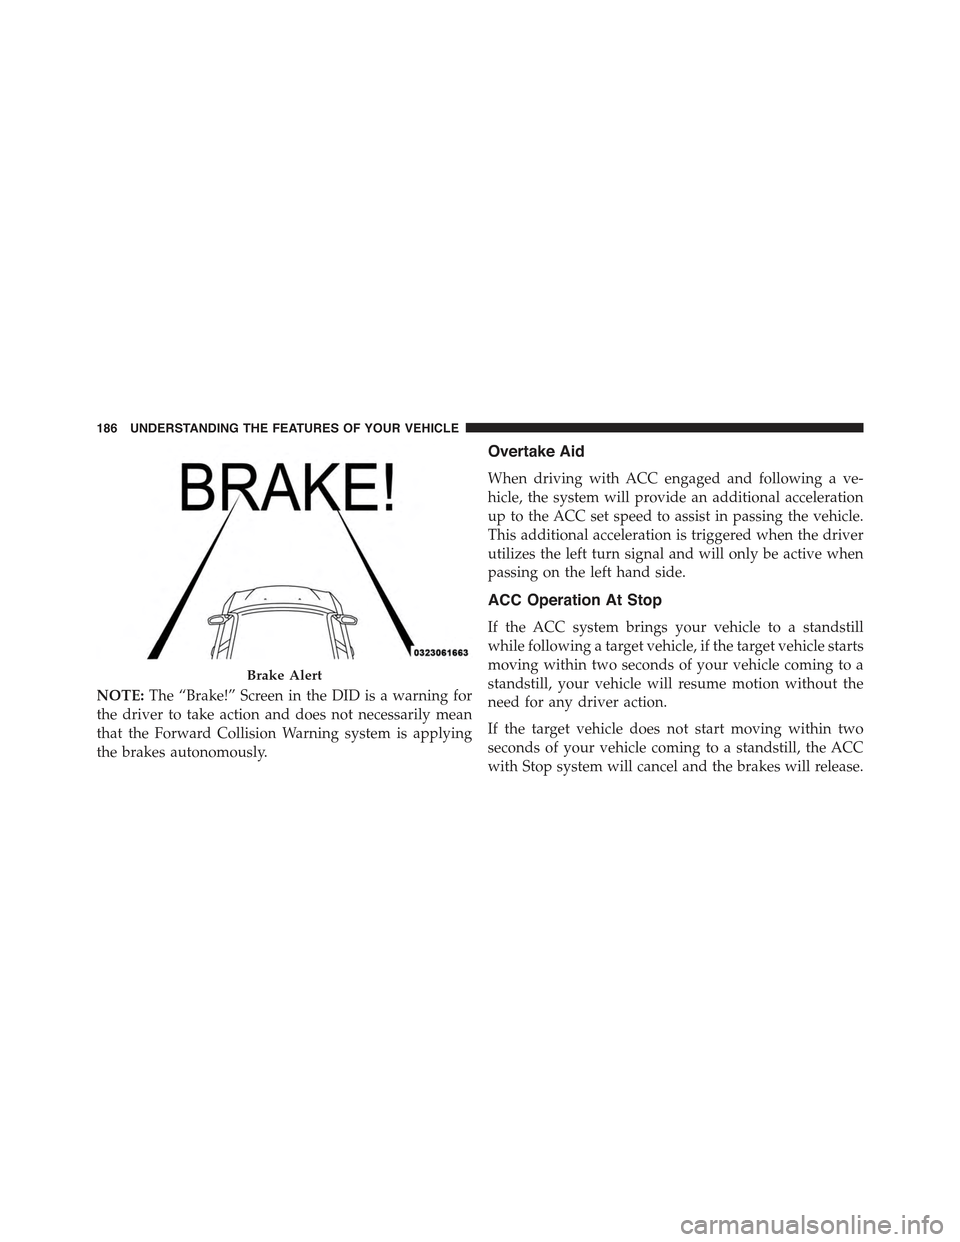
NOTE:The “Brake!” Screen in the DID is a warning for
the driver to take action and does not necessarily mean
that the Forward Collision Warning system is applying
the brakes autonomously.
Overtake Aid
When driving with ACC engaged and following a ve-
hicle, the system will provide an additional acceleration
up to the ACC set speed to assist in passing the vehicle.
This additional acceleration is triggered when the driver
utilizes the left turn signal and will only be active when
passing on the left hand side.
ACC Operation At Stop
If the ACC system brings your vehicle to a standstill
while following a target vehicle, if the target vehicle starts
moving within two seconds of your vehicle coming to a
standstill, your vehicle will resume motion without the
need for any driver action.
If the target vehicle does not start moving within two
seconds of your vehicle coming to a standstill, the ACC
with Stop system will cancel and the brakes will release.
Brake Alert
186 UNDERSTANDING THE FEATURES OF YOUR VEHICLE
Page 266 of 574
NOTE:The light may flash momentarily during sharp
cornering maneuvers, which change fluid level condi-
tions. The vehicle should have service performed, and
the brake fluid level checked.
If brake failure is indicated, immediate repair is neces-
sary.
WARNING!
Driving a vehicle with the red brake light on is
dangerous. Part of the brake system may have failed.
It will take longer to stop the vehicle. You could have
a collision. Have the vehicle checked immediately.
Vehicles equipped with the Anti-Lock Brake System
(ABS), are also equipped with Electronic Brake Force
Distribution (EBD). In the event of an EBD failure, the
Brake Warning Light will turn on along with the ABS
Light. Immediate repair to the ABS system is required.
Operation of the Brake Warning Light can be checked by
turning the ignition switch from the OFF position to the
ON/RUN position. The light should illuminate for ap-
proximately two seconds. The light should then turn off
unless the parking brake is applied or a brake fault is
detected. If the light does not illuminate, have the light
inspected by an authorized dealer.
The light also will turn on when the parking brake is
applied with the ignition switch in the ON/RUN posi-
tion.
NOTE:This light shows only that the parking brake is
applied. It does not show the degree of brake application.
4. Air Bag Warning Light
This light will turn on for four to eight seconds
as a bulb check when the ignition switch is first
turned to ON/RUN. If the light is either not on
during starting, stays on, or turns on while
driving, have the system inspected at an authorized
264 UNDERSTANDING YOUR INSTRUMENT PANEL
Page 268 of 574
8. Tire Pressure Monitoring Telltale Light — If Equipped
Each tire, including the spare (if provided),
should be checked monthly when cold and
inflated to the inflation pressure recommended
by the vehicle manufacturer on the vehicle
placard or tire inflation pressure label. (If your vehicle
has tires of a different size than the size indicated on the
vehicle placard or tire inflation pressure label, you should
determine the proper tire inflation pressure for those
tires.)
As an added safety feature, your vehicle has been
equipped with a Tire Pressure Monitoring System
(TPMS) that illuminates a low tire pressure telltale when
one or more of your tires is significantly under-inflated.
Accordingly, when the low tire pressure telltale illumi-
nates, you should stop and check your tires as soon as
possible, and inflate them to the proper pressure. Driving
on a significantly under-inflated tire causes the tire to
overheat and can lead to tire failure. Under-inflation also
reduces fuel efficiency and tire tread life, and may affect
the vehicle’s handling and stopping ability.
Please note that the TPMS is not a substitute for proper
tire maintenance, and it is the driver ’s responsibility to
maintain correct tire pressure, even if under-inflation has
not reached the level to trigger illumination of the TPMS
low tire pressure telltale.
Your vehicle has also been equipped with a TPMS
malfunction indicator to indicate when the system is not
operating properly. The TPMS malfunction indicator is
combined with the low tire pressure telltale. When the
system detects a malfunction, the telltale will flash for
approximately one minute and then remain continuously
illuminated. This sequence will continue upon subse-
quent vehicle start-ups as long as the malfunction exists.
When the malfunction indicator is illuminated, the sys-
tem may not be able to detect or signal low tire pressure
as intended. TPMS malfunctions may occur for a variety
of reasons, including the installation of replacement or
266 UNDERSTANDING YOUR INSTRUMENT PANEL
Page 272 of 574
The gauge pointer will likely indicate a higher tempera-
ture when driving in hot weather, up mountain grades,
or when towing a trailer. It should not be allowed to
exceed the upper limits of the normal operating range.
CAUTION!
Driving with a hot engine cooling system could
damage your vehicle. If the temperature gauge reads
“H” pull over and stop the vehicle. Idle the vehicle
with the air conditioner turned off until the pointer
drops back into the normal range. If the pointer
remains on the “H” and you hear continuous chimes,
turn the engine off immediately and call an autho-
rized dealer for service.
WARNING!
A hot engine cooling system is dangerous. You or
others could be badly burned by steam or boiling
coolant. You may want to call an authorized dealer
for service if your vehicle overheats. If you decide to
look under the hood yourself, see “Maintaining Your
Vehicle”. Follow the warnings under the Cooling
System Pressure Cap paragraph.
18. Seat Belt Reminder Light
When the ignition switch is first turned to ON/
RUN, this light will turn on for four to eight
seconds as a bulb check. During the bulb check, if
the driver’s seat belt is unbuckled, a chime will sound.
After the bulb check or when driving, if the driver’s seat
belt remains unbuckled, the Seat Belt Reminder Light
will illuminate and the chime will sound. Refer to
“Occupant Restraints” in “Things To Know Before Start-
ing Your Vehicle” for further information.
270 UNDERSTANDING YOUR INSTRUMENT PANEL
Page 340 of 574
CAUTION!
Damage to the transmission may occur if the follow-
ing precautions are not observed:
•Do not shift from REVERSE, PARK, or NEUTRAL
into any forward gear when the engine is above
idle speed.
•Shift into PARK only after the vehicle has come to
a complete stop.
•Shift into or out of REVERSE only after the vehicle
has come to a complete stop and the engine is at
idle speed.
•Before shifting into any gear, make sure your foot
is firmly on the brake pedal.
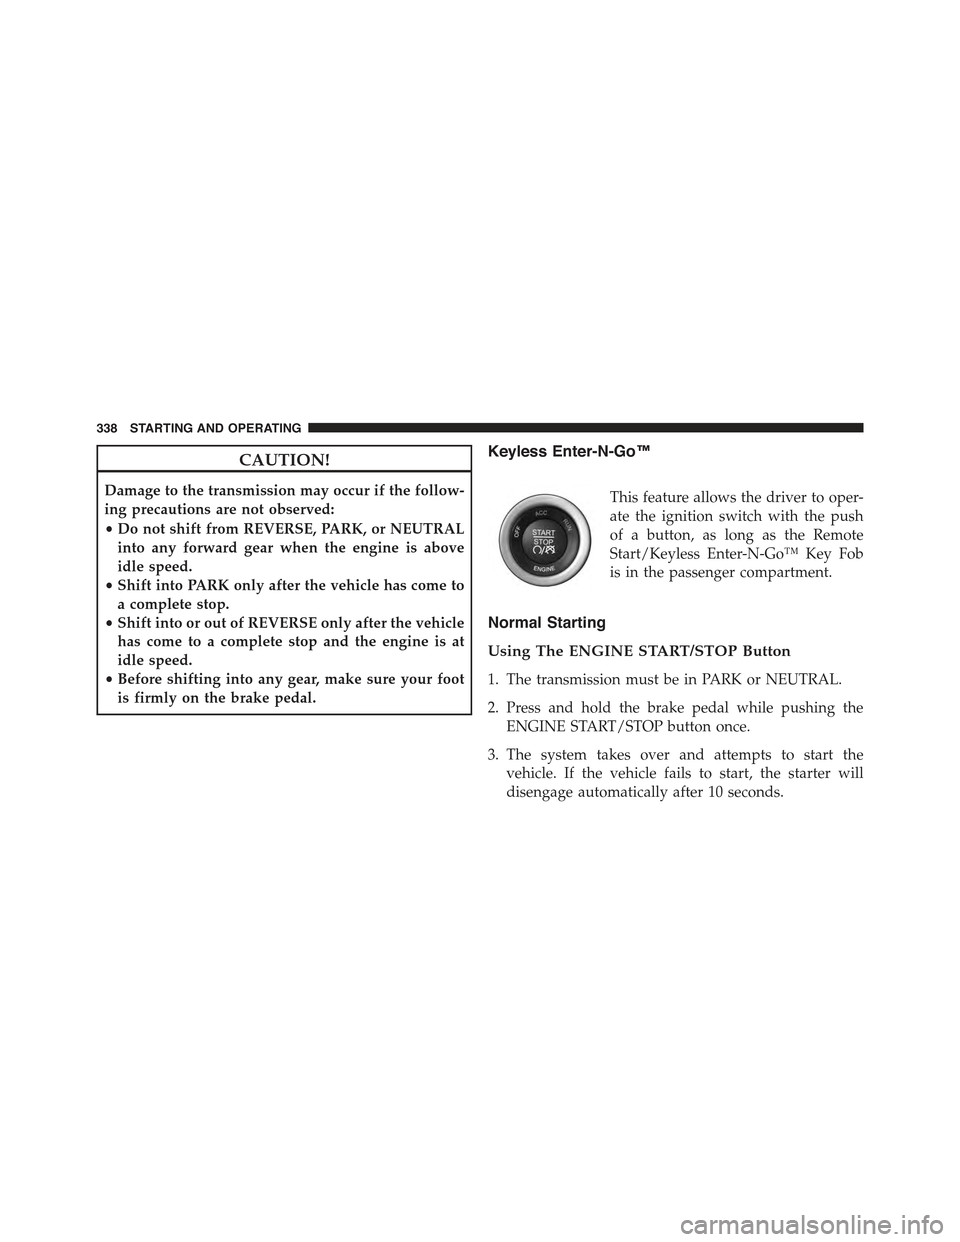
Keyless Enter-N-Go™
This feature allows the driver to oper-
ate the ignition switch with the push
of a button, as long as the Remote
Start/Keyless Enter-N-Go™ Key Fob
is in the passenger compartment.
Normal Starting
Using The ENGINE START/STOP Button
1. The transmission must be in PARK or NEUTRAL.
2. Press and hold the brake pedal while pushing the
ENGINE START/STOP button once.
3. The system takes over and attempts to start the
vehicle. If the vehicle fails to start, the starter will
disengage automatically after 10 seconds.
338 STARTING AND OPERATING
Page 341 of 574
4. If you wish to stop the cranking of the engine prior to
the engine starting, push the button again.
NOTE:Normal starting of either a cold or a warm engine
is obtained without pumping or pressing the accelerator
pedal.
To Turn Off The Engine Using ENGINE
START/STOP Button
1. Place the shift lever/gear selector in PARK, then push
and release the ENGINE START/STOP button.
2. The ignition switch will return to the OFF position.
3. If the shift lever/gear selector is not in PARK, the
ENGINE START/STOP button must be held for two
seconds or three short pushes in a row with the vehicle
speed above 5 mph (8 km/h) before the engine will
shut off. The ignition switch position will remain in
the ACC position until the shift lever/gear selector is
in PARK and the button is pushed twice to the OFF
position. If the shift lever/gear selector is not in PARK
and the ENGINE START/STOP button is pushed
once, the DID will display a “Vehicle Not In Park”
message and the engine will remain running. Never
leave a vehicle out of the PARK position, or it could
roll.
NOTE:If the ignition switch is left in the ACC or RUN
(engine not running) position and the transmission is in
PARK, the system will automatically time out after 30
minutes of inactivity and the ignition will switch to the
OFF position.
ENGINE START/STOP Button Functions — With
Driver ’s Foot OFF The Brake Pedal (In PARK Or
NEUTRAL Position)
The ENGINE START/STOP button operates similar to an
ignition switch. It has three positions, OFF, ACC, RUN.
5
STARTING AND OPERATING 339
Page 342 of 574
To change the ignition switch positions without starting
the vehicle and use the accessories follow these steps:
1. Starting with the ignition in the OFF position:
2. Push the ENGINE START/STOP button once to
change the ignition to the ACC position.
3. Push the ENGINE START/STOP button a second time
to change the ignition to the RUN position.
4. Push the ENGINE START/STOP button a third time to
return the ignition to the OFF position.
Extreme Cold Weather (Below –20°F Or−29°C)
To ensure reliable starting at these temperatures, use of
an externally powered electric engine block heater (avail-
able from your authorized dealer) is recommended.
If Engine Fails To Start
WARNING!
•Never pour fuel or other flammable liquid into the
throttle body air inlet opening in an attempt to start
the vehicle. This could result in flash fire causing
serious personal injury.
•Do not attempt to push or tow your vehicle to get it
started. Vehicles equipped with an automatic trans-
mission cannot be started this way. Unburned fuel
could enter the catalytic converter and once the
engine has started, ignite and damage the converter
and vehicle.
(Continued)
340 STARTING AND OPERATING
Page 343 of 574
WARNING!(Continued)
•If the vehicle has a discharged battery, booster
cables may be used to obtain a start from a booster
battery or the battery in another vehicle. This type
of start can be dangerous if done improperly. Refer
to “Jump-Starting” in “What To Do In Emergen-
cies” for further information.
Clearing A Flooded Engine (Using ENGINE
START/STOP Button)
If the engine fails to start after you have followed the
“Normal Starting” or “Extreme Cold Weather#proce-
dures, it may be flooded. To clear any excess fuel:
1. Press and hold the brake pedal.
2. Press the accelerator pedal all the way to the floor and
hold it.
3. Push and release the ENGINE START/STOP button
once.
The starter motor will engage automatically, run for 10
seconds, and then disengage. Once this occurs, release
the accelerator pedal and the brake pedal, wait 10 to 15
seconds, then repeat the “Normal Starting” procedure.
After Starting
The idle speed is controlled automatically and it will
decrease as the engine warms up.
5
STARTING AND OPERATING 341
Page 346 of 574
CAUTION!
Damage to the transmission may occur if the follow-
ing precautions are not observed:
•Shift into or out of PARK or REVERSE only after
the vehicle has come to a complete stop.
•Do not shift between PARK, REVERSE, NEU-
TRAL, or DRIVE when the engine is above idle
speed.
•Before shifting into any gear, make sure your foot
is firmly pressing the brake pedal.
NOTE:You must press and hold the brake pedal while
shifting out of PARK.
Key Ignition Park Interlock
This vehicle is equipped with a Key Ignition Park Inter-
lock which requires the transmission to be in PARK
before the engine can be turned off. This helps the driver
avoid inadvertently leaving the vehicle without placing
the transmission in PARK.
This system also locks the transmission in PARK when-
ever the ignition switch is in the OFF position.
Brake/Transmission Shift Interlock System
This vehicle is equipped with a Brake Transmission Shift
Interlock System (BTSI) that holds the transmission gear
selector in PARK unless the brakes are applied. To shift
the transmission out of PARK, the engine must be
running and the brake pedal must be pressed.
The brake pedal must also be pressed to shift from
NEUTRAL into DRIVE or REVERSE when the vehicle is
stopped or moving at low speeds.
344 STARTING AND OPERATING