remote start CHRYSLER 300 2017 2.G User Guide
[x] Cancel search | Manufacturer: CHRYSLER, Model Year: 2017, Model line: 300, Model: CHRYSLER 300 2017 2.GPages: 488, PDF Size: 4.3 MB
Page 131 of 488
•Neutral Wipe Inhibit — The Rain Sensing feature will
not operate when the ignition is placed in the RUN
position, the automatic transmission gear selector is in
the NEUTRAL position and the vehicle speed is less
than 3 mph (5 km/h), unless the wiper control on the
multifunction lever is moved or the gear selector is
moved out of the NEUTRAL position.
• Remote Start Mode Inhibit — On vehicles equipped
with Remote Starting system, Rain Sensing wipers are
not operational when the vehicle is in the remote start
mode. Once the operator is in the vehicle and has placed
the ignition switch in the ON/RUN position, rain sens-
ing wiper operation can resume, if it has been selected,
and no other inhibit conditions (mentioned previously)
exist.
MANUAL TILT/TELESCOPING STEERING COLUMN
This feature allows you to tilt the steering column upward
or downward. It also allows you to lengthen or shorten the
steering column. The tilt/telescoping lever is located below
the steering wheel at the end of the steering column. To unlock the steering column, pull the lever downward.
To tilt the steering column, move the steering wheel
upward or downward as desired. To lengthen or shorten
the steering column, pull the steering wheel outward or
push it inward as desired. To lock the steering column in
position, push the lever upward until fully engaged.
Tilt/Telescoping Control Handle
3
UNDERSTANDING THE FEATURES OF YOUR VEHICLE 129
Page 133 of 488
WARNING!
Do not adjust the steering column while driving.
Adjusting the steering column while driving or driv-
ing with the steering column unlocked, could cause the
driver to lose control of the vehicle. Failure to follow
this warning may result in serious injury or death.
HEATED STEERING WHEEL — IF EQUIPPED
The steering wheel contains a heating element that helps
warm your hands in cold weather. The heated steering
wheel has only one temperature setting. Once the heated
steering wheel has been turned on, it will stay on for an
average of 80 minutes or more before automatically shut-
ting off. This time will vary based on environmental
temperatures. The heated steering wheel can shut off early
or may not turn on when the steering wheel is already
warm.
The heated steering wheel control button is located within
the Uconnect system. You can gain access to the control
button through the climate screen or the controls screen.
•Press the heated steering wheel button
once to turn
the heating element on.
• Press the heated steering wheel buttona second time
to turn the heating element off.
NOTE: The engine must be running for the heated steering
wheel to operate.
Vehicles Equipped With Remote Start
On models that are equipped with remote start, the heated
steering wheel can be programmed to come on during a
remote start through the Uconnect system. Refer to
“Uconnect Settings” in “Understanding Your Instrument
Panel” for further information.
WARNING!
• Persons who are unable to feel pain to the skin
because of advanced age, chronic illness, diabetes,
spinal cord injury, medication, alcohol use, exhaus-
tion, or other physical conditions must exercise care
when using the steering wheel heater. It may cause
burns even at low temperatures, especially if used
for long periods.
• Do not place anything on the steering wheel that
insulates against heat, such as a blanket or steering
wheel covers of any type and material. This may
cause the steering wheel heater to overheat.
3
UNDERSTANDING THE FEATURES OF YOUR VEHICLE 131
Page 257 of 488
Doors & Locks
After pressing the “Doors & Locks” button on the touch-
screen, the following settings will be available:
Setting NameSelectable Options
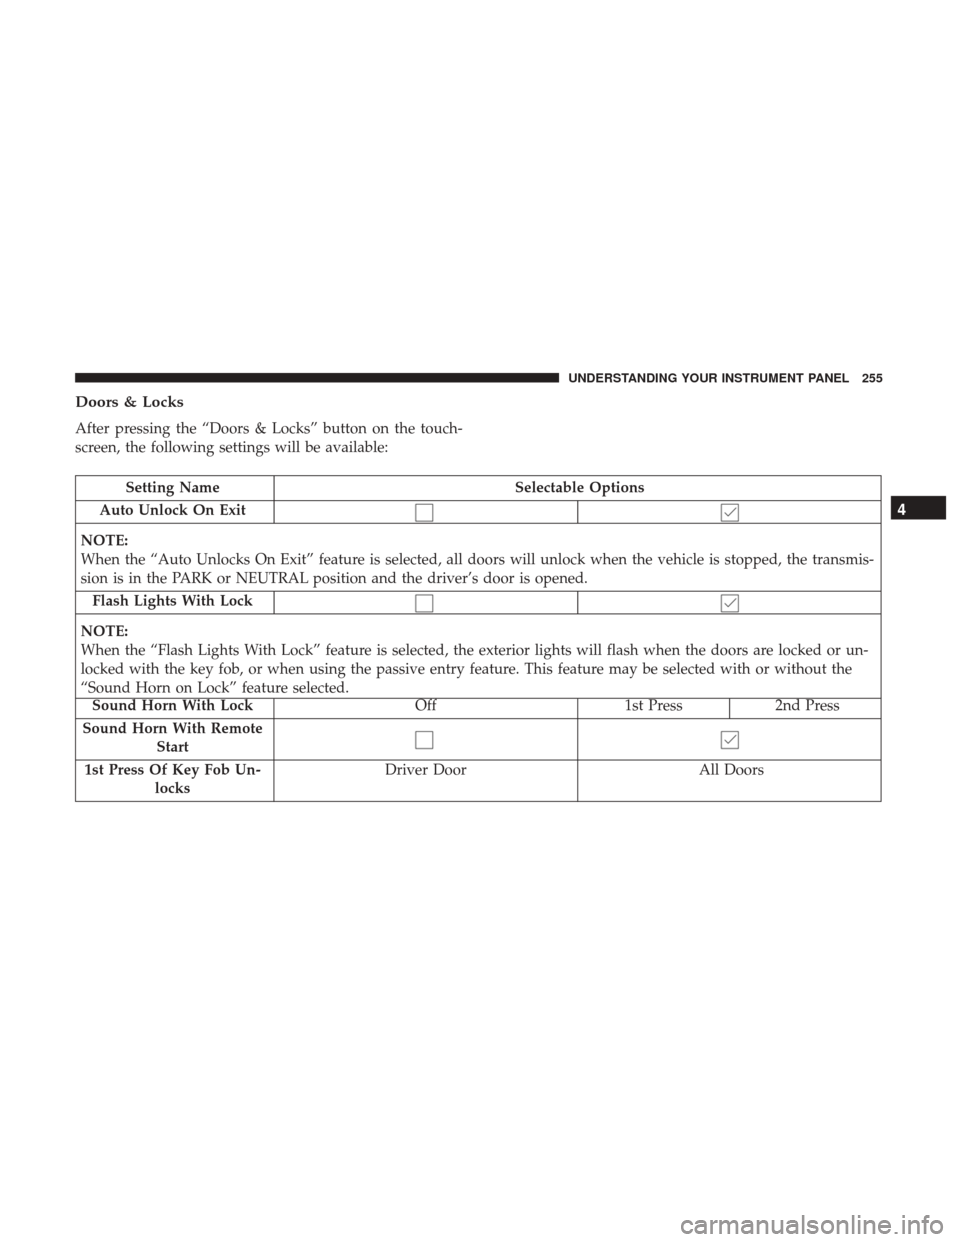
Auto Unlock On Exit
NOTE:
When the “Auto Unlocks On Exit” feature is selected, all doors will unlock when the vehicle is stopped, the transmis-
sion is in the PARK or NEUTRAL position and the driver’s door is opened. Flash Lights With Lock
NOTE:
When the “Flash Lights With Lock” feature is selected, the exterior lights will flash when the doors are locked or un-
locked with the key fob, or when using the passive entry feature. This feature may be selected with or without the
“Sound Horn on Lock” feature selected.
Sound Horn With Lock Off 1st Press 2nd Press
Sound Horn With Remote Start
1st Press Of Key Fob Un- locks Driver Door
All Doors
4
UNDERSTANDING YOUR INSTRUMENT PANEL 255
Page 259 of 488
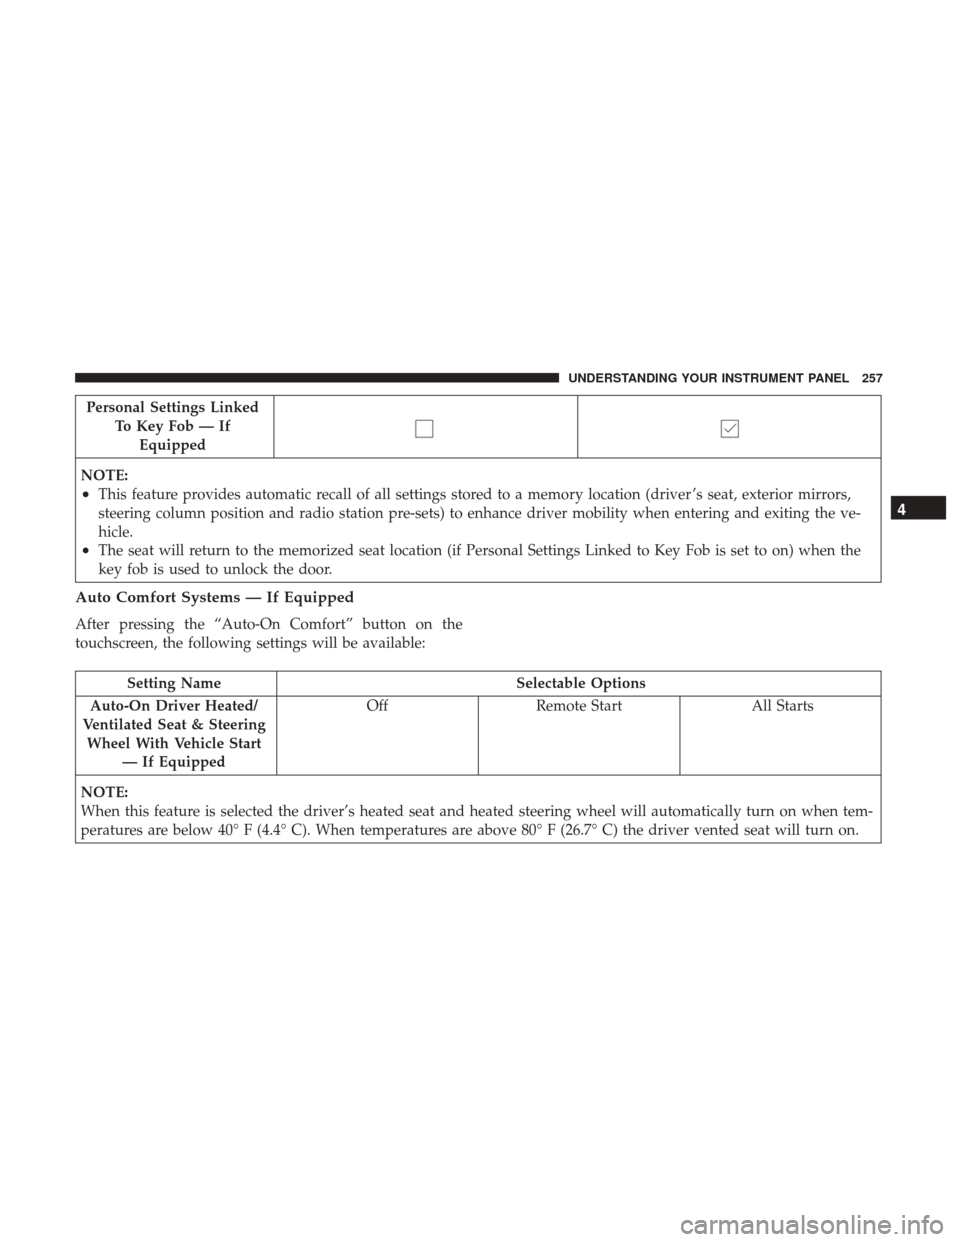
Personal Settings LinkedTo Key Fob — IfEquipped
NOTE:
•This feature provides automatic recall of all settings stored to a memory location (driver ’s seat, exterior mirrors,
steering column position and radio station pre-sets) to enhance driver mobility when entering and exiting the ve-
hicle.
•The seat will return to the memorized seat location (if Personal Settings Linked to Key Fob is set to on) when the
key fob is used to unlock the door.
Auto Comfort Systems — If Equipped
After pressing the “Auto-On Comfort” button on the
touchscreen, the following settings will be available:
Setting Name Selectable Options
Auto-On Driver Heated/
Ventilated Seat & Steering Wheel With Vehicle Start — If Equipped Off
Remote Start All Starts
NOTE:
When this feature is selected the driver’s heated seat and heated steering wheel will automatically turn on when tem-
peratures are below 40° F (4.4° C). When temperatures are above 80° F (26.7° C) the driver vented seat will turn on.
4
UNDERSTANDING YOUR INSTRUMENT PANEL 257
Page 289 of 488
NOTE:Your vehicle may be transmitting data as autho-
rized by the subscriber.
An included trial and/or subscription is required to take
advantage of the SiriusXM Guardian services in the next
section of this guide. To register with SiriusXM Guardian,
press the Apps button on the 8.4-inch touchscreen to get
started.
NOTE: SiriusXM Guardian is available only on equipped
vehicles purchased within the continental United States,
Alaska and Hawaii. Services can only be used where
coverage is available; see coverage map for details.
SOS Call
Theft Alarm Notification
Remote Door Lock/Unlock
Send & Go
Vehicle Finder
Stolen Vehicle Assistance
Remote Vehicle Start**
Remote Horn & Lights
Roadside Assistance Call
Vehicle Health Reports**
Vehicle Health Alert**
Performance Pages Plus**
**If vehicle is equipped.
Register (8.4/8.4 NAV)
To unlock the full potential of SiriusXM Guardian in your
vehicle, you must activate your SiriusXM Guardian ser-
vices.
1. Press the Apps icon on the bottom of your in-vehicle touchscreen.
2. Select the Activate Services icon from your list of apps.
3. Select “Customer Care” to speak with a SiriusXM Guardian Customer Care agent who will activate ser-
vices in your vehicle, or select “Enter Email” to activate
on the web.
For further information, please visit siriusxm.com/
guardian.
Vehicle Health Report/Alert (8.4/8.4 NAV)
Your vehicle will send you a monthly email report, which
summarizes the performance of your vehicle’s key systems
so you can stay on top of your vehicle’s maintenance
4
UNDERSTANDING YOUR INSTRUMENT PANEL 287
Page 290 of 488
needs. Your vehicle will also send you Vehicle Health
Alerts when it detects issues with its key systems that need
your attention. For further information go to the Owner
Site website (owners.dodge.com, or owners.chrysler.com).
Mobile App (8.4/8.4 NAV)
You’re only a few steps away from using remote com-
mands and playing your favorite music in your car.
To use the SiriusXM Guardian App:
•Download the SiriusXM Guardian App to your mobile
device. •
Press the Info button on the navigation bar at the bottom
of the app for Vehicle Info.
• Press the Remote button on the navigation bar at the
bottom of the app to Lock/Unlock, Remote Start, and
activate your horn and lights remotely.
• Press the Location button on the navigation bar at the
bottom of the app to bring up a map to locate your
vehicle or send a location to your vehicle’s navigation
system.
• Press the Settings button in the upper left corner of the
app to bring up app settings and access the Assist Call
Centers.
NOTE: For further information please visit
DriveUconnect.com.
SiriusXM Travel Link (8.4/8.4 NAV)
Need to find a gas station, view local movie listings, check
a sports score or the 5 - day weather forecast? SiriusXM
Travel Link is a suite of services that brings a wealth of
information right to your Uconnect 8.4 NAV system. (Not
available for 8.4 system or vehicles sold in the Canadian
market.)
Mobile App
288 UNDERSTANDING YOUR INSTRUMENT PANEL
Page 300 of 488
Keyless Enter-N-Go — Ignition
This feature allows the driver to operate
the ignition switch with the push of a
button, as long as the Remote Start/
Keyless Enter-N-Go key fob is in the
passenger compartment.
Normal Starting
To Turn On The Engine Using The ENGINE
START/STOP Button
1. The transmission must be in PARK or NEUTRAL.
2. Press and hold the brake pedal while pushing theENGINE START/STOP button once.
3. The system takes over and attempts to start the vehicle. If the vehicle fails to start, the starter will disengage
automatically after 10 seconds.
4. If you wish to stop the cranking of the engine prior to the engine starting, push the button again. NOTE:
Normal starting of either a cold or a warm engine
is obtained without pumping or pressing the accelerator
pedal.
To Turn Off The Engine Using ENGINE
START/STOP Button
1. Place the gear selector in PARK, then push and release the ENGINE START/STOP button.
2. The ignition will return to the OFF position.
3. If the gear selector is not in PARK, the ENGINE START/ STOP button must be held for two seconds or three short
pushes in a row with the vehicle speed above 5 mph
(8 km/h) before the engine will shut off. The ignition
switch position will remain in the ACC position until the
gear selector is in PARK and the button is pushed twice
to the OFF position. If the gear selector is not in PARK
and the ENGINE START/STOP button is pushed once,
the instrument cluster display will display a “Vehicle
Not In Park” message and the engine will remain
running. Never leave a vehicle out of the PARK position,
or it could roll.
298 STARTING AND OPERATING
Page 392 of 488
WARNING!
Do not attempt jump-starting if the battery is frozen. It
could rupture or explode and cause personal injury.
CAUTION!
Do not use a portable battery booster pack or any other
booster source with a system voltage greater than 12
Volts or damage to the battery, starter motor, alternator
or electrical system may occur.
Preparations For Jump-Start
The battery is stored under an access cover in the trunk.
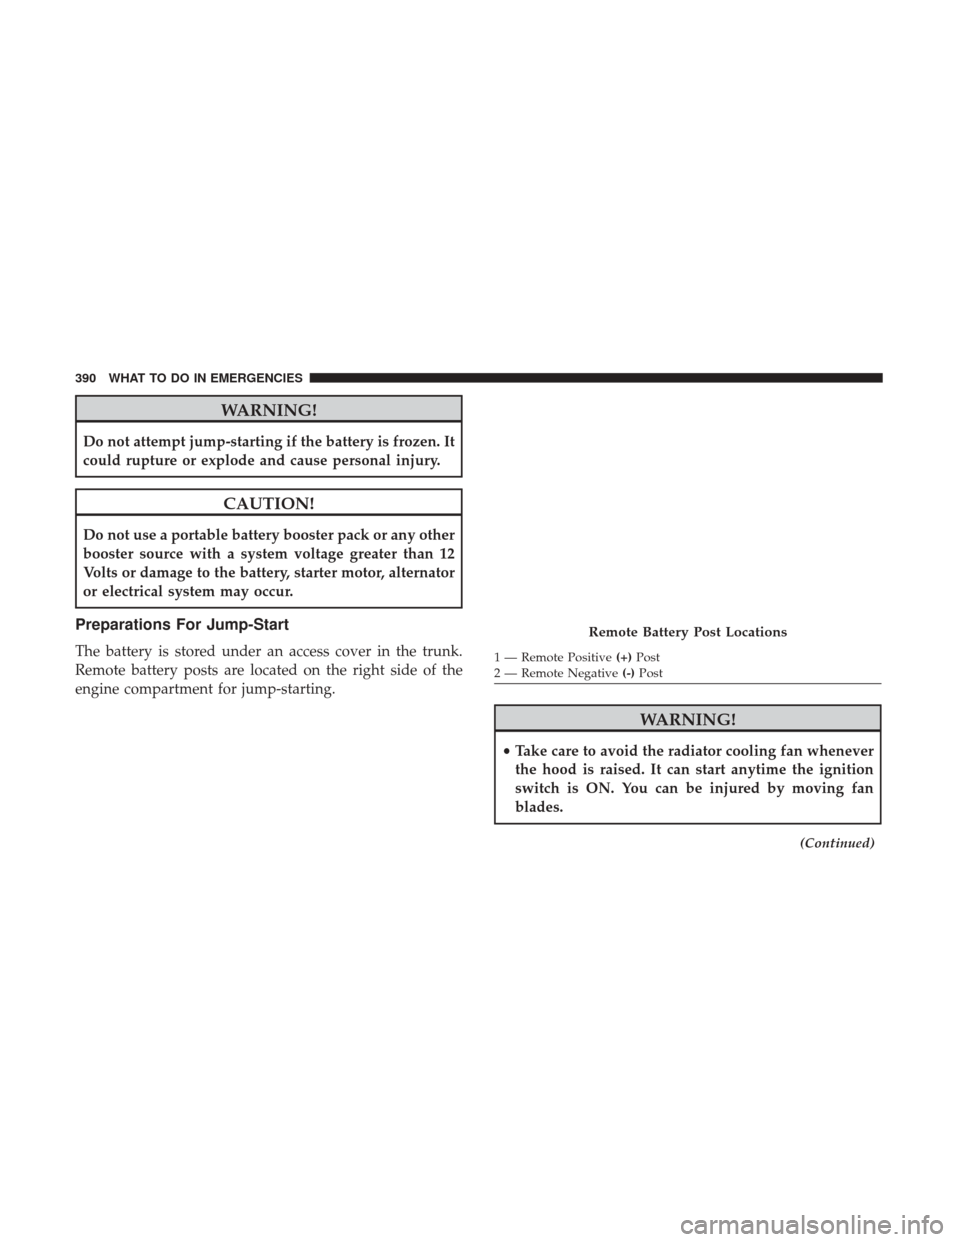
Remote battery posts are located on the right side of the
engine compartment for jump-starting.
WARNING!
•Take care to avoid the radiator cooling fan whenever
the hood is raised. It can start anytime the ignition
switch is ON. You can be injured by moving fan
blades.
(Continued)
Remote Battery Post Locations
1 — Remote Positive (+)Post
2 — Remote Negative (-)Post
390 WHAT TO DO IN EMERGENCIES
Page 393 of 488
WARNING!(Continued)
•Remove any metal jewelry such as rings, watch
bands and bracelets that could make an inadvertent
electrical contact. You could be seriously injured.
• Batteries contain sulfuric acid that can burn your
skin or eyes and generate hydrogen gas which is
flammable and explosive. Keep open flames or
sparks away from the battery.
1. Set the parking brake, shift the automatic transmission into PARK and cycle the ignition to OFF.
2. Turn off the heater, radio, and all unnecessary electrical accessories.
3. If using another vehicle to jump-start the battery, park the vehicle within the jumper cables reach, set the
parking brake and make sure the ignition is OFF.
WARNING!
Do not allow vehicles to touch each other as this could
establish a ground connection and personal injury
could result.
Jump-Starting Procedure
WARNING!
Failure to follow this jump-starting procedure could
result in personal injury or property damage due to
battery explosion.
CAUTION!
Failure to follow these procedures could result in
damage to the charging system of the booster vehicle
or the discharged vehicle.
Connecting The Jumper Cables
1. Connect the positive (+)end of the jumper cable to the
remote positive (+)post of the discharged vehicle.
2. Connect the opposite end of the positive (+)jumper
cable to the positive (+)post of the booster battery.
3. Connect the negative end (-)of the jumper cable to the
negative (-)post of the booster battery.6
WHAT TO DO IN EMERGENCIES 391
Page 394 of 488
4. Connect the opposite end of the negative(-)jumper
cable to the remotenegative (-)post of the vehicle with
the discharged battery.
WARNING!
Do not connect the jumper cable to the negative (-) post
of the discharged battery. The resulting electrical spark
could cause the battery to explode and could result in
personal injury. Only use the specific ground point, do
not use any other exposed metal parts.
5. Start the engine in the vehicle that has the booster battery, let the engine idle a few minutes, and then start
the engine in the vehicle with the discharged battery.
6. Once the engine is started, remove the jumper cables in the reverse sequence:
Disconnecting The Jumper Cables
1. Disconnect the negative (-)jumper cable from the re-
mote negative (-)post of the vehicle with the discharged
battery.
2. Disconnect the negative end (-)of the jumper cable from
the negative (-)post of the booster battery. 3. Disconnect the positive
(+)jumper cable from the posi-
tive (+)post of the booster battery.
4. Disconnect the positive (+)end of the jumper cable from
the remote positive (+)post of the discharged vehicle.
If frequent jump-starting is required to start your vehicle
you should have the battery and charging system in-
spected at your authorized dealer.
CAUTION!
Accessories plugged into the vehicle power outlets
draw power from the vehicle’s battery, even when not
in use (i.e., cellular devices, etc.). Eventually, if plugged
in long enough without engine operation, the vehicle’s
battery will discharge sufficiently to degrade battery
life and/or prevent the engine from starting.
FREEING A STUCK VEHICLE
If your vehicle becomes stuck in mud, sand, or snow, it can
often be moved using a rocking motion. Turn the steering
wheel right and left to clear the area around the front
wheels. Then, shift back and forth between DRIVE and
REVERSE while gently pressing the accelerator. Use the
392 WHAT TO DO IN EMERGENCIES