CHRYSLER 300 C 2008 1.G Owners Manual
Manufacturer: CHRYSLER, Model Year: 2008, Model line: 300 C, Model: CHRYSLER 300 C 2008 1.GPages: 520, PDF Size: 5.43 MB
Page 201 of 520

BASE INSTRUMENT CLUSTER
200 UNDERSTANDING YOUR INSTRUMENT PANEL
Page 202 of 520

PREMIUM INSTRUMENT CLUSTER
UNDERSTANDING YOUR INSTRUMENT PANEL 201
4
Page 203 of 520
INSTRUMENT CLUSTER DESCRIPTIONS
1. Electronic Speed Control/Adaptive Cruise Control
(ACC) Indicator Light — If Equipped
This light will turn on when the electronic
speed control or ACC is ON. (See page 148 for
more information.) (See page 152 for more
information.)
2. Low Fuel Indicator Light
This light will turn on and a single chime will
sound when the fuel level drops to 1/8 tank. (See
page 369 for more information.)
3. Front Fog Light Indicator — If Equipped
This light will turn on when the front fog lights are
ON. (See page 134 for more information.)
4. Turn Signal Indicators
The arrow will flash with the exterior turn signal
when the turn signal lever is operated.NOTE:A continuous chime will sound if the vehicle is
driven more than 1 mile (1.6 km) with either turn signal
on.
NOTE:Check for a defective outside light bulb if either
indicator flashes at a rapid rate.(See page 135 for more
information.)
5. Speedometer
Indicates vehicle speed.
6. Odometer/Trip Odometer
The odometer shows the total distance the vehicle has
been driven. The trip odometer shows individual trip
mileage. Refer to “Trip Odometer Button” for additional
information.
NOTE:U.S. federal regulations require upon transfer of
vehicle ownership, the seller certify the mileage the
vehicle has been driven. Therefore, if the odometer
reading is changed because of repair or replacement, be
202 UNDERSTANDING YOUR INSTRUMENT PANEL
Page 204 of 520
sure to keep a record of the reading before and after the
service so that the correct mileage can be determined.
On vehicles equipped with a Premium Instrument Clus-
ter, this display shows the Electronic Vehicle Information
Center (EVIC) messages when the appropriate conditions
exist. (See page 213 for more information.)
Loose Fuel Filler Cap Message
If the vehicle diagnostic system determines that the fuel
filler cap is loose, improperly installed, or damaged, a
“Check Gascap” message will display in the Electronic
Vehicle Information Center (EVIC) — if equipped.
Tighten the fuel filler cap properly and press the odom-
eter reset button to turn off the message. If the problem
continues, the message will appear the next time the
vehicle is started.A loose, improperly installed, or damaged fuel filler cap
may also turn on the Malfunction Indicator Light (MIL).
(See page 417 for more information.)
Change Oil Message (Base Cluster)
Your vehicle is equipped with an engine oil change
indicator system. The “Change Oil” message will flash in
the instrument cluster odometer for approximately 12
seconds after a single chime has sounded to indicate the
next scheduled oil change interval. The engine oil change
indicator system is duty cycle based, which means the
engine oil change interval may fluctuate dependent upon
your personal driving style.
Unless reset, this message will continue to display each
time you turn the ignition switch to the ON position. To
turn off the message temporarily, press and release the
Trip Odometer button on the instrument cluster. To reset
UNDERSTANDING YOUR INSTRUMENT PANEL 203
4
Page 205 of 520

the oil change indicator system (after performing the
scheduled maintenance) perform the following proce-
dure:
1. Turn the ignition switch to the ON position (Do not
start the engine).
2. Fully depress the accelerator pedal slowly three
times within 10 seconds.
3. Turn the ignition switch to the LOCK position.
NOTE:If the indicator message illuminates when you
start the vehicle, the oil change indicator system did not
reset. If necessary, repeat this procedure.
7. Tachometer
The red segments indicate the maximum permissible
engine revolutions-per-minute (r.p.m. x 1000) for each
gear range. Ease up on the accelerator before reaching the
red area.8. Engine Temperature Warning Light
This light will turn on and a single chime will
sound to warn of an overheated engine condition.
When this light turns on, the engine temperature
is critically hot. The vehicle should be turned off imme-
diately and serviced as soon as possible. (See page 393 for
more information.)
9. Anti-Lock Brake Light — If Equipped
This light monitors the Anti-Lock Brake System.
The light will turn on when the ignition switch is
turned to the ON position and may stay on for as long as
four seconds.
If the ABS light remains on or turns on while driving,
then the Anti-Lock portion of the brake system is not
functioning and service is required. However, the con-
ventional brake system will continue to operate normally
if the BRAKE warning light is not on.
204 UNDERSTANDING YOUR INSTRUMENT PANEL
Page 206 of 520
If the ABS light is on, the brake system should be serviced
as soon as possible to restore the benefits of Anti-Lock
brakes. If the ABS light does not turn on when the
Ignition switch is turned to the ON position, have the
light inspected by an authorized dealer. (See page 325 for
more information.)
10. Electronic Stability Program (ESP) / Brake Assist
System (BAS) Malfunction Indicator Light
The yellow ESP/BAS malfunction indicator
light will turn on when the key in the ignition
switch is turned to the ON position. The light
should go out with the engine running. The
system will turn this light on continuously while the
engine running if it detects a malfunction in either the
ESP or the BAS or both. (See page 331 for more informa-
tion.)11. Airbag Warning Light
This light will turn on for 6 to 8 seconds as a
bulb check when the ignition switch is first
turned ON. If the light is either not on during
starting, or stays on, or turns on while driving,
then have the system inspected at your authorized dealer
as soon as possible. (See page 64 for more information.)
12. Brake System Warning Light
This light monitors various brake functions,
including brake fluid level and parking brake
application. If the brake light turns on, it may
indicate that the parking brake is applied, that
the brake fluid level is low, or that there is a problem with
the anti-lock brake system (if equipped).
The dual brake system provides a reserve braking capac-
ity to a portion of the hydraulic system in the event of a
failure. Failure of either half of the dual brake system is
UNDERSTANDING YOUR INSTRUMENT PANEL 205
4
Page 207 of 520
indicated by the Brake Warning Light, which will turn on
when the brake fluid level in the master cylinder drops
below a specified level.
The light will remain on until the cause is corrected.
NOTE:The light may flash momentarily during sharp
cornering maneuvers due to a change in fluid level. If so,
the vehicle should have service performed and the brake
fluid level checked.
Immediate repair is necessary if brake failure is indicated.
WARNING!
Driving a vehicle with the brake light on is danger-
ous. Part of the brake system may have failed. It will
take longer to stop the vehicle. You could have an
accident. Have the vehicle checked immediately.Vehicles equipped with Anti-Lock brakes (ABS) are also
equipped with Electronic Brake Force Distribution (EBD).
Both the Brake Warning Light and the ABS Light will
turn on in the event of an EBD failure. Immediate repair
of the ABS system is required in the event of an EBD
failure.
The operation of the Brake Warning Light can be checked
by turning the ignition switch from the LOCK position to
the ON position. The light should turn on for approxi-
mately two seconds and then turn off. The light will
remain on if the parking brake is applied or if a brake
fault is detected. If the parking brake is not applied and
the light remains on, or if the light does not turn on, have
the light inspected by an authorized dealer.
NOTE:The light will turn on when the ignition switch
in the ON position and the parking brake is applied. This
206 UNDERSTANDING YOUR INSTRUMENT PANEL
Page 208 of 520
light shows only that the parking brake is applied. It does
not show the degree of brake application. (See page 324
for more information.)
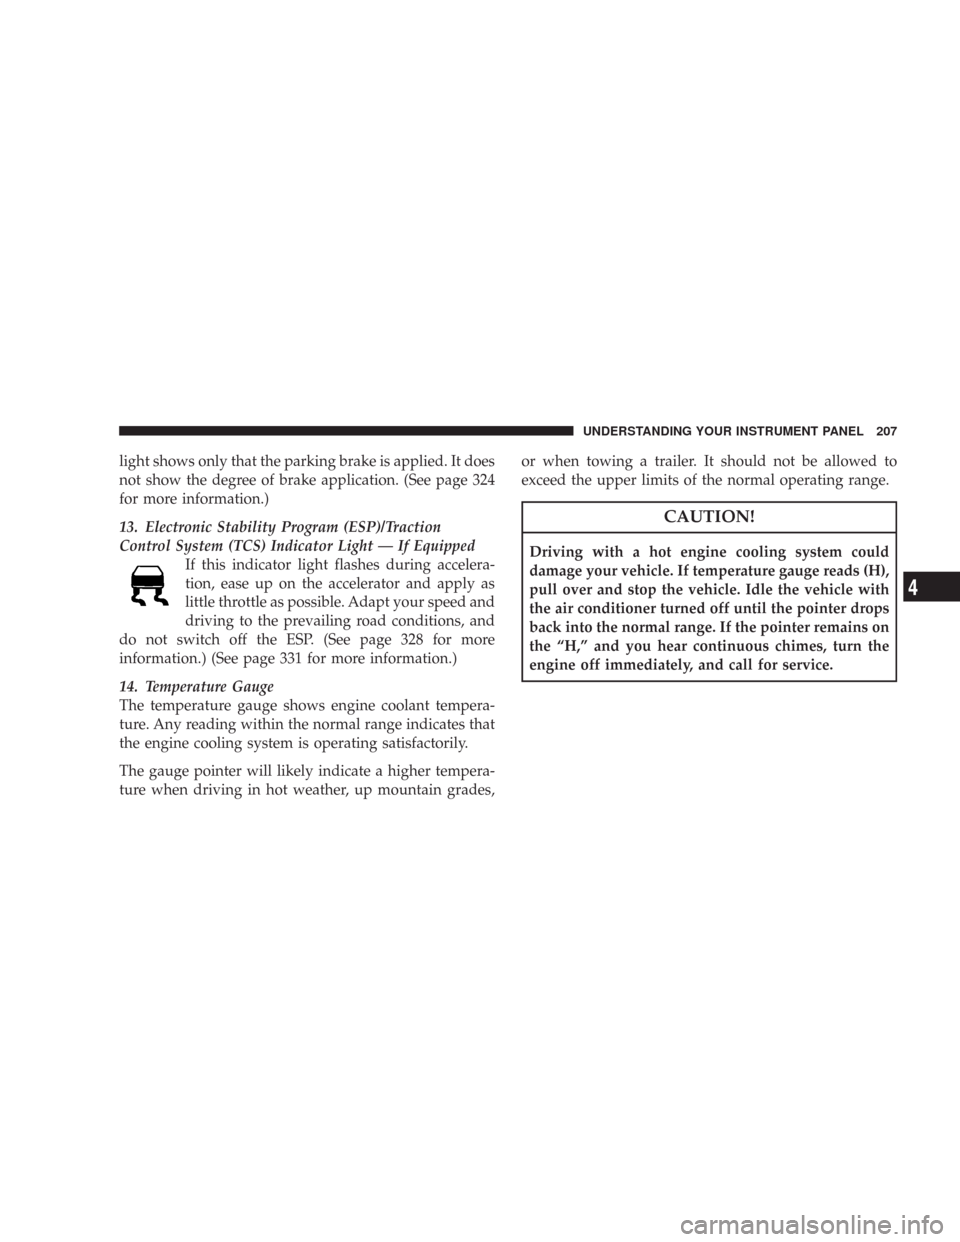
13. Electronic Stability Program (ESP)/Traction
Control System (TCS) Indicator Light — If Equipped
If this indicator light flashes during accelera-
tion, ease up on the accelerator and apply as
little throttle as possible. Adapt your speed and
driving to the prevailing road conditions, and
do not switch off the ESP. (See page 328 for more
information.) (See page 331 for more information.)
14. Temperature Gauge
The temperature gauge shows engine coolant tempera-
ture. Any reading within the normal range indicates that
the engine cooling system is operating satisfactorily.
The gauge pointer will likely indicate a higher tempera-
ture when driving in hot weather, up mountain grades,or when towing a trailer. It should not be allowed to
exceed the upper limits of the normal operating range.
CAUTION!
Driving with a hot engine cooling system could
damage your vehicle. If temperature gauge reads (H),
pull over and stop the vehicle. Idle the vehicle with
the air conditioner turned off until the pointer drops
back into the normal range. If the pointer remains on
the “H,” and you hear continuous chimes, turn the
engine off immediately, and call for service.
UNDERSTANDING YOUR INSTRUMENT PANEL 207
4
Page 209 of 520
WARNING!
A hot engine cooling system is dangerous. You or
others could be badly burned by steam or boiling
coolant. You may want to call a service center if your
vehicle overheats. If you decide to look under the
hood yourself, see Section 7 of this manual. Follow
the warnings under the Cooling System Pressure Cap
paragraph.
15. Trip Odometer Button
Trip Odometer Button — Base Cluster
The word\4TRIP\4will appear when this button is pressed.
Push in and hold the button for two seconds when the
trip odometer displays to reset it to 0 miles (kilometers).
A second press of the button will display the outside
temperature in the odometer.Trip Odometer Button — Premium Cluster
Press this button to change the display from odometer to
either of two trip odometer settings. The letter “A” or “B”
will appear when in the trip odometer mode. Push in and
hold the button for two seconds to reset the trip odometer
to 0 miles (kilometers). The odometer must be in trip
mode to reset it.
16. High Beam Light
This light will turn on when the high beam
headlights are ON. Push the Multi-Function lever
away from the steering wheel to switch the headlights to
high beam. (See page 134 for more information.)
17. Transmission Range Indicator
This display indicator shows the automatic transmission
gear selection.
208 UNDERSTANDING YOUR INSTRUMENT PANEL
Page 210 of 520
18. Seat Belt Reminder Light
This light will turn on for 5 to 8 seconds as a bulb
check when the ignition switch is first turned ON.
A chime will sound if the driver’s seat belt is
unbuckled during the bulb check. The Seat Belt Warning
Light will flash or remain on continuously if the driver’s
seat belt remains unbuckled after the bulb check or when
driving. (See page 49 for more information.)
19. Vehicle Security Alarm (VSA) Indicator Light — If
Equipped
The VSA indicator Light flashes rapidly when the VSA is
arming, and slowly when the VSA is armed. (See page 18
for more information.)
20. Fuel Gauge
The pointer shows the level of fuel in the fuel tank when
the ignition switch is in the ON position.21. Electronic Throttle Control (ETC) Light
This light will turn on briefly as a bulb check
when the ignition switch is turned ON. This
light will also turn on while the engine is
running if there is a problem with the Elec-
tronic Throttle Control system.
If the light comes on while the engine is running, safely
bring the vehicle to a complete stop as soon as possible,
place the gear selector in park, and cycle the ignition key.
The light should turn off. If the light remains lit with the
engine running, your vehicle will usually be drivable.
However, see your dealer for service as soon as possible.
If the light is flashing when the engine is running,
immediate service is required. In this case, you may
experience reduced performance, an elevated/rough idle
or engine stall, and your vehicle may require towing.
Also, have the system checked by an authorized dealer if
the light does not come on during starting.
UNDERSTANDING YOUR INSTRUMENT PANEL 209
4