CHRYSLER 300 C 2008 1.G Owners Manual
Manufacturer: CHRYSLER, Model Year: 2008, Model line: 300 C, Model: CHRYSLER 300 C 2008 1.GPages: 520, PDF Size: 5.43 MB
Page 211 of 520
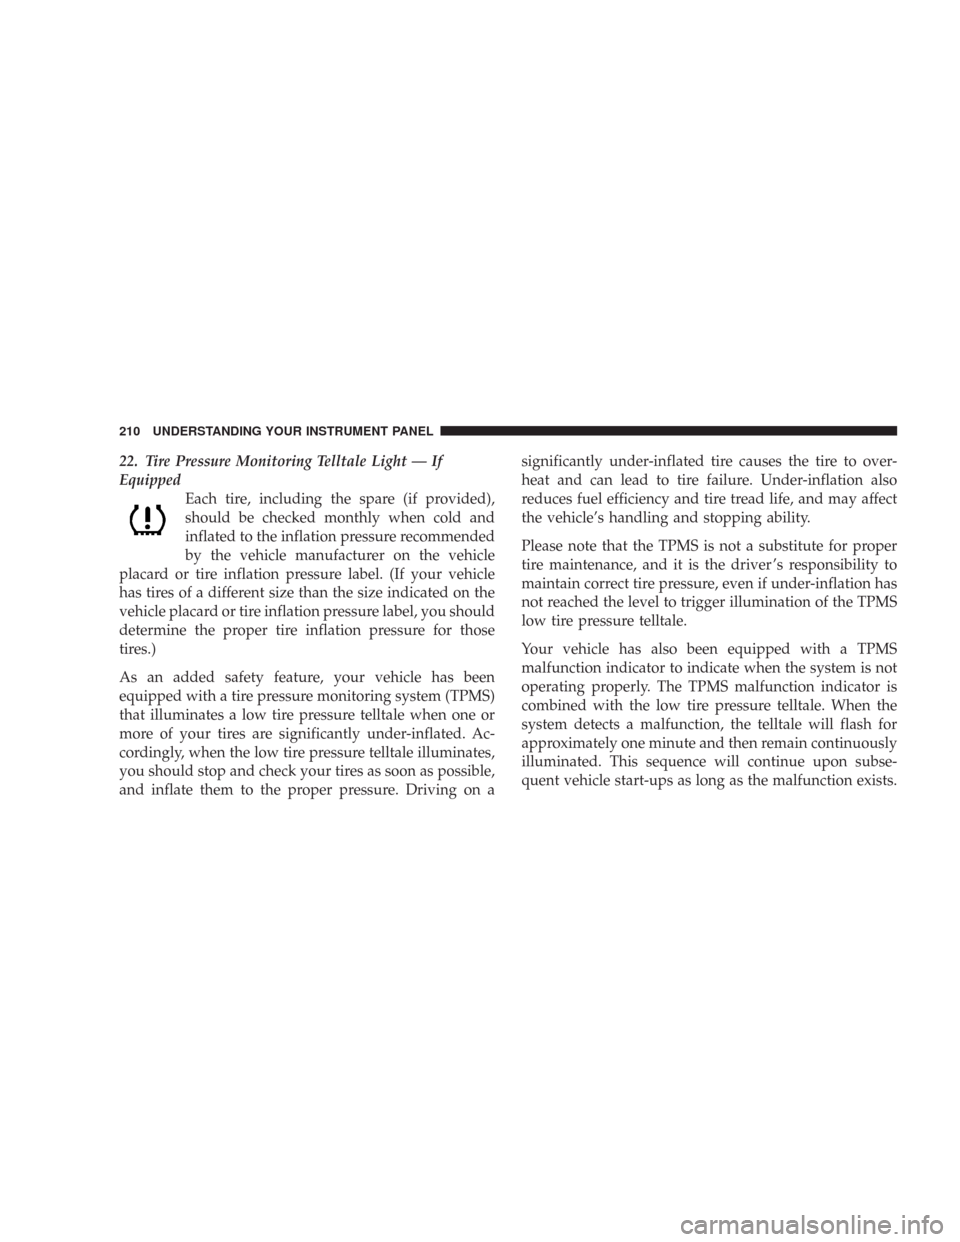
22. Tire Pressure Monitoring Telltale Light — If
Equipped
Each tire, including the spare (if provided),
should be checked monthly when cold and
inflated to the inflation pressure recommended
by the vehicle manufacturer on the vehicle
placard or tire inflation pressure label. (If your vehicle
has tires of a different size than the size indicated on the
vehicle placard or tire inflation pressure label, you should
determine the proper tire inflation pressure for those
tires.)
As an added safety feature, your vehicle has been
equipped with a tire pressure monitoring system (TPMS)
that illuminates a low tire pressure telltale when one or
more of your tires are significantly under-inflated. Ac-
cordingly, when the low tire pressure telltale illuminates,
you should stop and check your tires as soon as possible,
and inflate them to the proper pressure. Driving on asignificantly under-inflated tire causes the tire to over-
heat and can lead to tire failure. Under-inflation also
reduces fuel efficiency and tire tread life, and may affect
the vehicle’s handling and stopping ability.
Please note that the TPMS is not a substitute for proper
tire maintenance, and it is the driver ’s responsibility to
maintain correct tire pressure, even if under-inflation has
not reached the level to trigger illumination of the TPMS
low tire pressure telltale.
Your vehicle has also been equipped with a TPMS
malfunction indicator to indicate when the system is not
operating properly. The TPMS malfunction indicator is
combined with the low tire pressure telltale. When the
system detects a malfunction, the telltale will flash for
approximately one minute and then remain continuously
illuminated. This sequence will continue upon subse-
quent vehicle start-ups as long as the malfunction exists.
210 UNDERSTANDING YOUR INSTRUMENT PANEL
Page 212 of 520
When the malfunction indicator is illuminated, the sys-
tem may not be able to detect or signal low tire pressure
as intended. TPMS malfunctions may occur for a variety
of reasons, including the installation of replacement or
alternate tires or wheels on the vehicle that prevent the
TPMS from functioning properly. Always check the
TPMS malfunction telltale after replacing one or more
tires or wheels on your vehicle to ensure that the replace-
ment or alternate tires and wheels allow the TPMS to
continue to function properly. (See page 355 for more
information.)CAUTION!
The TPMS has been optimized for the original
equipment tires and wheels. TPMS pressures and
warning have been established for the tire size
equipped on your vehicle. Undesirable system opera-
tion or sensor damage may result when using re-
placement equipment that is not of the same size,
type, and/or style. Aftermarket wheels can cause
sensor damage. Do not use aftermarket tire sealants
or balance beads if your vehicle is equipped with a
TPMS, as damage to the sensors may result.
23. Charging System Light
This light shows the status of the electrical charg-
ing system. The light should turn on when the
ignition switch is first turned ON and remain on briefly
as a bulb check. If the light stays on or turns on while
UNDERSTANDING YOUR INSTRUMENT PANEL 211
4
Page 213 of 520
driving, turn off some of the vehicle’s non-essential
electrical devices (i.e. radio) or slightly increase engine
speed (if at idle). If the light remains on, it means that the
charging system is experiencing a problem. See your
local authorized dealer to obtain SERVICE IMMEDI-
ATELY.
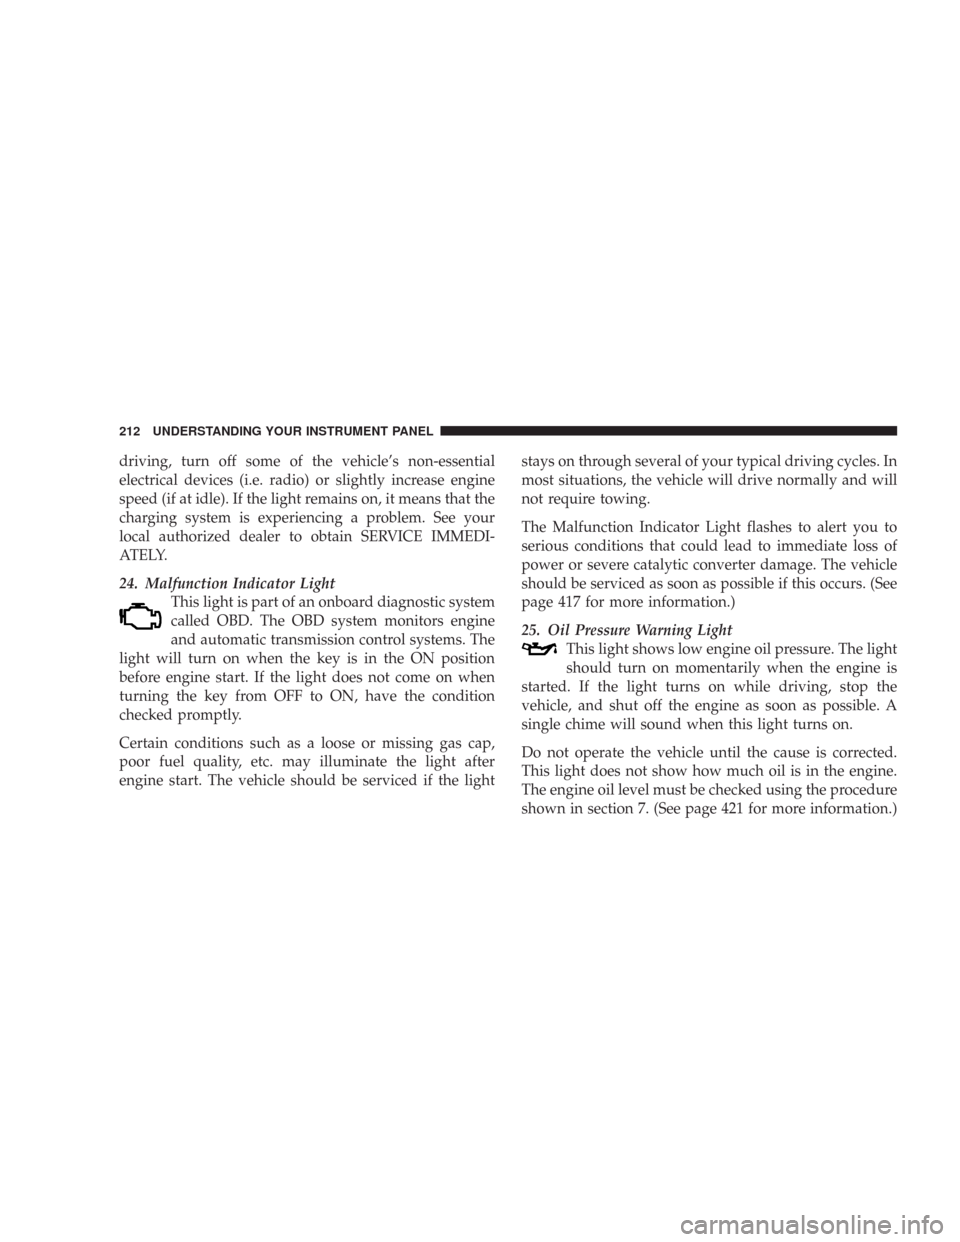
24. Malfunction Indicator Light
This light is part of an onboard diagnostic system
called OBD. The OBD system monitors engine
and automatic transmission control systems. The
light will turn on when the key is in the ON position
before engine start. If the light does not come on when
turning the key from OFF to ON, have the condition
checked promptly.
Certain conditions such as a loose or missing gas cap,
poor fuel quality, etc. may illuminate the light after
engine start. The vehicle should be serviced if the lightstays on through several of your typical driving cycles. In
most situations, the vehicle will drive normally and will
not require towing.
The Malfunction Indicator Light flashes to alert you to
serious conditions that could lead to immediate loss of
power or severe catalytic converter damage. The vehicle
should be serviced as soon as possible if this occurs. (See
page 417 for more information.)
25. Oil Pressure Warning Light
This light shows low engine oil pressure. The light
should turn on momentarily when the engine is
started. If the light turns on while driving, stop the
vehicle, and shut off the engine as soon as possible. A
single chime will sound when this light turns on.
Do not operate the vehicle until the cause is corrected.
This light does not show how much oil is in the engine.
The engine oil level must be checked using the procedure
shown in section 7. (See page 421 for more information.)
212 UNDERSTANDING YOUR INSTRUMENT PANEL
Page 214 of 520

ELECTRONIC VEHICLE INFORMATION CENTER
(EVIC) — IF EQUIPPED
The Electronic Vehicle Information Center (EVIC) fea-
tures a driver-interactive display. It is located in the
upper part of the cluster between the speedometer and
tachometer. Vehicles equipped with steering wheelmounted buttons (described in this section) are also
equipped with the EVIC. The EVIC consists of the
following:
•System Status
•Vehicle information warning message displays
•Tire Pressure Monitor System (if equipped)
•Personal Settings (customer programmable features)
•Compass display
•Outside temperature display
•Trip computer functions
•UConnect™ hands-free communication system dis-
plays (if equipped)
•Navigation system screens (if equipped)
•Audio mode display
Electronic Vehicle Information Center
UNDERSTANDING YOUR INSTRUMENT PANEL 213
4
Page 215 of 520
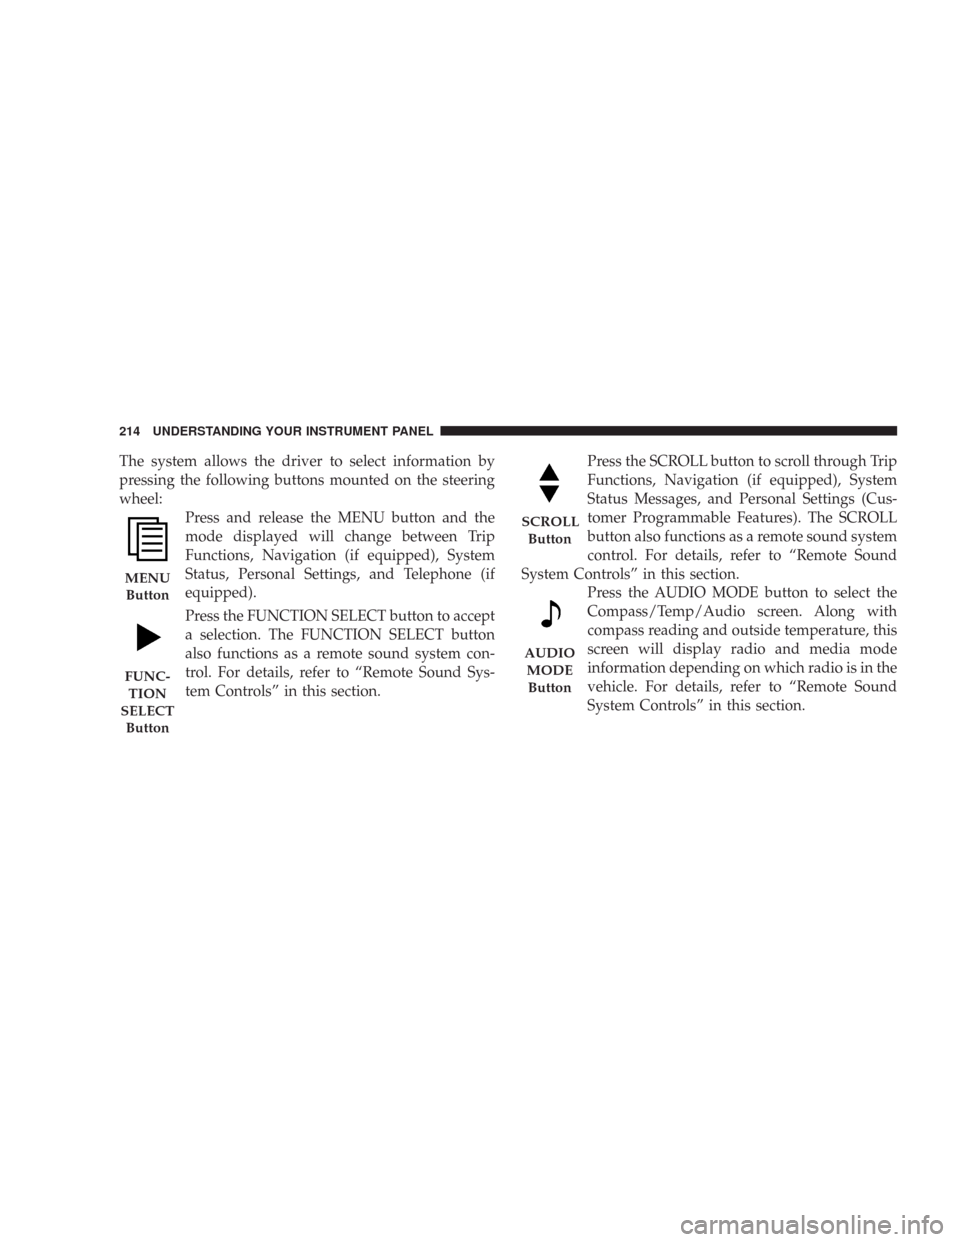
The system allows the driver to select information by
pressing the following buttons mounted on the steering
wheel:
Press and release the MENU button and the
mode displayed will change between Trip
Functions, Navigation (if equipped), System
Status, Personal Settings, and Telephone (if
equipped).
Press the FUNCTION SELECT button to accept
a selection. The FUNCTION SELECT button
also functions as a remote sound system con-
trol. For details, refer to “Remote Sound Sys-
tem Controls” in this section.Press the SCROLL button to scroll through Trip
Functions, Navigation (if equipped), System
Status Messages, and Personal Settings (Cus-
tomer Programmable Features). The SCROLL
button also functions as a remote sound system
control. For details, refer to “Remote Sound
System Controls” in this section.
Press the AUDIO MODE button to select the
Compass/Temp/Audio screen. Along with
compass reading and outside temperature, this
screen will display radio and media mode
information depending on which radio is in the
vehicle. For details, refer to “Remote Sound
System Controls” in this section.
MENU
Button
FUNC-
TION
SELECT
Button
SCROLL
Button
AUDIO
MODE
Button
214 UNDERSTANDING YOUR INSTRUMENT PANEL
Page 216 of 520

Electronic Vehicle Information Center (EVIC)
Displays
When the appropriate conditions exist, the Electronic
Vehicle Information Center (EVIC) displays the following
messages:
•Turn Signal On (with a continuous warning chime if
the vehicle is driven more than 1 mile [1.6 km] with
either turn signal on)
•Left Front Turn Signal Light Out (with a single chime)
•Left Rear Turn Signal Light Out (with a single chime)
•Right Front Turn Signal Light Out (with a single
chime)
•Right Rear Turn Signal Light Out (with a single chime)
•RKE Battery Low (with a single chime)
•Memory #1/#2 Profile Set
•Memory #1/#2 Profile Recall
•Memory System Disabled – Vehicle Not In Park (with
a single chime)
•Memory System Disabled – Seat Belt Buckled (with a
single chime)
•Personal Settings Not Available – Vehicle Not in Park
•Left/Right Front Door Ajar (one or more, with a single
chime if speed is above 1 mph [1.6 km/h])
•Left/Right Rear Door Ajar (one or more, with a single
chime if speed is above 1 mph [1.6 km/h])
•Door(s) Ajar (with a single chime if vehicle is in
motion)
•Trunk Ajar (with a single chime)
•Low Washer Fluid (with a single chime)
UNDERSTANDING YOUR INSTRUMENT PANEL 215
4
Page 217 of 520
•ACC Off — When the Adaptive Cruise Control (ACC)
system is turned off. Refer to “Adaptive Cruise Con-
trol (ACC)” in Section 3 of this manual for detailed
information (if so equipped).
•ACC Ready — When the Adaptive Cruise Control
(ACC) system is activated. Refer to “Adaptive Cruise
Control (ACC)” in Section 3 of this manual for detailed
information (if so equipped).
•ACC Set — After setting the desired speed in the
Adaptive Cruise Control (ACC) system. Refer to
“Adaptive Cruise Control (ACC)” in Section 3 of this
manual for detailed information (if so equipped).
•Driver Override — If you apply the accelerator after
setting the desired speed in the Adaptive Cruise
Control (ACC) system. Refer to “Adaptive Cruise
Control (ACC)” in Section 3 of this manual for detailed
information (if so equipped).
•Distance Set — After changing the desired following
distance in the Adaptive Cruise Control (ACC) system,
this message will display momentarily. Refer to
“Adaptive Cruise Control (ACC)” in Section 3 of this
manual for detailed information (if so equipped).
•Attention — If the Adaptive Cruise Control (ACC)
system predicts that its maximum braking level is not
sufficient to maintain the set distance, this message
will flash and a chime will sound while ACC continues
to apply its maximum braking capacity. When this
occurs, you should immediately apply the brakes as
needed to maintain a safe distance from the vehicle
ahead. Refer to “Adaptive Cruise Control (ACC)” in
Section 3 of this manual for detailed information (if so
equipped).
216 UNDERSTANDING YOUR INSTRUMENT PANEL
Page 218 of 520

•ACC Blinded — If the Adaptive Cruise Control (ACC)
system deactivates due to performance limiting con-
ditions. Refer to “Adaptive Cruise Control (ACC)” in
Section 3 of this manual for detailed information (if so
equipped).
•ACC Unavailable — If the Adaptive Cruise Control
(ACC) system turns off due to a temporary malfunc-
tion that limits functionality. Refer to “Adaptive
Cruise Control (ACC)” in Section 3 of this manual for
detailed information (if so equipped).
•Service ACC — If the Adaptive Cruise Control (ACC)
system turns off due to an internal system fault that
requires service from an authorized dealer. Refer to
“Adaptive Cruise Control (ACC)” in Section 3 of this
manual for detailed information (if so equipped).
•Adjustable Pedals Disabled – Cruise Engaged (with a
single chime) — only available on vehicles equipped
with memory seats.
•Adjustable Pedals Disabled – Vehicle In Reverse (with
a single chime) — only available on vehicles equipped
with memory seats.
•Channel # Transmit
•Channel # Training
•Channel # Trained
•Clearing Channels
•Channels Cleared
•Did Not Train
•Left Front Low Pressure (with a single chime). Refer to
information on “Tire Pressure” and “Tire Pressure
Monitor” in the “Starting And Operating” section of
this manual.
UNDERSTANDING YOUR INSTRUMENT PANEL 217
4
Page 219 of 520
•Left Rear Low Pressure (with a single chime). Refer to
information on “Tire Pressure” and “Tire Pressure
Monitor” in the “Starting And Operating” section of
this manual.
•Right Front Low Pressure (with a single chime). Refer
to information on “Tire Pressure” and “Tire Pressure
Monitor” in the “Starting And Operating” section of
this manual.
•Right Rear Low Pressure (with a single chime). Refer
to information on “Tire Pressure” and “Tire Pressure
Monitor” in the “Starting And Operating” section of
this manual.
•Check TPM System (with a single chime). Refer to
information on “Tire Pressure Monitor” in the “Start-
ing And Operating” section of this manual.
•Check Gascap (refer to “Adding Fuel” in Section 5 of
this manual for more details)
•Service Park Assist System (with a single chime)
•Oil Change Required (with a single chime)
Oil Change Required
Your vehicle is equipped with an engine oil change
indicator system. The “Oil Change Required” message
will flash in the EVIC display for approximately 10
seconds after a single chime has sounded to indicate the
next scheduled oil change interval. The engine oil change
indicator system is duty cycle based, which means the
engine oil change interval may fluctuate dependent upon
your personal driving style.
Unless reset, this message will continue to display each
time you turn the ignition switch to the ON position. To
turn off the message temporarily, press and release the
Menu button. To reset the oil change indicator system
(after performing the scheduled maintenance) perform
the following procedure:
218 UNDERSTANDING YOUR INSTRUMENT PANEL
Page 220 of 520
1. Turn the ignition switch to the ON position (Do not
start the engine).
2. Fully depress the accelerator pedal slowly three times
within 10 seconds.
3. Turn the ignition switch to the LOCK position.
NOTE:If the indicator message illuminates when you
start the vehicle, the oil change indicator system did not
reset. If necessary, repeat this procedure.
Trip Functions
Press and release the MENU button until one of the
following Trip Functions displays in the EVIC:
•Average Fuel Economy / Fuel Saver Mode
•Distance To Empty
•Trip A
•Trip B
•Elapsed Time
•Display Units of Measure in
Press the SCROLL button to cycle through all the Trip
Computer functions.
The Trip Functions mode displays the following informa-
tion:
•Average Fuel Economy / Fuel Saver Mode
Shows the average fuel economy since the last reset.
When the fuel economy is reset, the display will read
“RESET” or show dashes for two seconds. Then, the
history information will be erased, and the averaging will
continue from the last fuel average reading before the
reset.
Vehicles with the 5.7L Multi-Displacement System (MDS)
may be equipped with the FUEL SAVER MODE in the
Trip Functions of the EVIC. The FUEL SAVER MODE
message will display above the average fuel economy in
UNDERSTANDING YOUR INSTRUMENT PANEL 219
4