(15) Install screws to hold the patch to support
squares (Fig. 12). Tighten screws until patch surface
is flush with panel surface.
(16) Allow adhesive to cure, and remove all screws.
(17) Using a 125 mm (5 in.) 24 grit disc grinder,
grind a 50 mm (2 in.) to 75 mm (3 in.) wide and 2
mm (0.080 in.) deep path across the gaps around the
patch (Fig. 13). With compressed air, blow dust from
around patch.
(18) Apply adhesive backed nylon mesh (dry wall
tape) over gaps around patch (Fig. 14).
(19) Mix enough adhesive to cover the entire patch
area.
(20) Apply adhesive over the mesh around patch,
and smooth epoxy with a wide spreader to reduce fin-
ish grinding. Use two to three layers of mesh and
adhesive to create a stronger repair (Fig. 15).
PATCHED PANEL SURFACING
After patch panel is installed, the patch area can
be finished using the same methods as finishing
other types of body panels. If mesh material is
exposed in the patched area, grind surface down, and
apply a coat of high quality rigid plastic body filler.
Prime, block sand, and paint as required.
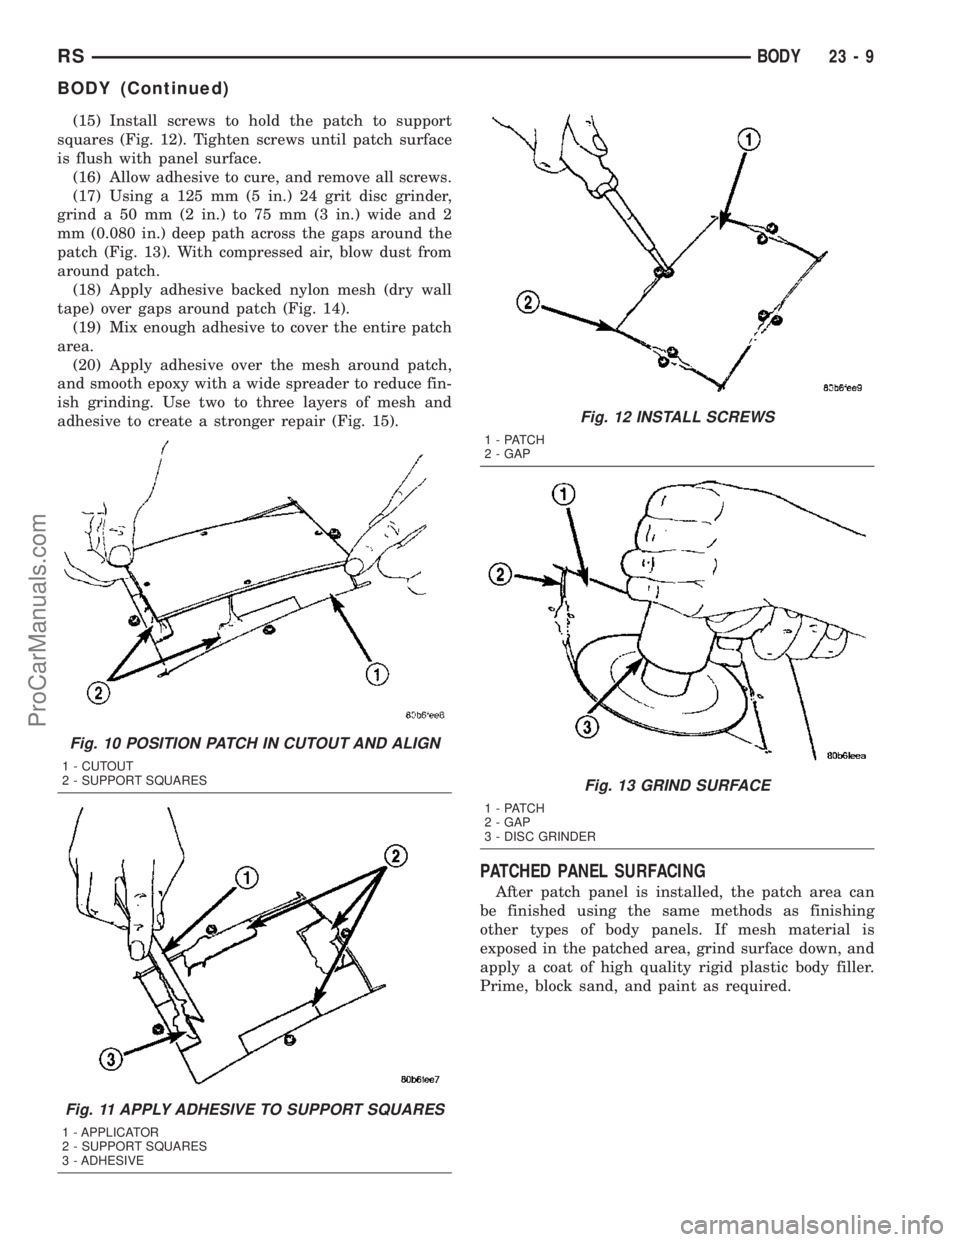
Fig. 10 POSITION PATCH IN CUTOUT AND ALIGN
1 - CUTOUT
2 - SUPPORT SQUARES
Fig. 11 APPLY ADHESIVE TO SUPPORT SQUARES
1 - APPLICATOR
2 - SUPPORT SQUARES
3 - ADHESIVE
Fig. 12 INSTALL SCREWS
1 - PATCH
2 - GAP
Fig. 13 GRIND SURFACE
1 - PATCH
2 - GAP
3 - DISC GRINDER
RSBODY23-9
BODY (Continued)
ProCarManuals.com
