start stop button CHRYSLER CROSSFIRE 2006 1.G Owners Manual
[x] Cancel search | Manufacturer: CHRYSLER, Model Year: 2006, Model line: CROSSFIRE, Model: CHRYSLER CROSSFIRE 2006 1.GPages: 296, PDF Size: 1.6 MB
Page 115 of 296

or while driving when reaching the service warning
threshold. It can be canceled manually by pressing the
knob/button.
Once the suggested term has passed, the message plus
either the symbol for Service A or the symbol for
Service B preceded by a – (minus symbol) blinks for
approximately 30 seconds and a signal sounds every
time when turning the key to the ON/RUN position.
The FSS display can also be called up for approxi-
mately 10 seconds with the display illuminated by
pressing the knob/button twice within one second.
Following a completed A or B service your authorized
dealer sets the counter to 7,000 miles (Canada: 11,000
km).
NOTE:When disconnecting vehicle battery for one or
more days at a time, such days will not be counted. Any
such days not counted by FSS can be added by your
authorized dealer.
The interval between services is determined by the type
of vehicle operation. Driving at extreme speeds, and coldstarts combined with short distance driving in which the
engine does not reach normal operating temperature,
reduce the interval between services.
However you choose to set your reference numbers, the
scheduled services as posted in the Service Booklet must
be followed to properly care for your vehicle.
23. Outside Temperature Display
The temperature display is located on the left side of the
instrument cluster, below the fuel and engine tempera-
ture gauges.
The sensor for the outside temperature indicator is
located in the front fascia area. Due to its location, the
sensor can be affected by road or engine heat during
idling or slow driving. This means that the accuracy of
the displayed temperature can only be verified by com-
parison to a thermometer placed next to the sensor, not
by comparison to external displays (e.g., bank signs, etc.).
Adaptation to ambient temperature takes place in steps
and depends on the prevailing driving conditions (stop-
and- go or moderate, constant driving) and amount of
temperature change.
UNDERSTANDING YOUR INSTRUMENT PANEL 115
4
Page 149 of 296

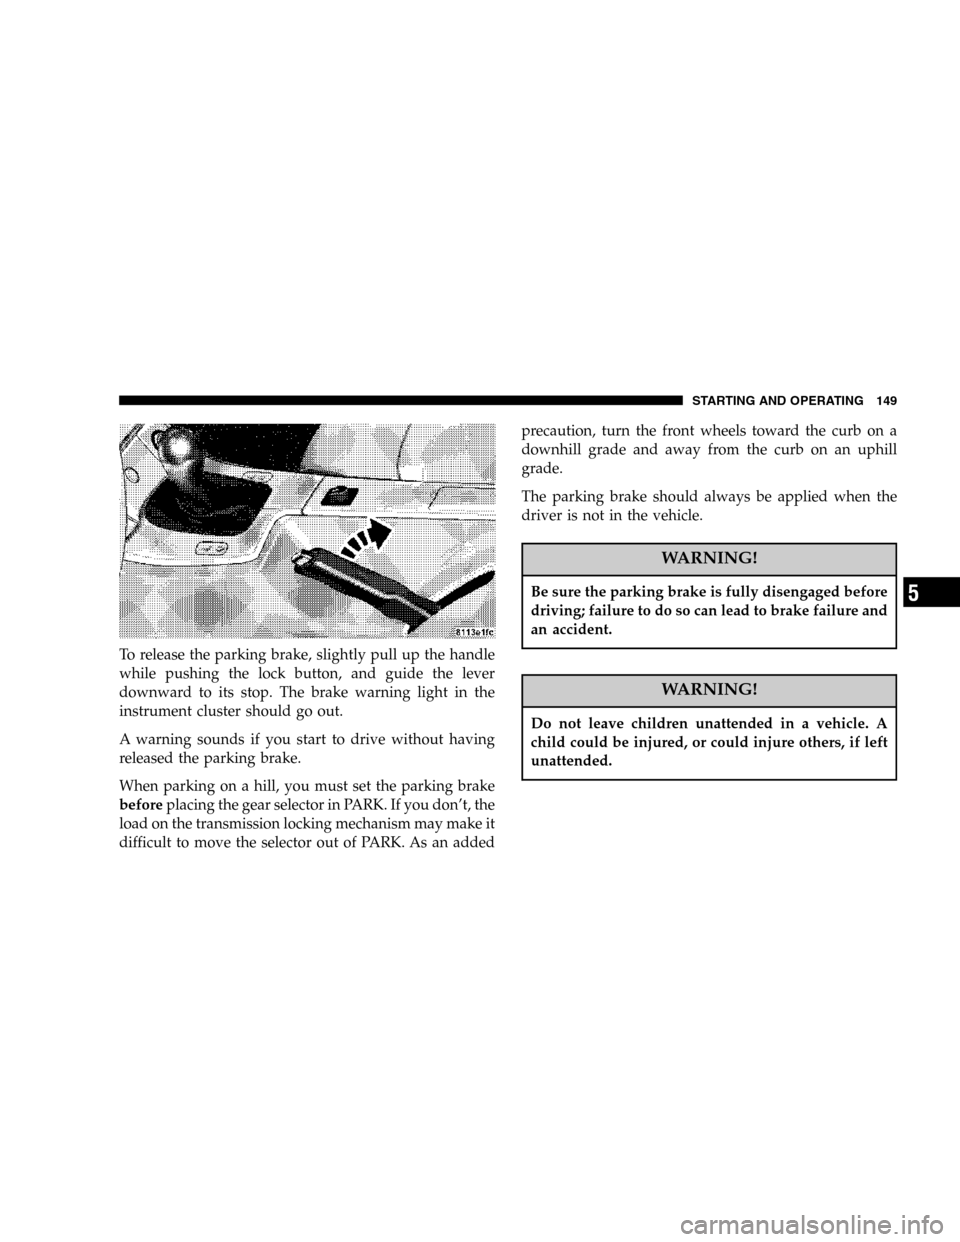
To release the parking brake, slightly pull up the handle
while pushing the lock button, and guide the lever
downward to its stop. The brake warning light in the
instrument cluster should go out.
A warning sounds if you start to drive without having
released the parking brake.
When parking on a hill, you must set the parking brake
beforeplacing the gear selector in PARK. If you don’t, the
load on the transmission locking mechanism may make it
difficult to move the selector out of PARK. As an addedprecaution, turn the front wheels toward the curb on a
downhill grade and away from the curb on an uphill
grade.
The parking brake should always be applied when the
driver is not in the vehicle.
WARNING!
Be sure the parking brake is fully disengaged before
driving; failure to do so can lead to brake failure and
an accident.
WARNING!
Do not leave children unattended in a vehicle. A
child could be injured, or could injure others, if left
unattended.
STARTING AND OPERATING 149
5