can c CHRYSLER PACIFICA 2017 2.G Manual Online
[x] Cancel search | Manufacturer: CHRYSLER, Model Year: 2017, Model line: PACIFICA, Model: CHRYSLER PACIFICA 2017 2.GPages: 828, PDF Size: 7.58 MB
Page 164 of 828
NOTE:If “Unlock All Doors 1st Press”’ is programmed
in Uconnect Settings, all doors will unlock with a Passive
Entry handle activation. If ‘Unlock Driver Door 1st Press”
is programmed in Uconnect Settings, only the liftgate
will unlock. Refer to “Uconnect Settings” in “Multime-
dia” for further information.
Closing
To Close The Vehicle
Grasp the liftgate closing handle and initiate lowering the
liftgate. Release the handle when the liftgate takes over
the closing effort.
The liftgate can also be closed using the Rear Power
Liftgate button (If Equipped), located in the upper left
trim in the liftgate opening. Pushing button will only
close the liftgate. This button cannot be used to open the
liftgate. To Lock The Vehicle
With a valid Passive Entry RKE Key Fob within 3 ft (1 m)
of the liftgate, pushing the passive entry lock button
located to the right of the outside handle will lock the
vehicle.
Rear Power Liftgate Switch
162 GETTING TO KNOW YOUR VEHICLE
Page 165 of 828

WARNING!
•Driving with the liftgate open can allow poisonous
exhaust gases into your vehicle. You and your
passengers could be injured by these fumes. Keep
the liftgate closed when you are operating the
vehicle.
• If you are required to drive with the liftgate open,
make sure that all windows are closed, and the
climate control blower switch is set at high speed.
Do not use the recirculation mode.
Power Liftgate — If Equipped
The power liftgate may be opened or closed in several
ways:
• Overhead console liftgate button •
RKE Key Fob
• Outside handle (opens liftgate only)
• Button just inside the liftgate on the upper left trim
(when liftgate is open)
• Hands-Free Liftgate – If Equipped
Using the above ways:
• when the liftgate is fully closed, the liftgate will open
• when the liftgate is fully open, the liftgate will close
• when the liftgate is moving, the liftgate will reverse
Push the Power Liftgate button on the Overhead Console
to open or close the liftgate.
3
GETTING TO KNOW YOUR VEHICLE 163
Page 167 of 828
NOTE:Tones are sounded and the turn signals are
flashed with liftgate movements. These alerts can be
turned on or off in Uconnect Settings. Refer to “Uconnect
Settings” in “Multimedia” for further information.
Lock The Vehicle
With a valid Passive Entry RKE Key Fob within 3 ft (1 m)
of the liftgate, pushing the passive entry lock button
located to the right of the outside handle will lock the
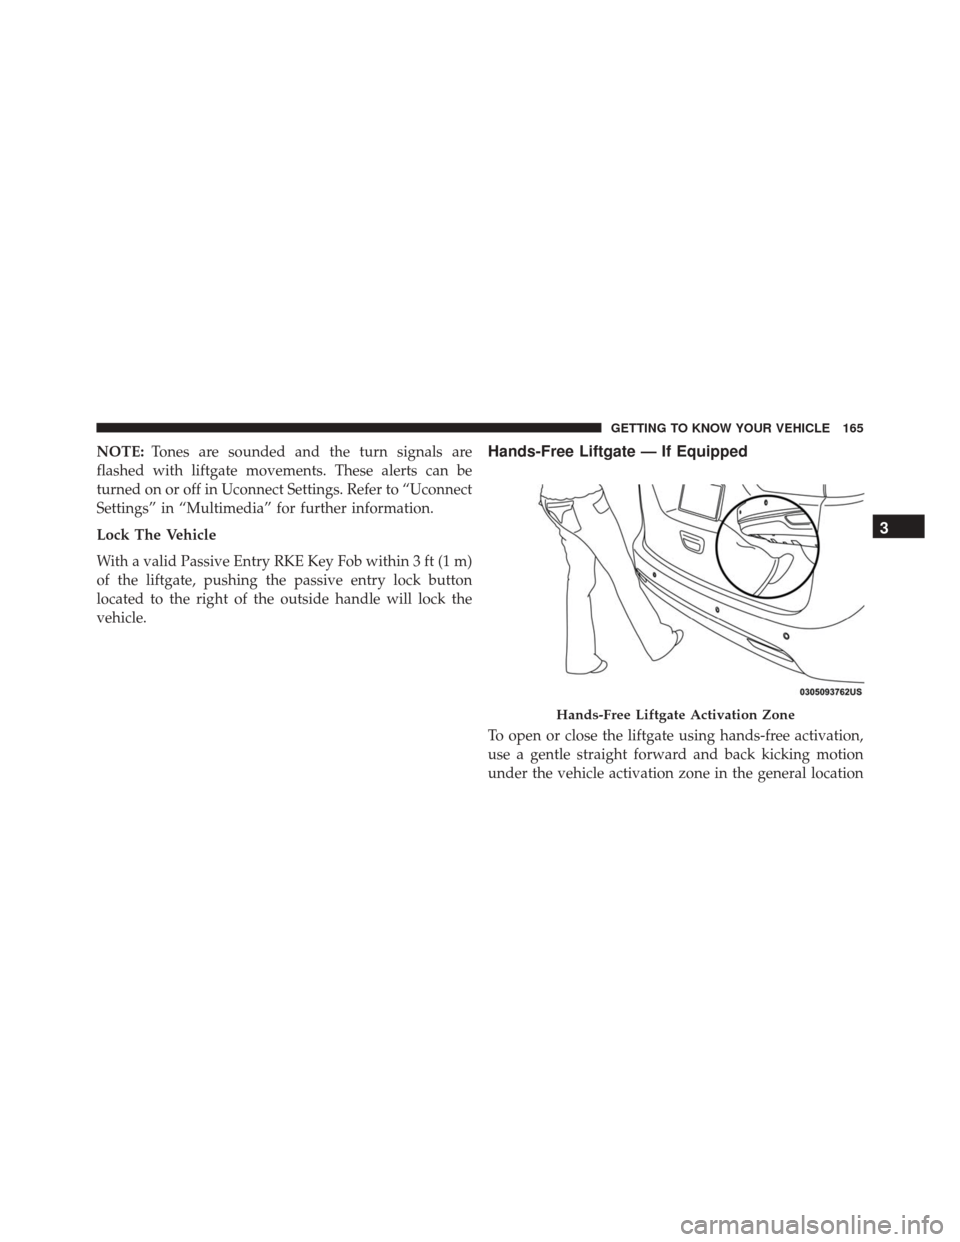
vehicle.Hands-Free Liftgate — If Equipped
To open or close the liftgate using hands-free activation,
use a gentle straight forward and back kicking motion
under the vehicle activation zone in the general location
Hands-Free Liftgate Activation Zone
3
GETTING TO KNOW YOUR VEHICLE 165
Page 169 of 828
•If the power liftgate encounters multiple obstructions
within the same cycle, the system will automatically
stop. If this occurs, the liftgate must be opened or
closed manually.
• The power liftgate will release, but not power open or
close, in temperatures below �12° F (�24° C). Be sure to
remove any buildup of snow or ice from the liftgate
before opening the liftgate.
• If the liftgate is left open for an extended period of
time, the liftgate may need to be closed manually to
reset power liftgate functionality.
WARNING!
• Driving with the liftgate open can allow poisonous
exhaust gases into your vehicle. You and your
passengers could be injured by these fumes. Keep
(Continued)
WARNING! (Continued)
the liftgate closed when you are operating the
vehicle.
• If you are required to drive with the liftgate open,
make sure that all windows are closed, and the
climate control blower switch is set at high speed.
Do not use the recirculation mode.
Gas props support the liftgate in the open position.
However, because the gas pressure drops with tempera-
ture, it may be necessary to assist the props when
opening the liftgate in cold weather.
NOTE: Allow the power system to open the liftgate.
Manually pushing or pulling the liftgate may activate the
liftgate obstacle detection feature and stop the power
operation or reverse its direction.
3
GETTING TO KNOW YOUR VEHICLE 167
Page 171 of 828
Stow n’ VAC Integrated Vacuum — If Equipped
Your vehicle may be equipped with an integrated
vacuum system. The system can clean up dry spills and
debris within the vehicle.
1. Make sure the vehicle is in Park (P) and the ignition isset to Run/Accessory mode.
NOTE: •The vacuum system will run for 10 minutes off
battery power. At 10 minutes, the vacuum will shut
down and a low battery indication light will come on
one minute before shutdown.
• When the vehicle engine is running, the vacuum will
be capable of continuous operation.
WARNING!
Carbon monoxide (CO) in exhaust gases is deadly.
Follow the precautions below to prevent carbon
monoxide poisoning:
• Do not inhale exhaust gases. They contain carbon
monoxide, a colorless and odorless gas, which can
kill. Never run the engine in a closed area, such as
a garage, and never sit in a parked vehicle with the
engine running for an extended period. If the
vehicle is stopped in an open area with the engine
running for more than a short period, adjust the
ventilation system to force fresh, outside air into
the vehicle.
• Guard against carbon monoxide with proper main-
tenance. Have the exhaust system inspected every
time the vehicle is raised. Have any abnormal
conditions repaired promptly. Until repaired, drive
with all side windows fully open.
3
GETTING TO KNOW YOUR VEHICLE 169
Page 173 of 828
Vacuum Attachments
•Crevice Tool — Able to reach into tight spots including
the latches located in the floor for the seats.
• Upholstery Tool — Use to agitate dirt and debris from
carpets and seats. This tool can also be used to pick up
pet hair as well.
• Hose Extension — Use to add another 48 inches to the
end of the hose.
Vacuum System Access Panels
1 — Upper Access Panel
2 — Lower Access Panel
3
GETTING TO KNOW YOUR VEHICLE 171
Page 175 of 828
•If the filter is clogged, follow the emptying debris bin
procedure and lightly tap the filter on the collection
bin to remove any collected debris from the filter
pleats.
• If filter is in need of replacement, please see your
authorized dealer for a replacement filter.
Precautions While Using Vacuum System
Dry Vac Only The Vacuum System is meant for dry
vacuuming only. Do Not use to pick
up spilled fluids, which can damage
the Vacuum System. Flammable / Explosive Liquids And Vapors
Do not vacuum any flammable liquid
spills or around explosive vapors.
3
GETTING TO KNOW YOUR VEHICLE 173
Page 176 of 828
WARNING!
Flammable liquids and vapors can be ignited by
heat, sparks, or flames. Vapors from flammable liq-
uids may form an explosive mixture with the air.
Vapors may travel to source of ignition and cause an
explosion. Any disregard of this warning could result
in injury or death.
WARNING!
Do not leave the vacuum running while unattended.
Do not use with a missing or damage filter, as it will
allow debris to pass through the motor and possibly
damage it. Frequently check the filter to insure it is in
place and in good condition.Carbon Monoxide Gas
Do not leave the vehicle’s liftgate open
if the vehicle is running while the
vacuum is in use.
WARNING!
Carbon monoxide (CO) in exhaust gases is deadly.
Follow the precautions below to prevent carbon
monoxide poisoning:
•Do not inhale exhaust gases. They contain carbon
monoxide, a colorless and odorless gas, which can
kill. Never run the engine in a closed area, such as
a garage, and never sit in a parked vehicle with the
engine running for an extended period. If the
(Continued)
174 GETTING TO KNOW YOUR VEHICLE
Page 179 of 828
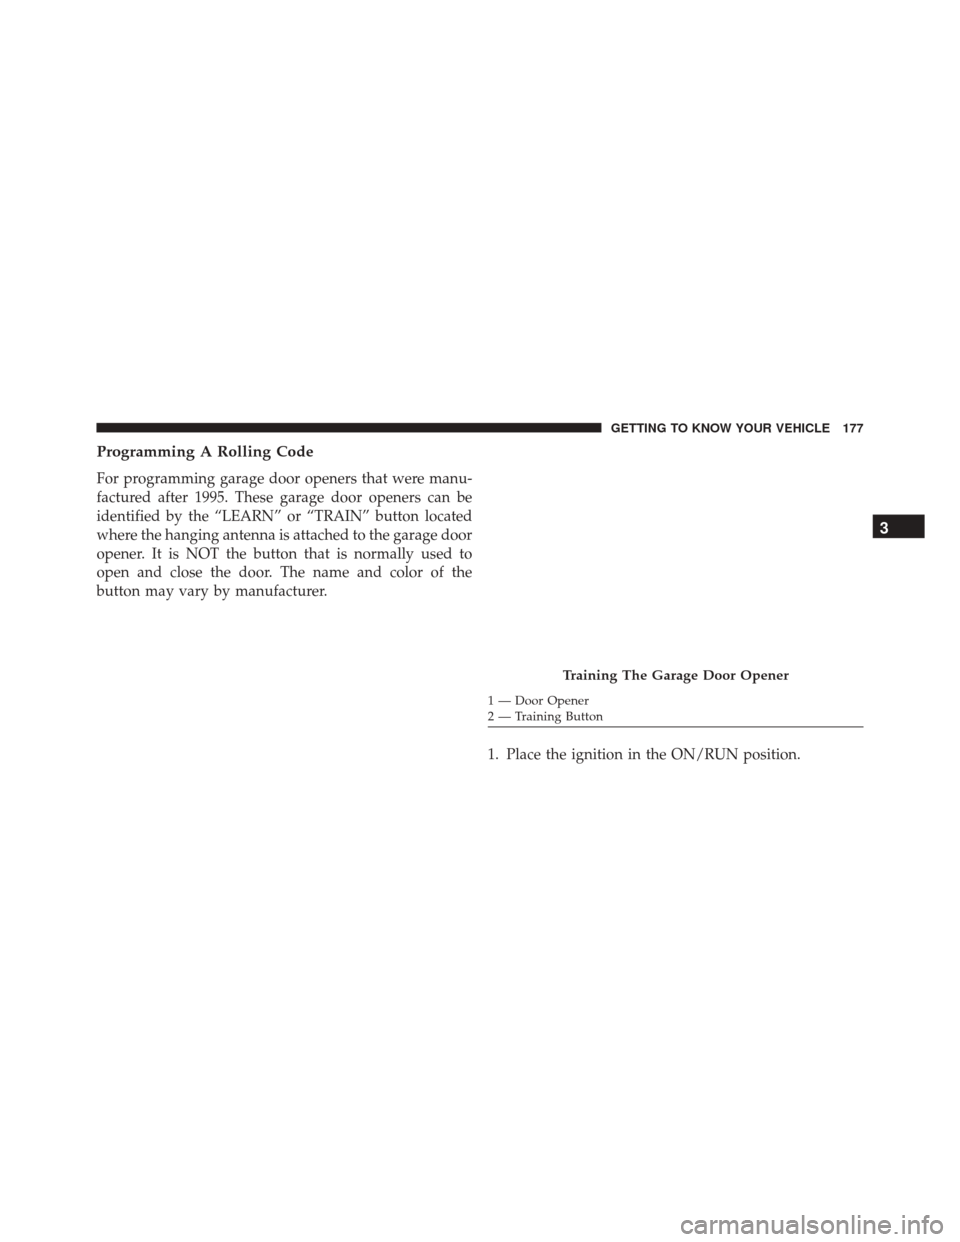
Programming A Rolling Code
For programming garage door openers that were manu-
factured after 1995. These garage door openers can be
identified by the “LEARN” or “TRAIN” button located
where the hanging antenna is attached to the garage door
opener. It is NOT the button that is normally used to
open and close the door. The name and color of the
button may vary by manufacturer.1. Place the ignition in the ON/RUN position.
Training The Garage Door Opener
1 — Door Opener
2 — Training Button
3
GETTING TO KNOW YOUR VEHICLE 177
Page 180 of 828
2.Place the hand-held transmitter 1 to 3 inches (3 to 8 cm)
away from the HomeLink button you wish to program
while keeping the HomeLink indicator light in view.
3. Push and hold the HomeLink button you want toprogram while you push and hold the hand-held
transmitter button.
4. Continue to hold both buttons and observe the indi- cator light. The HomeLink indicator will flash slowly
and then rapidly after HomeLink has received the
frequency signal from the hand-held transmitter. Re-
lease both buttons after the indicator light changes
from slow to rapid.
5. At the garage door opener motor (in the garage), locate the “LEARN” or “TRAINING” button. This can
usually be found where the hanging antenna wire is
attached to the garage door opener/device motor.
Firmly push and release the “LEARN” or “TRAIN-
ING” button. On some garage door openers/devices there may be a light that blinks when the garage door
opener/device is in the LEARN/TRAIN mode.
NOTE: You have 30 seconds in which to initiate the next
step after the LEARN button has been pushed.
6. Return to the vehicle and push the programmed HomeLink button twice (holding the button for two
seconds each time). If the garage door opener/device
activates, programming is complete.
NOTE: If the garage door opener/device does not acti-
vate, push the button a third time (for two seconds) to
complete the training.
To program the remaining two HomeLink buttons, repeat
each step for each remaining button. DO NOT erase the
channels.
178 GETTING TO KNOW YOUR VEHICLE