sensor CHRYSLER PACIFICA 2017 2.G Owners Manual
[x] Cancel search | Manufacturer: CHRYSLER, Model Year: 2017, Model line: PACIFICA, Model: CHRYSLER PACIFICA 2017 2.GPages: 828, PDF Size: 7.58 MB
Page 57 of 828
vehicle in the general location below the door handle(s).
Do not move your foot sideways or in a sweeping motion
or the sensors may not detect the motion.
NOTE:To open or close the Hands-Free Sliding Doors
requires a valid Passive Entry RKE Key Fob within 3 ft
(1 m) of the door handle. If a valid Passive Entry RKE
Key Fob is not within 3 ft (1 m), the door will not respond
to any kicks.
NOTE: The Hands-Free Sliding Doors feature may be
turned off through Uconnect Settings. Refer to “Uconnect
Settings” in “Multimedia” for further information. The
Hands-Free Sliding Doors feature should be turned off
during Jacking, Tire Changing, and Service.
NOTE:
• The sliding doors will not power open or close if the
gear selector is in gear or the vehicle speed is above
0 mph (0 km/h). •
If anything obstructs the power sliding doors while it
is closing or opening, the sliding doors will automati-
cally reverse to the closed or open position, provided it
meets sufficient resistance.
• If the power sliding doors encounters multiple ob-
structions within the same cycle, the system will
automatically stop. If this occurs, the liftgate must be
opened or closed manually.
Safe Lock Device — If Equipped
To provide a safer environment for small children riding
in the rear seats, the second row sliding door switches
may be overridden by pushing the OFF side of the Power
Switch located in the front overhead console.
When the power sliding door power switch is in the OFF
position, the power sliding side door may not be opened
or closed by pushing the switch located on the B-Pillar
trim panel, just in front of the sliding door or activating
the inside power sliding door handle.
3
GETTING TO KNOW YOUR VEHICLE 55
Page 107 of 828
Automatic Dimming Mirror — If Equipped
This mirror automatically adjusts for headlight glare
from vehicles behind you. You can turn the feature on or
off by pushing the button at the base of the mirror. A light
to the left of the button will illuminate to indicate when
the dimming feature is activated. The sensor to the right
of the button does not illuminate.
NOTE:This feature is disabled when the vehicle is in
reverse.
CAUTION!
To avoid damage to the mirror during cleaning, never
spray any cleaning solution directly onto the mirror.
Apply the solution onto a clean cloth and wipe the
mirror clean.
Automatic Dimming Mirror
3
GETTING TO KNOW YOUR VEHICLE 105
Page 125 of 828
the end of the multifunction lever to one of the four
intermittent wiper sensitivity settings to activate this
feature.
The sensitivity of the system is adjustable from the
multifunction lever. Wiper sensitivity position 3 has been
calibrated for best overall wiping sensitivity. If the opera-
tor desires more wiping sensitivity, they may select
sensitivity positions 4. If the operator desires less wiping
sensitivity, they may select sensitivity positions 2 or 1.
Place the multifunction lever in the OFF position when
not using the system.
NOTE:
•The Rain Sensing feature will not operate when the
wiper speed is in the low or high position.
• The Rain Sensing feature may not function properly
when ice or dried saltwater is present on the wind-
shield. •
Use of Rain-X or products containing wax or silicone
may reduce rain sensor performance.
• The Rain Sensing feature can be turned on and off
through the Uconnect System. Refer to “Uconnect
Settings” in “Multimedia” for further information.
The Rain Sensing system has protective features for the
wiper blades and arms. It will not operate under the
following conditions:
• Low Temperature Wipe Inhibit — The Rain Sensing
feature will not operate when the ignition is first
switched ON, and the vehicle is stationary, and the
outside temperature is below 32°F (0°C), unless the
wiper control on the multifunction lever is moved, the
vehicle speed becomes greater than 0 mph (0 km/h),
or the outside temperature rises above freezing.
3
GETTING TO KNOW YOUR VEHICLE 123
Page 168 of 828
below the liftgate door handle. Do not move your foot
sideways or in a sweeping motion or the sensors may not
detect the motion.
Vehicles Equipped With A Trailer Tow Package
If your vehicle is equipped with the Trailer Tow Pack-
age, the hands-free activation zone(s) for the Power
Liftgate will be located on the left and right side of the
receiver. Use the same gentile straight kicking motion
under either activation zone to open/close the Hands-
Free Liftgate.
NOTE:To open or close the Hands-Free Liftgate requires
a valid Passive Entry RKE Key Fob within 3 ft (1 m) of the
door handle. If a valid Passive Entry RKE Key Fob is not
within 3 ft (1 m), the liftgate will not respond to any
kicks. The Hands-Free Liftgate feature may be turned on or
off in Uconnect Settings. Refer to “Uconnect Settings”
in “Multimedia” for further information. The Hands-
Free Liftgate feature should be turned off during Jack-
ing, Tire Changing, and Service.
NOTE:
• The liftgate will not power open or close if the gear
selector is in gear or the vehicle speed is above 0 MPH
(0 km/h).
• If anything obstructs the power liftgate while it is
closing or opening, the liftgate will automatically
reverse to the closed or open position, provided it
meets sufficient resistance.
• There are pinch sensors attached to the side of the
liftgate opening. Light pressure anywhere along these
strips will cause the liftgate to return to the open
position.
166 GETTING TO KNOW YOUR VEHICLE
Page 228 of 828
the instrument cluster, with a number matching the set
speed, with a pop up message to inform the driver
that the speed warning has been set to the desired
speed. Each time the set speed is exceeded, an audible
chime will sound for up to 10 seconds, or until the
speed is no longer exceeded. The telltale in the instru-
ment cluster will also change from white to yellow,
and a pop up warning message will pop up on the 7”
DID screen.
NOTE:Speed Warning is unavailable while KeySense is
in use.
Battery Saver On/Battery Saver Mode Message —
Electrical Load Reduction Actions — If Equipped
This vehicle is equipped with an Intelligent Battery
Sensor (IBS) to perform additional monitoring of the
electrical system and status of the vehicle battery.
In cases when the IBS detects charging system failure, or
the vehicle battery conditions are deteriorating, electrical load reduction actions will take place to extend the
driving time and distance of the vehicle. This is done by
reducing power to or turning off non-essential electrical
loads.
Load reduction is only active when the engine is running.
It will display a message if there is a risk of battery
depletion to the point where the vehicle may stall due to
lack of electrical supply, or will not restart after the
current drive cycle.
When load reduction is activated, the message “Battery
Saver On” or “Battery Saver Mode” will appear in the
Electronic Vehicle Information Center (EVIC) or Driver
Information Display (DID).
These messages indicate the vehicle battery has a low
state of charge and continues to lose electrical charge at a
rate that the charging system cannot sustain.
226 GETTING TO KNOW YOUR INSTRUMENT PANEL
Page 255 of 828
illuminated. This sequence will continue upon subse-
quent vehicle start-ups as long as the malfunction exists.
When the malfunction indicator is illuminated, the sys-
tem may not be able to detect or signal low tire pressure
as intended. TPMS malfunctions may occur for a variety
of reasons, including the installation of replacement or
alternate tires or wheels on the vehicle that prevent the
TPMS from functioning properly. Always check the
TPMS malfunction telltale after replacing one or more
tires or wheels on your vehicle, to ensure that the
replacement or alternate tires and wheels allow the TPMS
to continue to function properly.NOTE:
The TPMS has been optimized for the original
equipment tires and wheels. TPMS pressures and warn-
ing have been established for the tire size equipped on
your vehicle. Undesirable system operation or sensor
damage may result when using replacement equipment
that is not of the same size, type, and/or style. Aftermar-
ket wheels can cause sensor damage. Using aftermarket
tire sealants may cause the Tire Pressure Monitoring
System (TPMS) sensor to become inoperable. After using
an aftermarket tire sealant it is recommended that you
take your vehicle to an authorized dealership to have
your sensor function checked.
4
GETTING TO KNOW YOUR INSTRUMENT PANEL 253
Page 273 of 828
road conditions, leaving the roadway, or striking objects
or other vehicles.
WARNING!
Many factors, such as vehicle loading, road condi-
tions and driving conditions, influence the chance
that wheel lift or rollover may occur. ERM cannot
prevent all wheel lift or roll overs, especially those
that involve leaving the roadway or striking objects
or other vehicles. The capabilities of an ERM-
equipped vehicle must never be exploited in a reck-
less or dangerous manner which could jeopardize the
user’s safety or the safety of others.
Electronic Stability Control (ESC)
This system enhances directional control and stability of
the vehicle under various driving conditions. ESC cor-
rects for oversteering or understeering of the vehicle byapplying the brake of the appropriate wheel(s) to assist in
counteracting the oversteer or understeer condition. En-
gine power may also be reduced to help the vehicle
maintain the desired path.
ESC uses sensors in the vehicle to determine the vehicle
path intended by the driver and compares it to the actual
path of the vehicle. When the actual path does not match
the intended path, ESC applies the brake of the appro-
priate wheel to assist in counteracting the oversteer or
understeer condition.
•
Oversteer - when the vehicle is turning more than
appropriate for the steering wheel position.
• Understeer - when the vehicle is turning less than
appropriate for the steering wheel position.
The “ESC Activation/Malfunction Indicator Light” lo-
cated in the instrument cluster will start to flash as soon
as the ESC system becomes active. The “ESC Activation/
5
SAFETY 271
Page 280 of 828
Trailer Sway Control (TSC)
TSC uses sensors in the vehicle to recognize an exces-
sively swaying trailer and will take the appropriate
actions to attempt to stop the sway. TSC will become
active automatically once an excessively swaying trailer
is recognized. Note that TSC cannot stop all trailers from
swaying. Always use caution when towing a trailer and
follow the trailer tongue weight recommendations. Refer
to “Trailer Towing” in “Starting And Operating” for
further information. When TSC is functioning, the “ESC
Activation/Malfunction Indicator Light” will flash, the
engine power may be reduced and you may feel the
brakes being applied to individual wheels to attempt to
stop the trailer from swaying. TSC is disabled when the
ESC system is in the “Partial Off” or “Full Off” modes.
WARNING!
If TSC activates while driving, slow the vehicle
down, stop at the nearest safe location, and adjust the
trailer load to eliminate trailer sway.
Blind Spot Monitoring (BSM) — If Equipped
The Blind Spot Monitoring (BSM) system uses two radar-
based sensors, located inside the rear bumper fascia, to
detect highway licensable vehicles (automobiles, trucks,
motorcycles, etc.) that enter the blind spot zones from the
rear/front/side of the vehicle.
278 SAFETY
Page 281 of 828
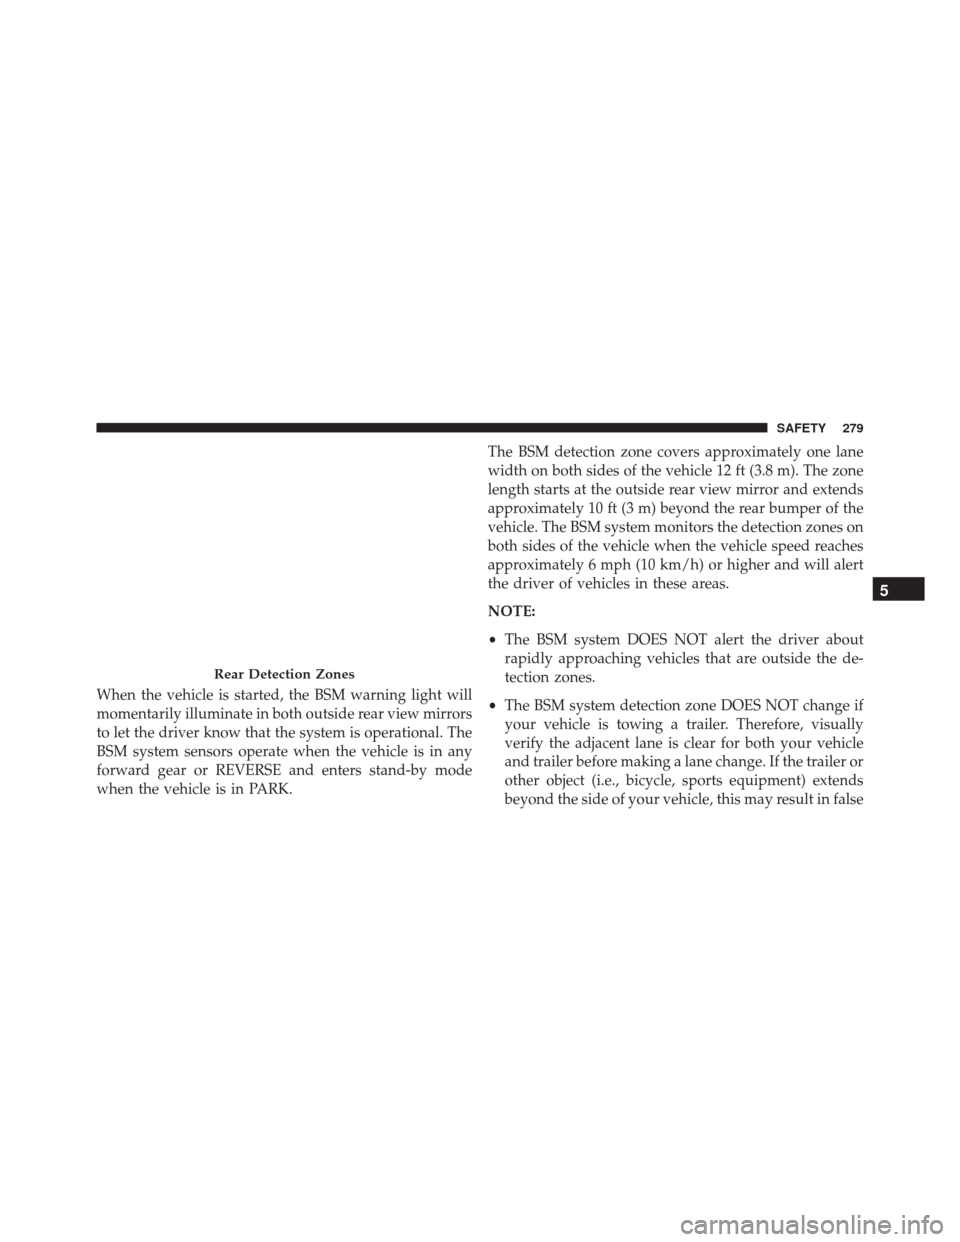
When the vehicle is started, the BSM warning light will
momentarily illuminate in both outside rear view mirrors
to let the driver know that the system is operational. The
BSM system sensors operate when the vehicle is in any
forward gear or REVERSE and enters stand-by mode
when the vehicle is in PARK.The BSM detection zone covers approximately one lane
width on both sides of the vehicle 12 ft (3.8 m). The zone
length starts at the outside rear view mirror and extends
approximately 10 ft (3 m) beyond the rear bumper of the
vehicle. The BSM system monitors the detection zones on
both sides of the vehicle when the vehicle speed reaches
approximately 6 mph (10 km/h) or higher and will alert
the driver of vehicles in these areas.
NOTE:
•
The BSM system DOES NOT alert the driver about
rapidly approaching vehicles that are outside the de-
tection zones.
• The BSM system detection zone DOES NOT change if
your vehicle is towing a trailer. Therefore, visually
verify the adjacent lane is clear for both your vehicle
and trailer before making a lane change. If the trailer or
other object (i.e., bicycle, sports equipment) extends
beyond the side of your vehicle, this may result in false
Rear Detection Zones
5
SAFETY 279
Page 282 of 828
detections. The BSM warning light may even remain
illuminated the entire time the vehicle is in a forward
gear.
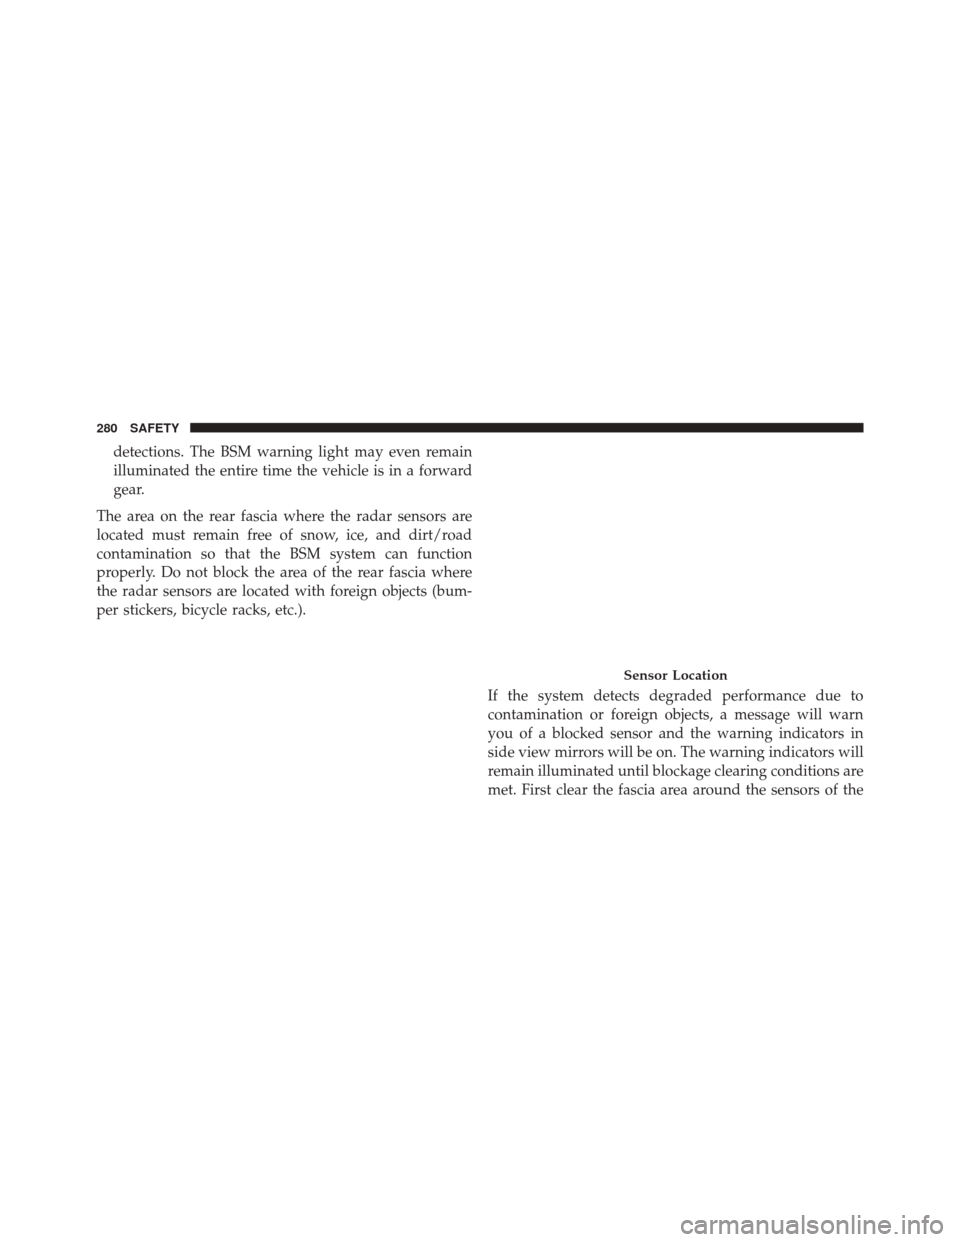
The area on the rear fascia where the radar sensors are
located must remain free of snow, ice, and dirt/road
contamination so that the BSM system can function
properly. Do not block the area of the rear fascia where
the radar sensors are located with foreign objects (bum-
per stickers, bicycle racks, etc.).
If the system detects degraded performance due to
contamination or foreign objects, a message will warn
you of a blocked sensor and the warning indicators in
side view mirrors will be on. The warning indicators will
remain illuminated until blockage clearing conditions are
met. First clear the fascia area around the sensors of the
Sensor Location
280 SAFETY