transmission CHRYSLER PACIFICA 2022 Owners Manual
[x] Cancel search | Manufacturer: CHRYSLER, Model Year: 2022, Model line: PACIFICA, Model: CHRYSLER PACIFICA 2022Pages: 384, PDF Size: 23.92 MB
Page 6 of 384
4
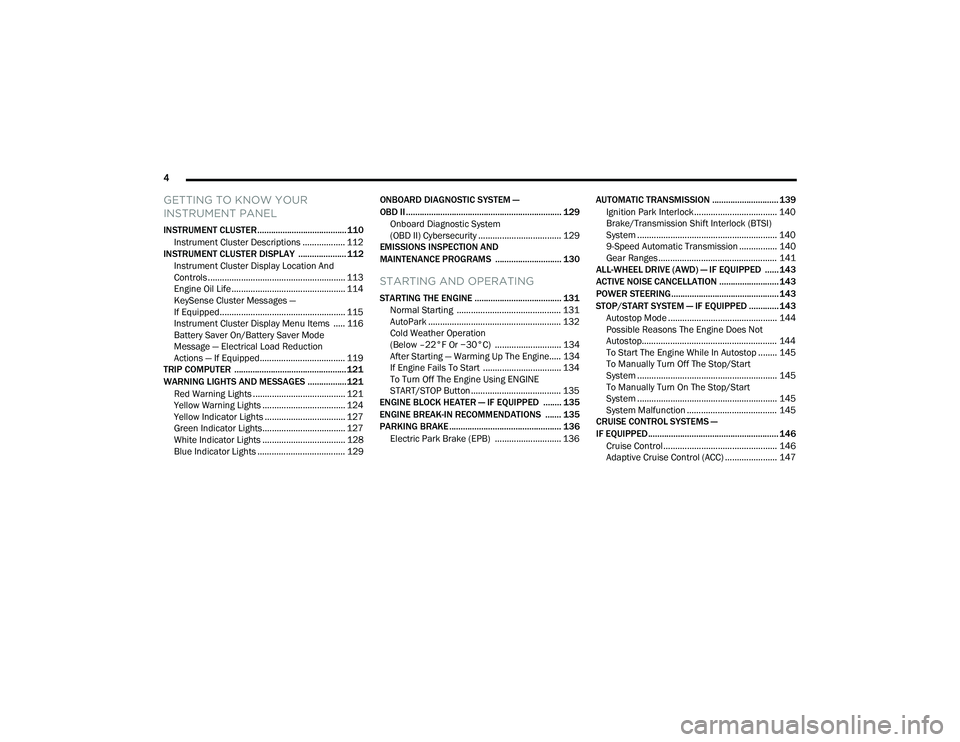
GETTING TO KNOW YOUR
INSTRUMENT PANEL
INSTRUMENT CLUSTER....................................... 110
Instrument Cluster Descriptions .................. 112
INSTRUMENT CLUSTER DISPLAY ..................... 112
Instrument Cluster Display Location And
Controls .......................................................... 113
Engine Oil Life ................................................ 114
KeySense Cluster Messages —
If Equipped..................................................... 115
Instrument Cluster Display Menu Items ..... 116
Battery Saver On/Battery Saver Mode
Message — Electrical Load Reduction
Actions — If Equipped.................................... 119
TRIP COMPUTER ................................................. 121
WARNING LIGHTS AND MESSAGES ................. 121
Red Warning Lights ....................................... 121
Yellow Warning Lights ................................... 124Yellow Indicator Lights .................................. 127
Green Indicator Lights................................... 127White Indicator Lights ................................... 128Blue Indicator Lights ..................................... 129 ONBOARD DIAGNOSTIC SYSTEM —
OBD II .................................................................... 129
Onboard Diagnostic System
(OBD II) Cybersecurity ................................... 129
EMISSIONS INSPECTION AND
MAINTENANCE PROGRAMS ............................. 130
STARTING AND OPERATING
STARTING THE ENGINE ...................................... 131
Normal Starting ............................................ 131
AutoPark ........................................................ 132Cold Weather Operation
(Below –22°F Or −30°C) ............................ 134
After Starting — Warming Up The Engine..... 134
If Engine Fails To Start ................................. 134
To Turn Off The Engine Using ENGINE
START/STOP Button ...................................... 135
ENGINE BLOCK HEATER — IF EQUIPPED ........ 135
ENGINE BREAK-IN RECOMMENDATIONS ....... 135
PARKING BRAKE ................................................. 136
Electric Park Brake (EPB) ............................ 136 AUTOMATIC TRANSMISSION ............................. 139
Ignition Park Interlock................................... 140
Brake/Transmission Shift Interlock (BTSI)
System ........................................................... 140
9-Speed Automatic Transmission ................ 140Gear Ranges .................................................. 141
ALL-WHEEL DRIVE (AWD) — IF EQUIPPED ...... 143
ACTIVE NOISE CANCELLATION .......................... 143
POWER STEERING............................................... 143
STOP/START SYSTEM — IF EQUIPPED ............. 143 Autostop Mode .............................................. 144
Possible Reasons The Engine Does Not
Autostop......................................................... 144
To Start The Engine While In Autostop ........ 145To Manually Turn Off The Stop/Start
System ........................................................... 145
To Manually Turn On The Stop/Start
System ........................................................... 145
System Malfunction ...................................... 145
CRUISE CONTROL SYSTEMS —
IF EQUIPPED ......................................................... 146
Cruise Control................................................ 146
Adaptive Cruise Control (ACC) ...................... 147
22_RUP_OM_EN_USC_t.book Page 4
Page 9 of 384
7
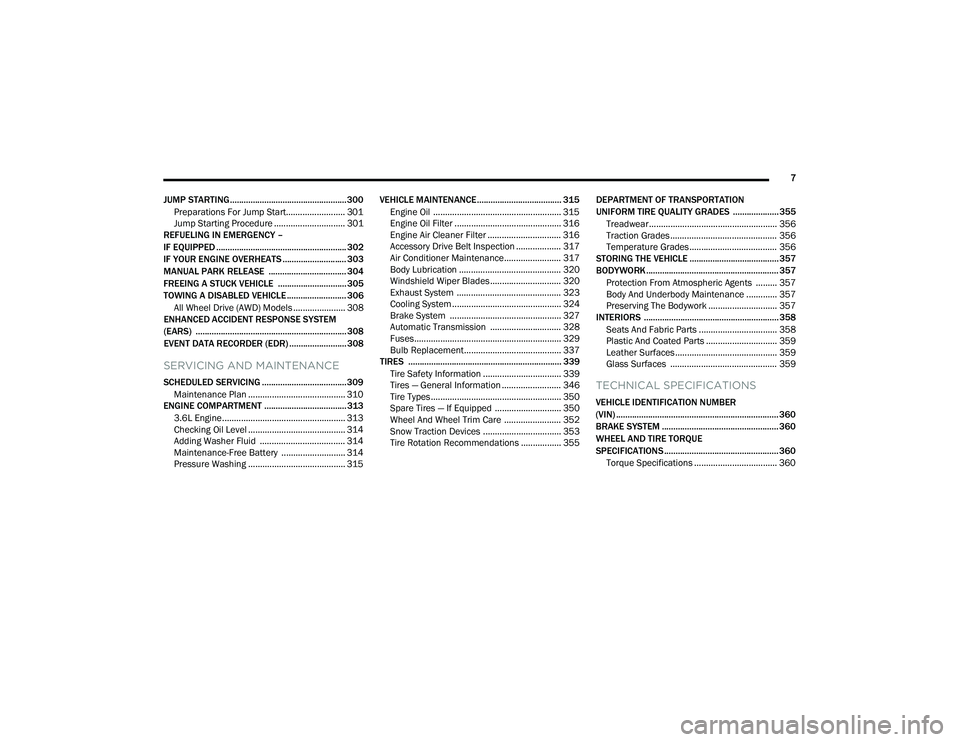
JUMP STARTING................................................... 300 Preparations For Jump Start......................... 301Jump Starting Procedure .............................. 301
REFUELING IN EMERGENCY –
IF EQUIPPED ......................................................... 302
IF YOUR ENGINE OVERHEATS ............................ 303
MANUAL PARK RELEASE .................................. 304
FREEING A STUCK VEHICLE .............................. 305
TOWING A DISABLED VEHICLE .......................... 306
All Wheel Drive (AWD) Models ...................... 308
ENHANCED ACCIDENT RESPONSE SYSTEM
(EARS) .................................................................. 308
EVENT DATA RECORDER (EDR) ......................... 308
SERVICING AND MAINTENANCE
SCHEDULED SERVICING ..................................... 309
Maintenance Plan ......................................... 310
ENGINE COMPARTMENT .................................... 313
3.6L Engine.................................................... 313
Checking Oil Level ......................................... 314
Adding Washer Fluid .................................... 314
Maintenance-Free Battery ........................... 314
Pressure Washing ......................................... 315 VEHICLE MAINTENANCE..................................... 315
Engine Oil ...................................................... 315
Engine Oil Filter ............................................. 316Engine Air Cleaner Filter ............................... 316
Accessory Drive Belt Inspection ................... 317Air Conditioner Maintenance........................ 317
Body Lubrication ........................................... 320Windshield Wiper Blades.............................. 320Exhaust System ............................................ 323
Cooling System .............................................. 324
Brake System ............................................... 327
Automatic Transmission .............................. 328Fuses.............................................................. 329
Bulb Replacement......................................... 337
TIRES ................................................................... 339
Tire Safety Information ................................. 339
Tires — General Information ......................... 346
Tire Types....................................................... 350
Spare Tires — If Equipped ............................ 350
Wheel And Wheel Trim Care ........................ 352
Snow Traction Devices ................................. 353
Tire Rotation Recommendations ................. 355 DEPARTMENT OF TRANSPORTATION
UNIFORM TIRE QUALITY GRADES .................... 355
Treadwear...................................................... 356
Traction Grades ............................................. 356Temperature Grades..................................... 356
STORING THE VEHICLE ....................................... 357
BODYWORK .......................................................... 357
Protection From Atmospheric Agents ......... 357
Body And Underbody Maintenance ............. 357
Preserving The Bodywork ............................. 357
INTERIORS ........................................................... 358
Seats And Fabric Parts ................................. 358
Plastic And Coated Parts .............................. 359
Leather Surfaces........................................... 359
Glass Surfaces ............................................. 359TECHNICAL SPECIFICATIONS
VEHICLE IDENTIFICATION NUMBER
(VIN) ....................................................................... 360
BRAKE SYSTEM ................................................... 360
WHEEL AND TIRE TORQUE
SPECIFICATIONS .................................................. 360Torque Specifications ................................... 360
22_RUP_OM_EN_USC_t.book Page 7
Page 13 of 384
11
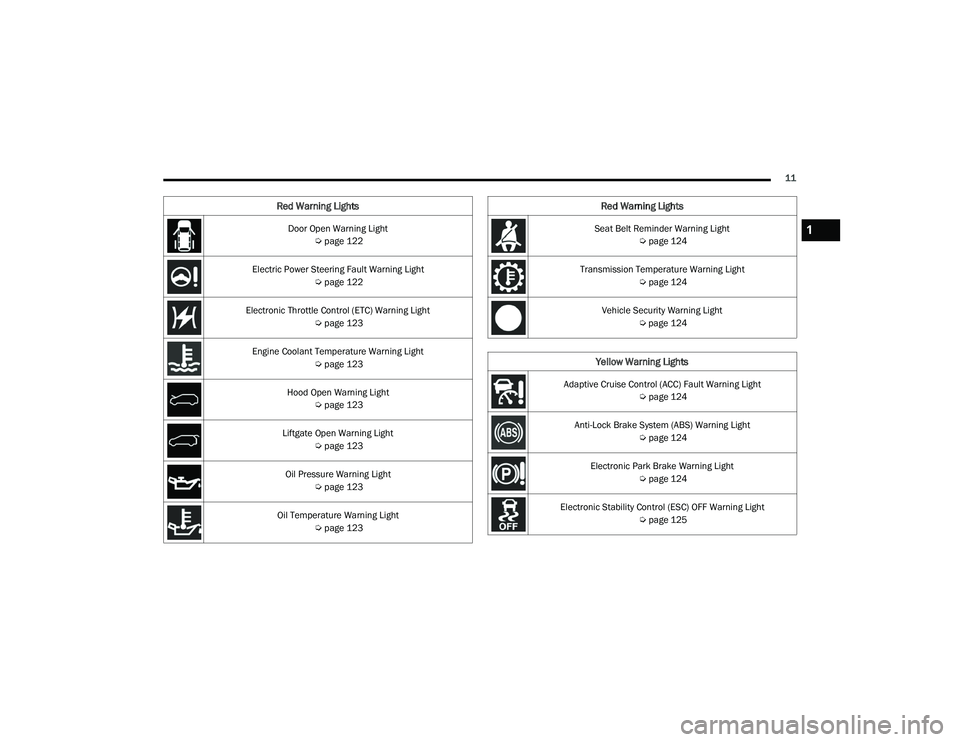
Door Open Warning Light Úpage 122
Electric Power Steering Fault Warning Light Úpage 122
Electronic Throttle Control (ETC) Warning Light Úpage 123
Engine Coolant Temperature Warning Light Úpage 123
Hood Open Warning Light Úpage 123
Liftgate Open Warning Light Úpage 123
Oil Pressure Warning Light Úpage 123
Oil Temperature Warning Light Úpage 123
Red Warning Lights
Seat Belt Reminder Warning Light
Úpage 124
Transmission Temperature Warning Light Úpage 124
Vehicle Security Warning Light Úpage 124
Yellow Warning Lights
Adaptive Cruise Control (ACC) Fault Warning Light
Úpage 124
Anti-Lock Brake System (ABS) Warning Light Úpage 124
Electronic Park Brake Warning Light Úpage 124
Electronic Stability Control (ESC) OFF Warning Light Úpage 125
Red Warning Lights
1
22_RUP_OM_EN_USC_t.book Page 11
Page 63 of 384
GETTING TO KNOW YOUR VEHICLE61
UNIVERSAL GARAGE DOOR OPENER
(HOMELINK®)
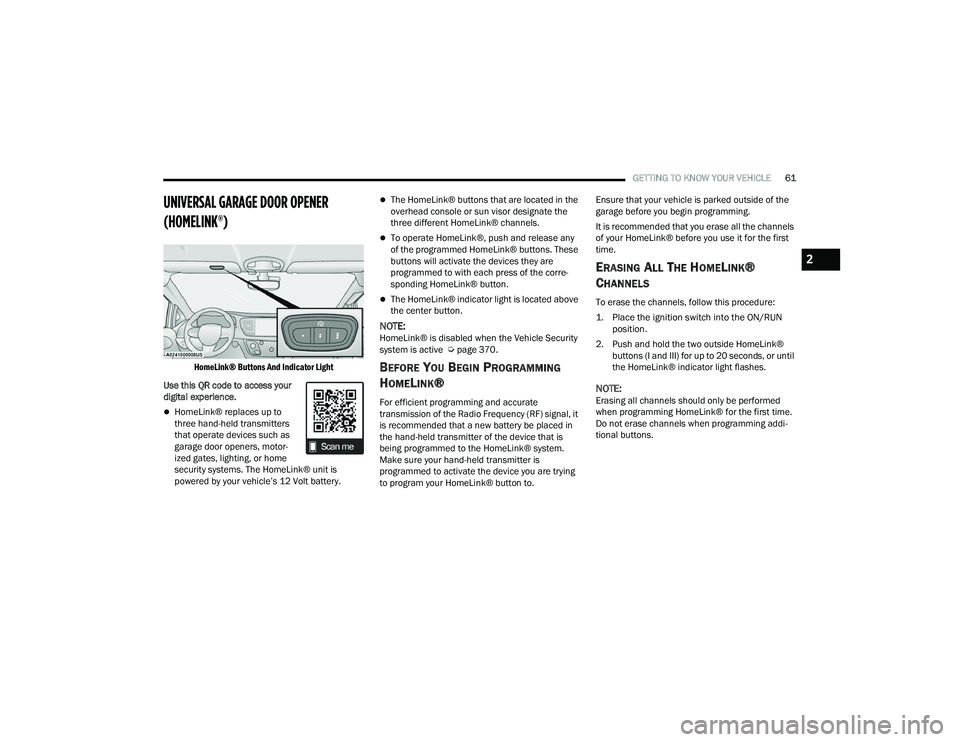
HomeLink® Buttons And Indicator Light
Use this QR code to access your
digital experience.
HomeLink® replaces up to
three hand-held transmitters
that operate devices such as
garage door openers, motor -
ized gates, lighting, or home
security systems. The HomeLink® unit is
powered by your vehicle’s 12 Volt battery.
The HomeLink® buttons that are located in the
overhead console or sun visor designate the
three different HomeLink® channels.
To operate HomeLink®, push and release any
of the programmed HomeLink® buttons. These
buttons will activate the devices they are
programmed to with each press of the corre -
sponding HomeLink® button.
The HomeLink® indicator light is located above
the center button.
NOTE:HomeLink® is disabled when the Vehicle Security
system is active Ú page 370.
BEFORE YOU BEGIN PROGRAMMING
H
OMELINK®
For efficient programming and accurate
transmission of the Radio Frequency (RF) signal, it
is recommended that a new battery be placed in
the hand-held transmitter of the device that is
being programmed to the HomeLink® system.
Make sure your hand-held transmitter is
programmed to activate the device you are trying
to program your HomeLink® button to. Ensure that your vehicle is parked outside of the
garage before you begin programming.
It is recommended that you erase all the channels
of your HomeLink® before you use it for the first
time.
ERASING ALL THE HOMELINK®
C
HANNELS
To erase the channels, follow this procedure:
1. Place the ignition switch into the ON/RUN
position.
2. Push and hold the two outside HomeLink® buttons (I and III) for up to 20 seconds, or until
the HomeLink® indicator light flashes.
NOTE:Erasing all channels should only be performed
when programming HomeLink® for the first time.
Do not erase channels when programming addi -
tional buttons.
2
22_RUP_OM_EN_USC_t.book Page 61
Page 65 of 384
GETTING TO KNOW YOUR VEHICLE63
2. Push the programmed HomeLink® button to confirm that the garage door opener motor
operates. If the garage door opener motor
does not operate, repeat the steps from the
beginning.
PROGRAMMING HOMELINK® TO A
M
ISCELLANEOUS DEVICE
The procedure on how to program HomeLink® to a
miscellaneous device follows the same procedure
as programming to a garage door opener
Ú page 62. Be sure to determine if the device has
a rolling code, or non-rolling code before beginning
the programming process.
NOTE:Canadian Radio Frequency (RF) laws require trans -
mitter signals to time-out (or quit) after several
seconds of transmission, which may not be long
enough for HomeLink® to pick up the signal during
programming. Similar to this Canadian law, some
U.S. gate operators are designed to time-out in the
same manner. The procedure may need to be
performed multiple times to successfully pair the
device to your HomeLink® buttons.
REPROGRAMMING A SINGLE
H
OMELINK® BUTTON
To reprogram a single HomeLink® button that has
been previously trained, without erasing all the
channels, proceed as follows. Be sure to
determine whether the new device you want to
program the HomeLink® button to has a rolling
code, or non-rolling code.
1. Place the ignition in the ON/RUN position,
without starting the engine.
2. Push and hold the desired HomeLink® button until the HomeLink® indicator light begins to
flash after 20 seconds. Do not release the
button.
3. Without releasing the button , proceed with
Step 2 in “Programming HomeLink® To A
Garage Door Opener” and follow all remaining
steps.
CANADIAN/GATE OPERATOR
P
ROGRAMMING
For programming transmitters in Canada/United
States that require the transmitter signals to
“time-out” after several seconds of transmission:
Canadian Radio Frequency (RF) laws require
transmitter signals to time-out (or quit) after
several seconds of transmission, which may not be
long enough for HomeLink® to pick up the signal
during programming. Similar to this Canadian law,
some U.S. gate operators are designed to time-out
in the same manner.
It may be helpful to unplug the device during the
cycling process to prevent possible overheating of
the garage door or gate motor.
1. Place the ignition in the ON/RUN position.
NOTE:For vehicles equipped with Keyless Enter ‘n Go™,
place the ignition in the RUN position. Make sure
while programming HomeLink® with the engine on
that your vehicle is outside of your garage, or that
the garage door remains open at all times.
2. Place the hand-held transmitter 1 to 3 inches
(3 to 8 cm) away from the HomeLink® button
you wish to program while keeping the
HomeLink® indicator light in view.
WARNING!
Your motorized door or gate will open and
close while you are programming the universal
transmitter. Do not program the transmitter if
people or pets are in the path of the door or
gate.
Do not run your vehicle in a closed garage or
confined area while programming the trans -
mitter. Exhaust gas from your vehicle contains
Carbon Monoxide (CO) which is odorless and
colorless. Carbon Monoxide is poisonous
when inhaled and can cause you and others to
be severely injured or killed.
2
22_RUP_OM_EN_USC_t.book Page 63
Page 73 of 384
GETTING TO KNOW YOUR VEHICLE71
Mist
Push the lever upward to the MIST position and
release for a single wiping cycle.
NOTE:The Mist feature does not activate the washer
pump; therefore, no washer fluid will be sprayed on
the windshield. The wash function must be used in
order to spray the windshield with washer fluid.
For information on wiper care and replacement,
see Ú page 320.
RAIN SENSING WIPERS — IF EQUIPPED
This feature senses rain or snowfall on the
windshield and automatically activates the wipers.
Rotate the end of the windshield wiper lever to one
of the four detent positions to activate this feature.
The sensitivity of the system is adjustable from the
windshield wiper lever. Wiper sensitivity position 1
is the least sensitive, and wiper sensitivity position
4 is the most sensitive.
NOTE:
The Rain Sensing feature will not operate when
the wiper switch is in the low or high position.
The Rain Sensing feature may not function prop -
erly when ice or dried saltwater is present on the
windshield.
Use of Rain-X or products containing wax or sili-
cone may reduce rain sensor performance.
The Rain Sensing feature can be turned on and
off through the Uconnect system Ú page 188.
The Rain Sensing system has protective features
for the wiper blades and arms. It will not operate
under the following conditions:
Low Temperature Wipe Inhibit — The Rain
Sensing feature will not operate when the igni -
tion is first placed in the ON position, when the
vehicle is stationary and the outside tempera -
ture is below 32°F (0°C), unless the wiper
control on the windshield wiper lever is moved,
the vehicle speed becomes greater than 3 mph
(5 km/h) or the outside temperature rises
above freezing.
Neutral Wipe Inhibit — The Rain Sensing feature
will not operate when the ignition is ON, when
the transmission gear selector is in the
NEUTRAL position and the vehicle speed is less
than 3 mph (5 km/h), unless the wiper control
on the windshield wiper lever is moved, the
vehicle speed is greater than 3 mph (5 km/h) or the gear selector is moved out of the NEUTRAL
position.
Remote Start Mode Inhibit — On vehicles
equipped with the Remote Start system, Rain
Sensing wipers are not operational when the
vehicle is in the Remote Start mode. Once the
operator is in the vehicle and has placed the
ignition switch in the ON/RUN position, rain
sensing wiper operation can resume, if it has
been selected, and no other inhibit conditions
(mentioned previously) exist.
REAR WIPER AND WASHER
The rear wiper/washer is operated by rotating a
switch, located at the middle of the lever.
Rotate the center portion of the lever
upward to the first detent for intermittent
operation and to the second detent for
continuous rear wiper operation.
Rear Window Washer Operation Pushing the windshield wiper lever
forward activates the rear window
washer. If the lever is pushed while on
the intermittent setting, the wipers will
turn on and operate for several wipe cycles after
the lever is released, and then resume the
intermittent interval previously selected. If the
lever is pushed while the wipers are in the off
position, the wipers will operate several wipe
cycles, then turn off.
2
22_RUP_OM_EN_USC_t.book Page 71
Page 101 of 384

GETTING TO KNOW YOUR VEHICLE99
HANDS-FREE LIFTGATE — IF EQUIPPED
Hands-Free Liftgate Activation Zone
To open the liftgate using hands-free activation,
use a straight in and out kicking motion under the
vehicle activation zone in the general location
below the liftgate door handle. Do not move your
foot sideways or in a sweeping motion or the
sensors may not detect the motion. Vehicles Equipped With A Trailer Tow Package
NOTE:If your vehicle is equipped with the Trailer Tow
Package, the hands-free activation zone(s) for the
Power Liftgate will be located on the left and right
side of the receiver. Use a straight kicking motion
under either activation zone to open the
Hands-Free Liftgate.
Hands-Free Liftgate Trailer Tow Activation Zones
When a valid kicking motion is completed, the
liftgate will chime, the hazard lights will flash and
the liftgate will open after approximately one
second. This assumes all options are enabled in
the Uconnect system.
NOTE:To open the Hands-Free Liftgate requires a valid
Passive Entry key fob within 5 ft (1.5 m) of the door
handle. If a valid Passive Entry key fob is not within
5 ft (1.5 m), the liftgate will not respond to any
kicks.
NOTE:
The Hands-Free Liftgate will only operate when
the transmission is in PARK.
If anything obstructs the Hands-Free Liftgate
while it is opening or closing, the liftgate will
automatically reverse to the closed position,
provided it meets sufficient resistance.
There are pinch sensors attached to the side of
the liftgate opening. Light pressure anywhere
along these strips will cause the liftgate to
return to the open position.
CAUTION!
The Hands-Free Liftgate feature may be turned
on or off in Uconnect Settings. The Hands-Free
Liftgate feature should be turned off during
jacking, tire changing, and vehicle service
Ú page 188.
2
22_RUP_OM_EN_USC_t.book Page 99
Page 104 of 384
102GETTING TO KNOW YOUR VEHICLE
The vacuum will operate in two modes:
Ignition in the ACC position: Engine remains off,
and vacuum usage is limited to 10 minutes.
Ignition in the START position: Engine is running,
and vacuum usage is unlimited until the
vehicle’s battery level falls below 60%.
NOTE:The vacuum will not operate when the ignition is in
the OFF position, or in the ON/RUN position with
the engine off. For more information on ignition
positions, see Ú page 18.
1. Before Using Vacuum:
Accessory (ACC) Mode Operation - For up to
10 minutes of operation
Always apply the parking brake, shift the trans -
mission into PARK, and push ignition button to
place ignition in Accessory (ACC) mode. The
engine will not be running in this mode. Do not
leave the key fob in or near the vehicle, or in a
location accessible to children.
NOTE:The vacuum system will run for 10 minutes off
battery power and then the vacuum will shut down.
A low battery indication light (LOW PWR) located
below the vacuum nozzle storage location will
come on one minute before the vacuum shuts
down. Engine Running (START) Operation - For more
than 10 minutes of operation
Position vehicle outdoors and fully open all
side windows.
Always apply the parking brake, shift the
transmission into PARK, and leave engine
running.
2. Unclip the vacuum nozzle and pull to extend
vacuum hose from the storage location.
NOTE:The hose can reach every corner of the vehicle
floor.
3. Install desired attachment if needed.
Front Storage Compartments
WARNING!
Carbon monoxide (CO) in exhaust gases can
cause serious injury or death. Follow these
precautions to prevent carbon monoxide
poisoning:
Do not inhale exhaust gases.
Do not start or run an engine in a closed
garage or confined area. Always position
vehicle outdoors and fully open all side
windows before using vacuum system with the
engine running.
Guard against carbon monoxide with proper
maintenance. Have the exhaust system
inspected every time the vehicle is raised.
Have any abnormal conditions repaired
promptly.
1 — Vacuum Nozzle Storage Location
2 — Attachment Compartment
22_RUP_OM_EN_USC_t.book Page 102
Page 118 of 384
116GETTING TO KNOW YOUR INSTRUMENT PANEL
INSTRUMENT CLUSTER DISPLAY MENU
I
TEMS
The instrument cluster display can be used to view
the main menu items for several features. Use the
up and down arrow buttons to scroll through
the driver interactive display menu options until
the desired menu is reached Ú page 113.
NOTE:The instrument cluster display menu items display
in the center of the instrument cluster. Menu items
may vary depending on your vehicle features.
Speedometer
Push and release the up or down arrow
button until Speedometer is highlighted in the
instrument cluster display. Push and release the
OK button to toggle between MPH and km/h.
Vehicle Info
Push and release the up or down arrow
button until Vehicle Info is highlighted in the
instrument cluster display. Push the left or
right arrow button to scroll through the following
information submenus: Tire Pressure
If tire pressure is
OK for all tires, a vehicle ICON is
displayed with tire pressure values in each corner
of the ICON.
If one or more tires have low pressure, “Inflate Tire
To XX” is displayed with the vehicle ICON, and the
tire pressure values in each corner of the ICON with
the pressure value of the low tire displayed in a
different color than the other tire pressure value.
If the Tire Pressure system requires service,
“Service Tire Pressure System” is displayed.
Tire PSI is an information only function and cannot
be reset Ú page 236.
Coolant Temp
Displays the actual coolant temperature.
Transmission Temp
Displays the actual transmission temperature.
Oil Temp — If Equipped
Displays the actual oil temperature.
Oil Pressure
Displays the actual oil pressure. Oil Life
Displays the remaining engine oil life as a
percentage.
To reset the Oil Life, you must hold the
OK button.
The “Hold OK to Reset” instruction will be
displayed at all times, but the following conditions
will need to be met in order to reset Oil Life:
The ignition must be in the ON/RUN position.
If the conditions are met, holding the OK button will
reset the gauge and the numeric display will return
to 100%.
If the conditions are not met, a pop-up message
will display for five seconds, describing the
required conditions, and then the Oil Life screen
will reappear.
Battery Voltage
Displays the actual battery voltage.
Engine Hours — If Equipped
Displays the number of hours of engine operation.
22_RUP_OM_EN_USC_t.book Page 116
Page 125 of 384
GETTING TO KNOW YOUR INSTRUMENT PANEL123
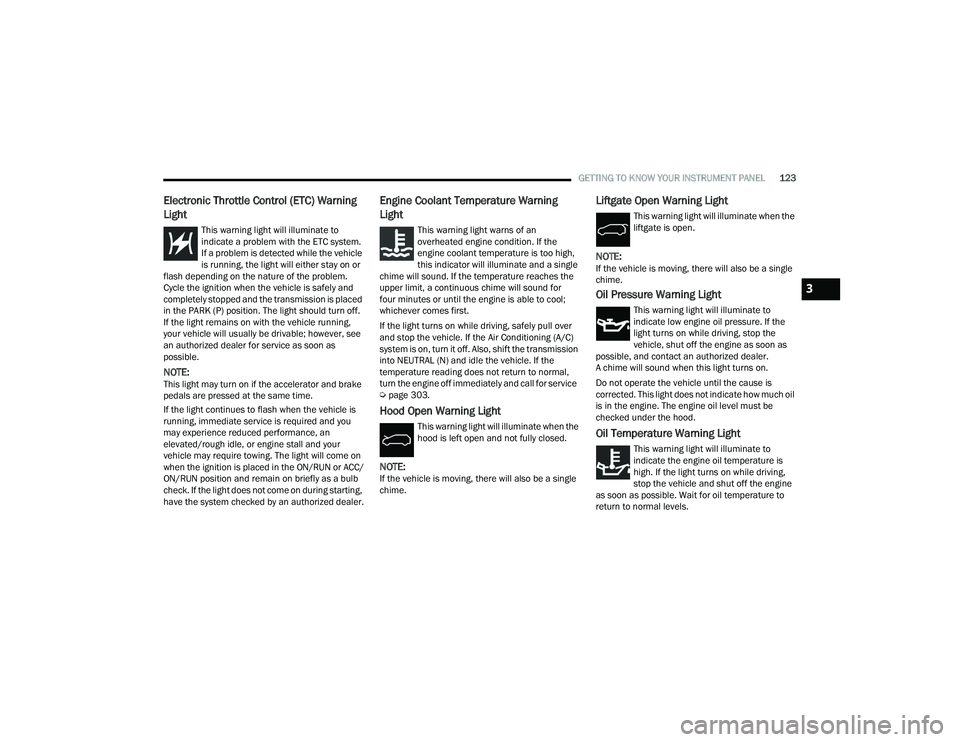
Electronic Throttle Control (ETC) Warning
Light
This warning light will illuminate to
indicate a problem with the ETC system.
If a problem is detected while the vehicle
is running, the light will either stay on or
flash depending on the nature of the problem.
Cycle the ignition when the vehicle is safely and
completely stopped and the transmission is placed
in the PARK (P) position. The light should turn off.
If the light remains on with the vehicle running,
your vehicle will usually be drivable; however, see
an authorized dealer for service as soon as
possible.
NOTE:This light may turn on if the accelerator and brake
pedals are pressed at the same time.
If the light continues to flash when the vehicle is
running, immediate service is required and you
may experience reduced performance, an
elevated/rough idle, or engine stall and your
vehicle may require towing. The light will come on
when the ignition is placed in the ON/RUN or ACC/
ON/RUN position and remain on briefly as a bulb
check. If the light does not come on during starting,
have the system checked by an authorized dealer.
Engine Coolant Temperature Warning
Light
This warning light warns of an
overheated engine condition. If the
engine coolant temperature is too high,
this indicator will illuminate and a single
chime will sound. If the temperature reaches the
upper limit, a continuous chime will sound for
four minutes or until the engine is able to cool;
whichever comes first.
If the light turns on while driving, safely pull over
and stop the vehicle. If the Air Conditioning (A/C)
system is on, turn it off. Also, shift the transmission
into NEUTRAL (N) and idle the vehicle. If the
temperature reading does not return to normal,
turn the engine off immediately and call for service
Ú page 303.
Hood Open Warning Light
This warning light will illuminate when the
hood is left open and not fully closed.
NOTE:If the vehicle is moving, there will also be a single
chime.
Liftgate Open Warning Light
This warning light will illuminate when the
liftgate is open.
NOTE:If the vehicle is moving, there will also be a single
chime.
Oil Pressure Warning Light
This warning light will illuminate to
indicate low engine oil pressure. If the
light turns on while driving, stop the
vehicle, shut off the engine as soon as
possible, and contact an authorized dealer.
A chime will sound when this light turns on.
Do not operate the vehicle until the cause is
corrected. This light does not indicate how much oil
is in the engine. The engine oil level must be
checked under the hood.
Oil Temperature Warning Light
This warning light will illuminate to
indicate the engine oil temperature is
high. If the light turns on while driving,
stop the vehicle and shut off the engine
as soon as possible. Wait for oil temperature to
return to normal levels.
3
22_RUP_OM_EN_USC_t.book Page 123