turn signal CHRYSLER PACIFICA HYBRID 2017 2.G Owner's Manual
[x] Cancel search | Manufacturer: CHRYSLER, Model Year: 2017, Model line: PACIFICA HYBRID, Model: CHRYSLER PACIFICA HYBRID 2017 2.GPages: 592, PDF Size: 6.73 MB
Page 357 of 592
NOTE:
•When searching for a parking space, use the turn signal
indicator to select which side of the vehicle you want to
perform the parking maneuver. The ParkSense Active
Park Assist system will automatically search for a park-
ing space on the passenger’s side of the vehicle if the
turn signal is not activated.
• The driver needs to make sure that the selected parking
space for the maneuver remains free and clear of any
obstructions (e.g. pedestrians, bicycles, etc.).
• The driver is responsible to ensure that the selected
parking space is suitable for the maneuver and free/
clear of anything that may be overhanging or protruding
into the parking space (e.g., ladders, tailgates, etc. from
surrounding objects/vehicles).
• When seeking for a parking space, the driver should
drive as parallel or perpendicular (depending on the
type of maneuver) to other vehicles as possible.
• The feature will only indicate the last detected parking
space (example: if passing multiple available parking
spaces, the system will only indicate the last detected
parking space for the maneuver). When an available parking space has been found, and the
vehicle is not in position, you will be instructed to move
forward to position the vehicle for a perpendicular parking
sequence.
Parking Space Found — Keep Moving Forward
6
STARTING AND OPERATING 355
Page 365 of 592
WARNING!
Drivers must be careful when performing parallel or
perpendicular parking maneuvers even when using
the ParkSense Active Park Assist system. Always
check carefully behind and in front of your vehicle,
look behind and in front of you, and be sure to check
for pedestrians, animals, other vehicles, obstructions,
and blind spots before backing up and moving for-
ward. You are responsible for safety and must continue
to pay attention to your surroundings. Failure to do so
can result in serious injury or death.
CAUTION!
•The ParkSense Active Park Assist system is only a
parking aid and it is unable to recognize every
obstacle, including small obstacles. Parking curbs
might be temporarily detected or not detected at all.
Obstacles located above or below the sensors will
not be detected when they are in close proximity.
• The vehicle must be driven slowly when using the
ParkSense Active Park Assist system in order to be
able to stop in time when an obstacle is detected. It is
(Continued)
CAUTION! (Continued)
recommended that the driver looks over his/her
shoulder when using the ParkSense Active Park
Assist system.
LANESENSE — IF EQUIPPED
LaneSense Operation
The LaneSense system is operational at speeds above
37 mph (60 km/h) and below 112 mph (180 km/h). It uses
a forward looking camera to detect lane markings and
measure vehicle position within the lane boundaries.
When both lane markings are detected and the driver
unintentionally drifts out of the lane (no turn signal
applied), the LaneSense system provides a haptic warning
in the form of torque applied to the steering wheel to
prompt the driver to remain within the lane boundaries.
The LaneSense system will also provide a visual warning
through the instrument cluster display to prompt the
driver to remain within the lane boundaries.
The driver may manually override the haptic warning by
applying torque into the steering wheel at any time.6
STARTING AND OPERATING 363
Page 366 of 592
When only a single lane marking is detected and the driver
unintentionally drifts across that lane marking (no turn
signal applied), the LaneSense system provides a visual
warning through the instrument cluster display to prompt
the driver to remain within the lane. When only a single
lane marking is detected, a haptic (torque) warning will not
be provided.
NOTE:When operating conditions have been met, the
LaneSense system will monitor if the driver ’s hands are on
the steering wheel and provides an audible and visual
warning to the driver when the driver ’s hands are not
detected on the steering wheel. The system will cancel if
the driver does not return their hands to the wheel.
Turning LaneSense On Or Off
The default status of LaneSense is “off”.
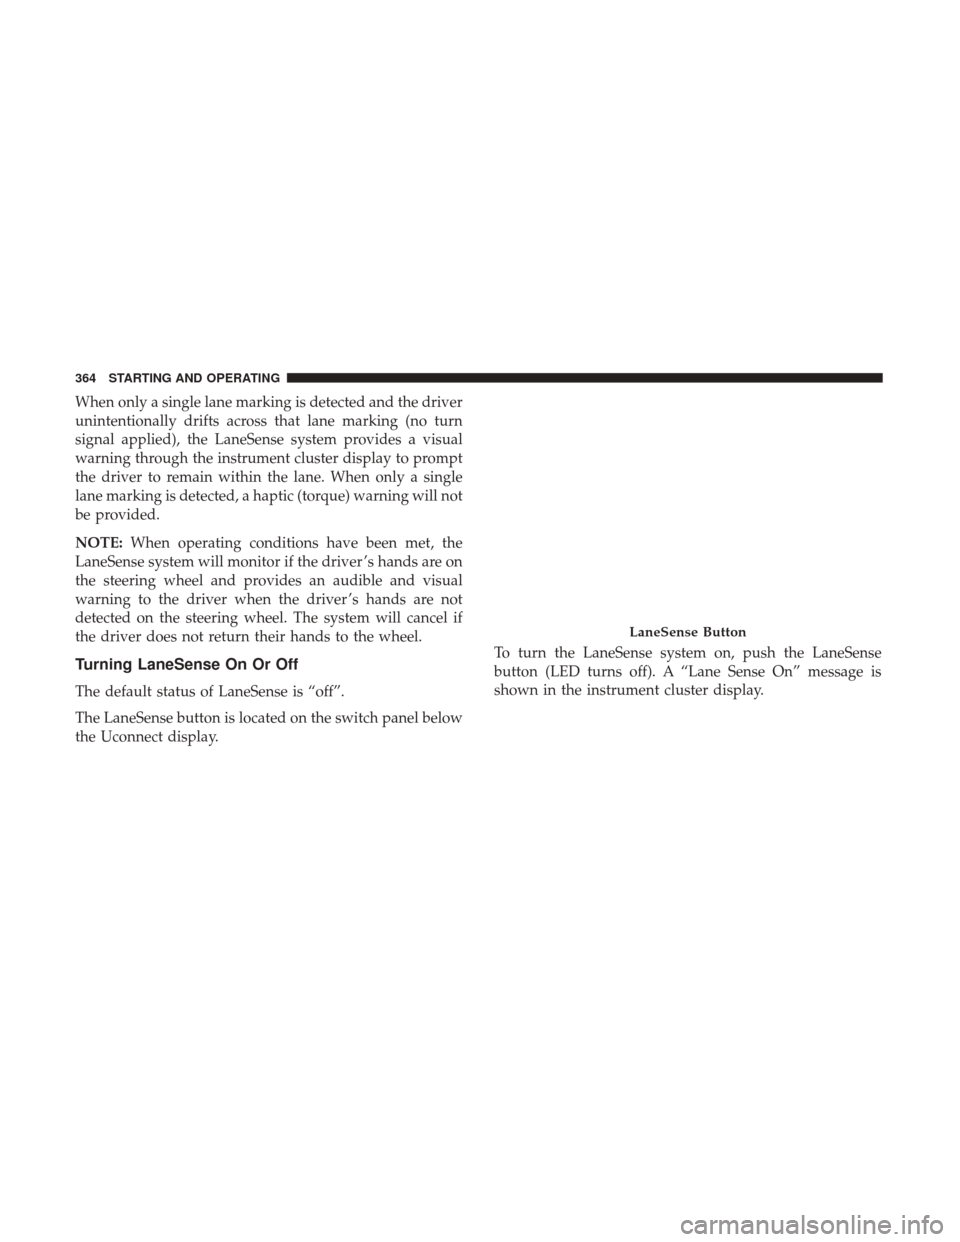
The LaneSense button is located on the switch panel below
the Uconnect display. To turn the LaneSense system on, push the LaneSense
button (LED turns off). A “Lane Sense On” message is
shown in the instrument cluster display.
LaneSense Button
364 STARTING AND OPERATING
Page 370 of 592
Changing LaneSense Status
The LaneSense system has settings to adjust the intensity of
the torque warning and the warning zone sensitivity
(Early/Medium/Late) that you can configure through the
Uconnect system screen. Refer to “Uconnect Settings” in
“Multimedia” for further information.
NOTE:
•When enabled the system operates above 37 mph
(60 km/h) and below 112 mph (180 km/h).
• Use of the turn signal suppresses the warnings.
• The system will not apply torque to the steering wheel
whenever a safety system engages. (anti-lock brakes,
traction control system, electronic stability control, for-
ward collision warning, etc.).
PARKVIEW REAR BACK UP CAMERA — IF
EQUIPPED
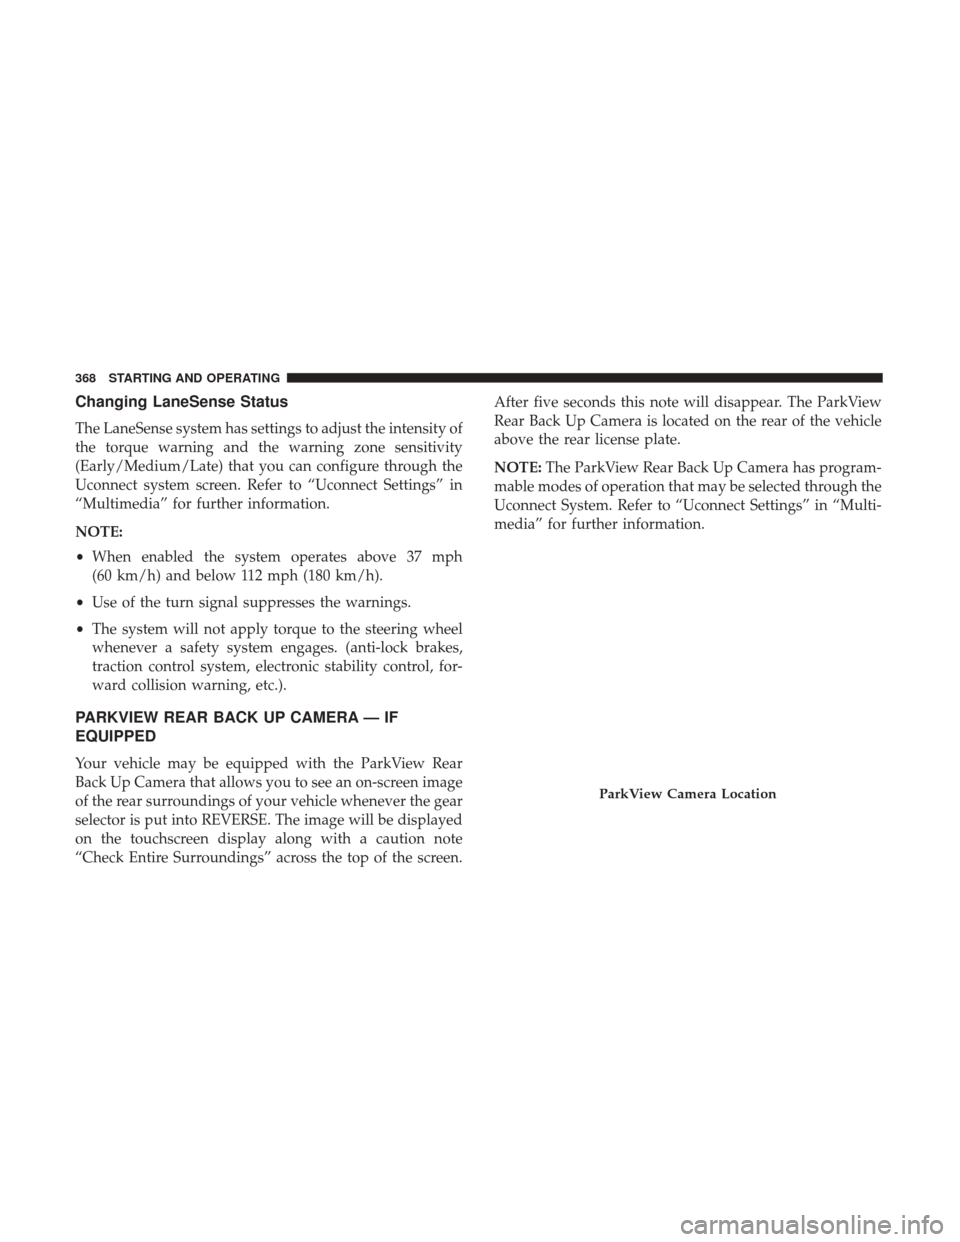
Your vehicle may be equipped with the ParkView Rear
Back Up Camera that allows you to see an on-screen image
of the rear surroundings of your vehicle whenever the gear
selector is put into REVERSE. The image will be displayed
on the touchscreen display along with a caution note
“Check Entire Surroundings” across the top of the screen. After five seconds this note will disappear. The ParkView
Rear Back Up Camera is located on the rear of the vehicle
above the rear license plate.
NOTE:
The ParkView Rear Back Up Camera has program-
mable modes of operation that may be selected through the
Uconnect System. Refer to “Uconnect Settings” in “Multi-
media” for further information.
ParkView Camera Location
368 STARTING AND OPERATING
Page 388 of 592
HAZARD WARNING FLASHERS
The Hazard Warning flasher switch is located in the lower
center area of the instrument panel.Push the switch to turn on the Hazard Warning
flasher. When the switch is activated, all directional
turn signals will flash on and off to warn oncoming traffic
of an emergency. Push the switch a second time to turn off
the Hazard Warning flashers.
This is an emergency warning system and it should not be
used when the vehicle is in motion. Use it when your
vehicle is disabled and it is creating a safety hazard for
other motorists.
When you must leave the vehicle to seek assistance, the
Hazard Warning flashers will continue to operate even
though the ignition is placed in the OFF position.
NOTE: With extended use, the Hazard Warning flashers
may wear down your battery.
ASSIST AND 9–1–1 REARVIEW MIRROR — IF
EQUIPPED
A single ball joint mirror is provided in the vehicle. It is a
twist on mirror that has a fixed position at the windshield.
The mirror installs on the windshield button with a coun-
terclockwise rotation and requires no tools for mounting.
The mirror head can be adjusted up, down, left, and right
for various drivers. The mirror should be adjusted to center
on the view through the rear window.
NOTE: The Automatic Dimming Mirror feature is disabled
when the vehicle is in reverse gear to improve rear view
viewing.
The Automatic Dimming Mirror feature can be turned On
or Off using the Mirror Dimming Button on the mirror.
386 IN CASE OF EMERGENCY
Page 395 of 592
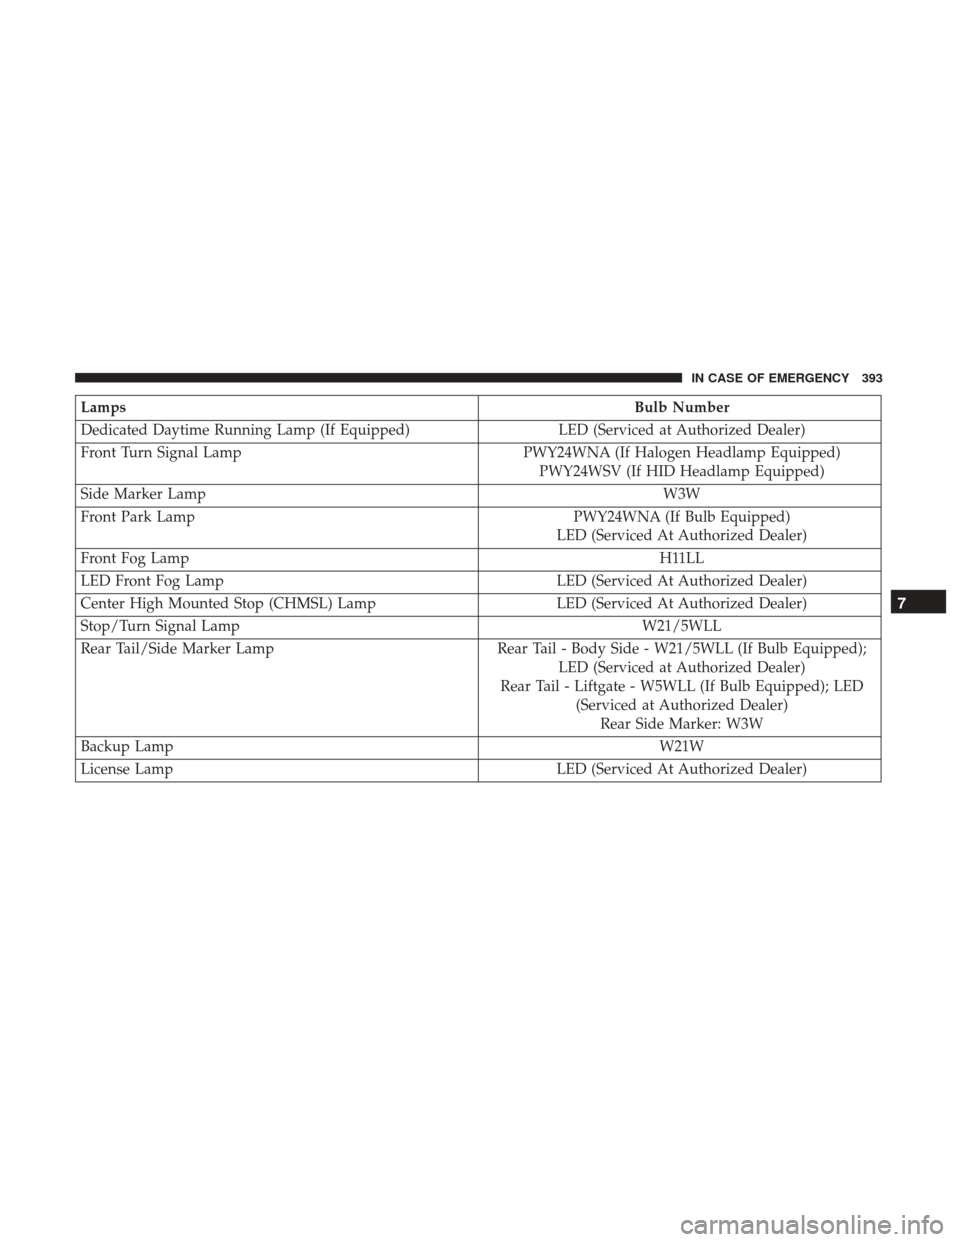
LampsBulb Number
Dedicated Daytime Running Lamp (If Equipped) LED (Serviced at Authorized Dealer)
Front Turn Signal Lamp PWY24WNA (If Halogen Headlamp Equipped)
PWY24WSV (If HID Headlamp Equipped)
Side Marker Lamp W3W
Front Park Lamp PWY24WNA (If Bulb Equipped)
LED (Serviced At Authorized Dealer)
Front Fog Lamp H11LL
LED Front Fog Lamp LED (Serviced At Authorized Dealer)
Center High Mounted Stop (CHMSL) Lamp LED (Serviced At Authorized Dealer)
Stop/Turn Signal Lamp W21/5WLL
Rear Tail/Side Marker Lamp Rear Tail - Body Side - W21/5WLL (If Bulb Equipped);
LED (Serviced at Authorized Dealer)
Rear Tail - Liftgate - W5WLL (If Bulb Equipped); LED (Serviced at Authorized Dealer)Rear Side Marker: W3W
Backup Lamp W21W
License Lamp LED (Serviced At Authorized Dealer)
7
IN CASE OF EMERGENCY 393
Page 397 of 592
CAUTION!
Do not touch the new bulb with your fingers. Oil
contamination will severely shorten bulb life. If the
bulb comes in contact with any oily surface, clean the
bulb with rubbing alcohol.
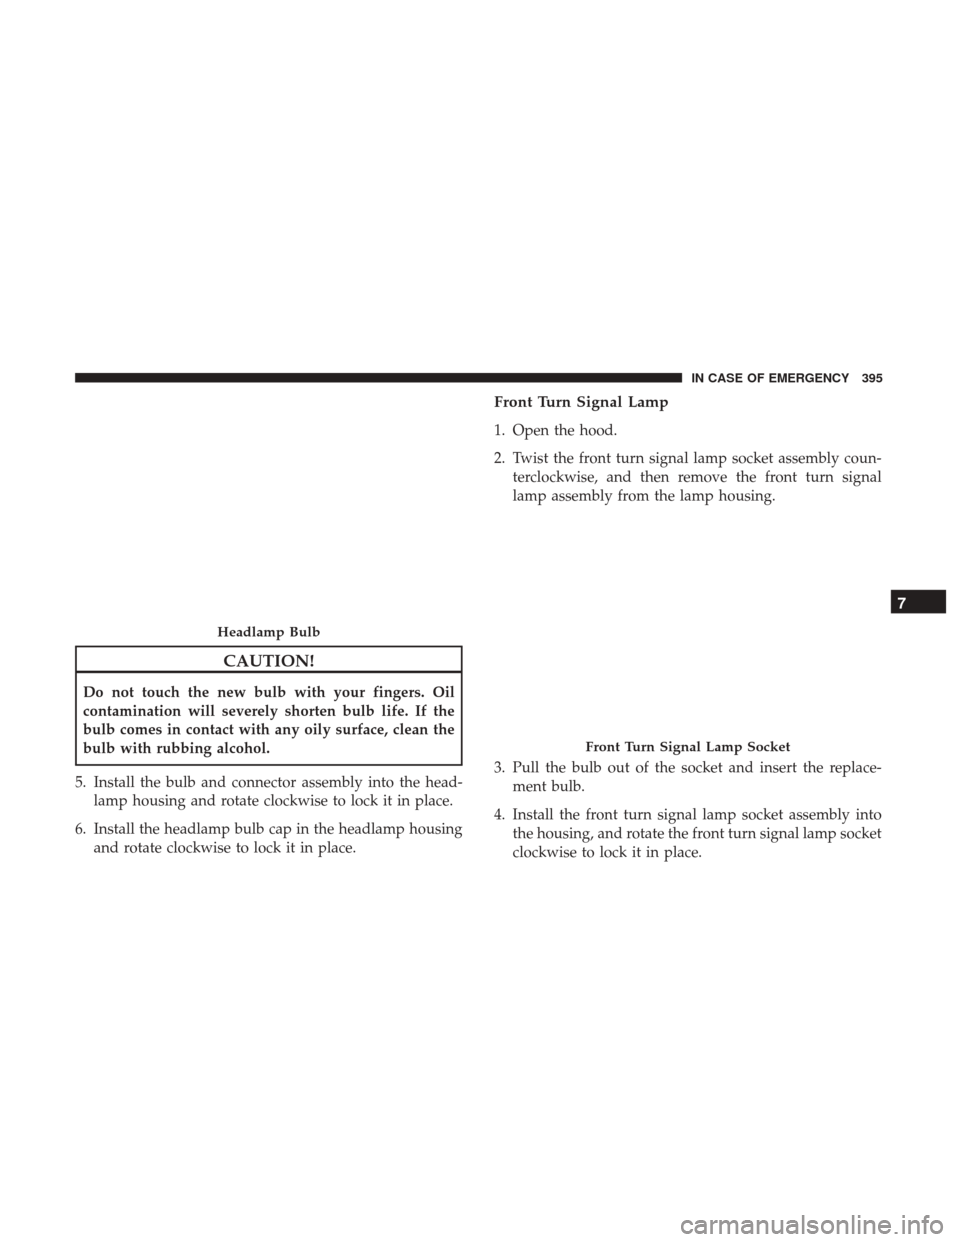
5. Install the bulb and connector assembly into the head- lamp housing and rotate clockwise to lock it in place.
6. Install the headlamp bulb cap in the headlamp housing and rotate clockwise to lock it in place.
Front Turn Signal Lamp
1. Open the hood.
2. Twist the front turn signal lamp socket assembly coun-terclockwise, and then remove the front turn signal
lamp assembly from the lamp housing.
3. Pull the bulb out of the socket and insert the replace- ment bulb.
4. Install the front turn signal lamp socket assembly into the housing, and rotate the front turn signal lamp socket
clockwise to lock it in place.
Headlamp Bulb
Front Turn Signal Lamp Socket
7
IN CASE OF EMERGENCY 395
Page 501 of 592
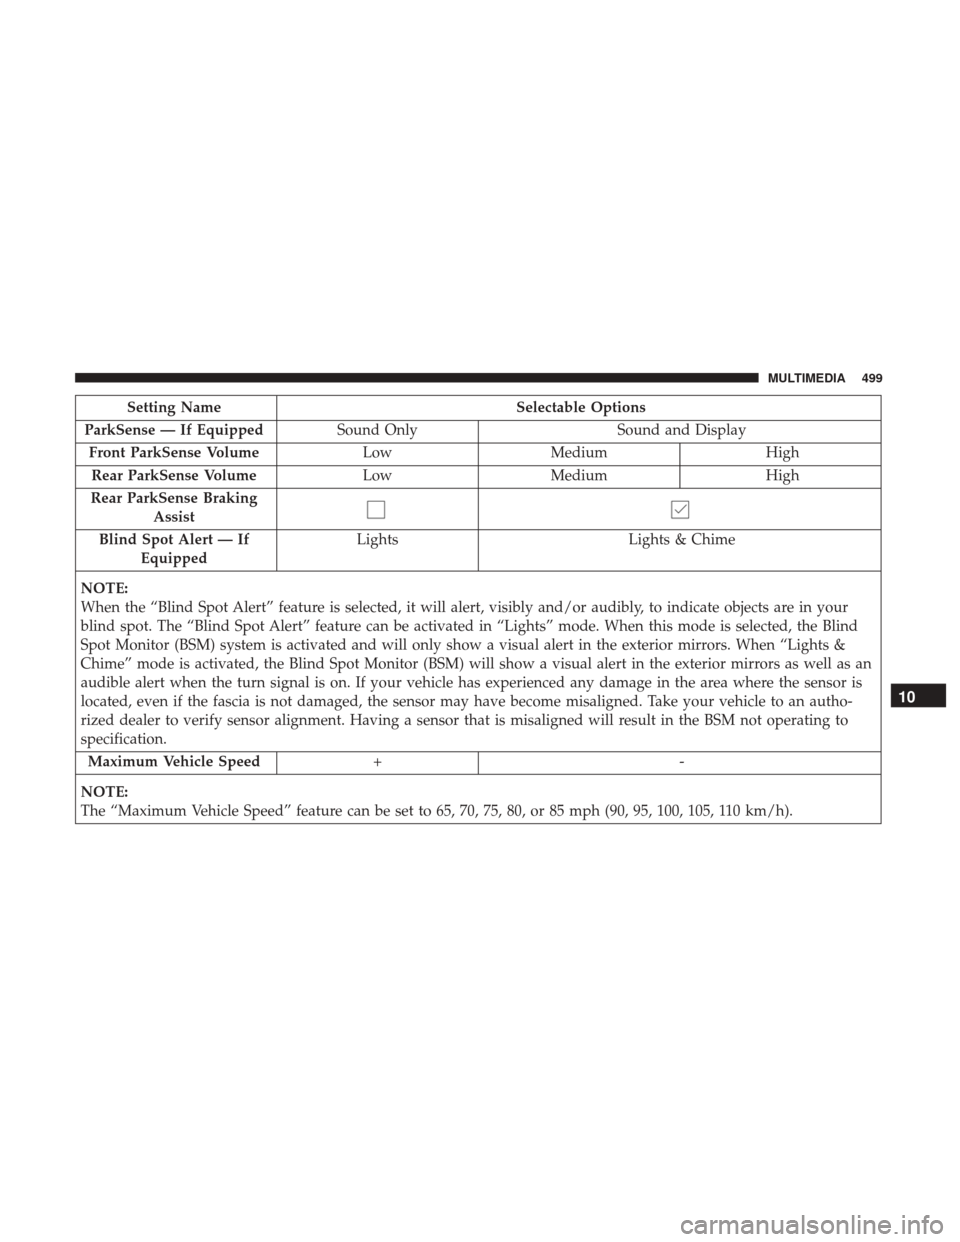
Setting NameSelectable Options
ParkSense — If Equipped Sound Only Sound and Display
Front ParkSense Volume LowMedium High
Rear ParkSense Volume LowMedium High
Rear ParkSense Braking Assist
Blind Spot Alert — If Equipped Lights
Lights & Chime
NOTE:
When the “Blind Spot Alert” feature is selected, it will alert, visibly and/or audibly, to indicate objects are in your
blind spot. The “Blind Spot Alert” feature can be activated in “Lights” mode. When this mode is selected, the Blind
Spot Monitor (BSM) system is activated and will only show a visual alert in the exterior mirrors. When “Lights &
Chime” mode is activated, the Blind Spot Monitor (BSM) will show a visual alert in the exterior mirrors as well as an
audible alert when the turn signal is on. If your vehicle has experienced any damage in the area where the sensor is
located, even if the fascia is not damaged, the sensor may have become misaligned. Take your vehicle to an autho-
rized dealer to verify sensor alignment. Having a sensor that is misaligned will result in the BSM not operating to
specification. Maximum Vehicle Speed +-
NOTE:
The “Maximum Vehicle Speed” feature can be set to 65, 70, 75, 80, or 85 mph (90, 95, 100, 105, 110 km/h).
10
MULTIMEDIA 499
Page 511 of 592
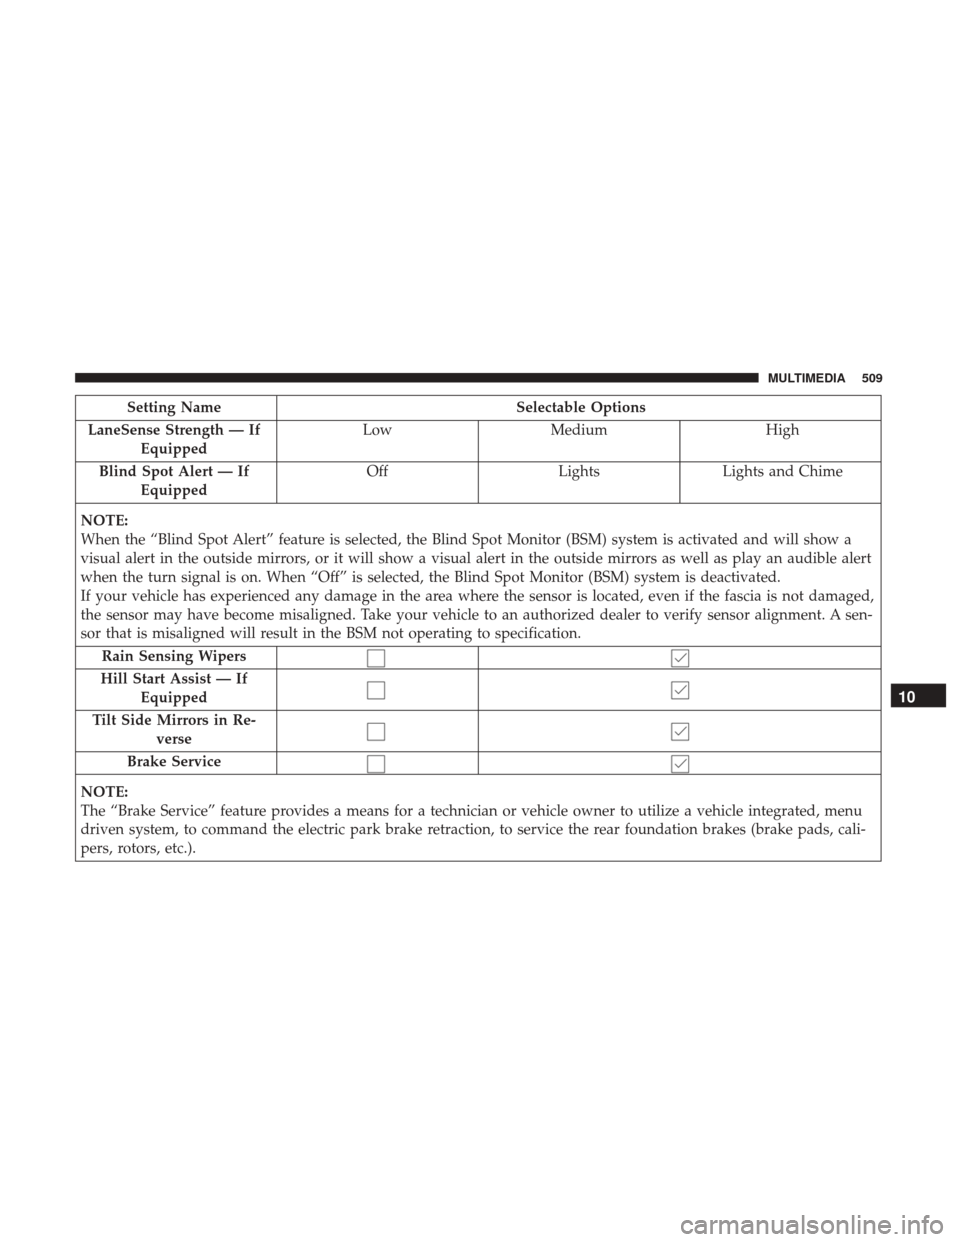
Setting NameSelectable Options
LaneSense Strength — If Equipped Low
Medium High
Blind Spot Alert — If Equipped Off
LightsLights and Chime
NOTE:
When the “Blind Spot Alert” feature is selected, the Blind Spot Monitor (BSM) system is activated and will show a
visual alert in the outside mirrors, or it will show a visual alert in the outside mirrors as well as play an audible alert
when the turn signal is on. When “Off” is selected, the Blind Spot Monitor (BSM) system is deactivated.
If your vehicle has experienced any damage in the area where the sensor is located, even if the fascia is not damaged,
the sensor may have become misaligned. Take your vehicle to an authorized dealer to verify sensor alignment. A sen-
sor that is misaligned will result in the BSM not operating to specification. Rain Sensing Wipers
Hill Start Assist — If Equipped
Tilt Side Mirrors in Re- verse
Brake Service
NOTE:
The “Brake Service” feature provides a means for a technician or vehicle owner to utilize a vehicle integrated, menu
driven system, to command the electric park brake retraction, to service the rear foundation brakes (brake pads, cali-
pers, rotors, etc.).
10
MULTIMEDIA 509
Page 582 of 592
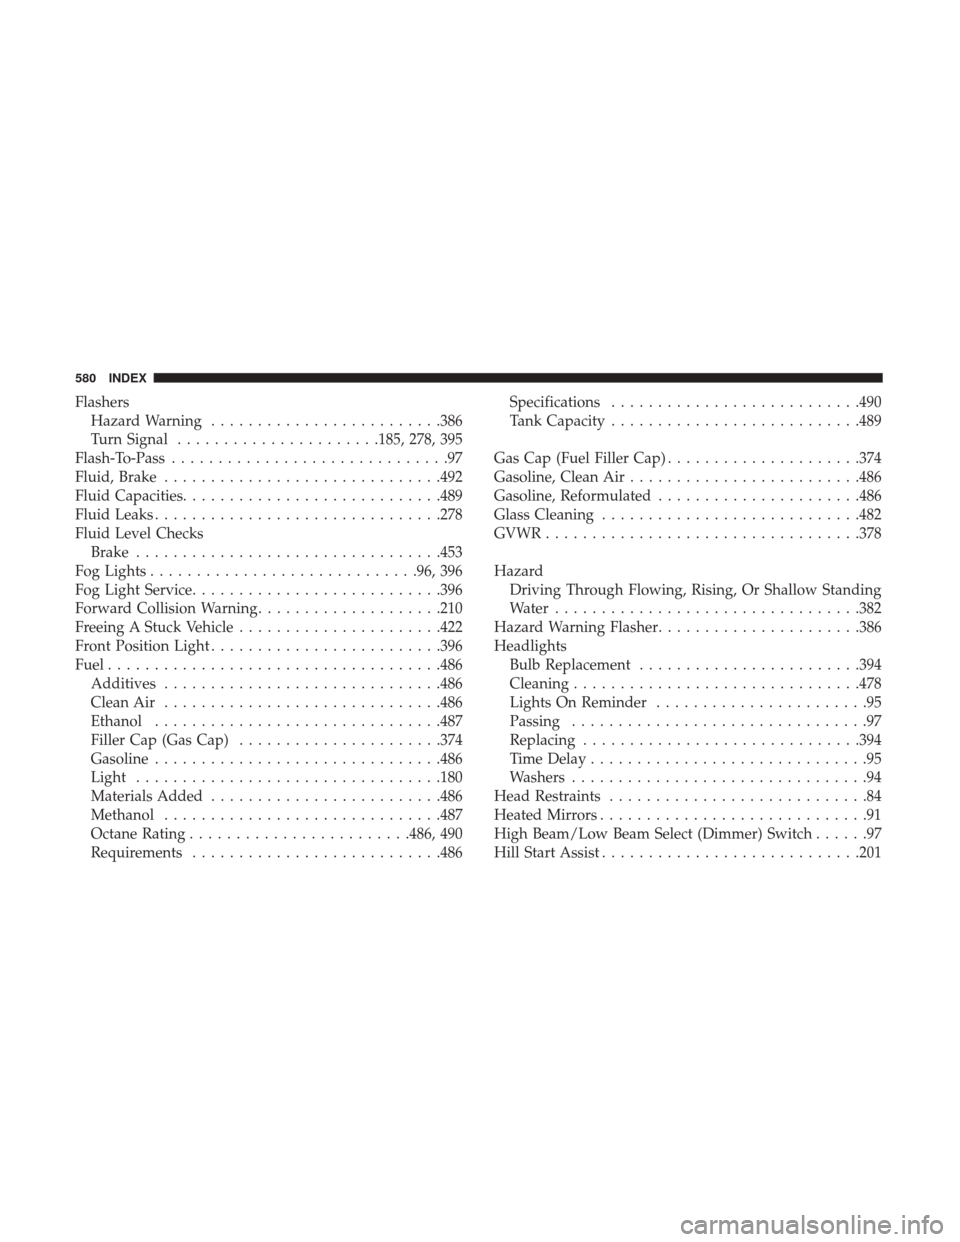
FlashersHazard Warning ........................ .386
Turn Signal ..................... .185, 278, 395
Flash-To-Pass ..............................97
Fluid, Brake ............................. .492
Fluid Capacities ........................... .489
Fluid Leaks .............................. .278
Fluid Level Checks Brake ................................ .453
Fog Lights ............................ .96, 396
Fog Light Service .......................... .396
Forward Collision Warning ....................210
Freeing A Stuck Vehicle ..................... .422
Front Position Light ........................ .396
Fuel ................................... .486
Additives ............................. .486
Clean Air ............................. .486
Ethanol .............................. .487
Filler Cap (Gas Cap) ..................... .374
Gasoline .............................. .486
Light ................................ .180
Materials Added ........................ .486
Methanol ............................. .487
Octane Rating ....................... .486, 490
Requirements .......................... .486Specifications
.......................... .490
Tank Capacity .......................... .489
Gas Cap (Fuel Filler Cap) .....................374
Gasoline, Clean Air ........................ .486
Gasoline, Reformulated ..................... .486
Glass Cleaning ........................... .482
GVWR ................................. .378
Hazard Driving Through Flowing, Rising, Or Shallow Standing
Water ................................ .382
Hazard Warning Flasher ..................... .386
Headlights Bulb Replacement ....................... .394
Cleaning .............................. .478
Lights
On Reminder .......................95
Passing ................................97
Replacing ............................. .394
Time Delay ..............................95
Washers ................................94
Head Restraints ............................84
Heated Mirrors .............................91
High Beam/Low Beam Select (Dimmer) Switch ......97
Hill Start Assist ........................... .201
580 INDEX