maintenance schedule CHRYSLER TOWN AND COUNTRY 2008 5.G Owners Manual
[x] Cancel search | Manufacturer: CHRYSLER, Model Year: 2008, Model line: TOWN AND COUNTRY, Model: CHRYSLER TOWN AND COUNTRY 2008 5.GPages: 531, PDF Size: 4.51 MB
Page 3 of 531
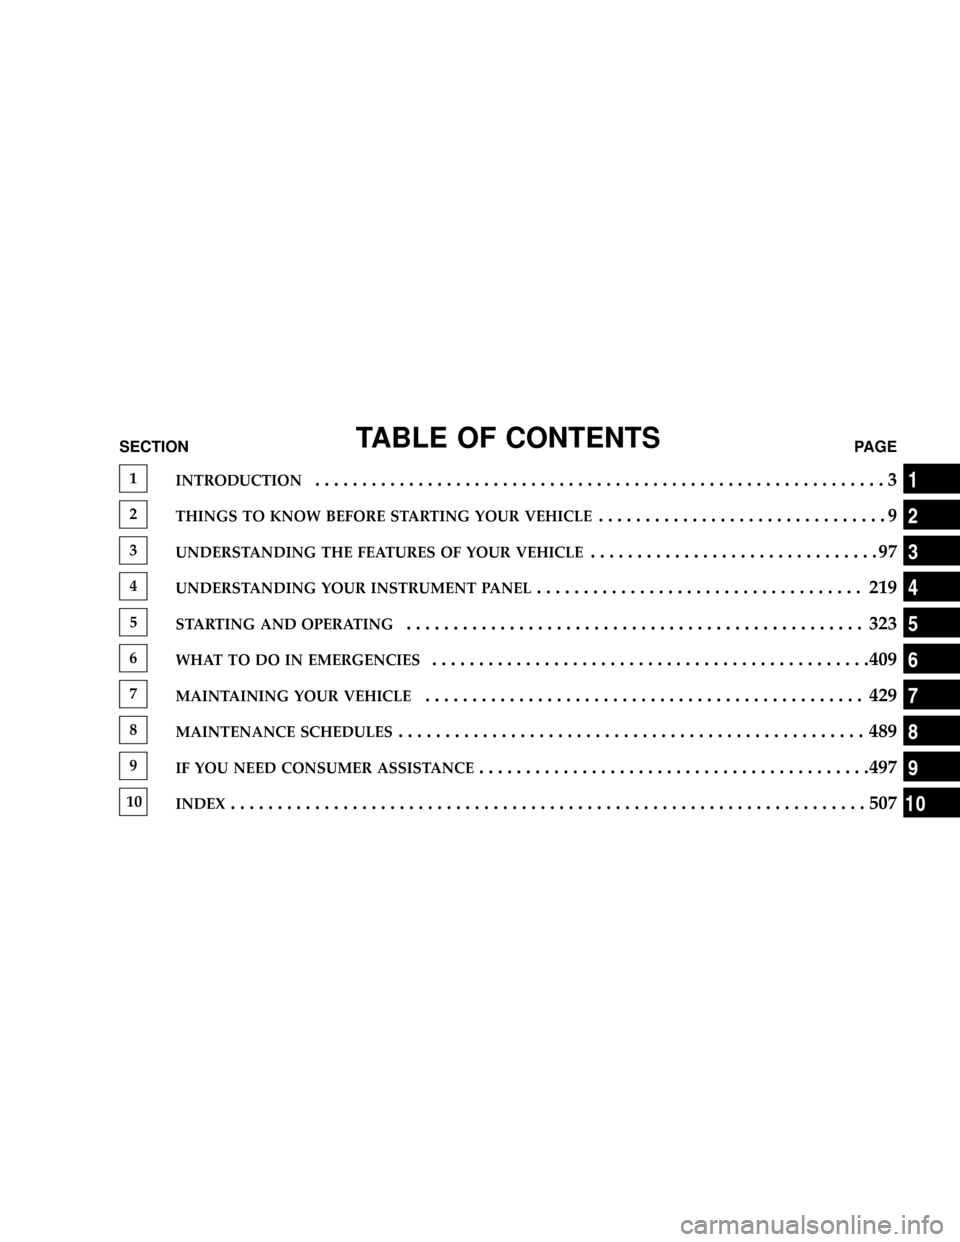
TABLE OF CONTENTSSECTIONPAGE
1INTRODUCTION.............................................................3
2THINGS TO KNOW BEFORE STARTING YOUR VEHICLE...............................9
3UNDERSTANDING THE FEATURES OF YOUR VEHICLE...............................97
4UNDERSTANDING YOUR INSTRUMENT PANEL................................... 219
5STARTING AND OPERATING................................................. 323
6WHAT TO DO IN EMERGENCIES...............................................409
7MAINTAINING YOUR VEHICLE............................................... 429
8MAINTENANCE SCHEDULES.................................................. 489
9IF YOU NEED CONSUMER ASSISTANCE..........................................497
10INDEX....................................................................507
1
2
3
4
5
6
7
8
9
10
Page 238 of 531
NOTE:Some of the above warnings will be displayed in
the Compass Mini-Trip Computer / Electronic Vehicle
Information Center Display Area under the Speedometer.
Refer toº Compass Mini-Trip Computer (CMTC) Ð If
Equippedº, later in this section for more information.
CHAngE OIL
Your vehicle is equipped with an engine oil change
indicator system. TheCHAngE OILmessage will flash in
the instrument cluster odometer for approximately 12
seconds after a single chime has sounded to indicate the
next scheduled oil change interval. The engine oil change
indicator system is duty cycle-based, which means the
engine oil change interval may fluctuate dependent upon
your personal driving style.
Unless reset, this message will continue to display each
time you turn the ignition switch to the ON/RUN
position. To turn off the message temporarily, press andrelease the Trip / Odometer Display reset button on the
instrument cluster. To reset the oil change indicator
system (after performing the scheduled maintenance)
refer to the following procedure.
1. Turn the ignition switch to the ON position (Do not
start the engine).
2. Fully depress the accelerator pedal slowly three times
within 10 seconds.
3. Turn the ignition switch to the OFF/LOCK position.
NOTE:If the indicator message illuminates when you
start the vehicle, the oil change indicator system did not
reset. If necessary repeat this procedure.
25. Odometer
The odometer shows the total distance the vehicle has
been driven.
236 UNDERSTANDING YOUR INSTRUMENT PANEL
Page 240 of 531
Oil Change Required
Your vehicle is equipped with an engine oil change
indicator system. The ªOil Change Requiredº message
will flash in the Electronic Vehicle Information Center
(EVIC) display for approximately 10 seconds after a
single chime has sounded to indicate the next scheduled
oil change interval. The engine oil change indicator
system is duty cycle based, which means the engine oil
change interval may fluctuate dependent upon your
personal driving style.
Unless reset, this message will continue to display each
time you turn the ignition switch to the ON/RUN
position. To turn off the message temporarily, press and
release the Menu button. To reset the oil change indicator
system (after performing the scheduled maintenance)
refer to the following procedure.
1. Turn the ignition switch to the ON position (Do not
start the engine).2. Fully depress the accelerator pedal slowly three times
within 10 seconds.
3. Turn the ignition switch to the OFF/LOCK position.
NOTE:If the indicator message illuminates when you
start the vehicle, the oil change indicator system did not
reset. If necessary repeat this procedure.
27. Compass Mini-Trip Computer (CMTC) Display
Button
Press the left reset button to scroll through sub menus
(i.e., Trip Functions: AVG Fuel Economy, DTE, Elapsed
Time, and Units.
NOTE:For more detailed operation, refer to ªCompass
Mini-Trip Computerº later in this section.
238 UNDERSTANDING YOUR INSTRUMENT PANEL
Page 247 of 531
²Left Rear Turn Signal Light Out
²Right Front Turn Signal Light Out
²Right Rear Turn Signal Light Out
²Park Assist Disabled
²Service Park Assist System
²Personal Settings Not Available ± Vehicle Not in Park
Oil Change Required
Your vehicle is equipped with an engine oil change
indicator system. TheOil Change Requiredmessage will
flash in the EVIC display for approximately 10 seconds
after a single chime has sounded to indicate the next
scheduled oil change interval. The engine oil change
indicator system is duty cycle based, which means the
engine oil change interval may fluctuate dependent upon
your personal driving style.Unless reset, this message will continue to display each
time you turn the ignition switch to the ON/RUN
position. To turn off the message temporarily, press and
release the Menu button. To reset the oil change indicator
system (after performing the scheduled maintenance)
refer to the following procedure.
1. Turn the ignition switch to the ON position (Do not
start the engine).
2. Fully depress the accelerator pedal slowly three times
within 10 seconds.
3. Turn the ignition switch to the OFF/LOCK position.
NOTE:If the indicator message illuminates when you
start the vehicle, the oil change indicator system did not
reset. If necessary repeat this procedure.
UNDERSTANDING YOUR INSTRUMENT PANEL 245
4
Page 371 of 531
Always use the lower suggested operating speed if both
the chain manufacturer and vehicle manufacture suggest
a maximum speed. This notice applies to all chain
traction devices, including link and cable (radial) chains.
SNOW TIRES
Some areas of the country require the use of snow tires
during Winter. Standard tires are of the all-season type
and satisfy this requirement as indicated by the M+S
designation on the tire sidewall.
If you need snow tires, select tires equivalent in size and
type to the original equipment tires. Use snow tires only
in sets of four; failure to do so may adversely affect the
safety and handling of your vehicle.
Snow tires generally have lower speed ratings than what
was originally equipped with your vehicle and should
not be operated at sustained speeds over 75 mph (120
km/h).
TIRE ROTATION
Tires on the front and rear axles of vehicles operate at
different loads and perform different steering, driving,
and braking functions. For these reasons, they wear at
unequal rates, and tend to develop irregular wear pat-
terns.
These effects can be reduced by timely rotation of tires.
The benefits of rotation are especially worthwhile with
aggressive tread designs such as those on All-Season type
tires. Rotation will increase tread life, help to maintain
mud, snow, and wet traction levels, and contribute to a
smooth, quiet ride.
Follow the recommended tire rotation frequency for your
type of driving found in the ªMaintenance Schedulesº
section of this manual. More frequent rotation is permis-
sible if desired. The reasons for any rapid or unusual
wear should be corrected prior to rotation being per-
formed.
STARTING AND OPERATING 369
5
Page 391 of 531
increase in the time it takes for your engine to start, and
a deterioration in driveability (sags and/or hesitations)
until the engine is fully warmed up.
Cruising Range
Because E-85 fuel contains less energy per gallon than
gasoline, you will experience an increase in fuel con-
sumption. You can expect your MPG and your driving
range to decrease by about 30% compared to gasoline
operation.
Replacement Parts
Many components in your Flexible Fuel Vehicle (FFV) are
designed to be compatible with ethanol. Always be sure
that your vehicle is serviced with correct ethanol com-
patible parts.
CAUTION!
Replacing fuel system components with non-ethanol
compatible components can damage your vehicle.
Maintenance
If you operate the vehicle using E-85 fuel, follow the
maintenance schedule section of this manual.
CAUTION!
Do not use ethanol mixture greater than 85% in your
vehicle. It will cause difficulty in cold starting and
may affect driveability.
STARTING AND OPERATING 389
5
Page 440 of 531
serviced before going to the I/M station. The I/M station
can fail the vehicle because the MIL is on with the engine
running.
REPLACEMENT PARTS
Use of genuine Mopartparts for normal/scheduled
maintenance and repairs is highly recommended to en-
sure the designed performance. Damage or failures
caused by the use of non-Mopartparts for maintenance
and repairs will not be covered by the manufacturer's
warranty.
AUTHORIZED DEALER SERVICE
Your authorized dealer has the qualified service person-
nel, special tools, and equipment to perform all service
operations in an expert manner. Service manuals are
available which include detailed service information for
your vehicle. Refer to these service manuals before
attempting any procedure yourself.NOTE:Intentional tampering with emissions control
systems can result in civil penalties being assessed
against you.
WARNING!
You can be badly injured working on or around a
motor vehicle. Only do service work for which you
have the knowledge and the proper equipment. If
you have any doubt about your ability to perform a
service job, take your vehicle to a competent
mechanic.
438 MAINTAINING YOUR VEHICLE
Page 442 of 531
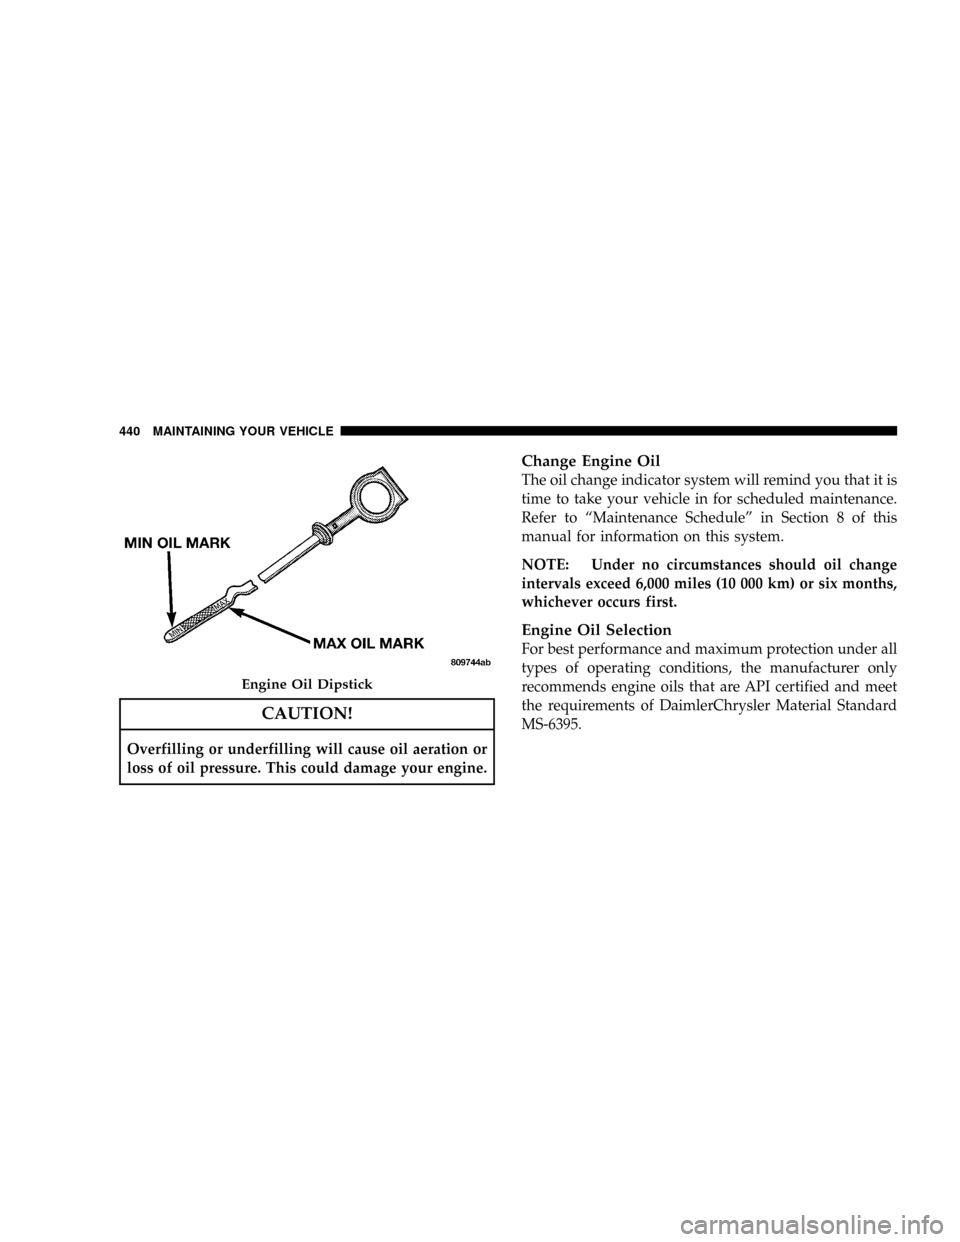
CAUTION!
Overfilling or underfilling will cause oil aeration or
loss of oil pressure. This could damage your engine.
Change Engine Oil
The oil change indicator system will remind you that it is
time to take your vehicle in for scheduled maintenance.
Refer to ªMaintenance Scheduleº in Section 8 of this
manual for information on this system.
NOTE: Under no circumstances should oil change
intervals exceed 6,000 miles (10 000 km) or six months,
whichever occurs first.
Engine Oil Selection
For best performance and maximum protection under all
types of operating conditions, the manufacturer only
recommends engine oils that are API certified and meet
the requirements of DaimlerChrysler Material Standard
MS-6395.
Engine Oil Dipstick
440 MAINTAINING YOUR VEHICLE
Page 445 of 531
DRIVE BELT
At the mileage indicated in the maintenance schedule,
replace the drive belt with a new drive belt.
NOTE:The drive belt must be routed correctly to ensure
proper drive function.
SPARK PLUGS
Spark plugs must fire properly to assure engine perfor-
mance and emission control. New plugs should be in-
stalled at the specified mileage. The entire set should be
replaced if there is any malfunction due to a faulty spark
plug. Malfunctioning spark plugs can damage the cata-
lytic converter. For proper type of replacement spark
plugs, refer to Fluids, Lubricants and Genuine Parts for
correct spark plug type.
ENGINE AIR CLEANER
Refer to the ªMaintenance Scheduleº in Section 8 of this
manual for engine air cleaner filter maintenance inter-
vals.
NOTE:Be sure to follow the ªdusty or off-road condi-
tionsº maintenance interval if applicable.
WARNING!
The air induction system (air cleaner, hoses, etc.) can
provide a measure of protection in the case of engine
backfire. Do not remove the air induction system (air
cleaner, hoses, etc.) unless such removal is necessary
for repair or maintenance. Make sure that no one is
near the engine compartment before starting the
vehicle with the air induction system (air cleaner,
hoses, etc.) removed. Failure to do so can result in
serious personal injury.
MAINTAINING YOUR VEHICLE 443
7
Page 451 of 531
Refrigerant Recovery And Recycling
R-134a Air Conditioning Refrigerant is a hydrofluoro-
carbon (HFC) that is endorsed by the Environmental
Protection Agency and is an ozone-saving product. How-
ever, the manufacturer recommends that air conditioning
service be performed by an authorized dealer or other an
authorized service facility using recovery and recycling
equipment.
NOTE:Use only manufacturer approved A/C System
Sealers, Stop Leak Products, Seal Conditioners, Compres-
sor Oil, or Refrigerants.
A/C Air Filter Ð If Equipped
Refer to the ªMaintenance Scheduleº in Section 8 of this
manual for A/C Air Filter service intervals.
WARNING!
Do not remove the A/C Air Filter while the blower is
operating or personal injury may result.
The A/C Air Filter is located in the fresh air inlet behind
the glove box. Perform the following procedure to re-
place the filter:
1. Open the glove box and remove all contents.
2. Push in on the sides of the glove box and lower the
door.
3. Pivot the glove box downward.
MAINTAINING YOUR VEHICLE 449
7