buttons CHRYSLER TOWN AND COUNTRY 2010 5.G User Guide
[x] Cancel search | Manufacturer: CHRYSLER, Model Year: 2010, Model line: TOWN AND COUNTRY, Model: CHRYSLER TOWN AND COUNTRY 2010 5.GPages: 92, PDF Size: 11.08 MB
Page 17 of 92
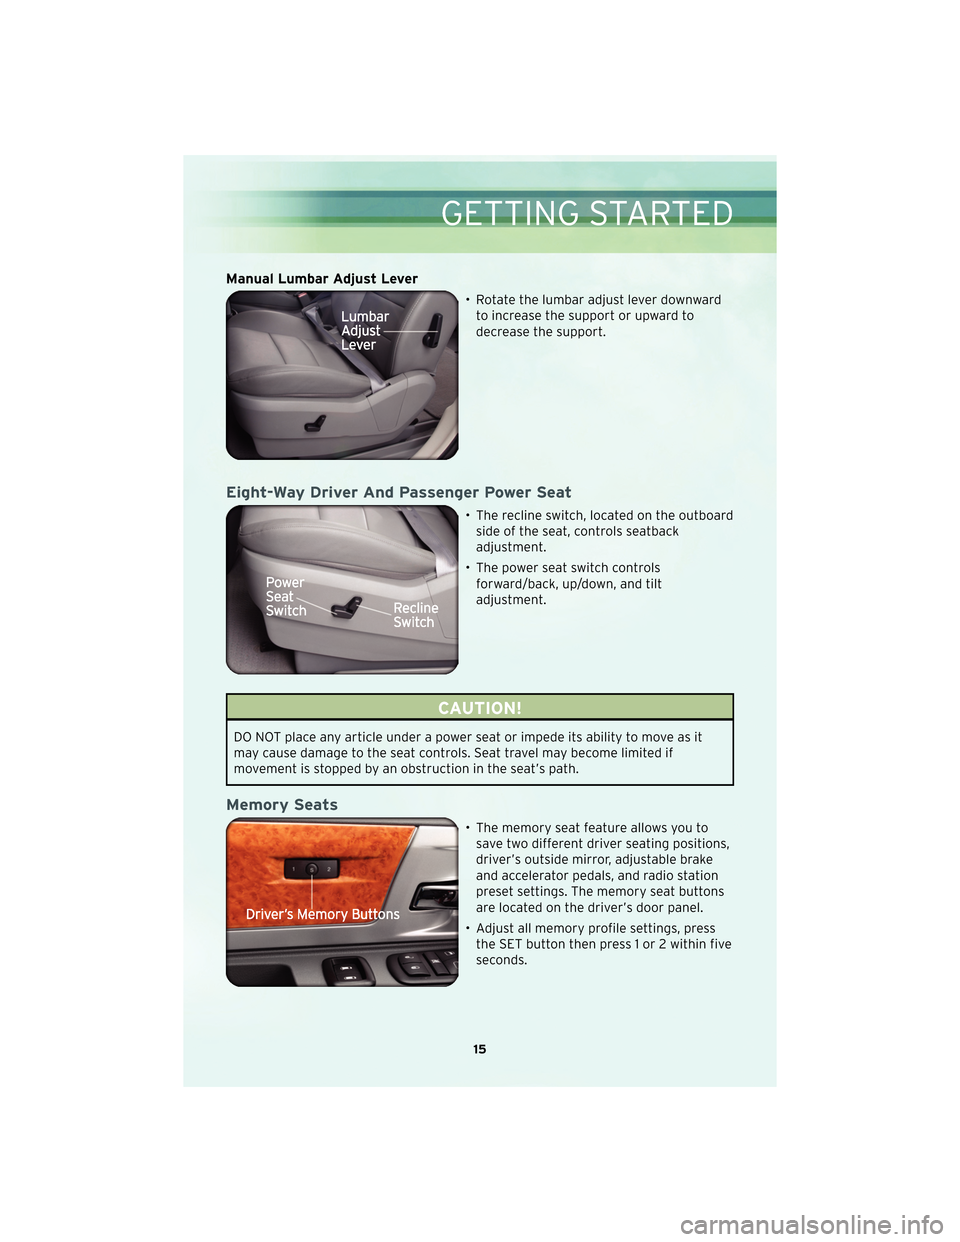
Manual Lumbar Adjust Lever
• Rotate the lumbar adjust lever downwardto increase the support or upward to
decrease the support.
Eight-Way Driver And Passenger Power Seat
• The recline switch, located on the outboardside of the seat, controls seatback
adjustment.
• The power seat switch controls forward/back, up/down, and tilt
adjustment.
CAUTION!
DO NOT place any article under a power seat or impede its ability to move as it
may cause damage to the seat controls. Seat travel may become limited if
movement is stopped by an obstruction in the seat’s path.
Memory Seats
• The memory seat feature allows you tosave two different driver seating positions,
driver’s outside mirror, adjustable brake
and accelerator pedals, and radio station
preset settings. The memory seat buttons
are located on the driver’s door panel.
• Adjust all memory profile settings, press the SET button then press 1 or 2 within five
seconds.
15
GETTING STARTED
Page 21 of 92
Key Fob Programmable Features
• The following features may also be programmed by using the Key Fob transmitteror the ignition switch and driver’s door lock switch.
NOTE: Pressing the LOCK button while you are inside the vehicle will activate the
Vehicle Security Alarm. Opening a door with the Vehicle Security Alarm activated will
cause the alarm to sound. Press the UNLOCK button to deactivate the Vehicle
Security Alarm.
Unlock On First Press
• To unlock either the driver’s side, or all doors, on the first press of the UNLOCK button:
• Press and hold the LOCK button for at least 4 seconds, but no longer than 10 seconds. Then, press and hold the UNLOCK button while still holding the
LOCK button.
• Release both buttons at the same time.
Auto Unlock Doors On Exit
• To have all of the vehicle doors unlock when any door is opened: • Enter your vehicle, close all the doors and fasten your seat belt.
• Within 15 seconds, cycle the ignition switch from the LOCK position to theON/RUN position a minimum of five times ending in the ON position (do not start
the engine).
• Within 30 seconds, press the driver’s door lock switch in the UNLOCK direction. A single chime will indicate that programming is complete.
Auto Door Lock
• To have the doors lock automatically when the vehicle’s speed exceeds 15 mph(24 km/h):
• Enter your vehicle, close all the doors and fasten your seat belt.
• Within 15 seconds, cycle the ignition switch from the LOCK position to the ON/RUN position a minimum of five times ending in the ON position (do not start
the engine).
• Within 30 seconds, press the driver’s door lock switch in the LOCK direction. A single chime will indicate that programming is complete.
19
GETTING STARTED
Page 22 of 92
Sound Horn With Lock
• To turn the horn chirp on or off when the doors are locked:• Press the LOCK button for at least 4 seconds, but no longer than 10 seconds.Then, press the PANIC button while still holding the LOCK button.
• Release both buttons at the same time.
Flashing Lights With Lock
• The turn signal lights flashing, when the doors are locked or unlocked, feature can be turned on or off. To turn this feature on or off:
• Press and hold the UNLOCK button for at least 4 seconds, but no longer than 10 seconds. Then, press and hold the LOCK button while still holding the
UNLOCK button.
• Release both buttons at the same time.
GETTING STARTED
20
Page 32 of 92
REAR CROSS PATH WITH BLIND SPOT MONITORING
• The Blind Spot Monitoring (BSM) system warning light, located in the outsidemirrors, will illuminate if a vehicle moves into a blind spot zone.
• The BSM system can also be configured to sound an audible (chime) alert and mute the radio to notify you of objects that have entered the detection zones.
• Refer to your owner’s manual on the DVD for further details.
POWER SLIDING SIDE DOORS
Automatic/Manual Operation
• The power sliding door may be opened or closed manually or by using the buttons on the Key Fob, overhead console switch, or rear door switch.
• Pulling the inside or outside power sliding door handle will also power open the power sliding doors.
Sliding Side Door Child Protection Lock
• When this system is engaged, the inside manual door handle will not open thesliding door even though the inside door lock is in the unlocked position.
• To engage the Child Protection Door Lock, open the sliding side door. Slide the child protection door lock control, located on the rear of the sliding door, inward
(toward the vehicle) to engage.
• Repeat these steps on the opposite sliding door.
OPERATING YOUR VEHICLE
30
Page 34 of 92
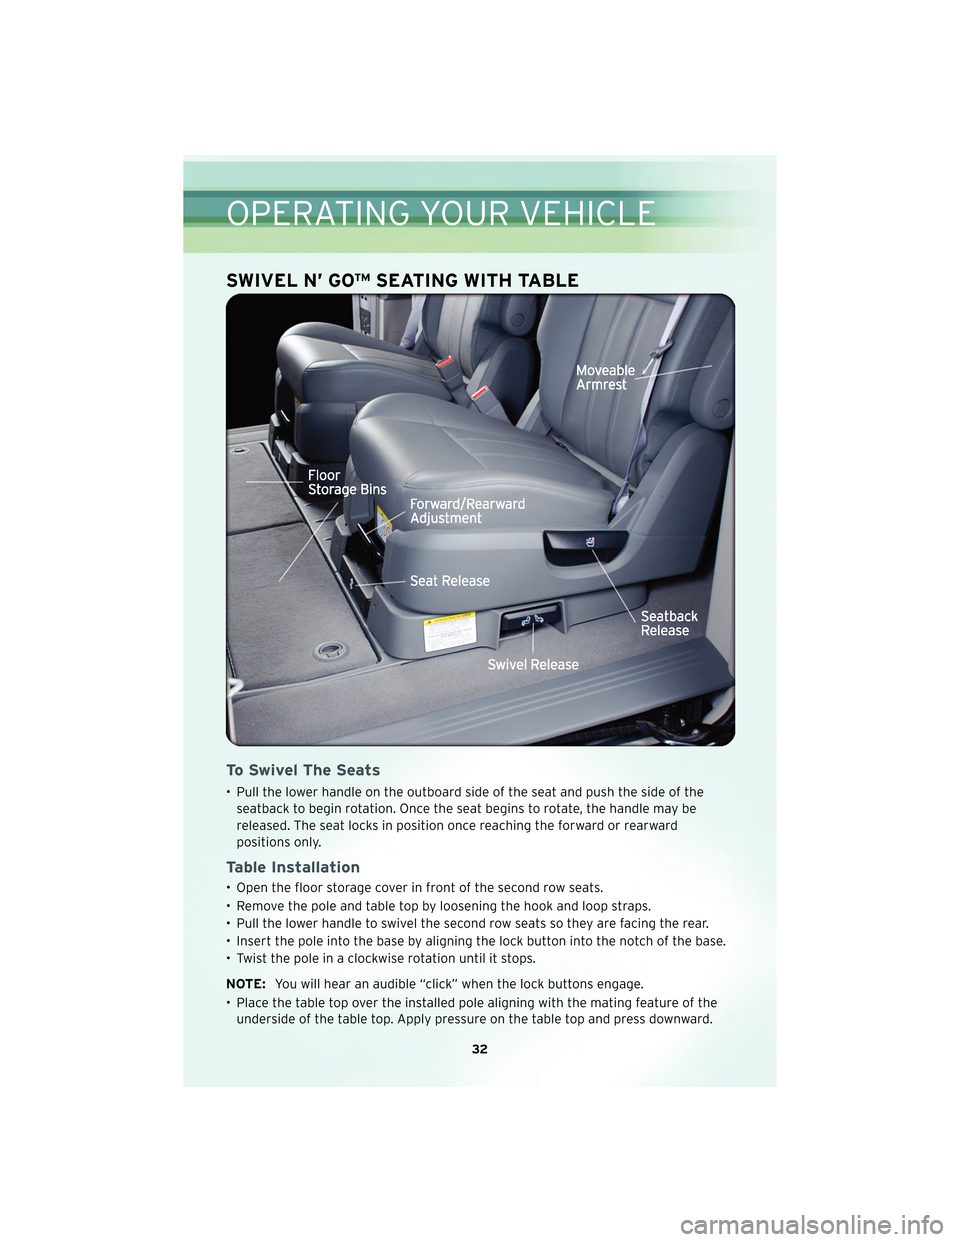
SWIVEL N’ GO™ SEATING WITH TABLE
To Swivel The Seats
• Pull the lower handle on the outboard side of the seat and push the side of theseatback to begin rotation. Once the seat begins to rotate, the handle may be
released. The seat locks in position once reaching the forward or rearward
positions only.
Table Installation
• Open the floor storage cover in front of the second row seats.
• Remove the pole and table top by loosening the hook and loop straps.
• Pull the lower handle to swivel the second row seats so they are facing the rear.
• Insert the pole into the base by aligning the lock button into the notch of the base.
• Twist the pole in a clockwise rotation until it stops.
NOTE: You will hear an audible “click” when the lock buttons engage.
• Place the table top over the installed pole aligning with the mating feature of the underside of the table top. Apply pressure on the table top and press downward.
OPERATING YOUR VEHICLE
32
Page 39 of 92
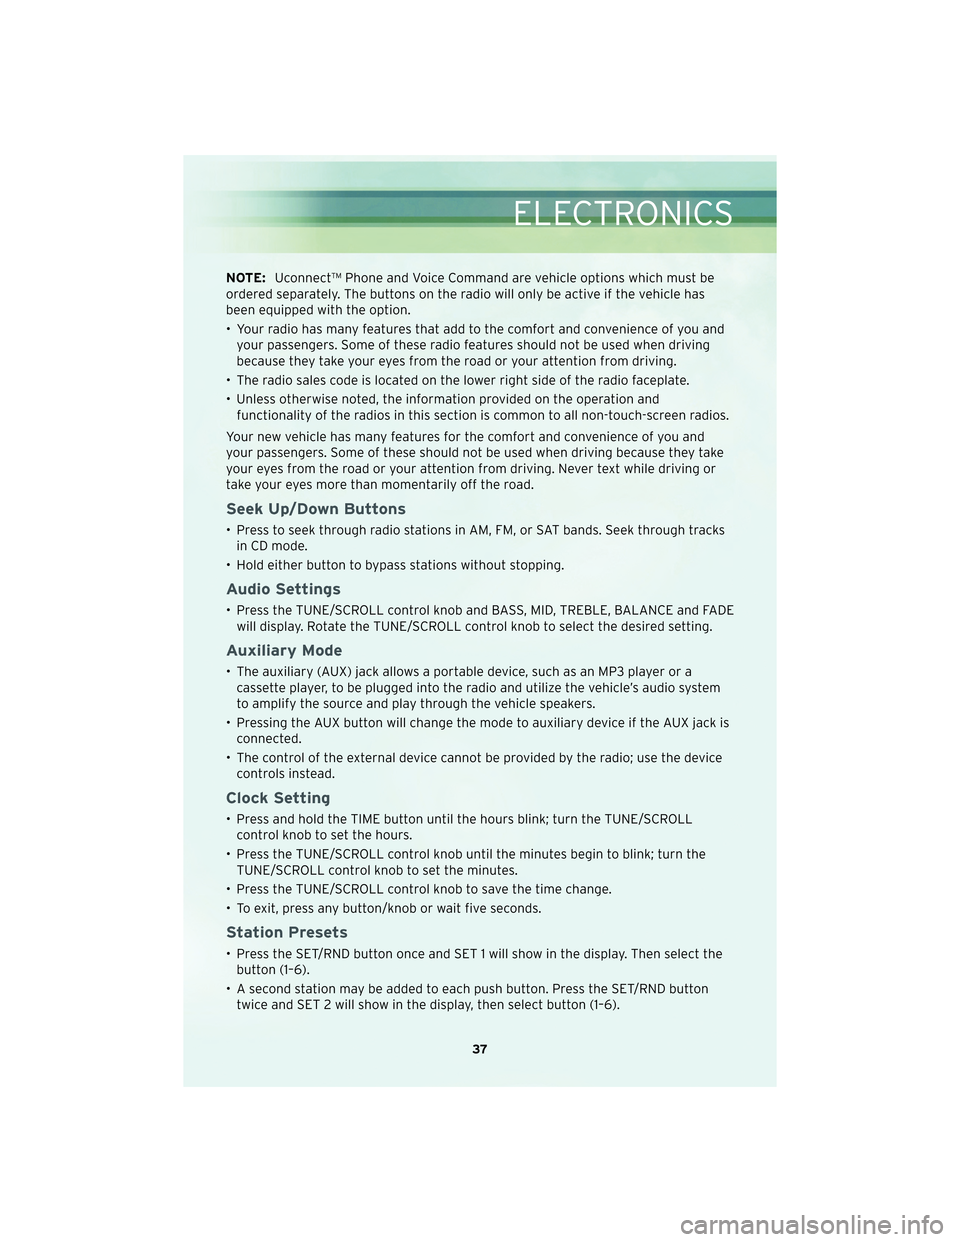
NOTE:Uconnect™ Phone and Voice Command are vehicle options which must be
ordered separately. The buttons on the radio will only be active if the vehicle has
been equipped with the option.
• Your radio has many features that add to the comfort and convenience of you and your passengers. Some of these radio features should not be used when driving
because they take your eyes from the road or your attention from driving.
• The radio sales code is located on the lower right side of the radio faceplate.
• Unless otherwise noted, the information provided on the operation and functionality of the radios in this section is common to all non-touch-screen radios.
Your new vehicle has many features for the comfort and convenience of you and
your passengers. Some of these should not be used when driving because they take
your eyes from the road or your attention from driving. Never text while driving or
take your eyes more than momentarily off the road.
Seek Up/Down Buttons
• Press to seek through radio stations in AM, FM, or SAT bands. Seek through tracks in CD mode.
• Hold either button to bypass stations without stopping.
Audio Settings
• Press the TUNE/SCROLL control knob and BASS, MID, TREBLE, BALANCE and FADE will display. Rotate the TUNE/SCROLL control knob to select the desired setting.
Auxiliary Mode
• The auxiliary (AUX) jack allows a portable device, such as an MP3 player or acassette player, to be plugged into the radio and utilize the vehicle’s audio system
to amplify the source and play through the vehicle speakers.
• Pressing the AUX button will change the mode to auxiliary device if the AUX jack is connected.
• The control of the external device cannot be provided by the radio; use the device controls instead.
Clock Setting
• Press and hold the TIME button until the hours blink; turn the TUNE/SCROLLcontrol knob to set the hours.
• Press the TUNE/SCROLL control knob until the minutes begin to blink; turn the TUNE/SCROLL control knob to set the minutes.
• Press the TUNE/SCROLL control knob to save the time change.
• To exit, press any button/knob or wait five seconds.
Station Presets
• Press the SET/RND button once and SET 1 will show in the display. Then select the button (1–6).
• A second station may be added to each push button. Press the SET/RND button twice and SET 2 will show in the display, then select button (1–6).
37
ELECTRONICS
Page 41 of 92
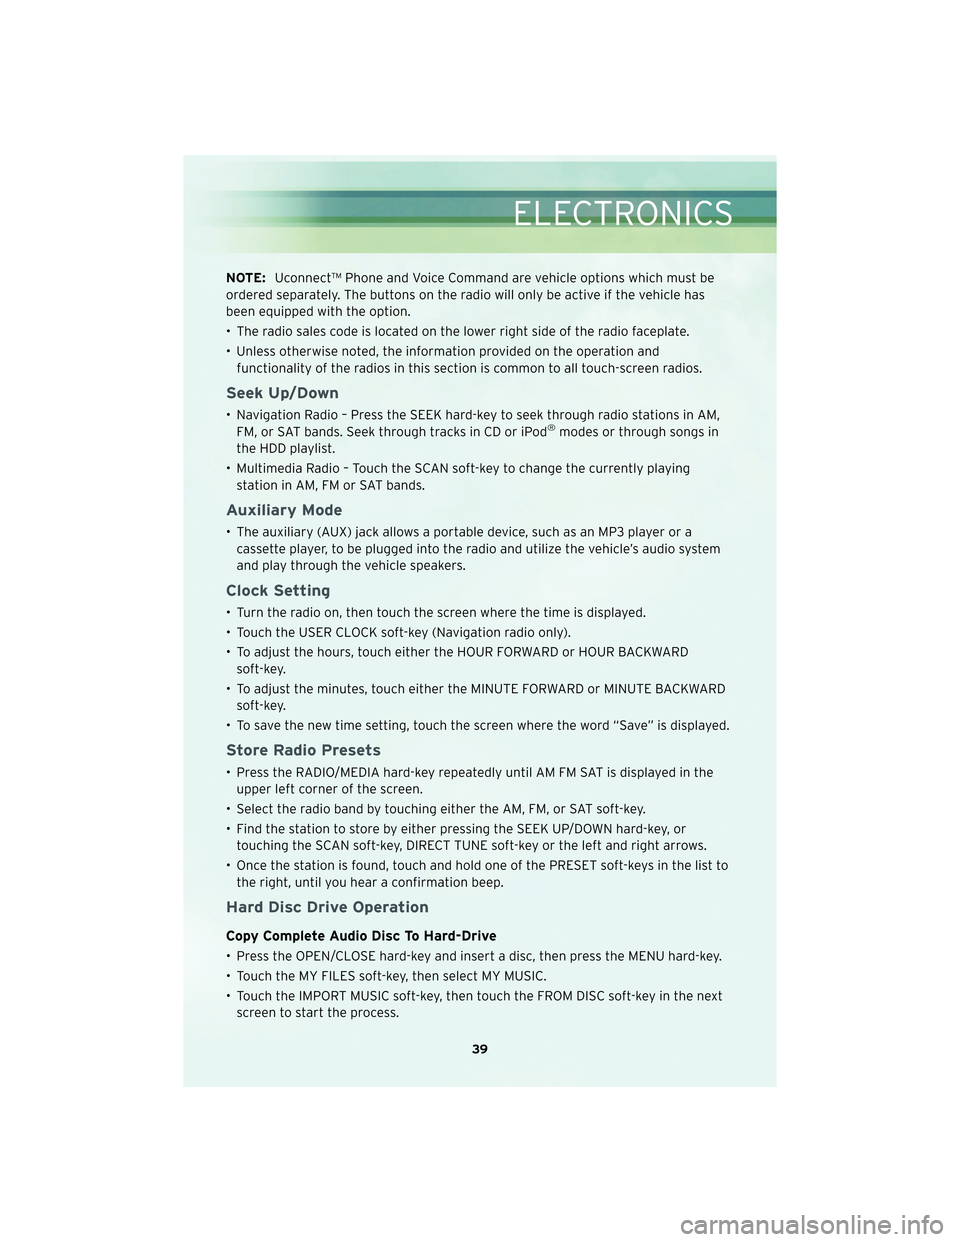
NOTE:Uconnect™ Phone and Voice Command are vehicle options which must be
ordered separately. The buttons on the radio will only be active if the vehicle has
been equipped with the option.
• The radio sales code is located on the lower right side of the radio faceplate.
• Unless otherwise noted, the information provided on the operation and functionality of the radios in this section is common to all touch-screen radios.
Seek Up/Down
• Navigation Radio – Press the SEEK hard-key to seek through radio stations in AM,FM, or SAT bands. Seek through tracks in CD or iPod®modes or through songs in
the HDD playlist.
• Multimedia Radio – Touch the SCAN soft-key to change the currently playing station in AM, FM or SAT bands.
Auxiliary Mode
• The auxiliary (AUX) jack allows a portable device, such as an MP3 player or acassette player, to be plugged into the radio and utilize the vehicle’s audio system
and play through the vehicle speakers.
Clock Setting
• Turn the radio on, then touch the screen where the time is displayed.
• Touch the USER CLOCK soft-key (Navigation radio only).
• To adjust the hours, touch either the HOUR FORWARD or HOUR BACKWARDsoft-key.
• To adjust the minutes, touch either the MINUTE FORWARD or MINUTE BACKWARD soft-key.
• To save the new time setting, touch the screen where the word “Save” is displayed.
Store Radio Presets
• Press the RADIO/MEDIA hard-key repeatedly until AM FM SAT is displayed in the upper left corner of the screen.
• Select the radio band by touching either the AM, FM, or SAT soft-key.
• Find the station to store by either pressing the SEEK UP/DOWN hard-key, or touching the SCAN soft-key, DIRECT TUNE soft-key or the left and right arrows.
• Once the station is found, touch and hold one of the PRESET soft-keys in the list to the right, until you hear a confirmation beep.
Hard Disc Drive Operation
Copy Complete Audio Disc To Hard-Drive
• Press the OPEN/CLOSE hard-key and insert a disc, then press the MENU hard-key.
• Touch the MY FILES soft-key, then select MY MUSIC.
• Touch the IMPORT MUSIC soft-key, then touch the FROM DISC soft-key in the nextscreen to start the process.
39
ELECTRONICS
Page 45 of 92
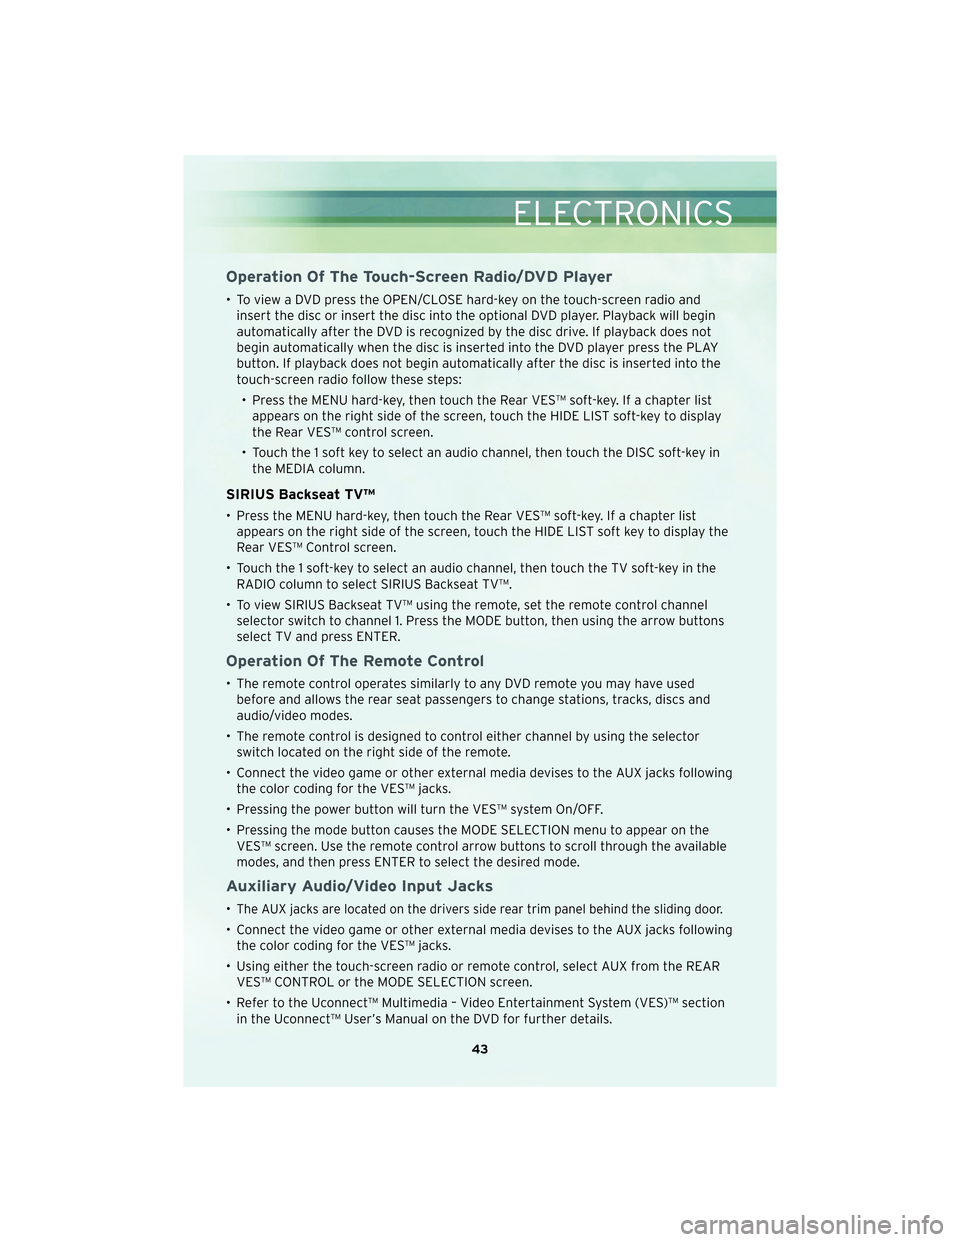
Operation Of The Touch-Screen Radio/DVD Player
• To view a DVD press the OPEN/CLOSE hard-key on the touch-screen radio andinsert the disc or insert the disc into the optional DVD player. Playback will begin
automatically after the DVD is recognized by the disc drive. If playback does not
begin automatically when the disc is inserted into the DVD player press the PLAY
button. If playback does not begin automatically after the disc is inserted into the
touch-screen radio follow these steps:
• Press the MENU hard-key, then touch the Rear VES™ soft-key. If a chapter list appears on the right side of the screen, touch the HIDE LIST soft-key to display
the Rear VES™ control screen.
• Touch the 1 soft key to select an audio channel, then touch the DISC soft-key in the MEDIA column.
SIRIUS Backseat TV™
• Press the MENU hard-key, then touch the Rear VES™ soft-key. If a chapter listappears on the right side of the screen, touch the HIDE LIST soft key to display the
Rear VES™ Control screen.
• Touch the 1 soft-key to select an audio channel, then touch the TV soft-key in the RADIO column to select SIRIUS Backseat TV™.
• To view SIRIUS Backseat TV™ using the remote, set the remote control channel selector switch to channel 1. Press the MODE button, then using the arrow buttons
select TV and press ENTER.
Operation Of The Remote Control
• The remote control operates similarly to any DVD remote you may have usedbefore and allows the rear seat passengers to change stations, tracks, discs and
audio/video modes.
• The remote control is designed to control either channel by using the selector switch located on the right side of the remote.
• Connect the video game or other external media devises to the AUX jacks following the color coding for the VES™ jacks.
• Pressing the power button will turn the VES™ system On/OFF.
• Pressing the mode button causes the MODE SELECTION menu to appear on the VES™ screen. Use the remote control arrow buttons to scroll through the available
modes, and then press ENTER to select the desired mode.
Auxiliary Audio/Video Input Jacks
•The AUX jacks are located on the drivers side rear trim panel behind the sliding door.
• Connect the video game or other external media devises to the AUX jacks followingthe color coding for the VES™ jacks.
• Using either the touch-screen radio or remote control, select AUX from the REAR VES™ CONTROL or the MODE SELECTION screen.
• Refer to the Uconnect™ Multimedia – Video Entertainment System (VES)™ section in the Uconnect™ User’s Manual on the DVD for further details.
43
ELECTRONICS
Page 46 of 92
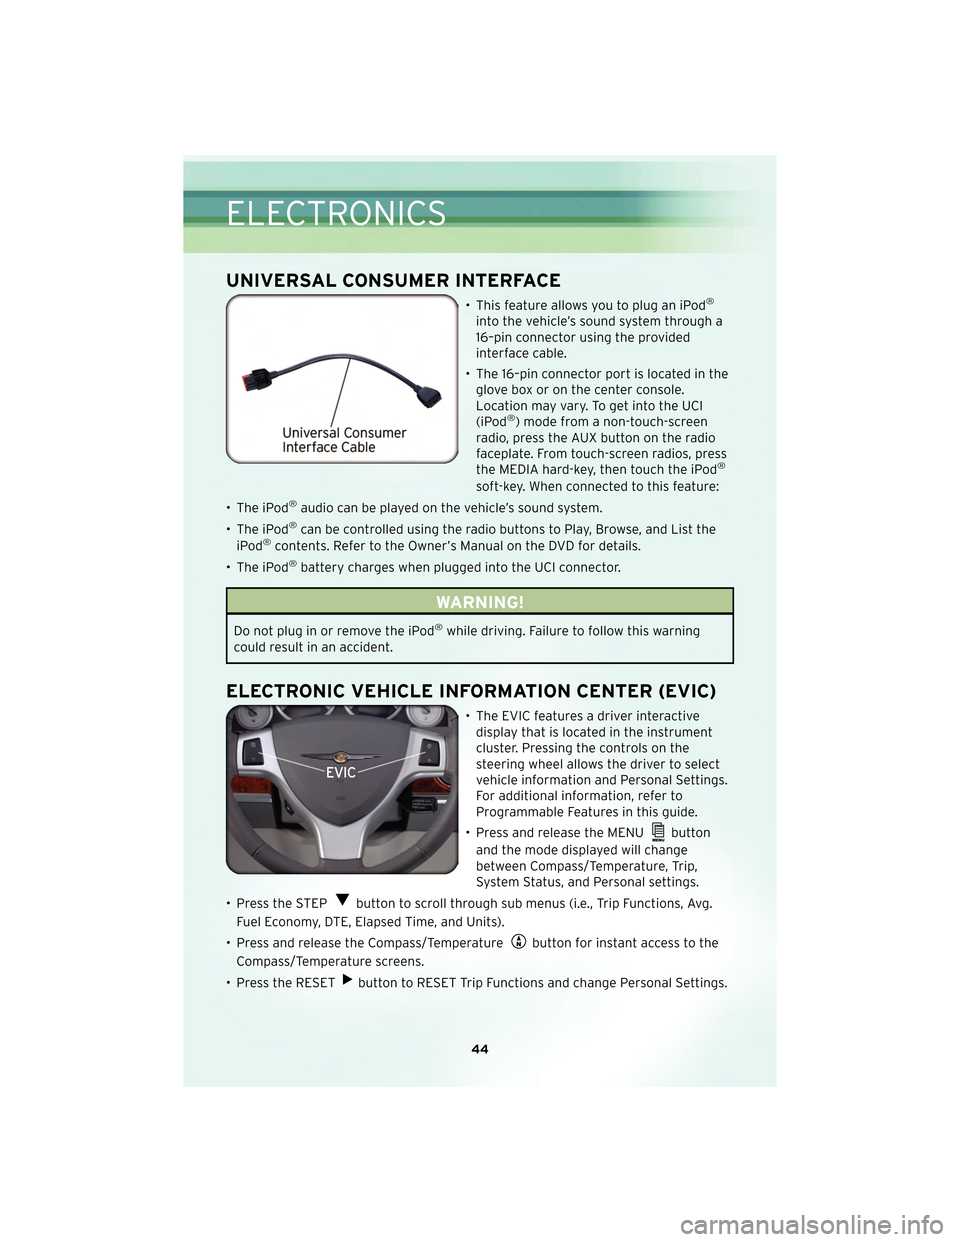
UNIVERSAL CONSUMER INTERFACE
• This feature allows you to plug an iPod®
into the vehicle’s sound system through a
16–pin connector using the provided
interface cable.
• The 16–pin connector port is located in the glove box or on the center console.
Location may vary. To get into the UCI
(iPod
®) mode from a non-touch-screen
radio, press the AUX button on the radio
faceplate. From touch-screen radios, press
the MEDIA hard-key, then touch the iPod
®
soft-key. When connected to this feature:
• The iPod
®audio can be played on the vehicle’s sound system.
• The iPod
®can be controlled using the radio buttons to Play, Browse, and List the
iPod®contents. Refer to the Owner’s Manual on the DVD for details.
• The iPod
®battery charges when plugged into the UCI connector.
WARNING!
Do not plug in or remove the iPod®while driving. Failure to follow this warning
could result in an accident.
ELECTRONIC VEHICLE INFORMATION CENTER (EVIC)
• The EVIC features a driver interactive display that is located in the instrument
cluster. Pressing the controls on the
steering wheel allows the driver to select
vehicle information and Personal Settings.
For additional information, refer to
Programmable Features in this guide.
• Press and release the MENU
button
and the mode displayed will change
between Compass/Temperature, Trip,
System Status, and Personal settings.
• Press the STEP
button to scroll through sub menus (i.e., Trip Functions, Avg.
Fuel Economy, DTE, Elapsed Time, and Units).
• Press and release the Compass/Temperature
button for instant access to the
Compass/Temperature screens.
• Press the RESET
button to RESET Trip Functions and change Personal Settings.
ELECTRONICS
44
Page 47 of 92
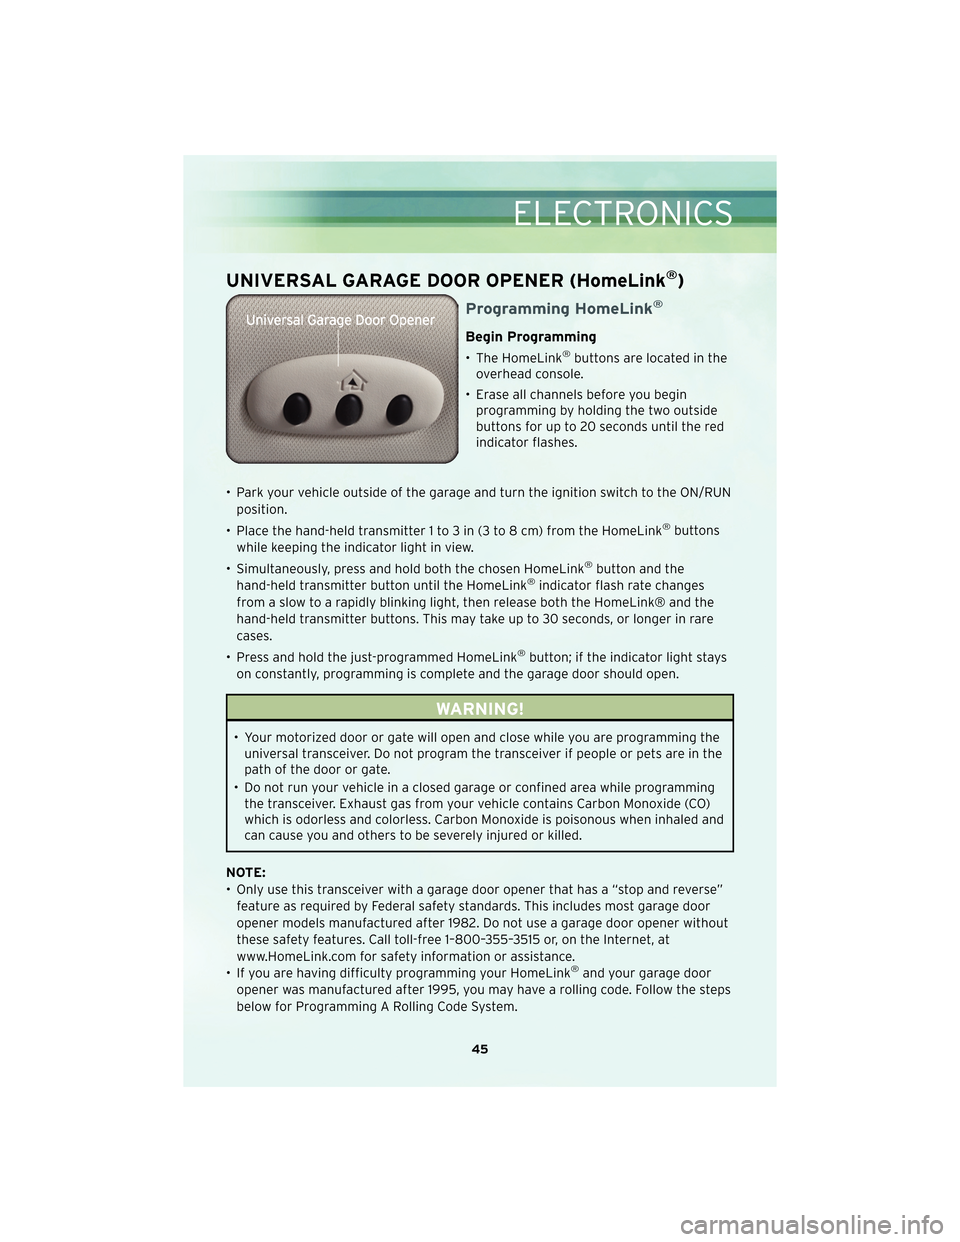
UNIVERSAL GARAGE DOOR OPENER (HomeLink®)
Programming HomeLink®
Begin Programming
• The HomeLink®buttons are located in the
overhead console.
• Erase all channels before you begin programming by holding the two outside
buttons for up to 20 seconds until the red
indicator flashes.
• Park your vehicle outside of the garage and turn the ignition switch to the ON/RUN position.
• Place the hand-held transmitter 1 to 3 in (3 to 8 cm) from the HomeLink
®buttons
while keeping the indicator light in view.
• Simultaneously, press and hold both the chosen HomeLink
®button and the
hand-held transmitter button until the HomeLink®indicator flash rate changes
from a slow to a rapidly blinking light, then release both the HomeLink® and the
hand-held transmitter buttons. This may take up to 30 seconds, or longer in rare
cases.
• Press and hold the just-programmed HomeLink
®button; if the indicator light stays
on constantly, programming is complete and the garage door should open.
WARNING!
• Your motorized door or gate will open and close while you are programming the universal transceiver. Do not program the transceiver if people or pets are in the
path of the door or gate.
• Do not run your vehicle in a closed garage or confined area while programming the transceiver. Exhaust gas from your vehicle contains Carbon Monoxide (CO)
which is odorless and colorless. Carbon Monoxide is poisonous when inhaled and
can cause you and others to be severely injured or killed.
NOTE:
• Only use this transceiver with a garage door opener that has a “stop and reverse” feature as required by Federal safety standards. This includes most garage door
opener models manufactured after 1982. Do not use a garage door opener without
these safety features. Call toll-free 1–800–355–3515 or, on the Internet, at
www.HomeLink.com for safety information or assistance.
• If you are having difficulty programming your HomeLink
®and your garage door
opener was manufactured after 1995, you may have a rolling code. Follow the steps
below for Programming A Rolling Code System.
45
ELECTRONICS