radio controls CHRYSLER TOWN AND COUNTRY 2012 5.G User Guide
[x] Cancel search | Manufacturer: CHRYSLER, Model Year: 2012, Model line: TOWN AND COUNTRY, Model: CHRYSLER TOWN AND COUNTRY 2012 5.GPages: 132, PDF Size: 3.41 MB
Page 3 of 132
INTRODUCTION/WELCOMEWelcome From Chrysler Group LLC......2
CONTROLS AT A GLANCEDriver Cockpit................4
Instrument Cluster ..............6
GETTING STARTEDKeyFob ...................8
Remote Start.................10
Keyless Enter-N-Go™ .............10
Theft Alarm .................13
Seat Belt ...................14
Supplemental Restraint System
(SRS) — Air Bags ...............15
Child Restraints ................16
Front Seats ..................18
Rear Seats ..................19
Heated Seats .................23
Heated Steering Wheel ............24
Tilt/Telescoping Steering Column .......24
Adjustable Pedals ...............25
OPERATING YOUR VEHICLEEngine Break-In Recommendations ......26
Turn Signal/Wiper/Washer/High Beam Lever . . 26
Headlight Switch And Halo Light Switch ....28
Speed Control ................29
Electronic Range Selection (ERS) .......30
Fuel Economy (Econ) Mode ..........30
Manual Climate Controls ...........31
Three Zone Manual Climate Controls .....32
Three Zone Automatic Temperature
Controls (ATC) ...............33
Parksense® Rear Park Assist ..........35
Parkview® Rear Back-Up Camera .......35
Rear Cross Path With Blind Spot Monitoring . . 35
Power Sliding Side Doors ...........36
Power Liftgate ................36
Power Sunroof ................37
Wind Buffeting ................39
ELECTRONICSYour Vehicle's Sound System .........40
Media Center 130 (Sales Code RES) ......42
Media Center 130 With Satellite Radio (Sales
CodeRES+RSC) ..............44
Media Center 430/430N (Sales Code
RBZ/RHB) ..................46
Media Center 730N (Sales Code RHR) ....55
Sirius XM™ Satellite Radio/Travel Link .....64
Steering Wheel Audio Controls ........68
iPod®/USB/MP3 Control ...........68
Uconnect™ Phone ...............69
Uconnect™ Voice Command .........72Bluetooth® Streaming Audio
..........74
Video Entertainment System (VES)™ .....74
Electronic Vehicle Information Center
(EVIC) ....................76
Programmable Features ............77
Universal Garage Door Opener
(HomeLink®) .................78
Power Inverter ................80
Power Outlets ................81
UTILITYIn-Floor Storage – Stow 'N Go® ........83
Roof Luggage Rack ..............83
Trailer Towing Weights (Maximum Trailer
Weight Ratings) ...............84
Recreational Towing (Behind Motorhome,
Etc.).....................85
WHAT TO DO IN EMERGENCIES24-Hour Towing Assistance ..........86
Instrument Cluster Warning Lights .......86
If Your Engine Overheats ...........90
Jacking And Tire Changing ..........91
Jump-Starting ...............101
Shift Lever Override ............103
Towing A Disabled Vehicle .........104
Freeing A Stuck Vehicle ...........105
Event Data Recorder (EDR) .........106
MAINTAINING YOUR VEHICLEOpening The Hood.............107
Adding Fuel ................107
Engine Compartment ............109
Fluids And Capacities ............110
Maintenance Chart ..............111
Fuses .................... 113
Tire Pressures ................ 117
Wheel And Wheel Trim Care ........ 117
Exterior Bulbs ................ 118
CONSUMER ASSISTANCEChrysler Group LLC Customer Center .... 119
Chrysler Canada Inc. Customer Center . . . 119
Assistance For The Hearing Impaired .... 119
Publications Ordering ............ 119
Reporting Safety Defects In
The 50 United States And
Washington, D.C. ..............120
MOPAR ACCESSORIESAuthentic Accessories By MOPAR® ..... 121
INDEX.................122
FAQ(HowTo?)Frequently Asked Questions.........125
TABLE OF CONTENTS
Page 7 of 132
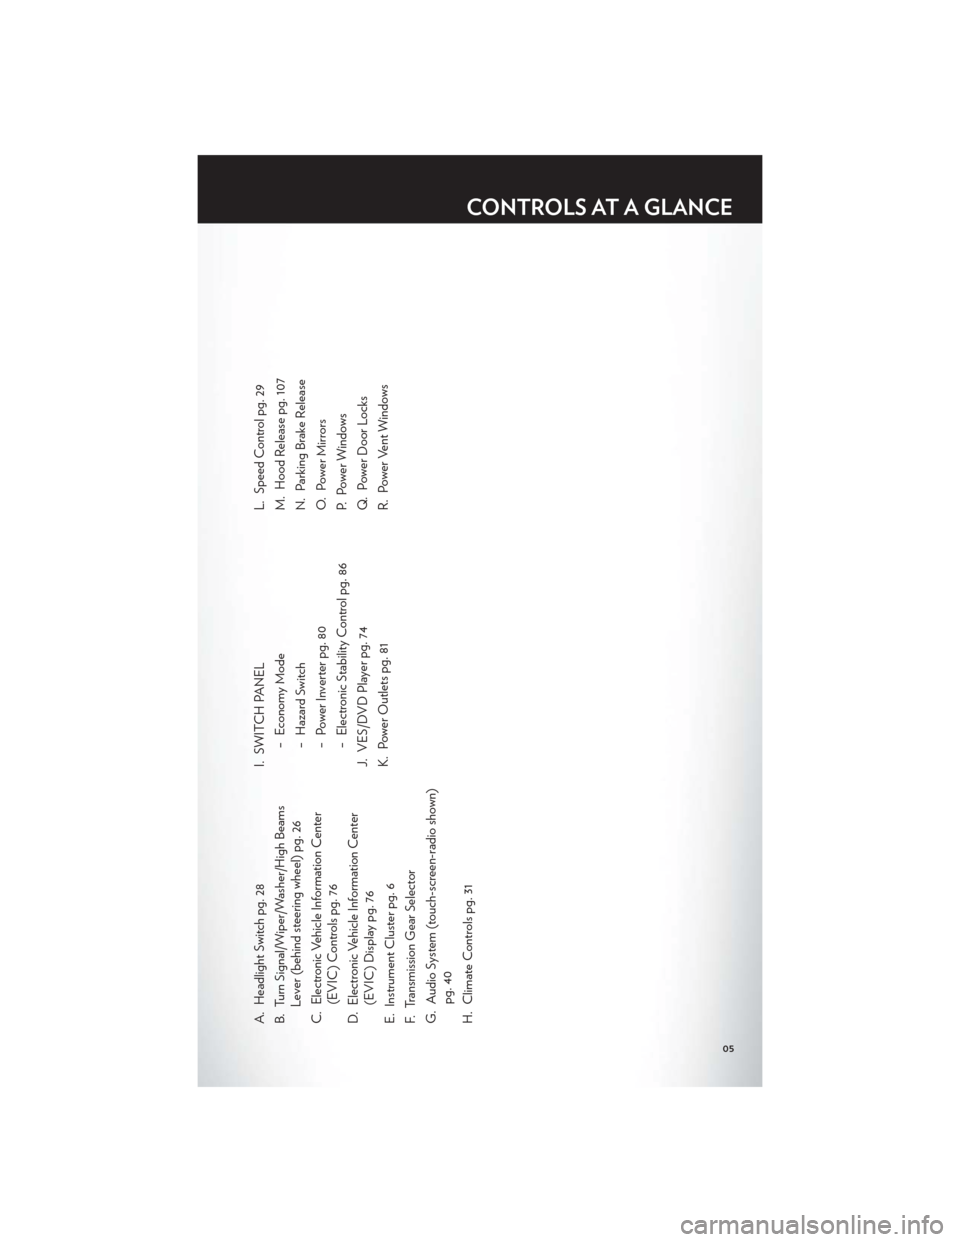
A. Headlight Switch pg. 28
B. Turn Signal/Wiper/Washer/High BeamsLever (behind steering wheel) pg. 26
C. Electronic Vehicle Information Center (EVIC) Controls pg. 76
D. Electronic Vehicle Information Center (EVIC) Display pg. 76
E. Instrument Cluster pg. 6
F. Transmission Gear Selector
G. Audio System (touch-screen-radio shown) pg. 40
H. Climate Controls pg. 31 I. SWITCH PANEL
− Economy Mode
− Hazard Switch
− Power Inverter pg. 80
− Electronic Stability Control pg. 86
J. VES/DVD Player pg. 74
K. Power Outlets pg. 81 L. Speed Control pg. 29
M. Hood Release pg. 107
N. Parking Brake Release
O. Power Mirrors
P. Power Windows
Q. Power Door Locks
R. Power Vent Windows
CONTROLS AT A GLANCE
05
Page 20 of 132
FRONT SEATS
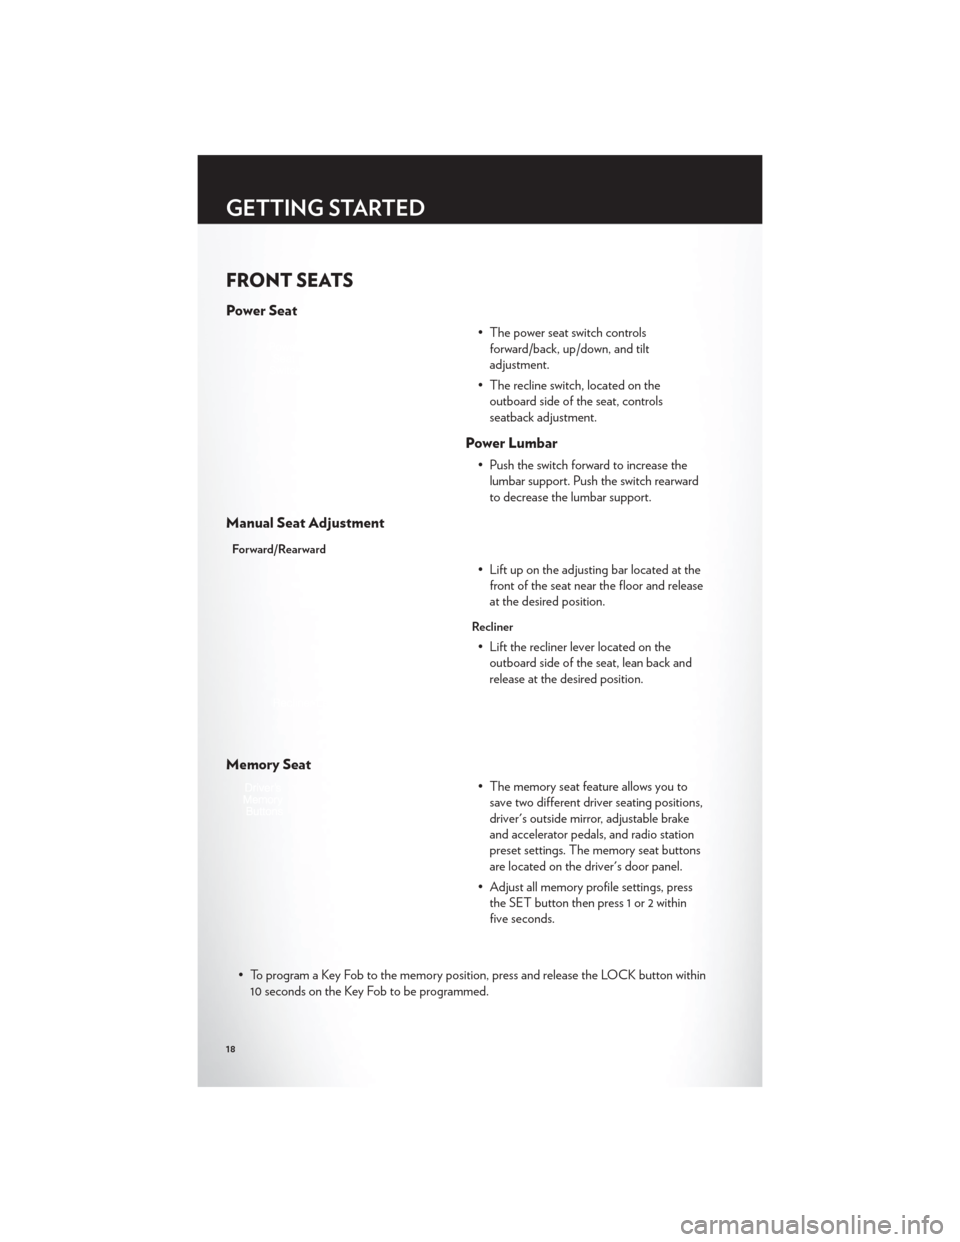
Power Seat
• The power seat switch controlsforward/back, up/down, and tilt
adjustment.
• The recline switch, located on the outboard side of the seat, controls
seatback adjustment.
Power Lumbar
• Push the switch forward to increase thelumbar support. Push the switch rearward
to decrease the lumbar support.
Manual Seat Adjustment
Forward/Rearward
• Lift up on the adjusting bar located at thefront of the seat near the floor and release
at the desired position.
Recliner
• Lift the recliner lever located on theoutboard side of the seat, lean back and
release at the desired position.
Memory Seat
• The memory seat feature allows you tosave two different driver seating positions,
driver's outside mirror, adjustable brake
and accelerator pedals, and radio station
preset settings. The memory seat buttons
are located on the driver's door panel.
• Adjust all memory profile settings, press the SET button then press 1 or 2 within
five seconds.
• To program a Key Fob to the memory position, press and release the LOCK button within 10 seconds on the Key Fob to be programmed.
GETTING STARTED
18
Page 30 of 132
HEADLIGHT SWITCH AND HALO LIGHT SWITCH
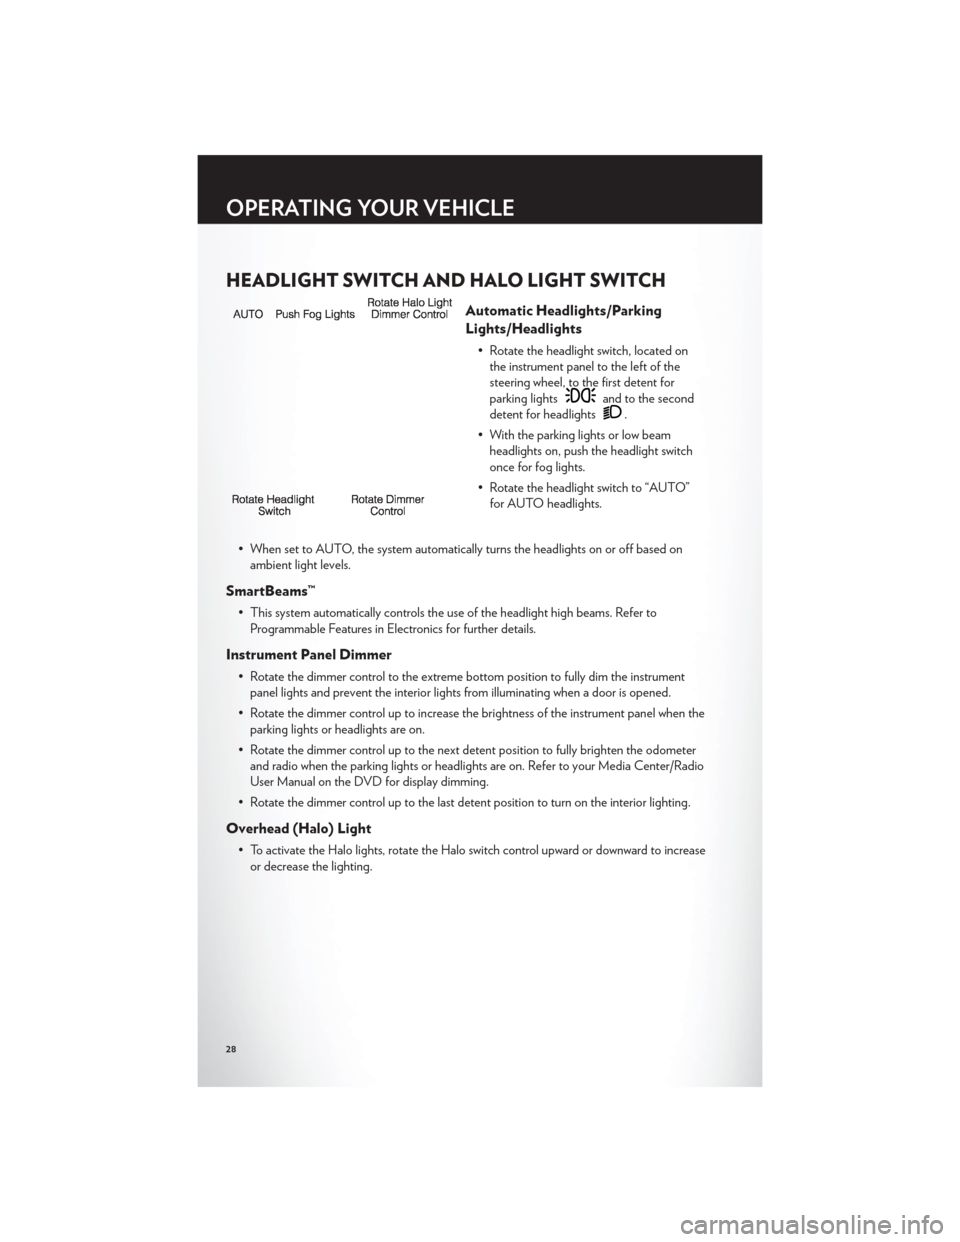
Automatic Headlights/Parking
Lights/Headlights
• Rotate the headlight switch, located onthe instrument panel to the left of the
steering wheel, to the first detent for
parking lights
and to the second
detent for headlights
.
• With the parking lights or low beam headlights on, push the headlight switch
once for fog lights.
• Rotate the headlight switch to “AUTO” for AUTO headlights.
• When set to AUTO, the system automatically turns the headlights on or off based on ambient light levels.
SmartBeams™
• This system automatically controls the use of the headlight high beams. Refer toProgrammable Features in Electronics for further details.
Instrument Panel Dimmer
• Rotate the dimmer control to the extreme bottom position to fully dim the instrumentpanel lights and prevent the interior lights from illuminating when a door is opened.
• Rotate the dimmer control up to increase the brightness of the instrument panel when the parking lights or headlights are on.
• Rotate the dimmer control up to the next detent position to fully brighten the odometer and radio when the parking lights or headlights are on. Refer to your Media Center/Radio
User Manual on the DVD for display dimming.
• Rotate the dimmer control up to the last detent position to turn on the interior lighting.
Overhead (Halo) Light
• To activate the Halo lights, rotate the Halo switch control upward or downward to increase or decrease the lighting.
OPERATING YOUR VEHICLE
28
Page 69 of 132

Info
• Touch the “i” soft-key to view detailed information about the current Sirius XM™ Satellitechannel.
Sirius XM™ Parental Controls
• Sirius XM™ offers the option to permanently block selected channels. Call1-888-539-7474 and request the Family Package.
• Media Center 430/430N and 730N: Press the “MENU” hard-key while in Sirius XM™ Satellite Radio Mode, then touch the “Channel Lock” to enable and/or disable desired
channels. The SEEK and SCAN function will then only display channels without Channel
lock.
Search/Browse
• Touch the “magnifying glass” soft-key tosearch/browse the Sirius XM™ channel
listing by Favorites and Categories such as
Song, Artist and Channel Name. The
Search/Browse also allows you manage
your Favorites.
Sirius XM™ Satellite Radio Favorites (SAT
Favorites)
• You can save 50 favorite songs and 50favorite artists.
• Touch the “add favorite” soft-key to add either the song or the artist of the
currently playing program to the SAT
Favorites list.
• You will see a favorite star indicator in the lower left side of the screen and a pop up will alert you that a favorite song or artist is currently playing on one of the Sirius XM™
satellite radio channels.
NOTE:Refer to your Media Center 730N or
Media Center 430/430N User's Manual for
more information.
ELECTRONICS
65
Page 72 of 132
STEERING WHEEL AUDIO CONTROLS
• The steering wheel audio controls arelocated on the rear surface of the steering
wheel.
Right Switch
• Press the switch up or down to increase ordecrease the volume.
• Press the button in the center to change modes AM/FM/CD/SAT.
Left Switch
• Press the switch up or down to search for the next listenable station or select the next orprevious CD track.
• Press the button in the center to select the next preset station (radio) or to change CDs if equipped with a CD Changer.
iPod®/USB/MP3 CONTROL
• There are many ways to play music fromiPod®/MP3 players or USB devices
through your vehicle's sound system.
• The remote USB port, located within the upper glove box, allows you to plug an
iPod® into the vehicle's sound system.
NOTE:If equipped with the Media Center 730N (RHR), the USB port on the faceplate
allows the same functions as the remote USB port.
• Non-Touch-Screen Radios: To hear audio from devices connected to the USB port, pressthe “AUX” button on the radio faceplate
ELECTRONICS
68
Page 78 of 132
Bluetooth® STREAMING AUDIO
• If equipped with Uconnect™ VoiceCommand, your Bluetooth-equipped
iPod® devices, cell phones or other media
players, may also be able to stream music
to your vehicle's speakers. Your connected
device must be Bluetooth-compatible,
and paired with your Media Center radio
(see Uconnect™ Phone for pairing
instructions). Non-Touch-Screen Radios:
Press the “AUX” button on the radio faceplate until "BT" or “Audio Streaming” is
displayed on the radio screen. Touch-Screen-Radios: Press the “RADIO/MEDIA” or
“MEDIA” hard-key and then touch the “AUX” soft-key tab.
VIDEO ENTERTAINMENT SYSTEM (VES)™
System Operation
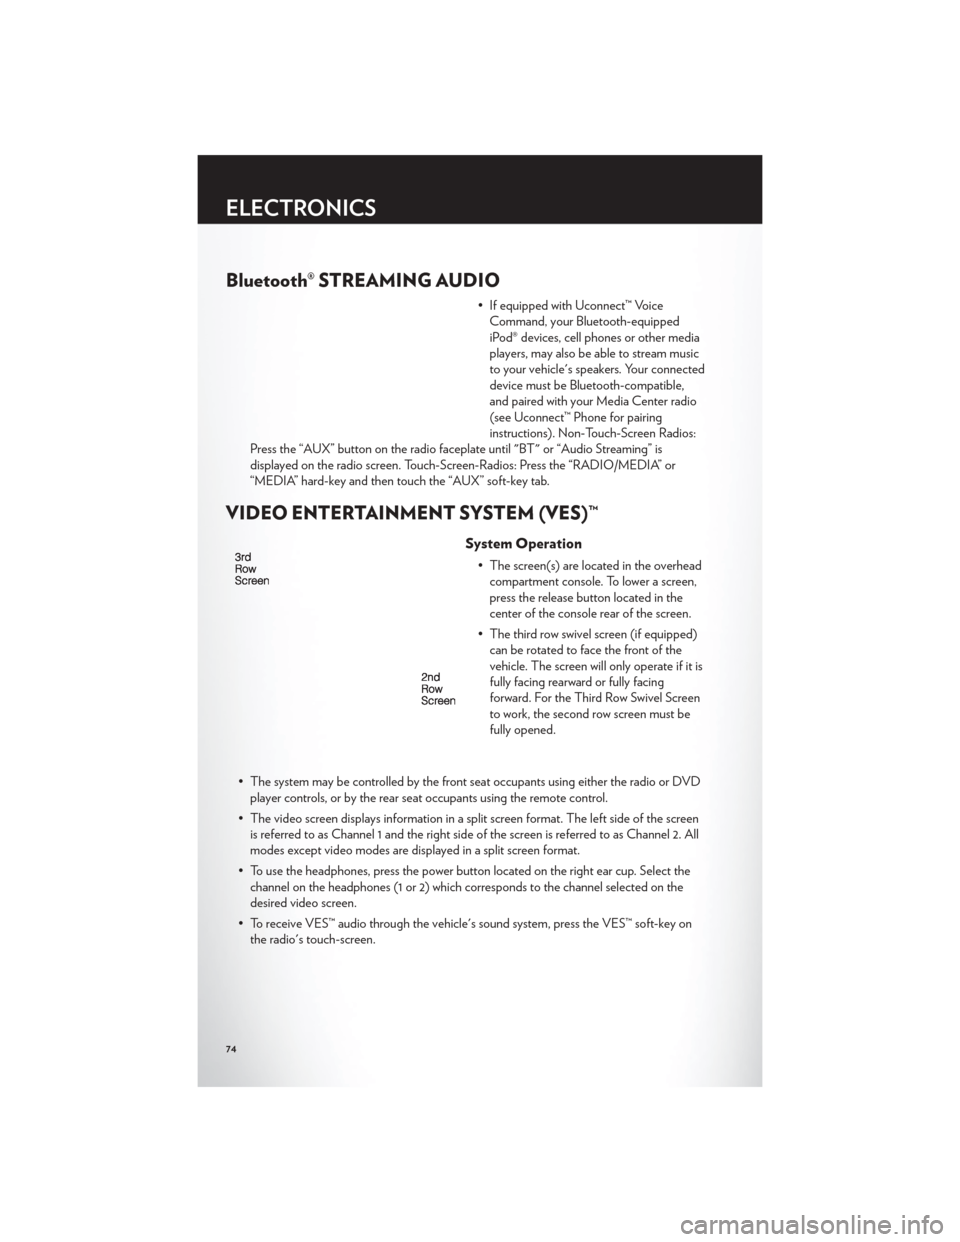
• The screen(s) are located in the overhead compartment console. To lower a screen,
press the release button located in the
center of the console rear of the screen.
• The third row swivel screen (if equipped) can be rotated to face the front of the
vehicle. The screen will only operate if it is
fully facing rearward or fully facing
forward. For the Third Row Swivel Screen
to work, the second row screen must be
fully opened.
• The system may be controlled by the front seat occupants using either the radio or DVD player controls, or by the rear seat occupants using the remote control.
• The video screen displays information in a split screen format. The left side of the screen is referred to as Channel 1 and the right side of the screen is referred to as Channel 2. All
modes except video modes are displayed in a split screen format.
• To use the headphones, press the power button located on the right ear cup. Select the channel on the headphones (1 or 2) which corresponds to the channel selected on the
desired video screen.
• To receive VES™ audio through the vehicle's sound system, press the VES™ soft-key on the radio's touch-screen.
ELECTRONICS
74
Page 128 of 132
Speed Control (Cruise Control)......29
Start/Stop Button Removal ........8,12
Starting Remote .................10
Steering Tilt Column ...............24
Wheel, Heated .............24
Steering Wheel Audio Controls ......68
Store Radio Presets ........... 43,45
Stow `n Go (Fold in Floor) Seats ......19
Stuck, Freeing ..............105
SunRoof..................37
Supplemental Restraint System - Airbag . . 15
Temperature Gauge, Engine Coolant . . . 90
Text Messaging ..............73
Theft Alarm (Security Alarm) .......13
Theft System Arming ...........13
Theft System Disarming ..........14
Tilt Steering Column ............24
Ti re s Air Pressure ..............117
Changing ................91
Jacking ................ 91,96
Pressure Warning Light .........86
SpareTire ................91
Towing ..................84 24-Hour Towing Assistance
.......86
Disabled Vehicle ............104
Recreational ..............85
Trailer Towing Trailer and Tongue Weight .......84
Trailer Weight ...............84
Transmission Fluid ..................110
Turn Signals ................26
Uconnect™ Phone .............69
Uconnect™ Voice Command ........72
Video Entertainment System™ (Rear
Seat Video System) ............74
Voice Commands .............72
Washer Rear...................27
Washers, Windshield ............27
Wheel and Wheel Trim Care .......117
Wind Buffeting ..............39
Windshield Washers ............27
Windshield Wipers .............27
Wiper, Rear ................27
INDEX
124