remote control CHRYSLER TOWN AND COUNTRY 2013 5.G User Guide
[x] Cancel search | Manufacturer: CHRYSLER, Model Year: 2013, Model line: TOWN AND COUNTRY, Model: CHRYSLER TOWN AND COUNTRY 2013 5.GPages: 140, PDF Size: 4.18 MB
Page 3 of 140
INTRODUCTION/WELCOME
WELCOME FROM CHRYSLER
GROUPLLC ..................3
CONTROLS AT A GLANCE
DRIVER COCKPIT...............6
INSTRUMENT CLUSTER ...........8
GETTING STARTED
KEYFOB ....................10
REMOTE START...............12
KEYLESS ENTER-N-GO™ ...........12
THEFT ALARM ................15
SEATBELT ...................16
SUPPLEMENTAL RESTRAINT
SYSTEM (SRS) — AIR BAGS .........17
CHILD RESTRAINTS .............18
FRONTSEATS ................20
REAR SEATS ..................21
HEATEDSEATS ................25
HEATED STEERING WHEEL ........26
TILT/TELESCOPING STEERING
COLUMN ...................27
ADJUSTABLE PEDALS ............27
OPERATING YOUR VEHICLE
ENGINE BREAK-IN
RECOMMENDATIONS............28
TURN SIGNAL/WIPER/WASHER/
HIGH BEAM LEVER ..............28
HEADLIGHT SWITCH AND HALO
LIGHTSWITCH ................30
SPEED CONTROL ...............31
ELECTRONIC RANGE SELECTION (ERS) . . 32FUEL ECONOMY (ECON) MODE .....33
MANUAL CLIMATE CONTROLS ......34
THREE ZONE MANUAL CLIMATE
CONTROLS ..................35
THREE ZONE AUTOMATIC
TEMPERATURE CONTROLS (ATC) ....36
PARKSENSE® REAR PARK ASSIST .....38
PARKVIEW® REAR BACK-UP CAMERA . . 38
BLIND SPOT MONITORING WITH
REAR CROSS PATH ..............38
POWER SLIDING SIDE DOORS . . . ....39
POWERLIFTGATE ..............39
POWER SUNROOF . . . ..........40
WIND BUFFETING ..............41
ELECTRONICS
YOUR VEHICLE'S SOUND SYSTEM ....42
Uconnect® 130 .................44
Uconnect® 130 WITH SiriusXM SATELLITE
RADIO .....................46 Uconnect® 430/430N
..............49
Uconnect® 730N ................59
SiriusXM SATELLITE RADIO/TRAVEL
LINK ......................70
STEERING WHEEL AUDIO
CONTROLS ..................73
SETTING THE ANALOG CLOCK . . . . . 73
iPod®/USB/MP3 CONTROL .........74
Uconnect® Phone ................75
Uconnect® VOICE COMMAND . . . ....77
Bluetooth® STREAMING AUDIO . . . . . . 80
VIDEO ENTERTAINMENT
SYSTEM (VES™) ................80
ELECTRONIC VEHICLE
INFORMATION CENTER (EVIC) ......82
PROGRAMMABLE FEATURES .......82
UNIVERSAL GARAGE DOOR OPENER
(HomeLink®) ..................84
POWER INVERTER ..............86
POWER OUTLETS ..............87
UTILITY
IN-FLOOR STORAGE – STOW'N GO® . . . 89
ROOF LUGGAGE RACK ..........89
TRAILER TOWING WEIGHTS
(MAXIMUM TRAILER WEIGHT
RATINGS) ...................90
RECREATIONAL TOWING
(BEHIND MOTORHOME, ETC.) ......90
WHAT TO DO IN EMERGENCIES
ROADSIDE ASSISTANCE...........91
INSTRUMENT CLUSTER WARNING
LIGHTS .....................91
IF YOUR ENGINE OVERHEATS . . . ....95
JACKING AND TIRE CHANGING . . . . . 96
JUMP-STARTING . . ............106
SHIFT LEVER OVERRIDE . . .......108
TOWING A DISABLED VEHICLE . . . . . 108
FREEING A STUCK VEHICLE .......108
EVENT DATA RECORDER (EDR) . . . . . 109
MAINTAINING YOUR VEHICLE
OPENING THE HOOD ...........110
ADDING FUEL . . ..............111
ENGINE COMPARTMENT .........112
FLUIDSANDCAPACITIES .........113
MAINTENANCE SCHEDULE .......114
MAINTENANCE RECORD .........118
FUSES .....................119
TIRE PRESSURES ...............122
WHEEL AND WHEEL TRIM CARE . . . . . 123
EXTERIOR BULBS ..............123
TABLE OF CONTENTS
Page 14 of 140
WARNING!
• Never leave children alone in a vehicle, or with access to an unlocked vehicle. Allowingchildren to be in a vehicle unattended is dangerous for a number of reasons. A child or
others could be severely injured or killed. Children should be warned not to touch the
parking brake, brake pedal, or the shift lever. Do not leave the Key Fob inside the vehicle,
or in a location accessible to children. A child could start the vehicle, operate power
windows, other controls, or move the vehicle.
• Do not leave children or animals inside parked vehicles in hot weather. Interior heat
build-up may cause them to be severely injured or killed.
• Keep Key Fob transmitters away from children. Operation of the Remote Start System,
windows, door locks or other controls could cause serious injury or death.
• Driving with the liftgate open can allow poisonous exhaust gases into your vehicle. You
and your passengers could be injured by these fumes. Keep the flipper glass closed when
you are operating the vehicle.
REMOTE START
• Press the REMOTE START buttonx2on the Key Fob twice within five seconds. Pressing
the REMOTE START button a third time shuts the engine off.
• To drive the vehicle, press the UNLOCK button, insert the Key Fob in the ignition and turn to the ON/RUN position.
• With remote start, the engine will only run for 15 minutes (timeout) unless the ignition Key Fob is placed in the ON/RUN position.
• The vehicle must be started with the Key Fob after two consecutive timeouts.
WARNING!
• Do not start or run an engine in a closed garage or confined area. Exhaust gas contains Carbon Monoxide (CO) which is odorless and colorless. Carbon Monoxide is poisonous
and can cause you or others to be severely injured or killed when inhaled.
• Keep Key Fob transmitters away from children. Operation of the Remote Start System,
windows, door locks or other controls could cause you and others to be severely injured or
killed.
KEYLESS ENTER-N-GO™
•The Keyless Enter-N-Go™ system is an enhancement to the vehicle's Key Fob. This feature allows
you to lock and unlock the vehicle's door(s) and liftgate without having to press the Key Fob lock
or unlock buttons, as well as starting and stopping the vehicle with the press of a button.
GETTING STARTED
12
Page 23 of 140

• Place the ignition switch in the ON position, select Remote Linked to Memory in theElectronic Vehicle Information Center (EVIC) and enter Yes.
• Press 1 or 2 to recall the saved positions, or press UNLOCK on the programmed Key Fob.
CAUTION!
Do not place any article under a power seat or impede its ability to move as it may cause
damage to the seat controls. Seat travel may become limited if movement is stopped by an
obstruction in the seat’s path.
WARNING!
• Adjusting a seat while the vehicle is moving is dangerous. The sudden movement of the seat could cause you to lose control. The seat belt might not be properly adjusted, and you
could be severely injured or killed. Only adjust a seat while the vehicle is parked.
• Do not ride with the seatback reclined so that the seat belt is no longer resting against your
chest. In a collision, you could slide under the seat belt and be severely injured or killed.
Use the recliner only when the vehicle is parked.
REAR SEATS
Second Row Seats – Stow 'n Go®
•On vehicles equipped with Stow 'n Go® seats,
the seats will fold and tumble in one motion.
• Move the front seat fully forward.
• Recline the front seatback fully forward.
• Raise the armrests on the second row seat.
NOTE:
Seat will not stow in the storage bin unless the
armrests are raised.
• Slide the storage bin locking mechanism to the “LOCK” position and then pull up on the
storage bin latch to open the cover.
GETTING STARTED
21
Page 76 of 140

iPod®/USB/MP3 CONTROL
• There are many ways to play music from iPod®/MP3 players or USB devices through yourvehicles sound system.
• The remote USB port, located within the upper glove box, allows you to plug an iPod® into the vehicles sound system.
NOTE:
If equipped with the Uconnect® 730N, the USB
port on the faceplate allows the same functions
as the remote USB port.
• Non-Touch-Screen Radios: To hear audio
from devices connected to the USB port,
press the “AUX” button on the radio face-
plate.
• Touch-Screen Radios: To hear audio from
devices connected to the USB port, press
the “MEDIA” hard-key, then touch the
“AUX” or “iPod®” soft-key.
• When connected to this feature: • The iPod® can be controlled using the
radio buttons to Play, Browse, and List the
iPod® or external devices contents.
• The iPod® battery charges when plugged into the USB port (if supported by the
specific audio device).
• Compatible iPod® devices may also be
controllable using voice commands. Refer
to the Owner's Manual on the DVD for details.
NOTE:
The USB port supports certain Mini, Classic, Nano, Touch, and iPhone® devices. The USB port
also supports playing music from compatible external USB Mass Storage Class memory devices.
For supported audio file formats, refer to the USB Port section in the Owner's Manual on the
DVD. Refer to www.UconnectPhone.com website for a list of tested iPod®s. Some iPod® software
versions may not fully support the USB port features. Please visit Apple’s website for iPod®
software updates.
WARNING!
Do not plug in or remove the iPod® or external device while driving. Failure to follow this
warning could result in a collision.
ELECTRONICS
74
Page 82 of 140
Bluetooth® STREAMING AUDIO
•If equipped with Uconnect® Voice Com-
mand, your Bluetooth-equipped iPod® de-
vices, cell phones or other media players, may
also be able to stream music to your vehicles
speakers. Your connected device must be
Bluetooth-compatible, and paired with your
radio (see Uconnect® Phone for pairing in-
structions).
• Non-Touch-Screen Radios: Press the
“AUX” button on the radio faceplate until "BT" or “Audio Streaming” is displayed on the radio
screen.
• Touch-Screen-Radios: Press the “RADIO/MEDIA” or “MEDIA” hard-key and then touch
the “AUX” soft-key tab.
VIDEO ENTERTAINMENT SYSTEM (VES™)
System Operation
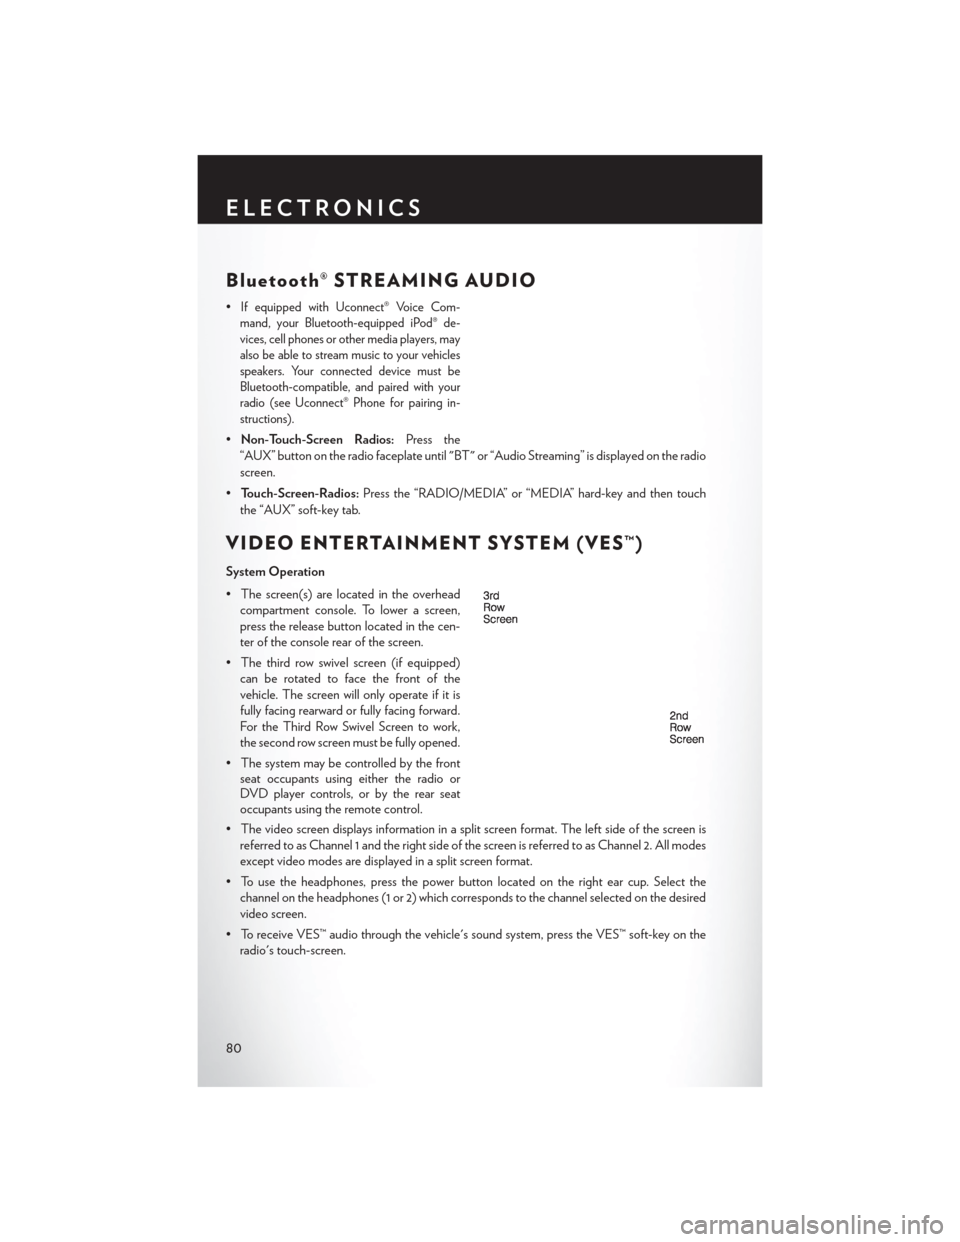
• The screen(s) are located in the overhead compartment console. To lower a screen,
press the release button located in the cen-
ter of the console rear of the screen.
• The third row swivel screen (if equipped) can be rotated to face the front of the
vehicle. The screen will only operate if it is
fully facing rearward or fully facing forward.
For the Third Row Swivel Screen to work,
the second row screen must be fully opened.
• The system may be controlled by the front seat occupants using either the radio or
DVD player controls, or by the rear seat
occupants using the remote control.
• The video screen displays information in a split screen format. The left side of the screen is referred to as Channel 1 and the right side of the screen is referred to as Channel 2. All modes
except video modes are displayed in a split screen format.
• To use the headphones, press the power button located on the right ear cup. Select the channel on the headphones (1 or 2) which corresponds to the channel selected on the desired
video screen.
• To receive VES™ audio through the vehicle's sound system, press the VES™ soft-key on the radio's touch-screen.
ELECTRONICS
80
Page 83 of 140
Operation Of The Touch-Screen Radio/DVD Player/Blu-Ray Player
• To view a DVD press the OPEN/CLOSE hard-key on the touch-screen radio and insert thedisc or insert the disc into the optional DVD player. Playback will begin automatically after the
DVD is recognized by the disc drive. If playback does not begin automatically when the disc
is inserted into the DVD player press the PLAY button. If playback does not begin automati-
cally after the disc is inserted into the touch-screen radio follow these steps:• Press the MENU hard-key, then touch the Rear VES™ soft-key. If a chapter list appears on
the right side of the screen, touch the HIDE LIST soft-key to display the Rear VES™ control
screen.
• Touch the 1 soft key to select an audio channel, then touch the DISC soft-key in the MEDIA column.
Operation Of The Remote Control
• The remote control operates similarly to any DVD remote you may have used before and allows the rear seat passengers to change stations, tracks, discs and audio/video modes.
• The remote control is designed to control either channel by using the selector switch located on the right side of the remote.
• Connect the video game or other external media devices to the AUX jacks following the color coding for the VES™ jacks.
• Pressing the power button will turn the VES™ system ON/OFF.
• Pressing the mode button causes the MODE SELECTION menu to appear on the VES™ screen. Use the remote control arrow buttons to scroll through the available modes, and then
press ENTER to select the desired mode.
Auxiliary Audio/Video Input Jacks
• The AUX jacks are located on the drivers side rear trim panel behind the sliding door.
• Connect the video game or other external media devices to the AUX jacks following the colorcoding for the VES™ jacks.
• Using either the touch-screen radio or remote control, select AUX from the REAR VES™ CONTROL or the MODE SELECTION screen.
• Refer to the Uconnect® Multimedia – Video Entertainment System (VES™) section in the vehicle Owner's Manual on the DVD for further details.
ELECTRONICS
81
Page 84 of 140
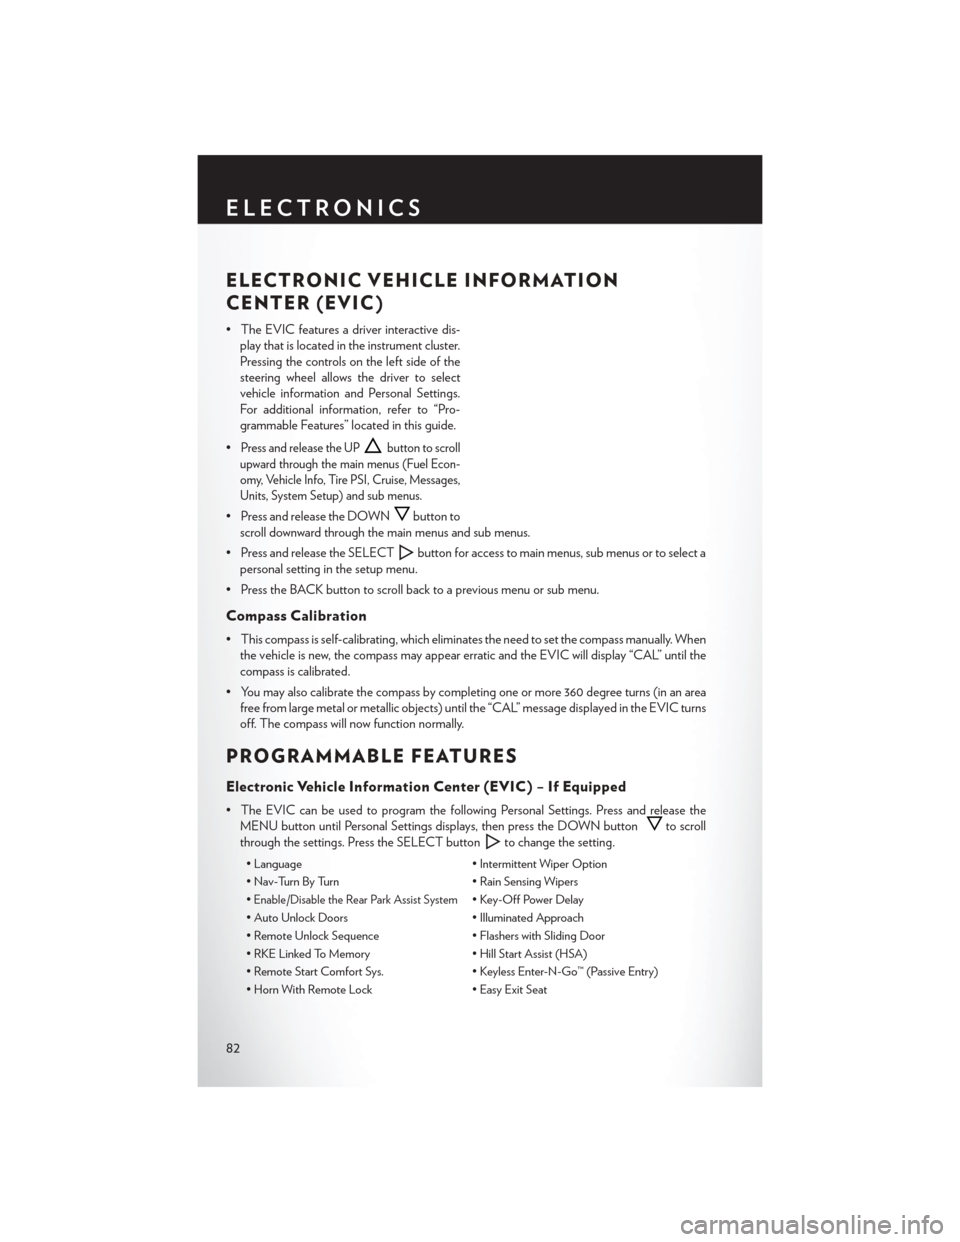
ELECTRONIC VEHICLE INFORMATION
CENTER (EVIC)
• The EVIC features a driver interactive dis-play that is located in the instrument cluster.
Pressing the controls on the left side of the
steering wheel allows the driver to select
vehicle information and Personal Settings.
For additional information, refer to “Pro-
grammable Features” located in this guide.
•
Press and release the UPbutton to scroll
upward through the main menus (Fuel Econ-
omy, Vehicle Info, Tire PSI, Cruise, Messages,
Units, System Setup) and sub menus.
• Press and release the DOWNbutton to
scroll downward through the main menus and sub menus.
• Press and release the SELECT
button for access to main menus, sub menus or to select a
personal setting in the setup menu.
• Press the BACK button to scroll back to a previous menu or sub menu.
Compass Calibration
• This compass is self-calibrating, which eliminates the need to set the compass manually. When the vehicle is new, the compass may appear erratic and the EVIC will display “CAL” until the
compass is calibrated.
• You may also calibrate the compass by completing one or more 360 degree turns (in an area free from large metal or metallic objects) until the “CAL” message displayed in the EVIC turns
off. The compass will now function normally.
PROGRAMMABLE FEATURES
Electronic Vehicle Information Center (EVIC) – If Equipped
• The EVIC can be used to program the following Personal Settings. Press and release theMENU button until Personal Settings displays, then press the DOWN button
to scroll
through the settings. Press the SELECT button
to change the setting.
• Language • Intermittent Wiper Option
• Nav-Turn By Turn • Rain Sensing Wipers
•
Enable/Disable the Rear Park Assist System• Key-Off Power Delay
• Auto Unlock Doors • Illuminated Approach
• Remote Unlock Sequence • Flashers with Sliding Door
• RKE Linked To Memory • Hill Start Assist (HSA)
• Remote Start Comfort Sys. • Keyless Enter-N-Go™ (Passive Entry)
• Horn With Remote Lock • Easy Exit Seat
ELECTRONICS
82
Page 130 of 140
Inverter, Power...............86
iPod®/USB/MP3 Control ..........74
Bluetooth Streaming Audio ......80
Jack Location ...............96
Jack Operation ..............96
Jump Starting ............. .106
KeyFob..................10
Key Fob Programmable Features ......83
Keyless Enter-N-Go ............12
Lock/Unlock ..............13
Lane Change Assist ............28
LATCH (Lower Anchors and Tether forCHildren)..............18
Liftgate, Power ...............10
Lights Tire Pressure Monitoring (TPMS) . . .91
Turn Signal ..............28
Warning (Instrument Cluster
Description) ..............8
Locks Liftgate, Tailgate ............10
Luggage Rack (Roof Rack) ........89
Maintenance Record ...........118
Maintenance Schedule ..........114
Malfunction Indicator Light (Check Engine) .............93
MemorySeat...............20
Mirrors Heated ............ .34, 35, 37
MOPAR® Accessories ..........126
Navigation Voice Prompt Volume . . .55, 66
New Vehicle Break-In Period ........28
Oil Change Indicator ...........94
Oil, Engine Capacity .............. .113
Outlet Power .................87
Overheating, Engine ............95
Park Sense System, Rear ..........38
Placard, Tire and Loading Information. . .122 Power
Glass Sunroof .............40
Inverter ................86
LiftGate................10
Outlet (Auxiliary Electrical Outlet). . .87
Seats .................20
Steering ............... .113
Preparation for Jacking ..........100
Programmable Electronic Features .....82
Rain Sensitive Wiper System ........29
RearCamera................38
RearCrossPath..............38
Rear Heated Seats .............26
Rear Park Sense System ..........38
Recreational Towing ............90
Remote Starting System ..........12
Replacement Bulbs ............123
Reporting Safety Defects .........125
Rocking Vehicle When Stuck .......108
Roof Rack (Luggage Rack) ........89
Schedule, Maintenance ..........114
Seat Belts .................16
Seats ....................20
Adjustment ..............20
Fold in Floor (Stow `n Go) .......21
Lumbar Support ............20
Memory................20
Power .................20
Stow`nGo(FoldinFloor).......21
Setting the Clock .............73
Shift Lever Override ...........108
Signals, Turn ................28
SmartBeams ................30
SpareTire.................96
Spark Plugs ............... .113
Speed Control Accel/Decel ..............31
Cancel.................31
Distance Setting (ACC Only) .....31
Starting Remote ................12
Steering Tilt Column ..............27
Wheel, Heated ............26
Steering Wheel Audio Controls ......73
INDEX
128