fold seats CHRYSLER TOWN AND COUNTRY 2015 5.G Owners Manual
[x] Cancel search | Manufacturer: CHRYSLER, Model Year: 2015, Model line: TOWN AND COUNTRY, Model: CHRYSLER TOWN AND COUNTRY 2015 5.GPages: 726, PDF Size: 20.14 MB
Page 78 of 726
WARNING!(Continued)
•When reattaching the mini-latch and mini-buckle,
ensure the seat belt webbing is not twisted. If the
webbing is twisted, follow the preceding proce-
dure to detach the mini-latch and mini-buckle,
untwist the webbing, and reattach the mini-latch
and mini-buckle.
Lap/Shoulder Belt Untwisting Procedure
Use the following procedure to untwist a twisted lap/
shoulder belt.
1. Position the latch plate as close as possible to the
anchor point.
2. At about 6 to 12 in (15 to 30 cm) above the latch plate,
grasp and twist the seat belt webbing 180° to create a
fold that begins immediately above the latch plate.
3. Slide the latch plate upward over the folded webbing.
The folded webbing must enter the slot at the top of
the latch plate.
4. Continue to slide the latch plate up until it clears the
folded webbing and the seat belt is no longer twisted.
Adjustable Upper Shoulder Belt Anchorage
In the front and second row outboard seats, the shoulder
belt can be adjusted upward or downward to position the
seat belt away from your neck. Push or squeeze the
anchorage button to release the anchorage, and move it
up or down to the position that serves you best.
76 THINGS TO KNOW BEFORE STARTING YOUR VEHICLE
Page 136 of 726

▫Operation..........................157
▫Phone Call Features...................165
▫Uconnect® Phone Features..............168
▫Advanced Phone Connectivity............173
▫Things You Should Know About Your Uconnect®
Phone.............................175
▫General Information...................186
!VOICE COMMAND — IF EQUIPPED........186
▫Voice Command System Operation.........186
▫Commands.........................188
▫Voice Training.......................192
!SEATS . . . . . . . . . . . . . . . . . . . . . . . . . . . . ..192
▫Power Seats — If Equipped..............193
▫Power Lumbar — If Equipped............196
▫Heated Seats — If Equipped..............196
▫Manual Front/Second Row Seat Adjuster . . . .200
▫Manual Reclining Seats — If Equipped......201
▫Head Restraints......................201
▫Stow ’n Go® Seating — If Equipped........206
▫Quad Seats — If Equipped...............213
▫Second Row Bench Seat — If Equipped......217
▫Third Row Power Recline — If Equipped.....218
▫Third Row Power Folding Seat — If Equipped . .218
▫Manually Folding Third Row Seats — If
Equipped...........................221
▫Plastic Grocery Bag Retainer Hooks.........224
134 UNDERSTANDING THE FEATURES OF YOUR VEHICLE
Page 208 of 726
Head Restraints — Third Row
The head restraint in the center position can be raised and
lowered for tether routing. Refer to “Occupant Re-
straints” in “Things To Know Before Starting Your Ve-
hicle” for further information.
Stow ’n Go® Seating — If Equipped
On vehicles equipped with Stow ’n Go® seating, the
second and third row seats can be folded into the floor for
convenient storage.
Second Row Stow ’n Go®
On vehicles equipped with Stow ’n Go® seats, the seats
will fold and tumble in one motion.
1. Move the front seat fully forward.
2. Recline the front seatback fully forward.
3. Raise the armrests on the second row seat.
NOTE:Seat will not stow in the storage bin unless the
armrests are raised.
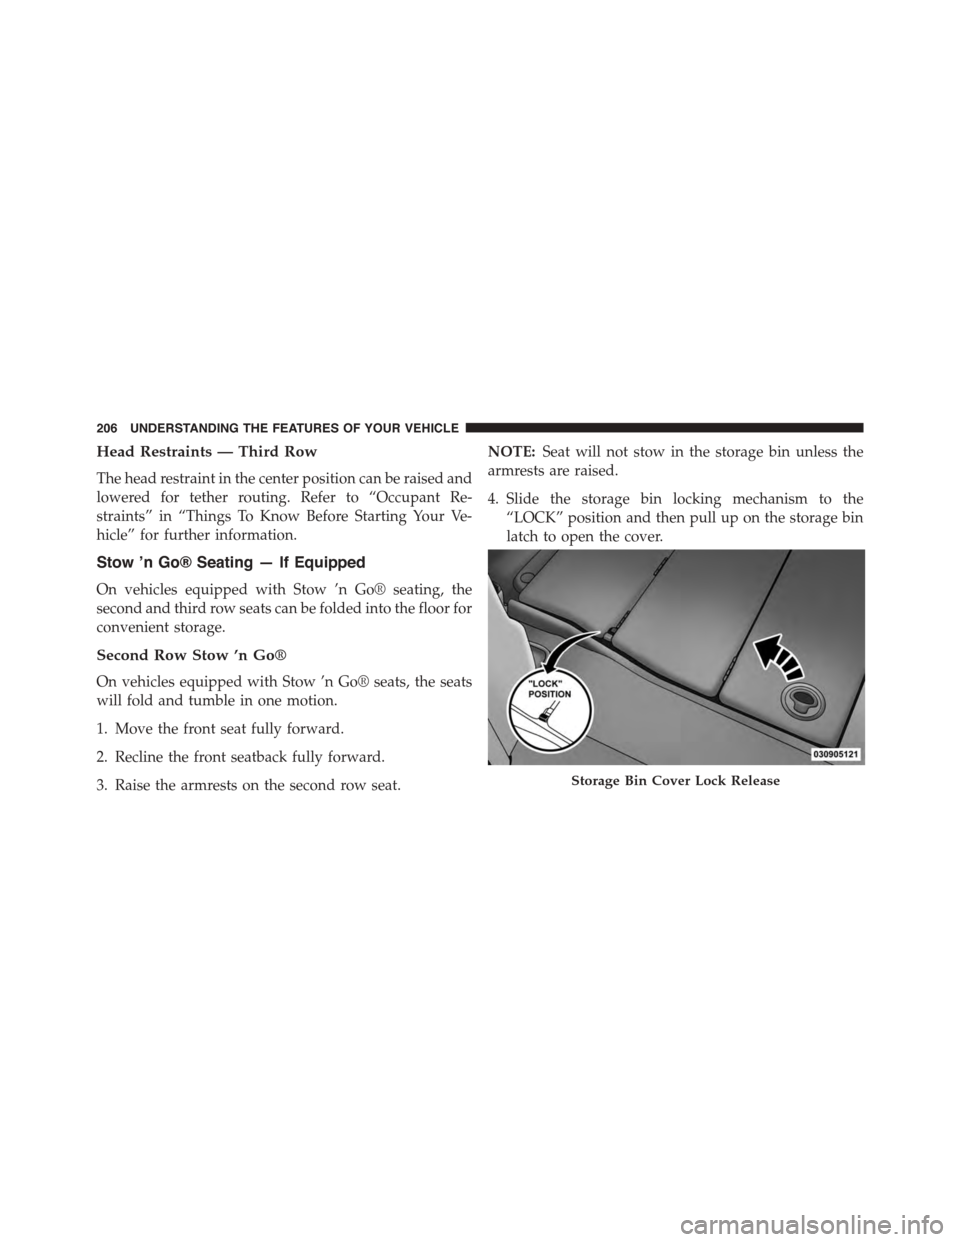
4. Slide the storage bin locking mechanism to the
“LOCK” position and then pull up on the storage bin
latch to open the cover.
Storage Bin Cover Lock Release
206 UNDERSTANDING THE FEATURES OF YOUR VEHICLE
Page 214 of 726
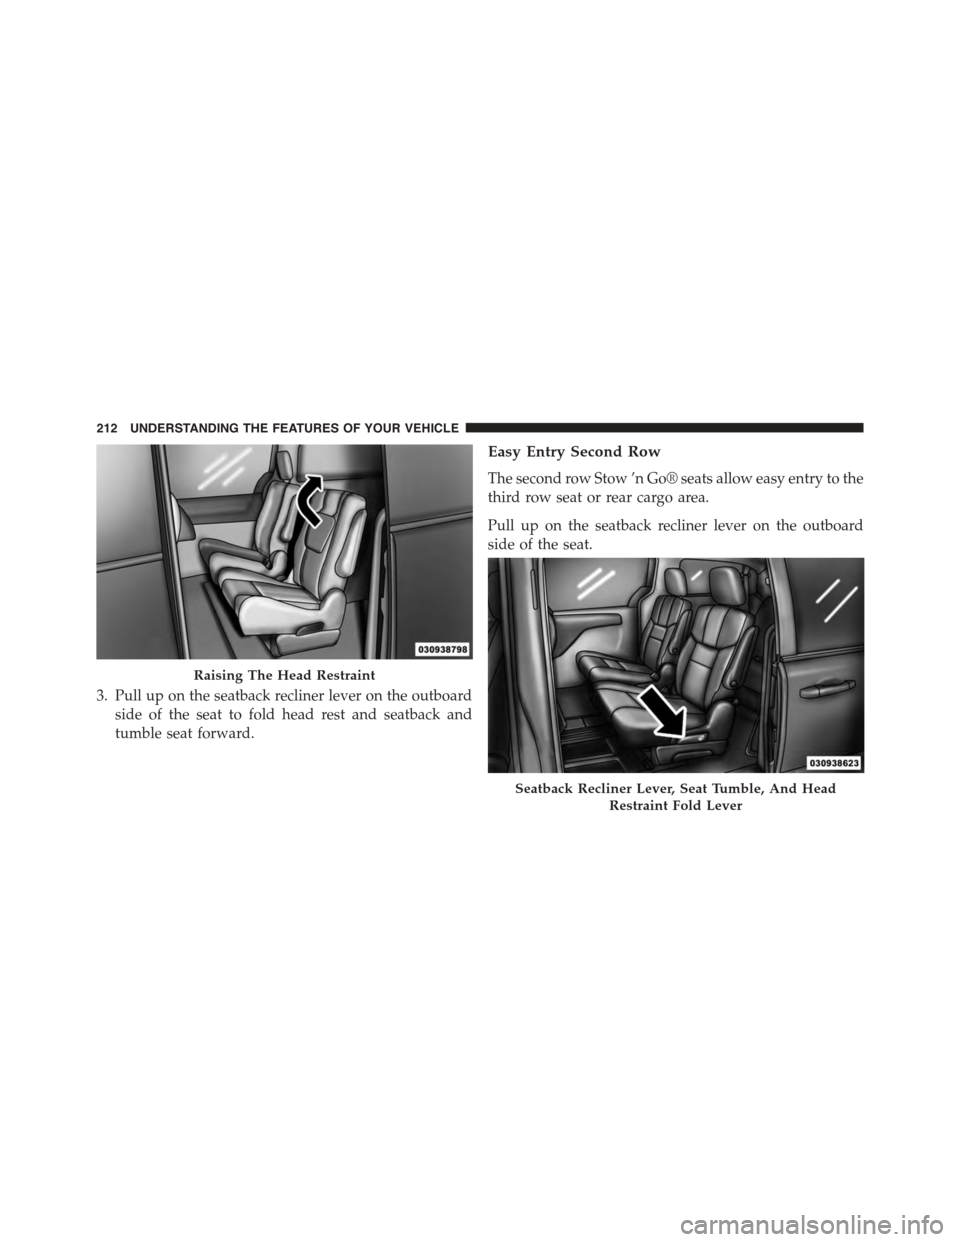
3. Pull up on the seatback recliner lever on the outboard
side of the seat to fold head rest and seatback and
tumble seat forward.
Easy Entry Second Row
The second row Stow ’n Go® seats allow easy entry to the
third row seat or rear cargo area.
Pull up on the seatback recliner lever on the outboard
side of the seat.
Raising The Head Restraint
Seatback Recliner Lever, Seat Tumble, And Head
Restraint Fold Lever
212 UNDERSTANDING THE FEATURES OF YOUR VEHICLE
Page 215 of 726
The seat will automatically fold into position for easy
entry into the third row.
WARNING!
In the event of a collision you could be injured if the
seat is not fully latched.
Quad Seats — If Equipped
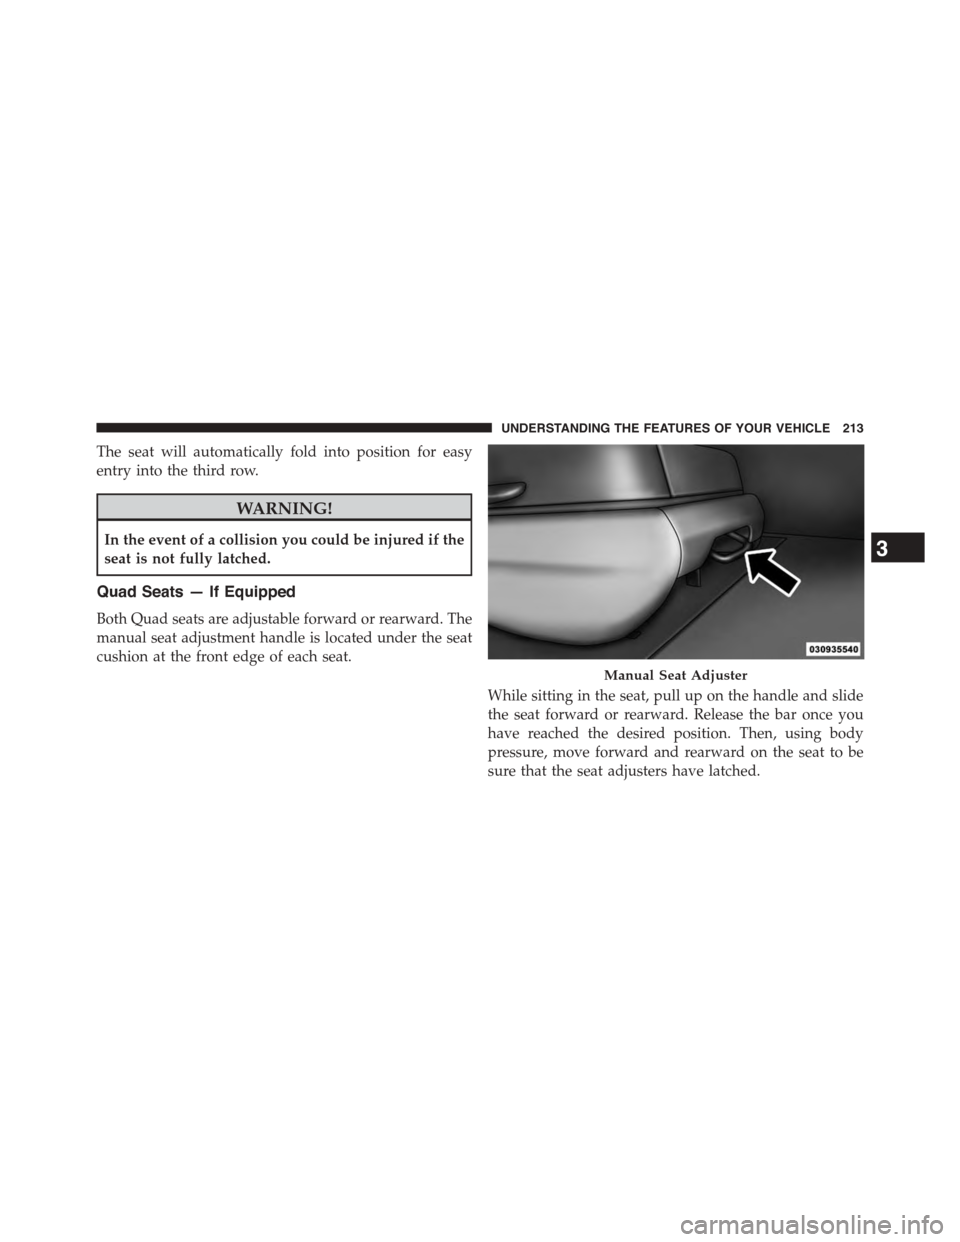
Both Quad seats are adjustable forward or rearward. The
manual seat adjustment handle is located under the seat
cushion at the front edge of each seat.
While sitting in the seat, pull up on the handle and slide
the seat forward or rearward. Release the bar once you
have reached the desired position. Then, using body
pressure, move forward and rearward on the seat to be
sure that the seat adjusters have latched.
Manual Seat Adjuster
3
UNDERSTANDING THE FEATURES OF YOUR VEHICLE 213
Page 217 of 726
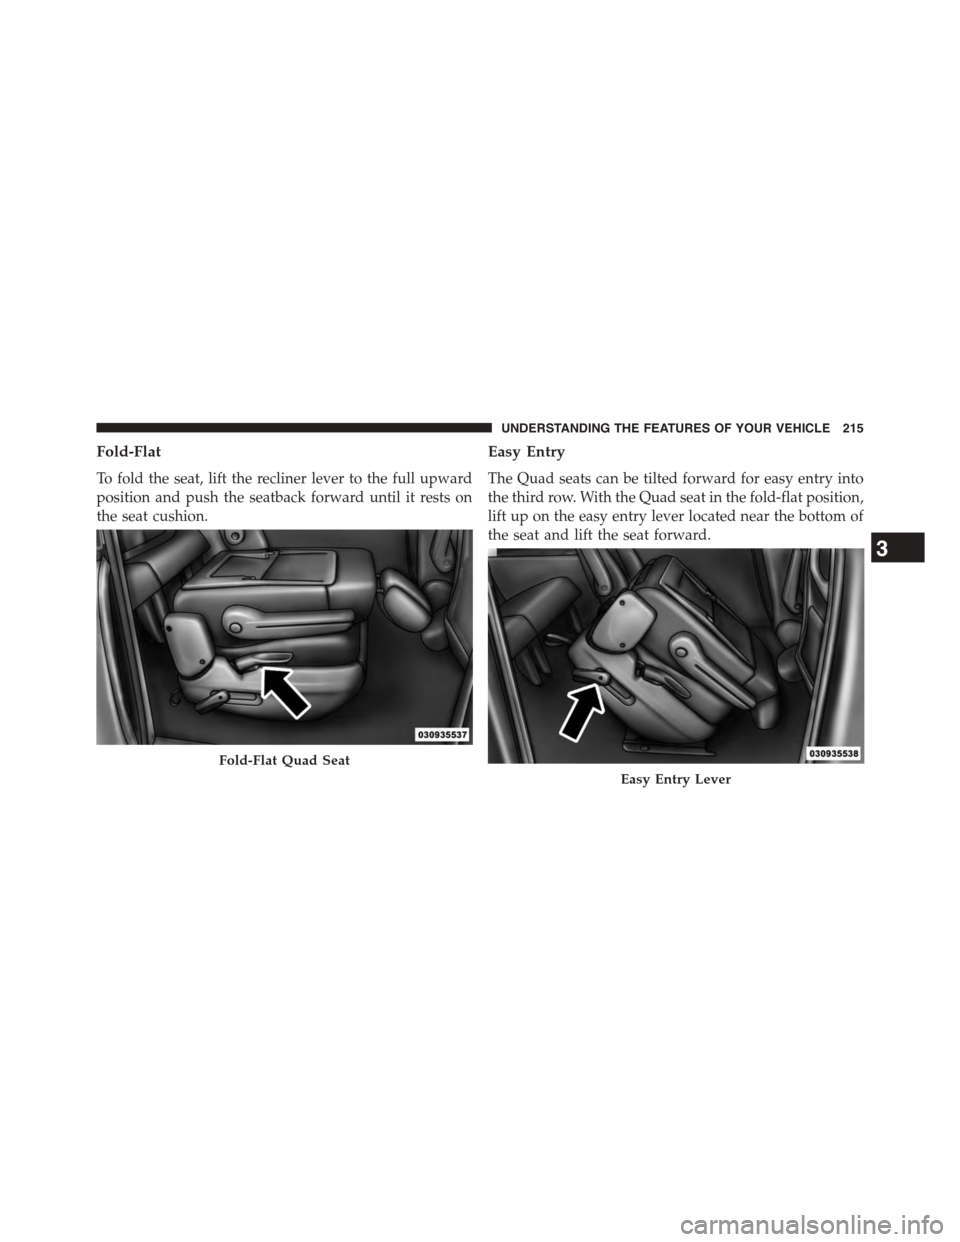
Fold-Flat
To fold the seat, lift the recliner lever to the full upward
position and push the seatback forward until it rests on
the seat cushion.
Easy Entry
The Quad seats can be tilted forward for easy entry into
the third row. With the Quad seat in the fold-flat position,
lift up on the easy entry lever located near the bottom of
the seat and lift the seat forward.
Fold-Flat Quad Seat
Easy Entry Lever
3
UNDERSTANDING THE FEATURES OF YOUR VEHICLE 215
Page 218 of 726
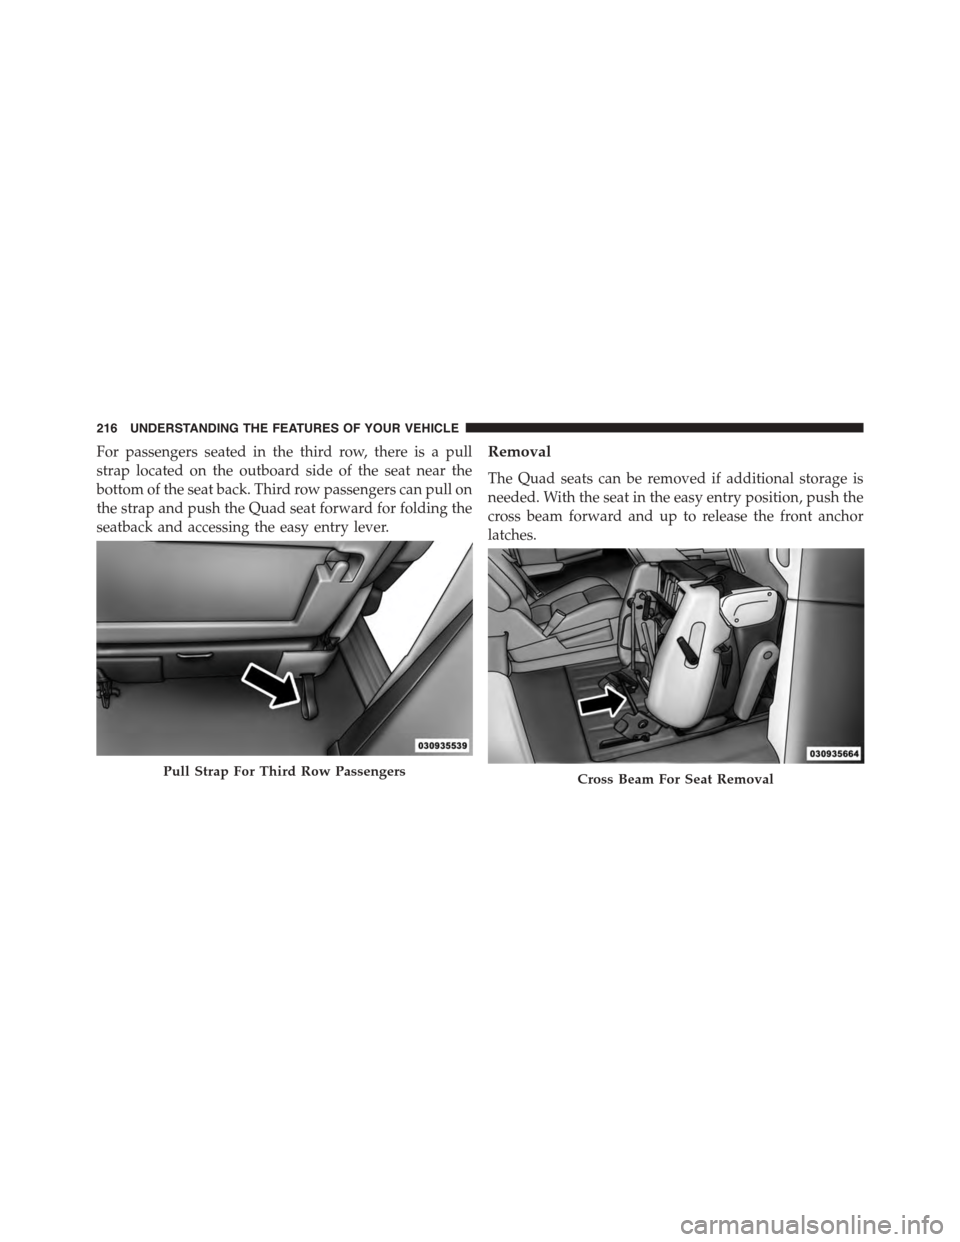
For passengers seated in the third row, there is a pull
strap located on the outboard side of the seat near the
bottom of the seat back. Third row passengers can pull on
the strap and push the Quad seat forward for folding the
seatback and accessing the easy entry lever.
Removal
The Quad seats can be removed if additional storage is
needed. With the seat in the easy entry position, push the
cross beam forward and up to release the front anchor
latches.
Pull Strap For Third Row PassengersCross Beam For Seat Removal
216 UNDERSTANDING THE FEATURES OF YOUR VEHICLE
Page 220 of 726
To reinstall the seat, align the seat into the detent posi-
tions on the floor. Squeeze the release handle and rotate
upward until the lock indicator button returns into the
handle.
WARNING!
If not properly latched, the bench seats could become
loose. Personal injuries could result. After reinstall-
ing these seats, be sure the red indicator button on
the release handles return into the handles.
Third Row Power Recline — If Equipped
The power recline feature, located on the side of the seat
cushion, adjusts the seatback angle forward/rearward
for occupant comfort.
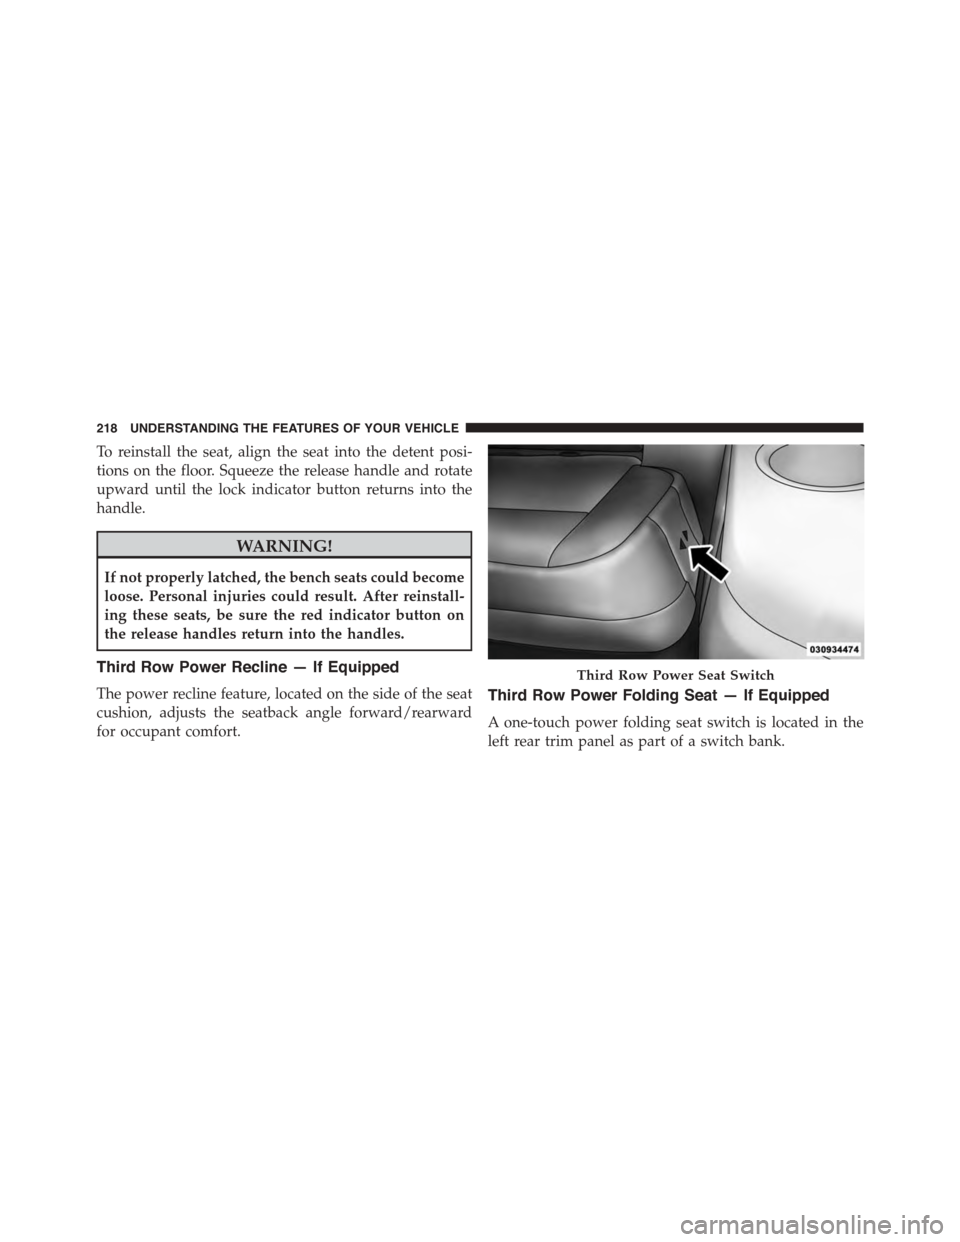
Third Row Power Folding Seat — If Equipped
A one-touch power folding seat switch is located in the
left rear trim panel as part of a switch bank.
Third Row Power Seat Switch
218 UNDERSTANDING THE FEATURES OF YOUR VEHICLE
Page 221 of 726
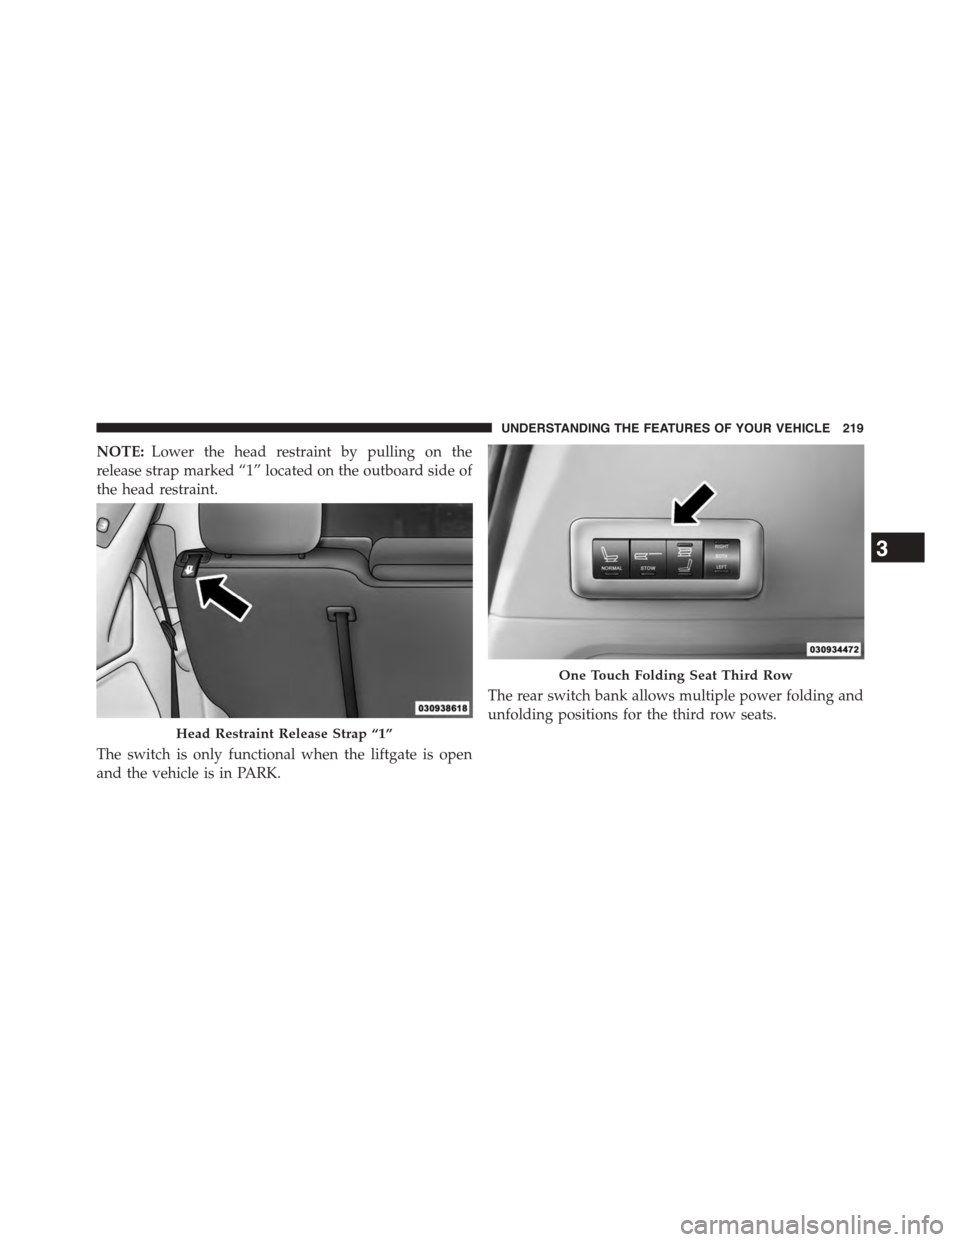
NOTE:Lower the head restraint by pulling on the
release strap marked “1” located on the outboard side of
the head restraint.
The switch is only functional when the liftgate is open
and the vehicle is in PARK.
The rear switch bank allows multiple power folding and
unfolding positions for the third row seats.
Head Restraint Release Strap “1”
One Touch Folding Seat Third Row
3
UNDERSTANDING THE FEATURES OF YOUR VEHICLE 219
Page 222 of 726
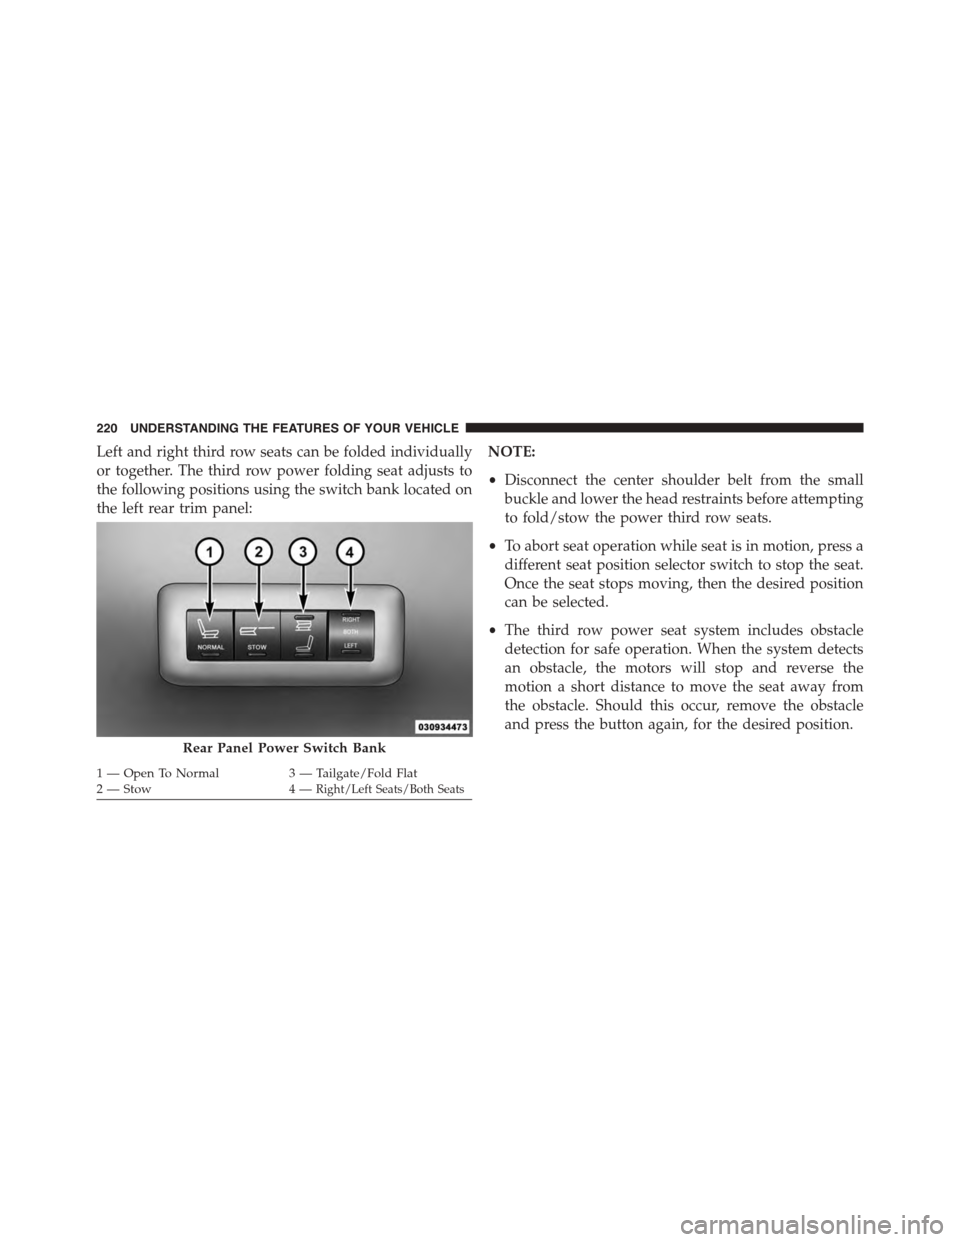
Left and right third row seats can be folded individually
or together. The third row power folding seat adjusts to
the following positions using the switch bank located on
the left rear trim panel:
NOTE:
•Disconnect the center shoulder belt from the small
buckle and lower the head restraints before attempting
to fold/stow the power third row seats.
•To abort seat operation while seat is in motion, press a
different seat position selector switch to stop the seat.
Once the seat stops moving, then the desired position
can be selected.
•The third row power seat system includes obstacle
detection for safe operation. When the system detects
an obstacle, the motors will stop and reverse the
motion a short distance to move the seat away from
the obstacle. Should this occur, remove the obstacle
and press the button again, for the desired position.
Rear Panel Power Switch Bank
1 — Open To Normal3 — Tailgate/Fold Flat2—Stow4—Right/Left Seats/Both Seats
220 UNDERSTANDING THE FEATURES OF YOUR VEHICLE