lights CITROEN BERLINGO VAN 2022 Owners Manual
[x] Cancel search | Manufacturer: CITROEN, Model Year: 2022, Model line: BERLINGO VAN, Model: CITROEN BERLINGO VAN 2022Pages: 324, PDF Size: 9.41 MB
Page 17 of 324
15
Instruments
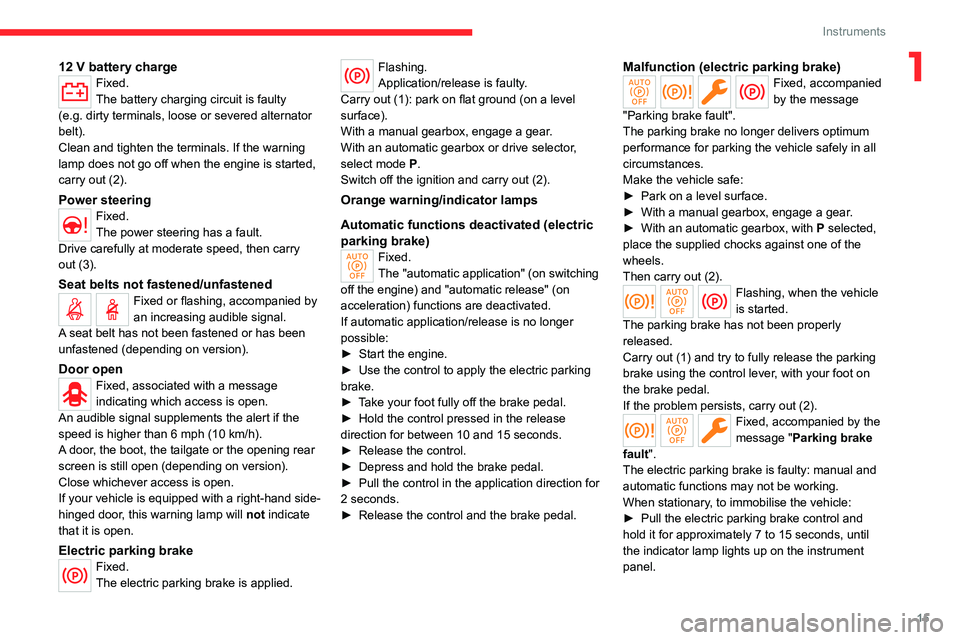
112 V battery chargeFixed.
The battery charging circuit is faulty
(e.g.
dirty terminals, loose or severed alternator
belt).
Clean and tighten the terminals. If the warning
lamp does not go off when the engine is started,
carry out (2).
Power steeringFixed.
The power steering has a fault.
Drive carefully at moderate speed, then carry
out (3).
Seat belts not fastened/unfastenedFixed or flashing, accompanied by
an increasing audible signal.
A seat belt has not been fastened or has been
unfastened (depending on version).
Door openFixed, associated with a message
indicating which access is open.
An audible signal supplements the alert if the
speed is higher than 6 mph (10
km/h).
A door, the boot, the tailgate or the opening rear
screen is still open (depending on version).
Close whichever access is open.
If your vehicle is equipped with a right-hand side-
hinged door, this warning lamp will not indicate
that it is open.
Electric parking brakeFixed.
The electric parking brake is applied.
Flashing.
Application/release is faulty.
Carry out (1): park on flat ground (on a level
surface).
With a manual gearbox, engage a gear.
With an automatic gearbox or drive selector,
select mode
P.
Switch off the ignition and carry out (2).
Orange warning/indicator lamps
Automatic functions deactivated
(electric
parking brake)
Fixed.
The "automatic application" (on switching
off the engine) and "automatic release" (on
acceleration) functions are deactivated.
If automatic application/release is no longer
possible:
►
Start the engine.
►
Use the control to apply the electric parking
brake.
►
T
ake your foot fully off the brake pedal.
►
Hold the control pressed in the release
direction for between 10 and 15 seconds.
►
Release the control.
►
Depress and hold the brake pedal.
►
Pull the control in the application direction for
2
seconds.
►
Release the control and the brake pedal.
Malfunction (electric parking brake)Fixed, accompanied
by the message
"Parking brake fault".
The parking brake no longer delivers optimum
performance for parking the vehicle safely in all
circumstances.
Make the vehicle safe:
►
Park on a level surface.
►
With a manual gearbox, engage a gear
.
►
With an automatic gearbox, with
P
selected,
place the supplied chocks against one of the
wheels.
Then carry out (2).
Flashing, when the vehicle
is started.
The parking brake has not been properly
released.
Carry out (1) and try to fully release the parking
brake using the control lever, with your foot on
the brake pedal.
If the problem persists, carry out (2).
Fixed, accompanied by the
message "Parking brake
fault".
The electric parking brake is faulty: manual and
automatic functions may not be working.
When stationary, to immobilise the vehicle:
►
Pull the electric parking brake control and
hold it for approximately 7 to 15 seconds, until
the indicator lamp lights up on the instrument
panel.
Page 21 of 324

19
Instruments
1SCR emissions control system (BlueHDi)Fixed when the ignition is
switched on, accompanied
by an audible signal and a message.
A malfunction of the SCR emissions control
system has been detected.
This alert disappears once the exhaust
emissions return to normal levels.
Flashing AdBlue® warning
lamp on switching on the
ignition, with the Service and Engine self-
diagnostics warning lamps on fixed,
accompanied by an audible signal and a
message indicating the driving range.
Depending on the message displayed, it is
possible to drive for up to 685 miles (1,100
km)
before the engine immobiliser is triggered.
Carry out (3) without delay, to avoid starting
being prevented.
Flashing AdBlue® warning
lamp on switching on the
ignition, with the Service and Engine self-
diagnostics warning lamps on fixed,
accompanied by an audible signal and a
message indicating that starting is prevented.
The engine immobiliser prevents the engine from
restarting (the permitted driving limit has been
exceeded after confirmation of a malfunction of
the emissions control system).
To start the engine, carry out (2).
ServiceTemporarily on, accompanied by the display of a message.
One or more minor faults, for which there is/are
no specific warning lamp(s), have been detected.
Identify the cause of the fault using the message
displayed on the instrument panel.
You may be able to deal with some faults
yourself, such as changing the battery in the
remote control.
For other faults, such as with the tyre under-
inflation detection system, carry out (3).
Fixed, accompanied by the display of a
message.
One or more major faults, for which there is/are
no specific warning lamp(s), have been detected.
Identify the cause of the fault using the message
displayed on the instrument panel, then carry
out (3).
Fixed, accompanied by the message
"Parking brake fault".
Automatic release of the electric parking brake is
unavailable.
Carry out (2).
Service warning lamp fixed and
service spanner flashing then
fixed.
The servicing interval has been exceeded.
The vehicle must be serviced as soon as
possible.
Only with BlueHDi Diesel engines.
Rear foglampFixed.
The lamp is on.
Green warning/indicator lamps
Stop & Start
Fixed.
When the vehicle stops, the Stop & Start
puts the engine into STOP mode.
Flashing temporarily.
STOP mode is momentarily unavailable
or START mode is automatically triggered.
For more information, refer to the Driving
section.
Vehicle ready to drive (Electric)Fixed, accompanied by an audible signal
when it comes on.
The vehicle is ready to drive and the thermal
comfort systems are available.
The indicator lamp goes out upon reaching a
speed of approximately 3 mph (5
km/h) and
lights up again when the vehicle stops moving.
The lamp will go out when you turn off the
engine and exit the vehicle.
Hill Assist Descent ControlFixed.
The system has been activated, but the
conditions for regulation are not met (gradient,
speed too high, gear engaged).
Flashing.
The function is regulating the speed of
the vehicle.
Page 25 of 324
23
Instruments
1The level read will only be correct if the vehicle is on level ground and the engine
has been off for more than 30 minutes.
With digital instrument panel
The conformity of the engine oil level can be monitored by pressing the " Check"
button in the Driving/Vehicle touch screen
menu.
With LCD symbols and LCD text or matrix
instrument panel
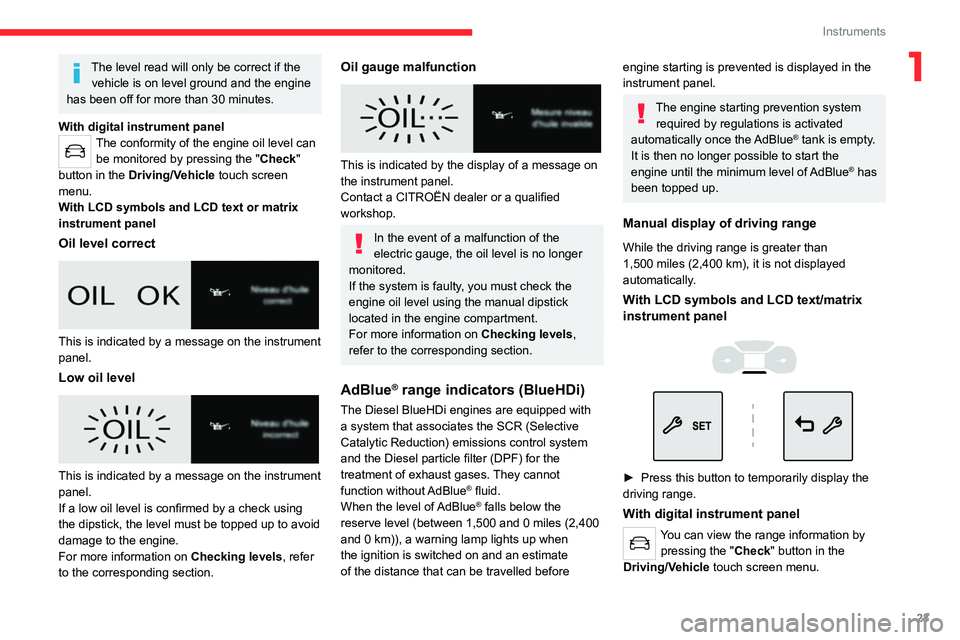
Oil level correct
This is indicated by a message on the instrument
panel.
Low oil level
This is indicated by a message on the instrument
panel.
If a low oil level is confirmed by a check using
the dipstick, the level must be topped up to avoid
damage to the engine.
For more information on Checking levels, refer
to the corresponding section.
Oil gauge malfunction
This is indicated by the display of a message on
the instrument panel.
Contact a CITROËN dealer or a qualified
workshop.
In the event of a malfunction of the
electric gauge, the oil level is no longer
monitored.
If the system is faulty, you must check the
engine oil level using the manual dipstick
located in the engine compartment.
For more information on Checking levels,
refer to the corresponding section.
AdBlue® range indicators (BlueHDi)
The Diesel BlueHDi engines are equipped with
a system that associates the SCR (Selective
Catalytic Reduction) emissions control system
and the Diesel particle filter (DPF) for the
treatment of exhaust gases. They cannot
function without AdBlue
® fluid.
When the level of AdBlue® falls below the
reserve level (between 1,500 and 0 miles (2,400
and 0
km)), a warning lamp lights up when
the ignition is switched on and an estimate
of the distance that can be travelled before
engine starting is prevented is displayed in the
instrument panel.
The engine starting prevention system required by regulations is activated
automatically once the AdBlue
® tank is empty.
It is then no longer possible to start the
engine until the minimum level of AdBlue
® has
been topped up.
Manual display of driving range
While the driving range is greater than
1,500 miles (2,400 km), it is not displayed
automatically.
With LCD symbols and LCD text/matrix
instrument panel
► Press this button to temporarily display the
driving range.
With digital instrument panel
You can view the range information by pressing the " Check" button in the
Driving/Vehicle touch screen menu.
Page 65 of 324
63
Ease of use and comfort
3
This system allows wireless charging of a
portable device such as a smartphone, using the
magnetic induction principle, in accordance with
the Qi 1.1 standard.
The portable device to be charged must be
compatible with the Qi standard, either by design
or by using a compatible holder or shell.
A mat can also be used provided that it is
approved by the Manufacturer.
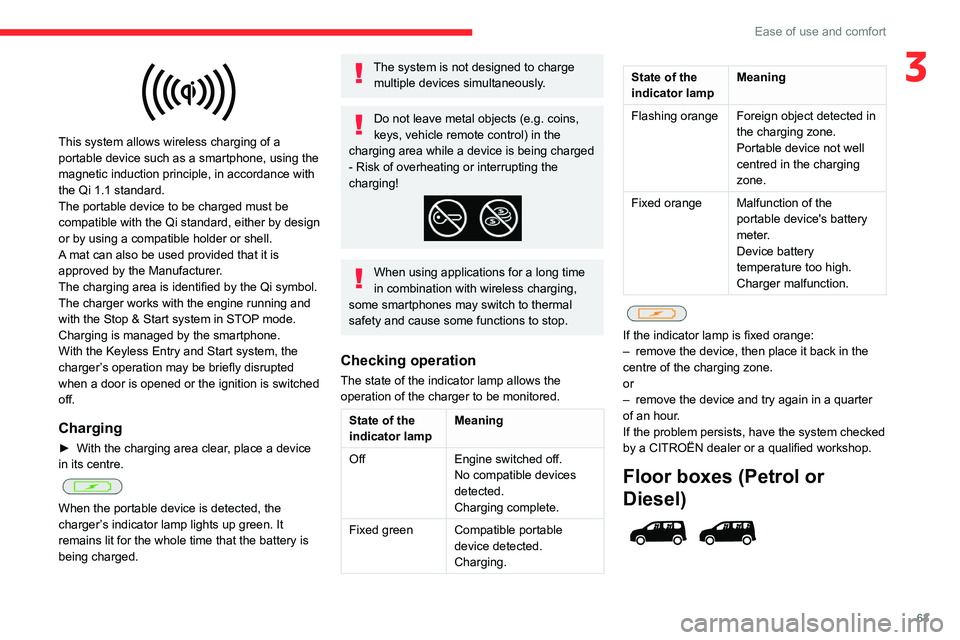
The charging area is identified by the Qi symbol.
The charger works with the engine running and
with the Stop & Start system in STOP mode.
Charging is managed by the smartphone.
With the Keyless Entry and Start system, the
charger’s operation may be briefly disrupted
when a door is opened or the ignition is switched
off.
Charging
► With the charging area clear, place a device
in its centre.
When the portable device is detected, the
charger’s indicator lamp lights up green. It
remains lit for the whole time that the battery is
being charged.
The system is not designed to charge multiple devices simultaneously.
Do not leave metal objects (e.g. coins,
keys, vehicle remote control) in the
charging area while a device is being charged
- Risk of overheating or interrupting the
charging!
When using applications for a long time
in combination with wireless charging,
some smartphones may switch to thermal
safety and cause some functions to stop.
Checking operation
The state of the indicator lamp allows the
operation of the charger to be monitored.
State of the
indicator lamp Meaning
Off Engine switched off.
No compatible devices
detected.
Charging complete.
Fixed green Compatible portable device detected.
Charging.
State of the
indicator lampMeaning
Flashing orange Foreign object detected in the charging zone.
Portable device not well
centred in the charging
zone.
Fixed orange Malfunction of the portable device's battery
meter.
Device battery
temperature too high.
Charger malfunction.
If the indicator lamp is fixed orange:
– remove the device, then place it back in the
centre of the charging zone.
or
–
remove the device and try again in a quarter
of an hour
.
If the problem persists, have the system checked
by a CITROËN dealer or a qualified workshop.
Floor boxes (Petrol or
Diesel)
Page 84 of 324
82
Ease of use and comfort
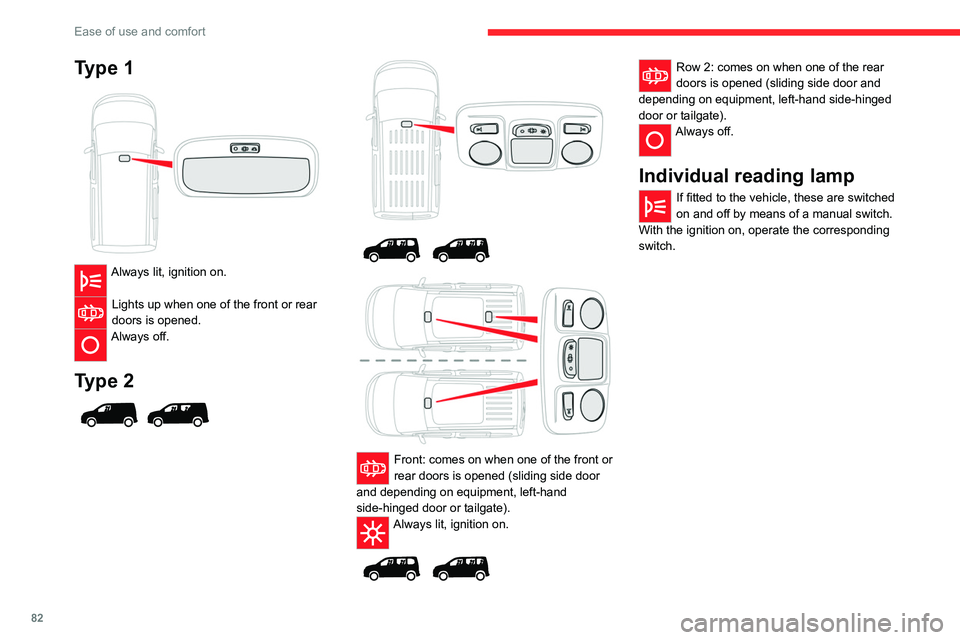
Type 1
Always lit, ignition on.
Lights up when one of the front or rear
doors is opened.
Always off.
Type 2
Front: comes on when one of the front or
rear doors is opened (sliding side door
and depending on equipment, left-hand
side-hinged door or tailgate).
Always lit, ignition on.
Row 2: comes on when one of the rear
doors is opened (sliding side door and
depending on equipment, left-hand side-hinged
door or tailgate).
Always off.
Individual reading lamp
If fitted to the vehicle, these are switched
on and off by means of a manual switch.
With the ignition on, operate the corresponding
switch.
Page 91 of 324
89
Lighting and visibility
4To avoid damaging the wiper blades, do not operate the screenwash if the
screenwash reservoir is empty.
Only operate the screenwash if there is no
risk of the fluid freezing on the windscreen
and hindering visibility. During the winter
period, use "very cold climate" rated products.
Never top up with water.
Low screenwash fluid level
When the low level of the reservoir is
reached, this warning lamp lights up on
the instrument panel, accompanied by an
audible signal and a message.
It comes on when the ignition is switched on,
or every time the stalk is operated, until the
reservoir is refilled.
Refill the screenwash reservoir (or have it
refilled) the next time you stop.
Rear wiper
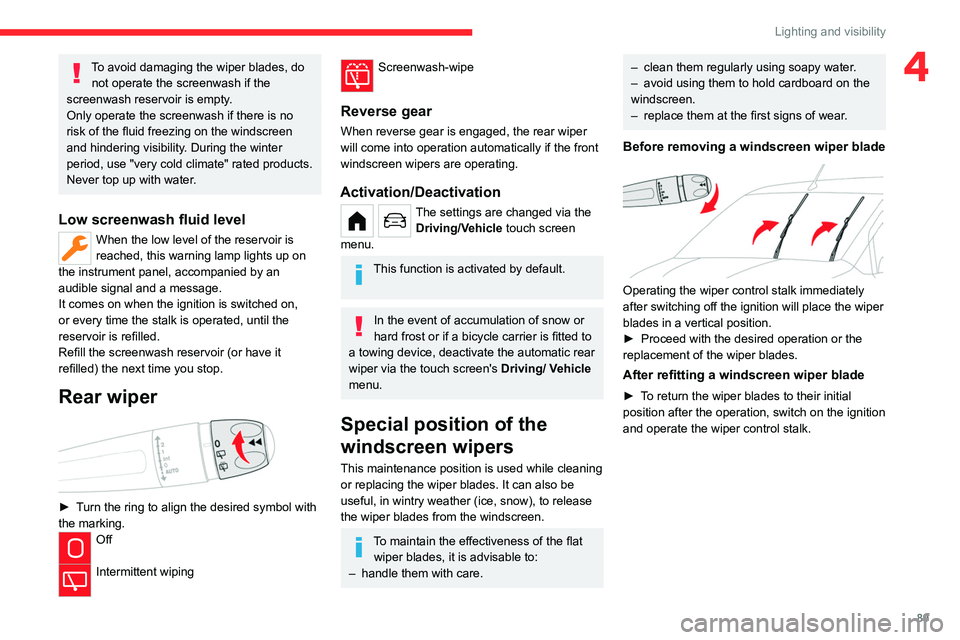
► Turn the ring to align the desired symbol with
the marking.
Off
Intermittent wiping
Screenwash-wipe
Reverse gear
When reverse gear is engaged, the rear wiper
will come into operation automatically if the front
windscreen wipers are operating.
Activation/Deactivation
The settings are changed via the Driving/Vehicle touch screen
menu.
This function is activated by default.
In the event of accumulation of snow or
hard frost or if a bicycle carrier is fitted to
a towing device, deactivate the automatic rear
wiper via the touch screen's
Driving/ V
ehicle
menu.
Special position of the
windscreen wipers
This maintenance position is used while cleaning
or replacing the wiper blades. It can also be
useful, in wintry weather (ice, snow), to release
the wiper blades from the windscreen.
To maintain the effectiveness of the flat wiper blades, it is advisable to:
–
handle them with care.
– clean them regularly using soapy water .
– avoid using them to hold cardboard on the
windscreen.
–
replace them at the first signs of wear
.
Before removing a windscreen wiper blade
Operating the wiper control stalk immediately
after switching off the ignition will place the wiper
blades in a vertical position.
►
Proceed with the desired operation or the
replacement of the wiper blades.
After refitting a windscreen wiper blade
► To return the wiper blades to their initial
position after the operation, switch on the ignition
and operate the wiper control stalk.
Page 92 of 324
90
Lighting and visibility
Changing a wiper blade
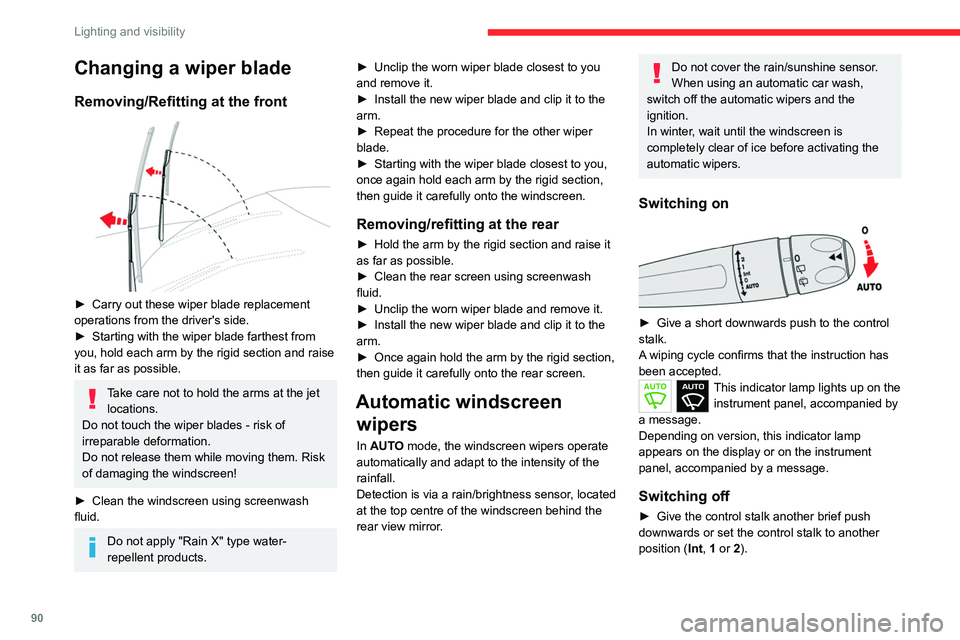
Removing/Refitting at the front
► Carry out these wiper blade replacement
operations from the driver's side.
►
Starting with the wiper blade farthest from
you, hold each arm by the rigid section and raise
it as far as possible.
Take care not to hold the arms at the jet locations.
Do not touch the wiper blades - risk of
irreparable deformation.
Do not release them while moving them. Risk
of damaging the windscreen!
►
Clean the windscreen using screenwash
fluid.
Do not apply "Rain X" type water-
repellent products. ►
Unclip the worn wiper blade closest to you
and remove it.
►
Install the new wiper blade and clip it to the
arm.
►
Repeat the procedure for the other wiper
blade.
►
Starting with the wiper blade closest to you,
once again hold each arm by the rigid section,
then guide it carefully onto the windscreen.
Removing/refitting at the rear
► Hold the arm by the rigid section and raise it
as far as possible.
►
Clean the rear screen using screenwash
fluid.
►
Unclip the worn wiper blade and remove it.
►
Install the new wiper blade and clip it to the
arm.
►
Once again hold the arm by the rigid section,
then guide it carefully onto the rear screen.
Automatic windscreen wipers
In AUTO mode, the windscreen wipers operate
automatically and adapt to the intensity of the
rainfall.
Detection is via a rain/brightness sensor, located
at the top centre of the windscreen behind the
rear view mirror.
Do not cover the rain/sunshine sensor.
When using an automatic car wash,
switch off the automatic wipers and the
ignition.
In winter, wait until the windscreen is
completely clear of ice before activating the
automatic wipers.
Switching on
► Give a short downwards push to the control
stalk.
A
wiping cycle confirms that the instruction has
been accepted.
This indicator lamp lights up on the instrument panel, accompanied by
a message.
Depending on version, this indicator
lamp
appears on the display or on the instrument
panel, accompanied by a message.
Switching off
► Give the control stalk another brief push
downwards or set the control stalk to another
position ( Int
, 1 or 2).
Page 95 of 324
93
Safety
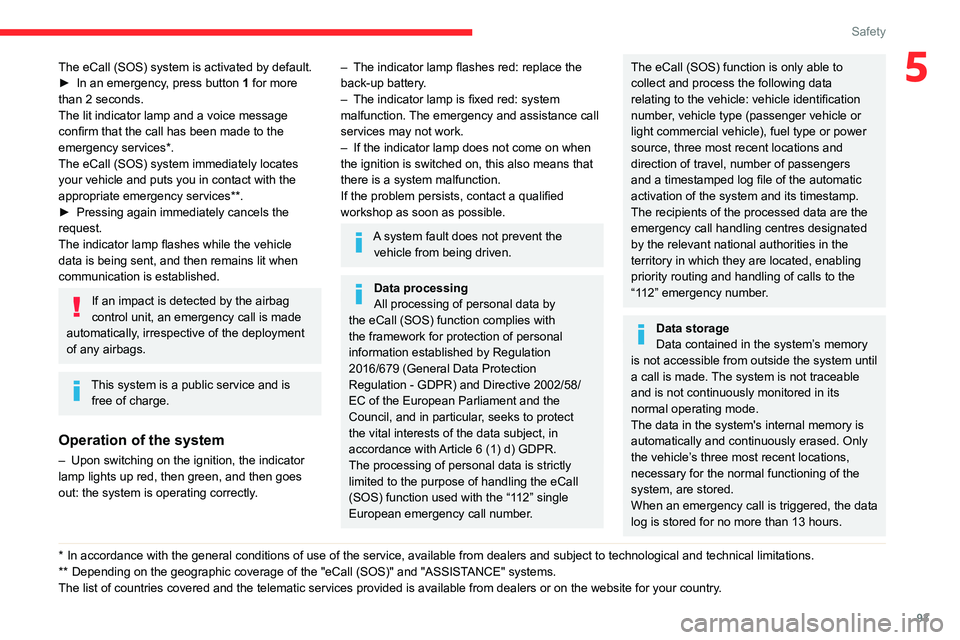
5The eCall (SOS) system is activated by default.
► In an emergency , press button 1 for more
than 2 seconds.
The lit indicator lamp and a voice message
confirm that the call has been made to the
emergency services*.
The eCall
(SOS) system immediately locates
your vehicle and puts you in contact with the
appropriate emergency services**.
►
Pressing again immediately cancels the
request.
The indicator lamp flashes while the vehicle
data is being sent, and then remains lit when
communication is established.
If an impact is detected by the airbag
control unit, an emergency call is made
automatically, irrespective of the deployment
of any airbags.
This system is a public service and is free of charge.
Operation of the system
– Upon switching on the ignition, the indicator
lamp lights up red, then green, and then goes
out: the system is operating correctly
.
* In accordance with the general conditions of use of the service, available from dealers an\
d subject to technological and technical limitations.
** Depend ing on the geographic coverage of the "eCall (SOS)" and "ASSISTANCE" systems.
The list of countries covered and the telematic services provided is ava\
ilable from dealers or on the website for your country.
– The indicator lamp flashes red: replace the
back-up battery .
–
The indicator lamp is fixed red: system
malfunction.
The emergency and assistance call
services may not work.
–
If the indicator lamp does not come on when
the ignition is switched on, this also means that
there is a system malfunction.
If the problem persists, contact a qualified
workshop as soon as possible.
A system fault does not prevent the vehicle from being driven.
Data processing
All processing of personal data by
the eCall (SOS) function complies with
the framework for protection of personal
information established by Regulation
2016/679 (General Data Protection
Regulation - GDPR) and Directive 2002/58/
EC of the European Parliament and the
Council, and in particular, seeks to protect
the vital interests of the data subject, in
accordance with Article 6 (1) d) GDPR.
The processing of personal data is strictly
limited to the purpose of handling the eCall
(SOS) function used with the “112” single
European emergency call number.
The eCall (SOS) function is only able to
collect and process the following data
relating to the vehicle: vehicle identification
number, vehicle type (passenger vehicle or
light commercial vehicle), fuel type or power
source, three most recent locations and
direction of travel, number of passengers
and a timestamped log file of the automatic
activation of the system and its timestamp.
The recipients of the processed data are the
emergency call handling centres designated
by the relevant national authorities in the
territory in which they are located, enabling
priority routing and handling of calls to the
“112” emergency number.
Data storage
Data contained in the system’s memory
is not accessible from outside the system until
a call is made. The system is not traceable
and is not continuously monitored in its
normal operating mode.
The data in the system's internal memory is
automatically and continuously erased. Only
the vehicle’s three most recent locations,
necessary for the normal functioning of the
system, are stored.
When an emergency call is triggered, the data
log is stored for no more than 13 hours.
Page 97 of 324
95
Safety
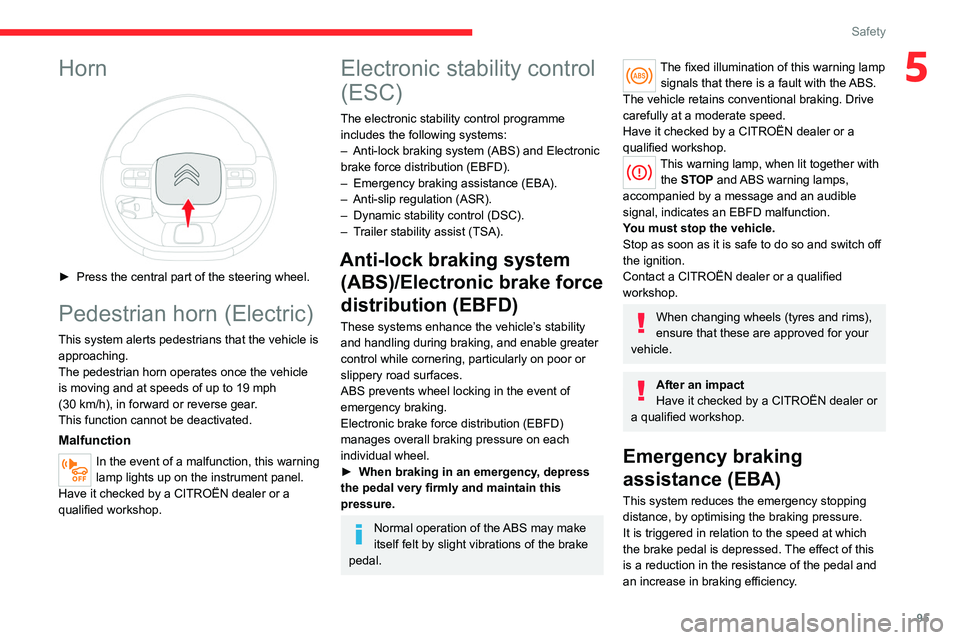
5Horn
► Press the central part of the steering wheel.
Pedestrian horn (Electric)
This system alerts pedestrians that the vehicle is approaching.
The pedestrian horn operates once the vehicle
is moving and at speeds of up to 19 mph
(30
km/h), in forward or reverse gear.
This function cannot be deactivated.
Malfunction
In the event of a malfunction, this warning
lamp lights up on the instrument panel.
Have it checked by a CITROËN dealer or a
qualified workshop.
Electronic stability control
(ESC)
The electronic stability control programme includes the following systems:
–
Anti-lock braking system (ABS) and Electronic
brake force distribution (EBFD).
–
Emergency braking assistance (EBA).
–
Anti-slip regulation (ASR).
–
Dynamic stability control (DSC).
–
T
railer stability assist (TSA).
Anti-lock braking system (ABS)/Electronic brake force
distribution (EBFD)
These systems enhance the vehicle’s stability
and handling during braking, and enable greater
control while cornering, particularly on poor or
slippery road surfaces.
ABS prevents wheel locking in the event of
emergency braking.
Electronic brake force distribution (EBFD)
manages overall braking pressure on each
individual wheel.
►
When braking in an emergency
, depress
the pedal very firmly and maintain this
pressure.
Normal operation of the ABS may make
itself felt by slight vibrations of the brake
pedal.
The fixed illumination of this warning lamp signals that there is a fault with the ABS.
The vehicle retains conventional braking. Drive
carefully at a moderate speed.
Have it checked by a CITROËN dealer or a
qualified workshop.
This warning lamp, when lit together with the STOP and ABS warning lamps,
accompanied by a message and an audible
signal, indicates an EBFD malfunction.
You must stop the vehicle.
Stop as soon as it is safe to do so and switch off
the ignition.
Contact a CITROËN dealer or a qualified
workshop.
When changing wheels (tyres and rims),
ensure that these are approved for your
vehicle.
After an impact
Have it checked by a CITROËN dealer or
a qualified workshop.
Emergency braking
assistance (EBA)
This system reduces the emergency stopping
distance, by optimising the braking pressure.
It is triggered in relation to the speed at which
the brake pedal is depressed. The effect of this
is a reduction in the resistance of the pedal and
an increase in braking efficiency.
Page 98 of 324
96
Safety
Anti-slip regulation (ASR) / Dynamic stability control
(DSC)
Anti-slip regulation (or traction control) optimises
traction by using engine braking and by applying
the brakes on the driving wheels to avoid one
or more wheels spinning. It also enhances the
vehicle's directional stability.
If there is a difference between the vehicle’s
trajectory and the path desired by the driver, the
dynamic stability control system automatically
uses engine braking and the brakes on one or
more wheels to return the vehicle to the desired
path, within the limits of the laws of physics.
These systems are activated automatically every
time the vehicle is started.
These systems are activated in the event of a problem with grip or trajectory
(confirmed by this warning lamp flashing on the
instrument panel).
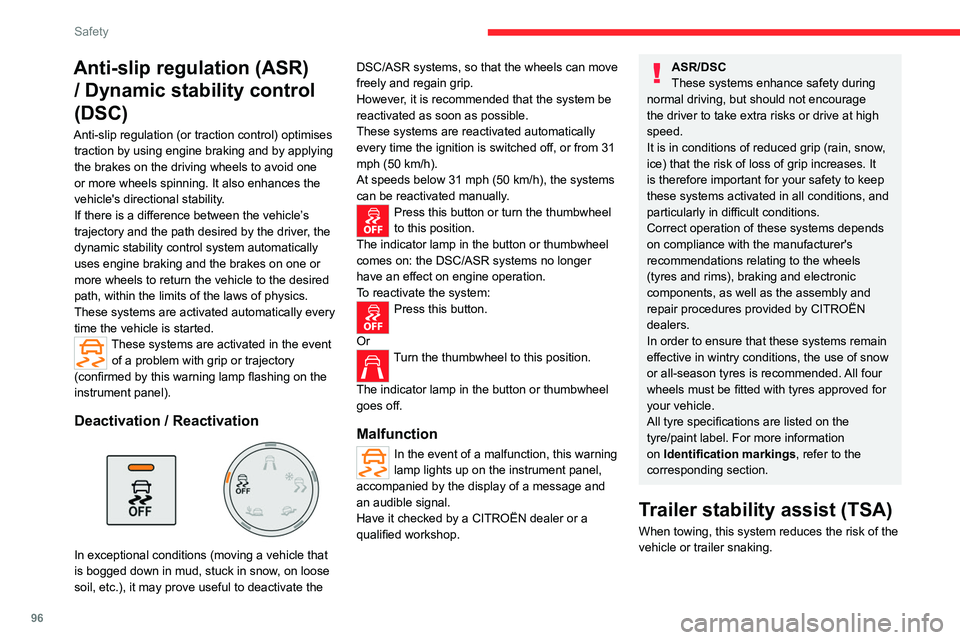
Deactivation / Reactivation
In exceptional conditions (moving a vehicle that
is bogged down in mud, stuck in snow, on loose
soil, etc.), it may prove useful to deactivate the DSC/ASR systems, so that the wheels can move
freely and regain grip.
However, it is recommended that the system be
reactivated as soon as possible.
These systems are reactivated automatically
every time the ignition is switched off, or from 31
mph (50
km/h).
At speeds below 31 mph (50 km/h), the systems
can be reactivated manually.
Press this button or turn the thumbwheel
to this position.
The indicator lamp in the button or thumbwheel
comes on: the DSC/ASR systems no longer
have an effect on engine operation.
To reactivate the system:
Press this button.
Or
Turn the thumbwheel to this position.
The indicator lamp in the button or thumbwheel
goes off.
Malfunction
In the event of a malfunction, this warning
lamp lights up on the instrument panel,
accompanied by the display of a message and
an audible signal.
Have it checked by a CITROËN dealer or a
qualified workshop.
ASR/DSC
These systems enhance safety during
normal driving, but should not encourage
the driver to take extra risks or drive at high
speed.
It is in conditions of reduced grip (rain, snow,
ice) that the risk of loss of grip increases. It
is therefore important for your safety to keep
these systems activated in all conditions, and
particularly in difficult conditions.
Correct operation of these systems depends
on compliance with the manufacturer's
recommendations relating to the wheels
(tyres and rims), braking and electronic
components, as well as the assembly and
repair procedures provided by CITROËN
dealers.
In order to ensure that these systems remain
effective in wintry conditions, the use of snow
or all-season tyres is recommended. All four
wheels must be fitted with tyres approved for
your vehicle.
All tyre specifications are listed on the
tyre/paint label. For more information
on Identification markings , refer to the
corresponding section.
Trailer stability assist (TSA)
When towing, this system reduces the risk of the
vehicle or trailer snaking.