steering wheel adjustment CITROEN C-ELYSÉE 2023 Owners Manual
[x] Cancel search | Manufacturer: CITROEN, Model Year: 2023, Model line: C-ELYSÉE, Model: CITROEN C-ELYSÉE 2023Pages: 180, PDF Size: 4.77 MB
Page 4 of 180
2
Contents
■
Overview
■
Eco-driving
1Dashboard instrumentsInstrument panel 7
Warning and indicator lamps 7
Indicators 11
Distance recorders 13
Setting the date and time 14
Trip computer 14
2AccessRemote control / Key 17
Central locking 18
Back-up procedures 19
Doors 20
Boot 20
Alarm 21
Electric windows 22
3Ease of use and comfortFront seats 23
Rear bench seat 24
Steering wheel adjustment 25
Mirrors 25
Heating and Ventilation 26
Air conditioning, manual (without display screen) 27
Electronic air conditioning (with display screen) 28
Front demisting - defrosting 29
Demisting/de-icing the rear screen
and/or the door mirrors
30
Interior fittings 30
Courtesy lamps 32
4Lighting and visibilityExterior lighting control stalk 33
Direction indicators 34
Headlamp beam height adjustment 35
Wiper control stalk 35
Changing a wiper blade 36
5SafetyGeneral safety recommendations 37
Hazard warning lamps 37
Horn 38
Electronic stability control (ESC) 38
Seat belts 39
Airbags 41
Child seats 43
Deactivating the front passenger airbag 45
ISOFIX child seats 47
Child lock 50
6DrivingDriving recommendations 51
Starting-switching off the engine 53
Parking brake 54
Hill start assist 54
5-speed manual gearbox 55
6-speed manual gearbox 55
6-speed automatic gearbox 56
Gear shift indicator 58
Stop & Start 58
Tyre under-inflation detection 60
Driving and manoeuvring aids -
General recommendations 62
Speed limiter 63
Cruise control - Specific recommendations 64
Cruise control 65
Rear parking sensors 66
Reversing Camera 67
7Practical informationCompatibility of fuels 69
Refuelling 69
Misfuel prevention (Diesel) 70
AdBlue® (BlueHDi) 70
Snow chains 73
Energy economy mode 73
Towing device 74
Very cold climate screen 74
Roof bars 75
Bonnet 75
Engine compartment 76
Checking levels 77
Checks 79
Free-wheeling 80
Advice on care and maintenance 81
8In the event of a breakdownWarning triangle 83
Running out of fuel (Diesel) 83
Tool kit 83
Spare wheel 84
Changing a bulb 87
Fuses 91
12 V battery 92
Towing the vehicle 95
Page 25 of 180
23
Ease of use and comfort
3Correct driving position
For safety reasons, adjustments must
only be made when the vehicle is
stationary.
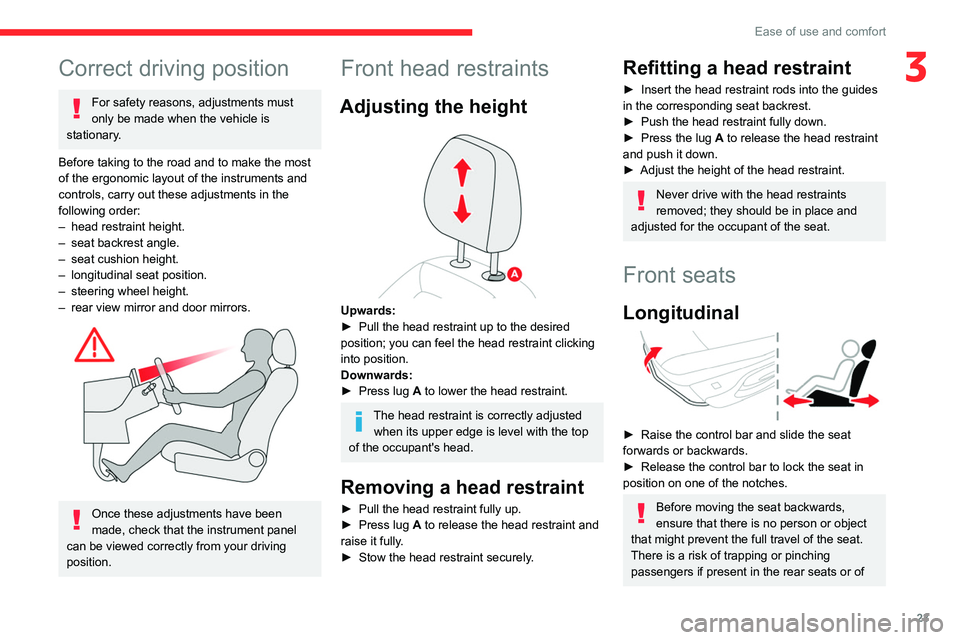
Before taking to the road and to make the most
of the ergonomic layout of the instruments and
controls, carry out these adjustments in the
following order:
–
head restraint height.
–
seat backrest angle.
–
seat cushion height.
–
longitudinal seat position.
–
steering wheel height.
–
rear view mirror and door mirrors.
Once these adjustments have been
made, check that the instrument panel
can be viewed correctly from your driving
position.
Front head restraints
Adjusting the height
Upwards:
► Pull the head restraint up to the desired
position; you can feel the head restraint clicking
into position.
Downwards:
►
Press lug
A to lower the head restraint.
The head restraint is correctly adjusted when its upper edge is level with the top
of the occupant's head.
Removing a head restraint
► Pull the head restraint fully up.
► Press lug A to release the head restraint and
raise it fully.
►
Stow the head restraint securely
.
Refitting a head restraint
► Insert the head restraint rods into the guides
in the corresponding seat backrest.
►
Push the head restraint fully down.
►
Press the lug
A to release the head restraint
and push it down.
►
Adjust the height of the head restraint.
Never drive with the head restraints
removed; they should be in place and
adjusted for the occupant of the seat.
Front seats
Longitudinal
► Raise the control bar and slide the seat
forwards or backwards.
►
Release the control bar to lock the seat in
position on one of the notches.
Before moving the seat backwards,
ensure that there is no person or object
that might prevent the full travel of the seat.
There is a risk of trapping or pinching
passengers if present in the rear seats or of
Page 27 of 180
25
Ease of use and comfort
3Please note: an incorrectly latched
backrest compromises the safety of
passengers in the event of sudden braking or
an accident.
When repositioning the seat backrest, take
care not to trap the seat belts.
The contents of the boot may be thrown
forwards - risk of serious injury!
Adjustable head restraints
These have just one position for use (up) and
one position for storage (down).
They can be removed and are interchangeable
side to side.
To remove a head restraint:
► Pull it upwards as far as possible.
► Press on lug A.
Never drive with the headrests removed;
they must be fitted and correctly
adjusted.
Steering wheel
adjustment
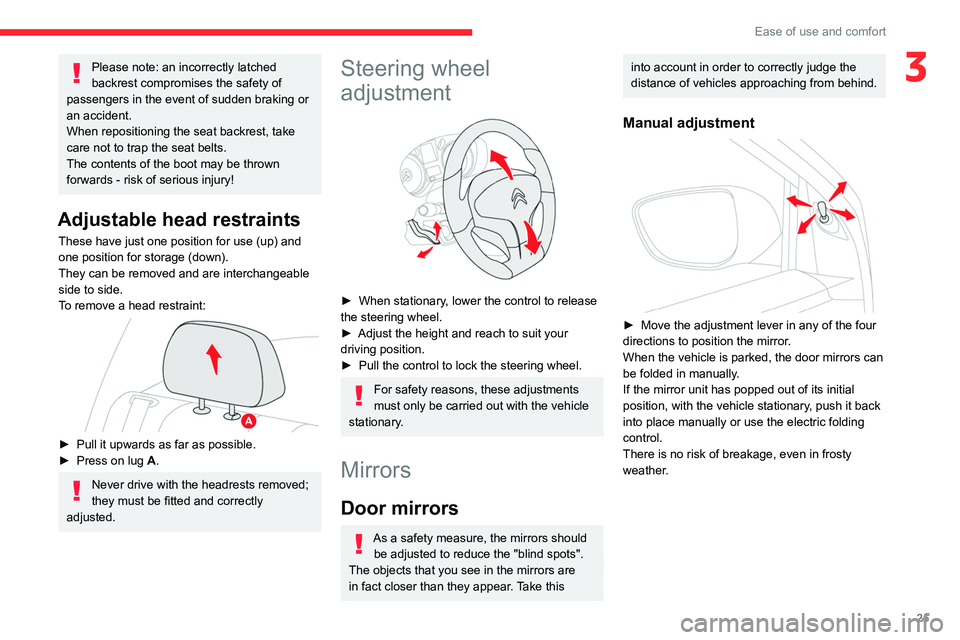
► When stationary , lower the control to release
the steering wheel.
►
Adjust the height and reach to suit your
driving position.
►
Pull the control to lock the steering wheel.
For safety reasons, these adjustments
must only be carried out with the vehicle
stationary.
Mirrors
Door mirrors
As a safety measure, the mirrors should be adjusted to reduce the "blind spots".
The objects that you see in the mirrors are
in fact closer than they appear. Take this
into account in order to correctly judge the
distance of vehicles approaching from behind.
Manual adjustment
► Move the adjustment lever in any of the four
directions to position the mirror .
When the vehicle is parked, the door mirrors can
be folded in manually.
If the mirror unit has popped out of its initial
position, with the vehicle stationary, push it back
into place manually or use the electric folding
control.
There is no risk of breakage, even in frosty
weather.
Page 63 of 180
61
Driving
6Otherwise, add 0.3 bar to the pressures
shown on the label.
Snow chains
The system does not have to be
reinitialised after fitting or removing snow
chains.
Under-inflation alert
This is signalled by the fixed illumination of this warning lamp, accompanied by an
audible signal and the display of a message.
►
Reduce speed immediately
, avoid excessive
steering movements and avoid sudden braking.
►
Stop the vehicle as soon as it is safe to do
so.
The loss of pressure detected may not always cause visible deformation of the
tyre.
Do not rely on just a visual check.
►
Using a compressor
, such as the one in
the temporary puncture repair kit, check the
pressures of all four tyres when cold.
►
If it is not possible to carry out this check
immediately
, drive carefully at reduced speed.
►
In the event of a puncture, use the
temporary puncture repair kit or the spare wheel
(depending on equipment).
Driving too slowly may not ensure
optimum monitoring.
The alert is not immediately triggered in the
event of a sudden loss of pressure or tyre
blow-out. This is because analysis of the
values read by the wheel's speed sensors
can take several minutes.
The alert may be delayed at speeds below
25 mph (40 km/h), or when adopting a sporty
driving mode.
The alert is kept active until the system is reinitialised.
Reinitialisation
► The system must be reinitialised after any
adjustment to the pressure of one or more tyres,
and after changing one or more wheels.
Before reinitialising the system, make
sure that the pressures of the four tyres
are correct for the conditions of use of the
vehicle and conform to the values written on
the tyre pressure label.
Check the pressures of the four tyres before
performing the reinitialisation.
The system does not advise if a pressure is
incorrect at the time of reinitialisation.
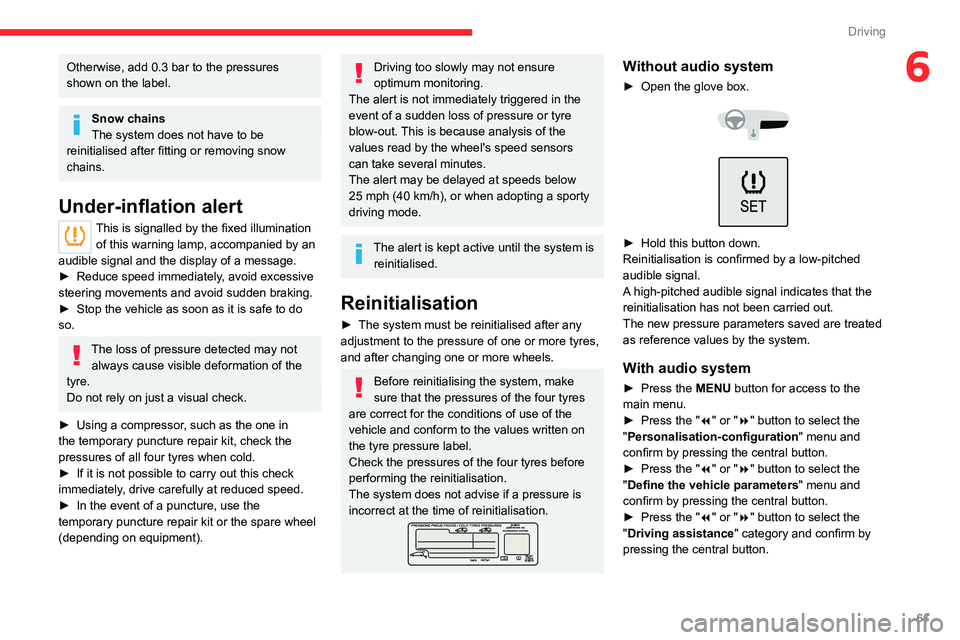
Without audio system
► Open the glove box.
► Hold this button down.
Reinitialisation is confirmed by a low-pitched
audible signal.
A
high-pitched audible signal indicates that the
reinitialisation has not been carried out.
The new pressure parameters saved are treated
as reference values by the system.
With audio system
► Press the MENU button for access to the
main menu.
►
Press the "
7" or "8" button to select the
"Personalisation-configuration " menu and
confirm by pressing the central button.
►
Press the "
7" or "8" button to select the
"Define the vehicle parameters " menu and
confirm by pressing the central button.
►
Press the "
7" or "8" button to select the
"Driving assistance" category and confirm by
pressing the central button.
Page 158 of 180
156
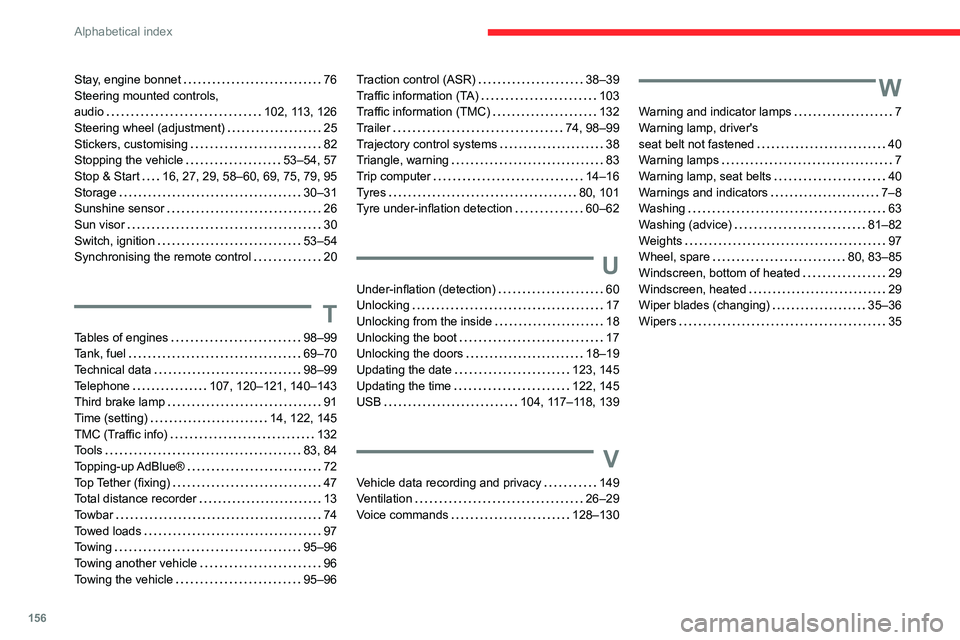
Alphabetical index
Stay, engine bonnet 76
Steering mounted controls,
audio
102, 113, 126
Steering wheel (adjustment)
25
Stickers, customising
82
Stopping the vehicle
53–54, 57
Stop & Start
16, 27, 29, 58–60, 69, 75, 79, 95
Storage
30–31
Sunshine sensor
26
Sun visor
30
Switch, ignition
53–54
Synchronising the remote control
20
T
Tables of engines 98–99
Tank, fuel
69–70
Technical data
98–99
Telephone
107, 120–121, 140–143
Third brake lamp
91
Time (setting)
14, 122, 145
TMC (Traffic info)
132
Tools
83, 84
Topping-up AdBlue®
72
Top Tether (fixing)
47
Total distance recorder
13
Towbar
74
Towed loads
97
Towing
95–96
Towing another vehicle
96
Towing the vehicle
95–96
Traction control (ASR) 38–39
Traffic information (TA)
103
Traffic information (TMC)
132
Trailer
74, 98–99
Trajectory control systems
38
Triangle, warning
83
Trip computer
14–16
Tyres
80, 101
Tyre under-inflation detection
60–62
U
Under-inflation (detection) 60
Unlocking
17
Unlocking from the inside
18
Unlocking the boot
17
Unlocking the doors
18–19
Updating the date
123, 145
Updating the time
122, 145
USB
104, 117–118, 139
V
Vehicle data recording and privacy 149
Ventilation
26–29
Voice commands
128–130
W
Warning and indicator lamps 7
Warning lamp, driver's
seat belt not fastened
40
Warning lamps
7
Warning lamp, seat belts
40
Warnings and indicators
7–8
Washing
63
Washing (advice)
81–82
Weights
97
Wheel, spare
80, 83–85
Windscreen, bottom of heated
29
Windscreen, heated
29
Wiper blades (changing)
35–36
Wipers
35