warning light Citroen C3 2017 2.G Owner's Manual
[x] Cancel search | Manufacturer: CITROEN, Model Year: 2017, Model line: C3, Model: Citroen C3 2017 2.GPages: 450, PDF Size: 10.11 MB
Page 4 of 450
.
.
B618_en_Chap00a_sommaire_ed01-2016
Instrument panels 11
Indicator and warning lamps
1
5
Indic ators
31
D
istance recorders
3
9
Configuration of the equipment on vehicles without a screen
4
0
Monochrome screen C
4
1
Touch screen
4
4
Trip computer
5
0
Setting the date and time
5
4
InstrumentsOver view
Remote control 5
6
Keyless Entry and Starting
5
9
Back-up procedures
6
4
Doors
68
Boot
6
9
Central locking
7
0
Alarm
7
2
Electric windows
7
4
Access
Front seats 76
Rear seats
7
9
Steering wheel adjustment
8
2
Ventilation
8
3
Heating
8
5
Manual air conditioning
8
6
Automatic air conditioning
8
8
Front demist - defrost
9
2
Rear screen demist - defrost
9
3
Courtesy lamp
9
4
Panoramic sunroof
9
5
Boot lamp
9
5
Interior fittings
9
6
Boot fittings
1
00
Rear parcel shelf (enterprise version)
1
02
Ease of use and comfort
Mirrors 10 3
Lighting control
1
05
Direction indicators
1
08
Automatic illumination of headlamps
1
09
Daytime running lamps / Sidelamps
1
10
Headlamp beam height adjustment
1
12
Wiper control stalk
1
13
Automatic rain sensitive wipers
1
15
Lighting and visibility
General safety recommendations 1 17
Hazard warning lamps
1
18
H o r n
11
8
Emergency or assistance
1
19
Electronic stability control (ESC)
1
23
Seat belts
1
26
Airbags
1
29
Child seats
1
34
Deactivating the passenger front airbag
1
37
ISOFIX child seats
1
43
i-Size child seats
1
47
Child lock
1
50
Safety
Eco-driving
Contents
Page 9 of 450
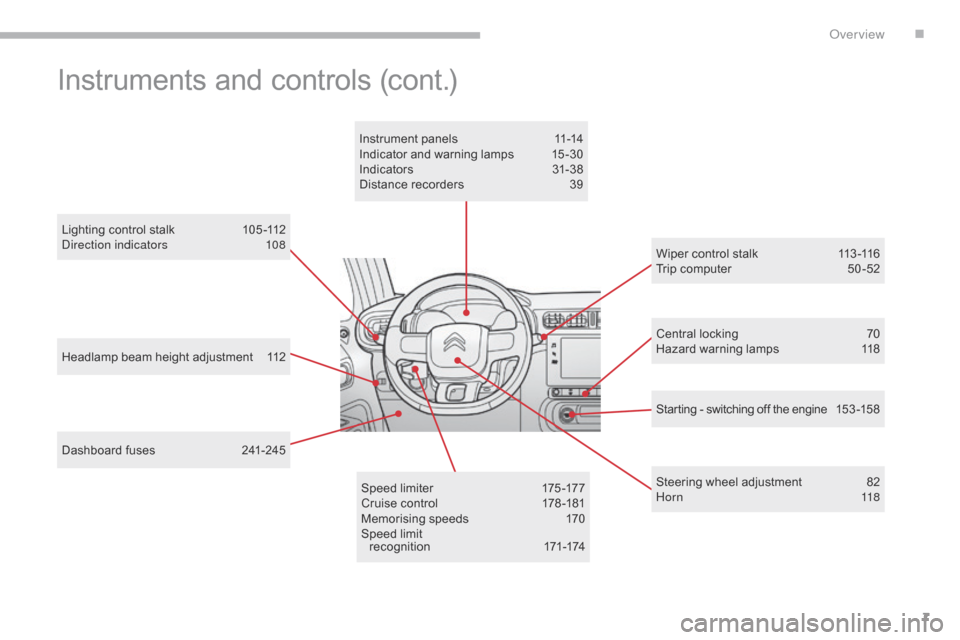
7
B618_en_Chap00b_vue-ensemble_ _ed01-2016
Headlamp beam height adjustment 112
Lighting control stalk
1
05 -112
Direction indicators
1
08
Dashboard fuses
2
41-245 Central locking
7
0
Hazard warning lamps 1 18
Wiper control stalk
1
13 -116
Trip computer
5
0 -52
Speed limiter
1
75 -177
Cruise control
1
78 -181
Memorising speeds
1
70
Speed limit r e c o g n i t i o n
17
1-174
Instrument panels
1
1-14
Indicator and warning lamps
1
5 -30
Indicators
3
1-38
Distance recorders
3
9
Steering wheel adjustment
8
2
H o r n
118
Instruments and controls (cont.)
Starting - switching off the engine 15 3 -15 8
.
Over view
Page 18 of 450
16
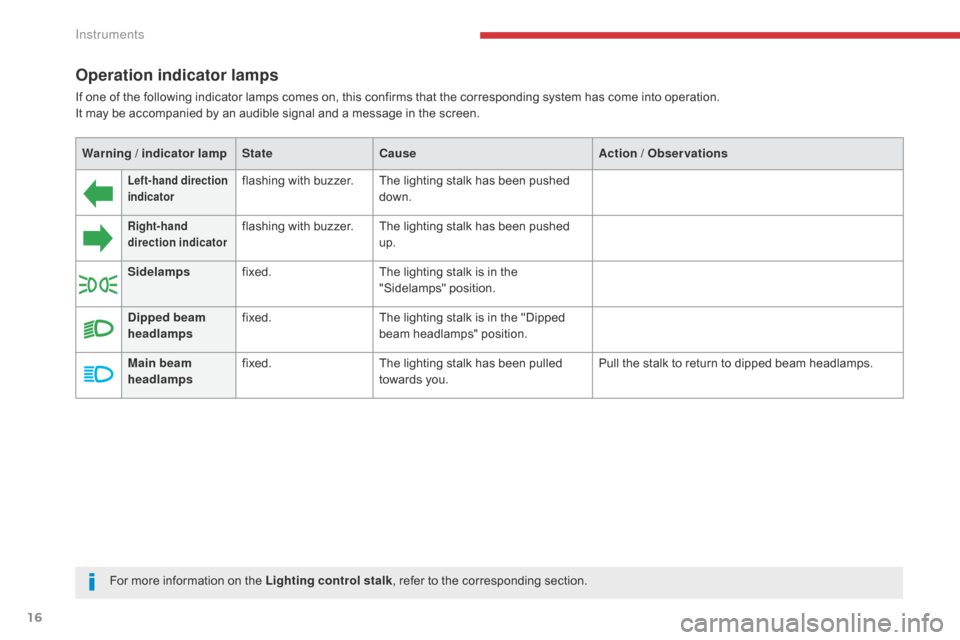
Operation indicator lamps
If one of the following indicator lamps comes on, this confirms that the corresponding system has come into operation.
It may be accompanied by an audible signal and a message in the screen.
Left-hand direction
indicatorflashing with buzzer. The lighting stalk has been pushed
down.
Right-hand
direction indicatorflashing with buzzer.The lighting stalk has been pushed
up.
Sidelamps fixed. The lighting stalk is in the
"Sidelamps" position.
Dipped beam
headlamps fixed.
The lighting stalk is in the "Dipped
beam headlamps" position.
Main beam
headlamps fixed.
The lighting stalk has been pulled
towards you. Pull the stalk to return to dipped beam headlamps.
For more information on the Lighting control stalk , refer to the corresponding section.
Warning / indicator lamp
StateCause Action / Observations
Instruments
Page 19 of 450
17
B618_en_Chap01_Instruments-de-bord_ed01-2016
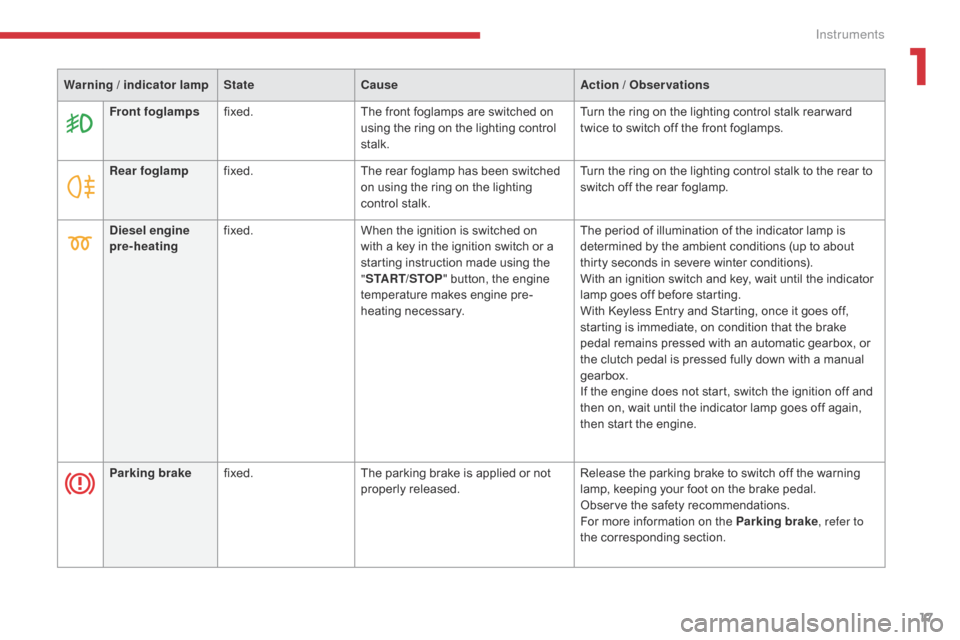
Rear foglampfixed. The rear foglamp has been switched
on using the ring on the lighting
control stalk. Turn the ring on the lighting control stalk to the rear to
switch off the rear foglamp.
Diesel engine
pre-heating fixed.
When the ignition is switched on
with a key in the ignition switch or a
starting instruction made using the
"START/STOP " button, the engine
temperature makes engine pre-
heating necessary. The period of illumination of the indicator lamp is
determined by the ambient conditions (up to about
thirty seconds in severe winter conditions).
With an ignition switch and key, wait until the indicator
lamp goes off before starting.
With Keyless Entry and Starting, once it goes off,
starting is immediate, on condition that the brake
pedal remains pressed with an automatic gearbox, or
the clutch pedal is pressed fully down with a manual
gearbox.
If the engine does not start, switch the ignition off and
then on, wait until the indicator lamp goes off again,
then start the engine.
Parking brake fixed. The parking brake is applied or not
properly released. Release the parking brake to switch off the warning
lamp, keeping your foot on the brake pedal.
Observe the safety recommendations.
For more information on the Parking brake
, refer to
the corresponding section.
Warning / indicator lamp
StateCause Action / Observations
Front foglamps fixed. The front foglamps are switched on
using the ring on the lighting control
stalk. Turn the ring on the lighting control stalk rear ward
twice to switch off the front foglamps.
1
Instruments
Page 20 of 450
18
Warning / indicator lampStateCause Action / Observations
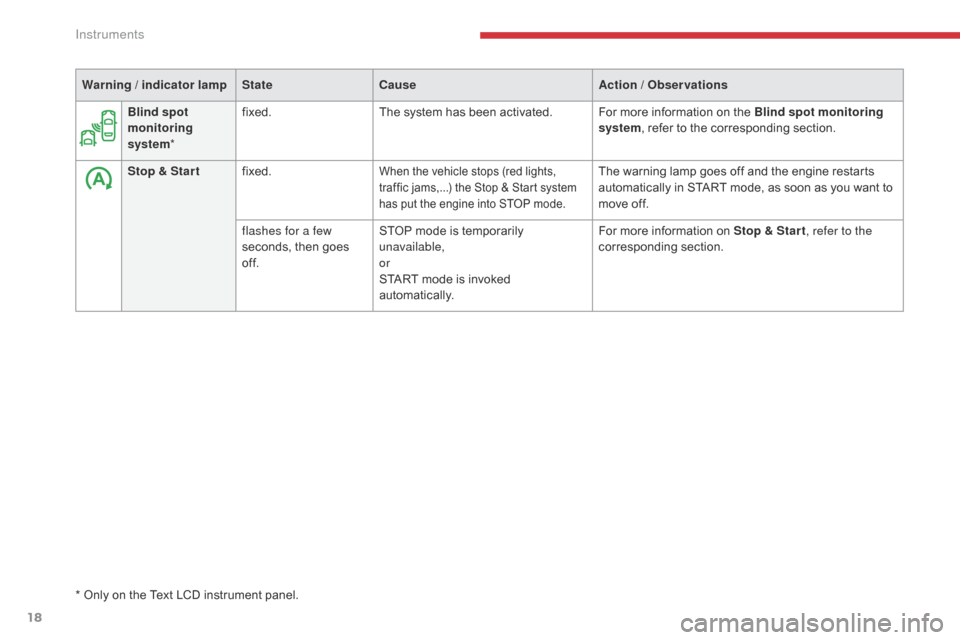
Stop & Star t fixed.
When the vehicle stops (red lights,
traffic jams,...) the Stop & Start system
has put the engine into STOP mode.The warning lamp goes off and the engine restarts
automatically in START mode, as soon as you want to
move off.
flashes for a few
seconds, then goes
of f. STOP mode is temporarily
unavailable,
or
START mode is invoked
automatically. For more information on Stop & Star t
, refer to the
corresponding section.
Blind spot
monitoring
system
* fixed.
The system has been activated. For more information on the Blind spot monitoring
system, refer to the corresponding section.
*
Only on the Text LCD instrument panel.
Instruments
Page 46 of 450
44
Touch screen
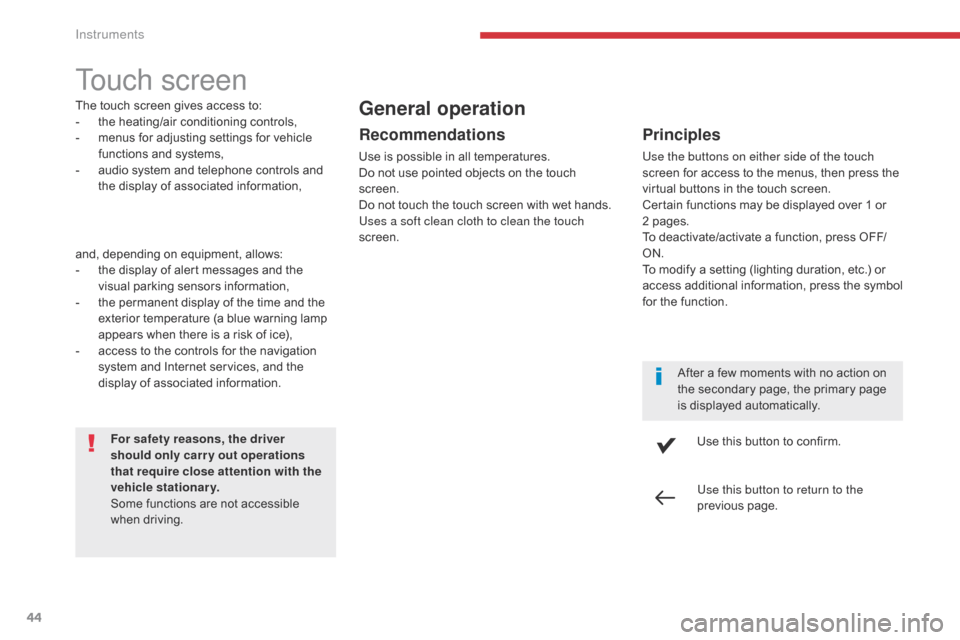
The touch screen gives access to:
- t he heating/air conditioning controls,
-
m
enus for adjusting settings for vehicle
functions and systems,
-
a
udio system and telephone controls and
the display of associated information,
For safety reasons, the driver
should only carr y out operations
that require close attention with the
vehicle stationary.
Some functions are not accessible
when driving.General operation
Recommendations
Use is possible in all temperatures.
Do not use pointed objects on the touch
screen.
Do not touch the touch screen with wet hands.
Uses a soft clean cloth to clean the touch
screen.
Use this button to confirm.
Use this button to return to the
previous page.
Principles
Use the buttons on either side of the touch
screen for access to the menus, then press the
virtual buttons in the touch screen.
Certain functions may be displayed over 1 or
2 pages.
To deactivate/activate a function, press OFF/
ON.
To modify a setting (lighting duration, etc.) or
access additional information, press the symbol
for the function.After a few moments with no action on
the secondary page, the primary page
is displayed automatically.
and, depending on equipment, allows:
-
t
he display of alert messages and the
visual parking sensors information,
-
t
he permanent display of the time and the
exterior temperature (a blue warning lamp
appears when there is a risk of ice),
-
a
ccess to the controls for the navigation
system and Internet services, and the
display of associated information.
Instruments
Page 111 of 450
109
B618_en_Chap04_Eclairage-et-visibilite_ed01-2016
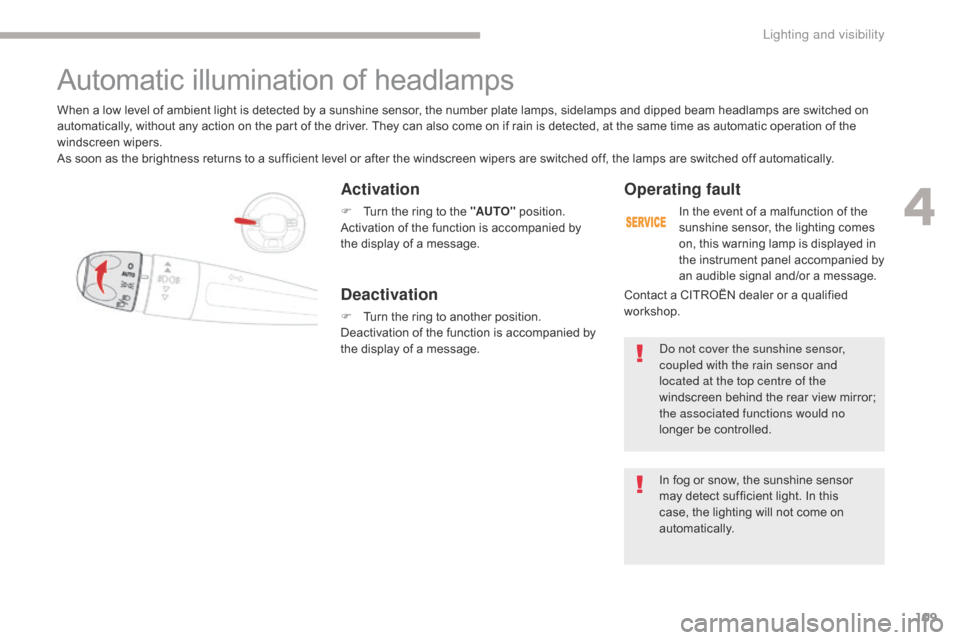
Activation
F Turn the ring to the "AUTO" position.
Activation of the function is accompanied by
the display of a message.
When a low level of ambient light is detected by a sunshine sensor, the number plate lamps,
sidelamps and dipped beam headlamps are switched on
automatically, without any action on the part of the driver. They can also come on if rain is detected, at the same time as automatic operation of the
windscreen wipers.
As soon as the brightness returns to a sufficient level or after the windscreen wipers are switched off, the lamps are switched off automatically.
Deactivation
F Turn the ring to another position.
Deactivation of the function is accompanied by
the display of a message.
Operating fault
In the event of a malfunction of the
sunshine sensor, the lighting comes
on, this warning lamp is displayed in
the instrument panel accompanied by
an audible signal and/or a message.
Do not cover the sunshine sensor,
coupled with the rain sensor and
located at the top centre of the
windscreen behind the rear view mirror;
the associated functions would no
longer be controlled.
Contact a CITROËN dealer or a qualified
workshop.
Automatic illumination of headlamps
In fog or snow, the sunshine sensor
may detect sufficient light. In this
case, the lighting will not come on
automatically.
4
Lighting and visibility
Page 112 of 450
110
B618_en_Chap04_Eclairage-et-visibilite_ed01-2016
Parking lamps
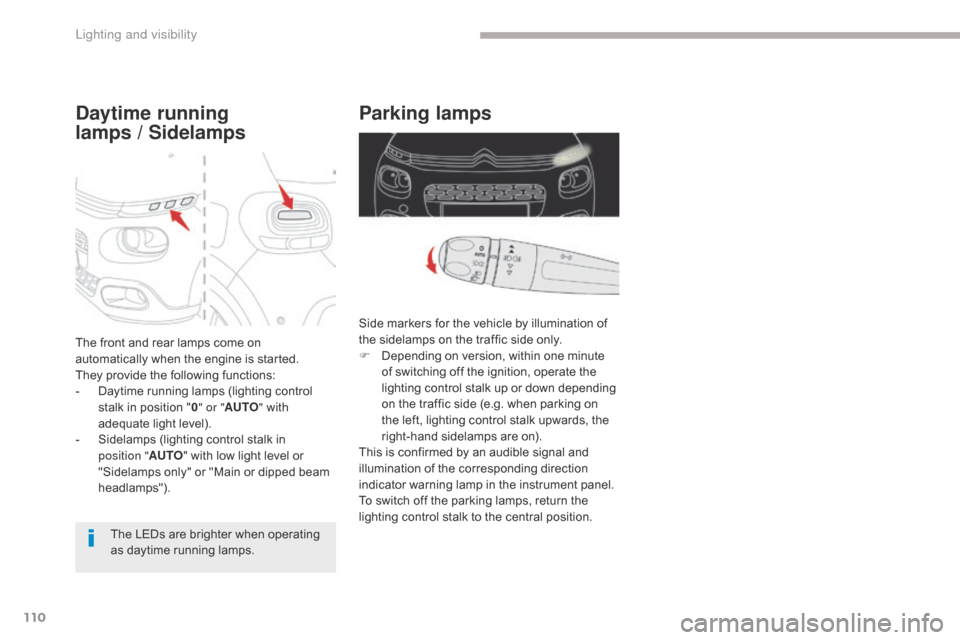
Side markers for the vehicle by illumination of
the sidelamps on the traffic side only.
F
D
epending on version, within one minute
of switching off the ignition, operate the
lighting control stalk up or down depending
on the traffic side (e.g. when parking on
the left, lighting control stalk upwards, the
right-hand sidelamps are on).
This is confirmed by an audible signal and
illumination of the corresponding direction
indicator warning lamp in the instrument panel.
To switch off the parking lamps, return the
lighting control stalk to the central position.
The front and rear lamps come on
automatically when the engine is started.
They provide the following functions:
-
D
aytime running lamps (lighting control
stalk in position " 0" or " AUTO " with
adequate light level).
-
S
idelamps (lighting control stalk in
position " AUTO" with low light level or
"Sidelamps only" or "Main or dipped beam
headlamps").
The LEDs are brighter when operating
as daytime running lamps.
Daytime running
lamps / Sidelamps
Lighting and visibility
Page 126 of 450
124
B618_en_Chap05_securite_ed01-2016
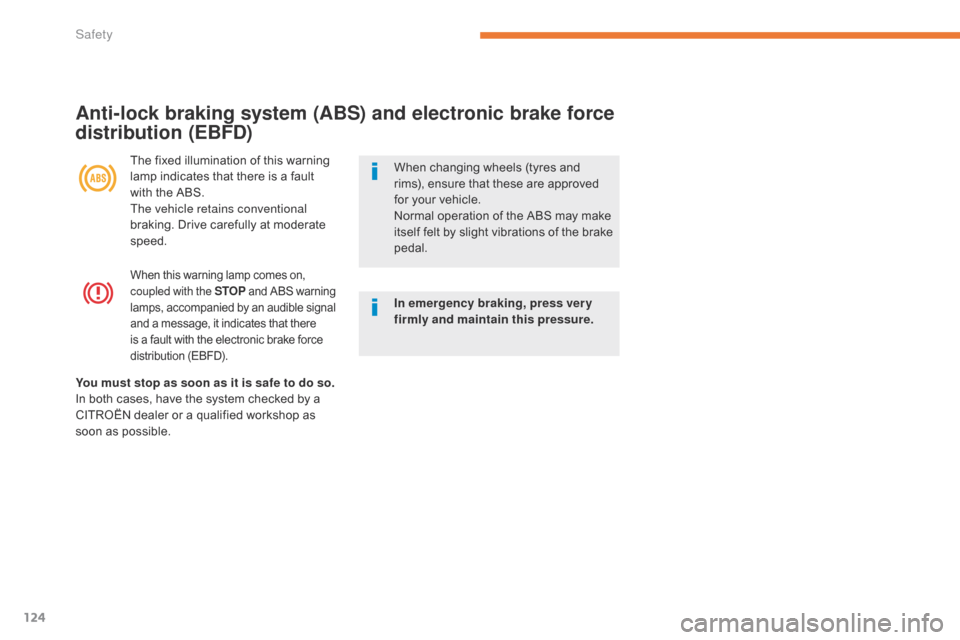
When this warning lamp comes on,
coupled with the STOP and ABS warning
lamps, accompanied by an audible signal
and a message, it indicates that there
is a fault with the electronic brake force
distribution (EBFD).
Anti-lock braking system (ABS) and electronic brake force
distribution (EBFD)
The fixed illumination of this warning
lamp indicates that there is a fault
with the ABS.
The vehicle retains conventional
braking. Drive carefully at moderate
speed. When changing wheels (tyres and
rims), ensure that these are approved
for your vehicle.
Normal operation of the ABS may make
itself felt by slight vibrations of the brake
pedal.
In emergency braking, press ver y
firmly and maintain this pressure.
You must stop as soon as it is safe to do so.
In both cases, have the system checked by a
CITROËN dealer or a qualified workshop as
soon as possible.
Safety
Page 130 of 450
128
B618_en_Chap05_securite_ed01-2016
The driver must ensure that passengers use
the seat belts correctly and that they are all
fastened before setting off.
Wherever you are seated in the vehicle,
always fasten your seat belt, even for short
journeys.
Do not interchange the seat belt buckles as
they will not fulfill their role fully.
The seat belts are fitted with an inertia reel
permitting automatic adjustment of the
length of the strap to your size. The seat belt
is stowed automatically when not in use.
Before and after use, ensure that the seat
belt is reeled in correctly.
The lower part of the strap must be
positioned as low as possible on the pelvis.
The upper part must be positioned in the
hollow of the shoulder.
The inertia reels are fitted with an automatic
locking device which comes into operation in
the event of a collision, emergency braking
or if the vehicle rolls over. You can release
the device by pulling the strap firmly and
then releasing it so that it reels in slightly.
In the event of an impact
Depending on the nature and
seriousness of the impact, the
pretensioning device may be deployed
before and independently of the airbags.
Deployment of the pretensioners is
accompanied by a slight discharge of
harmless smoke and a noise, due to the
activation of the pyrotechnic cartridge
incorporated in the system.
In all cases, the airbag warning lamp
comes
on.
Following an impact, have the seat belts
system checked, and if necessary replaced,
by a CITROËN dealer or a qualified
workshop.
In order to be effective, a seat belt must:
-
b
e tightened as close to the body as
possible,
-
b
e pulled in front of you with a smooth
movement, checking that it does not
twist,
-
b
e used to restrain only one person,
-
n
ot bear any trace of cuts or fraying,
-
n
ot be converted or modified to avoid
affecting its performance.
Recommendations for children
Use a suitable child seat if the passenger is
less than 12 years old or shorter than one
and a half metres.
Never use the same seat belt to secure more
than one person.
Never allow a child to travel on your lap.
For more information on Child seats , refer
to the corresponding section.
In accordance with current safety
regulations, for all repairs on your vehicle's
seat belts, go to a qualified workshop with
the skills and equipment needed, which a
CITROËN dealer is able to provide.
Have your seat belts checked regularly by
a CITROËN dealer or a qualified workshop,
particularly if the straps show signs of
damage.
Clean the seat belt straps with soapy
water or a textile cleaning product, sold by
CITROËN dealers.
After folding or moving a seat or rear bench
seat, ensure that the seat belt is positioned
and reeled in correctly.
Advice
Safety