engine Citroen C5 2017 (RD/TD) / 2.G Manual Online
[x] Cancel search | Manufacturer: CITROEN, Model Year: 2017, Model line: C5, Model: Citroen C5 2017 (RD/TD) / 2.GPages: 348, PDF Size: 10.72 MB
Page 200 of 348

198
C5_en_Chap07_info-pratiques_ed01-2016
In the event of a fault with the SCR emissions control system
These warning lamps come on, accompanied
by an audible signal and the display of the
message "Emissions fault".
The alert is triggered when driving when the
fault is detected for the first time, then when
switching on the ignition for subsequent
journeys, while the fault persists.If it is a temporary fault, the alert
disappears during the next journey,
after self-diagnosis of the SCR system.
During an authorised driving phase (between
650 miles and 0 miles) (1 100 km and 0 km)A system that prevents engine starting
is activated automatically from
650 miles (1 100 km) after confirmation
of a fault with the SCR emissions
control system. Have the system
checked by a CITROËN dealer or a
qualified workshop as soon as possible. In the event of the detection of a fault
If a fault with the SCR system is confirmed
(after 30 miles (50 km) covered with the
permanent display of the message signalling
a fault), these warning lamps come on,
accompanied by an audible signal and the
display of a message (e.g.: "Emissions fault:
Starting prevented in 150 miles") indicating
the remaining range expressed in miles or
kilometres.
While driving, the message is displayed every
30 seconds while the fault with the SCR system
persists.
The alert is repeated when switching on the
ignition.
You should go to a CITROËN dealer or a
qualified workshop as soon as possible.
Other wise, you will not be able to restart your
engine.
Practical information
Page 201 of 348
199
C5_en_Chap07_info-pratiques_ed01-2016
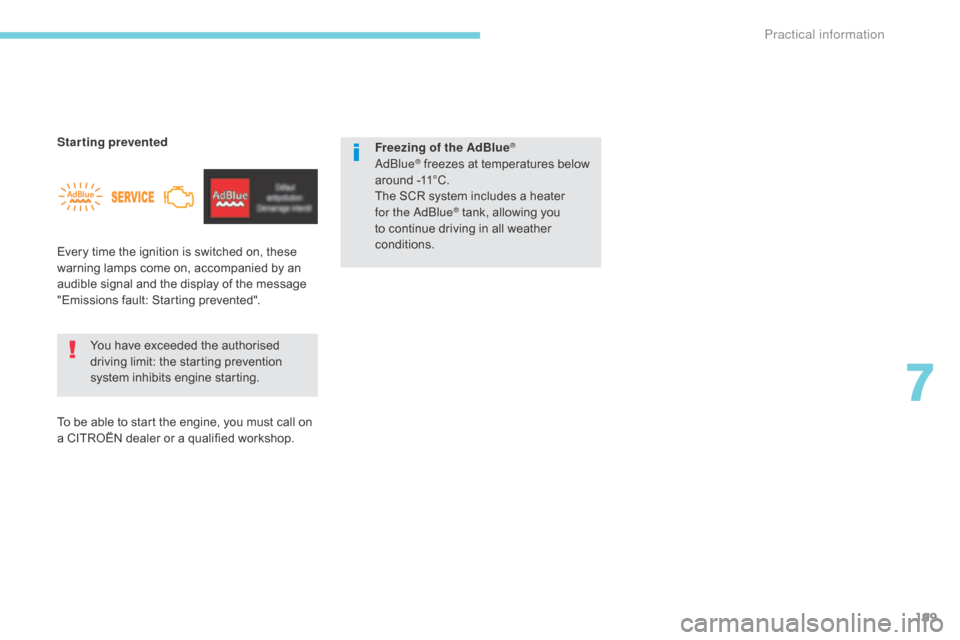
Every time the ignition is switched on, these
warning lamps come on, accompanied by an
audible signal and the display of the message
"Emissions fault: Starting prevented".You have exceeded the authorised
driving limit: the starting prevention
system inhibits engine starting. Freezing of the AdBlue
®
AdBlue® freezes at temperatures below
around -11°C.
The SCR system includes a heater
for the AdBlue
® tank, allowing you
to continue driving in all weather
conditions.
Starting prevented
To be able to start the engine, you must call on
a CITROËN dealer or a qualified workshop.
7
Practical information
Page 204 of 348
202
C5_en_Chap07_info-pratiques_ed01-2016
Closing
F Refit the blue cap to the tank and turn it a 6th of a turn clockwise, to its stop.
F
R
efit the black cap and turn it a quarter of
a turn clockwise without pressing. Ensure
that the indicator on the cap lines up with
the indicator on the support.
F
D
epending on equipment, return the spare
wheel and/or the storage box to the bottom
of the boot.
F
R
efit the boot carpet and close the tailgate.
Important: in the event of a top-up
after a breakdown because of a lack
of AdBlue
®, signalled by the message
"Top up emissions additive: Starting
prevented", you must wait around
5
minutes before switching on the ignition,
without opening the driver's door,
locking the vehicle or introducing the
key into the ignition switch .
Switch on the ignition, then, after
10
seconds, start the engine.
Do not dispose of AdBlue
® bottles or
containers in the household waste.
Place them in a container provided for
this purpose or take them to your dealer.
If any fluid is split or splashed, wash
immediately with cold water or wipe with
a damp cloth.
If the fluid has crystallised, clean it off
using a sponge and hot water.
F
W
ipe away any spillage around the tank
filler using a damp cloth. Important
: if your vehicle's
AdBlue
® tank is completely empty -
w
hich is confirmed by the alert
messages and the impossibility of
starting the engine, you must add at
least 3.8 litres (so two 1.89 litre bottles).
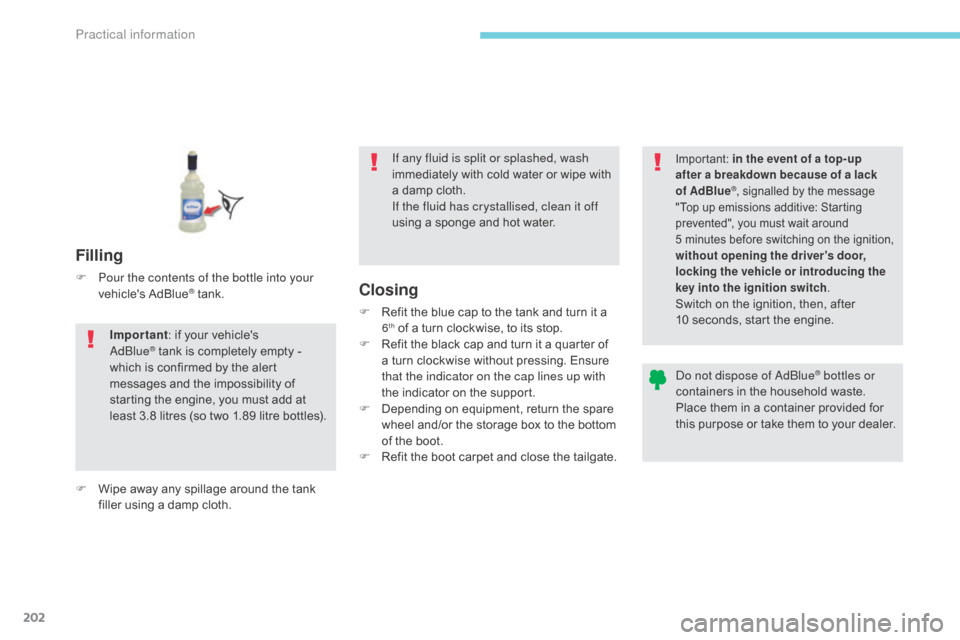
Filling
F Pour the contents of the bottle into your vehicle's AdBlue® tank.
Practical information
Page 205 of 348

203
C5_en_Chap08_en-cas-de-panne_ed01-2016
HDi engines make use of advanced
technology.
For any work on your vehicle, contact
a qualified workshop that has the
skills and equipment required, which a
CITROËN dealer is able to provide.
BlueHDi engines
Running out of fuel (Diesel)
Priming the fuel system
HDi 160 engine
If you run out of fuel:
F a fter filling (minimum 5 litres) and removing
the protective cover to gain access to the
priming pump,
F
o
perate the manual priming pump, until
some resistance is felt,
F
o
perate the starter motor while depressing
the accelerator pedal slightly until the
engine starts. If the engine fails to start at the first attempt,
wait fifteen seconds before trying again.
If the engine fails to start after a few attempts,
operate the priming pump again and then try to
start the engine.
When the engine is idling, accelerate slightly to
complete the bleeding of the circuit.
F
F ill the fuel tank with at least 5 litres of
Diesel.
F
S
witch on the ignition (without starting the
engine).
F
W
ait around 6 seconds and switch off the
ignition.
F
R
epeat the operation 10 times.
F
O
perate the starter to run the engine.
8
In the event of a breakdown
Page 208 of 348

206
C5_en_Chap08_en-cas-de-panne_ed01-2016
Repair procedure
1. Sealing
F Switch off the ignition.
F
T
urn the selector A to the
"sealant" position.
F
C
heck that the switch B is in
position "O" .
Avoid removing any foreign bodies
which have penetrated into the tyre. F
U ncoil the white pipe G fully.
F U nscrew the cap from the white pipe.
F
C
onnect the white pipe to the valve of the
tyre to be repaired.
Take care, this product is harmful if
swallowed and causes irritation to the eyes.
Keep this product out of the reach of
children.
F Connect the compressor's electric plug to the vehicle's 12 V socket.
F
S
tart the vehicle and leave the engine
running.
Do not start the compressor before
connecting the white pipe to the tyre
valve: the sealant product would be
expelled through the pipe.
In the event of a breakdown
Page 210 of 348
208
C5_en_Chap08_en-cas-de-panne_ed01-2016
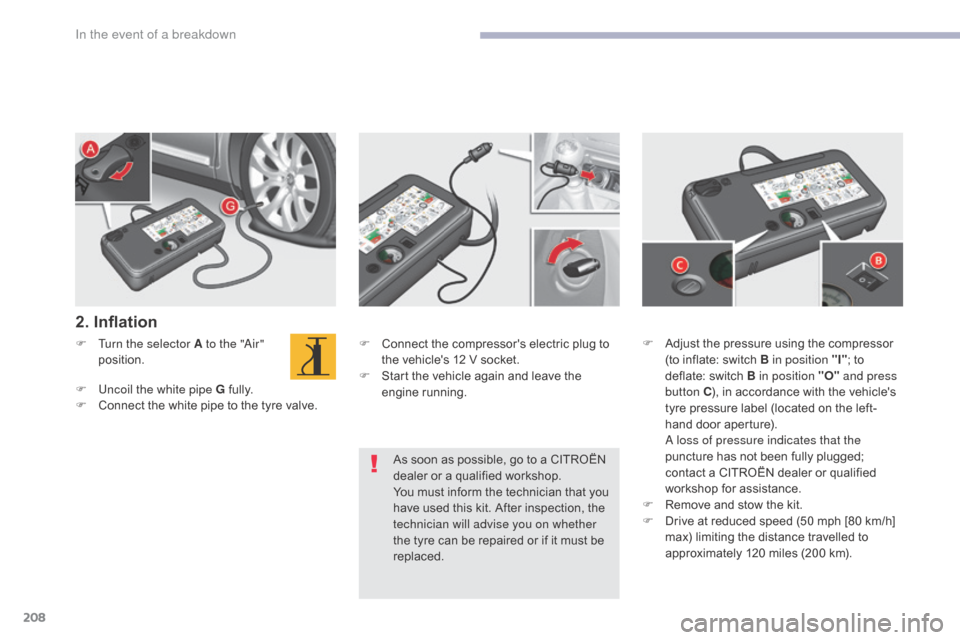
2. Inflation
F Turn the selector A to the "Air" position.
F
U
ncoil the white pipe G fully.
F
C
onnect the white pipe to the tyre valve. F
C onnect the compressor's electric plug to
the vehicle's 12 V socket.
F
S
tart the vehicle again and leave the
engine running.
As soon as possible, go to a CITROËN
dealer or a qualified workshop.
You must inform the technician that you
have used this kit. After inspection, the
technician will advise you on whether
the tyre can be repaired or if it must be
replaced. F
A djust the pressure using the compressor
(to inflate: switch B in position "I" ; to
deflate: switch B in position "O" and press
button C ), in accordance with the vehicle's
tyre pressure label (located on the left-
hand door aperture).
A l
oss of pressure indicates that the
puncture has not been fully plugged;
contact a CITROËN dealer or qualified
workshop for assistance.
F
R
emove and stow the kit.
F
D
rive at reduced speed (50 mph [80 km/h]
max) limiting the distance travelled to
approximately 120 miles (200 km).
In the event of a breakdown
Page 212 of 348
210
C5_en_Chap08_en-cas-de-panne_ed01-2016
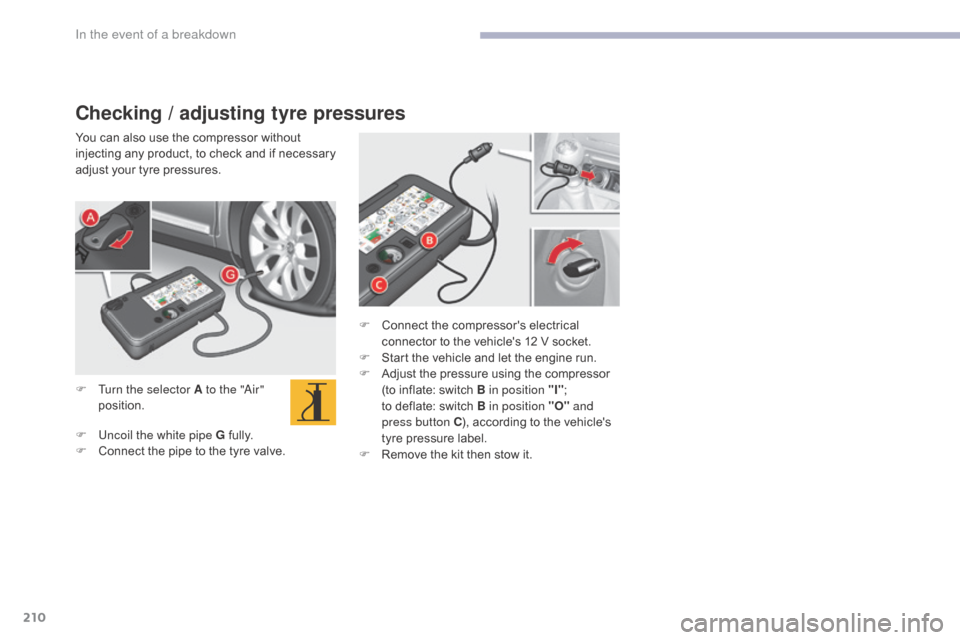
Checking / adjusting tyre pressures
You can also use the compressor without
injecting any product, to check and if necessary
adjust your tyre pressures.
F
T
urn the selector A to the "Air"
position.
F
U
ncoil the white pipe G fully.
F
C
onnect the pipe to the tyre valve. F
C
onnect the compressor's electrical
connector to the vehicle's 12 V socket.
F
S
tart the vehicle and let the engine run.
F
A
djust the pressure using the compressor
(to inflate: switch B in position "I" ;
to
deflate: switch B in position "O" and
press button C ), according to the vehicle's
tyre pressure label.
F
R
emove the kit then stow it.
In the event of a breakdown
Page 216 of 348
214
C5_en_Chap08_en-cas-de-panne_ed01-2016
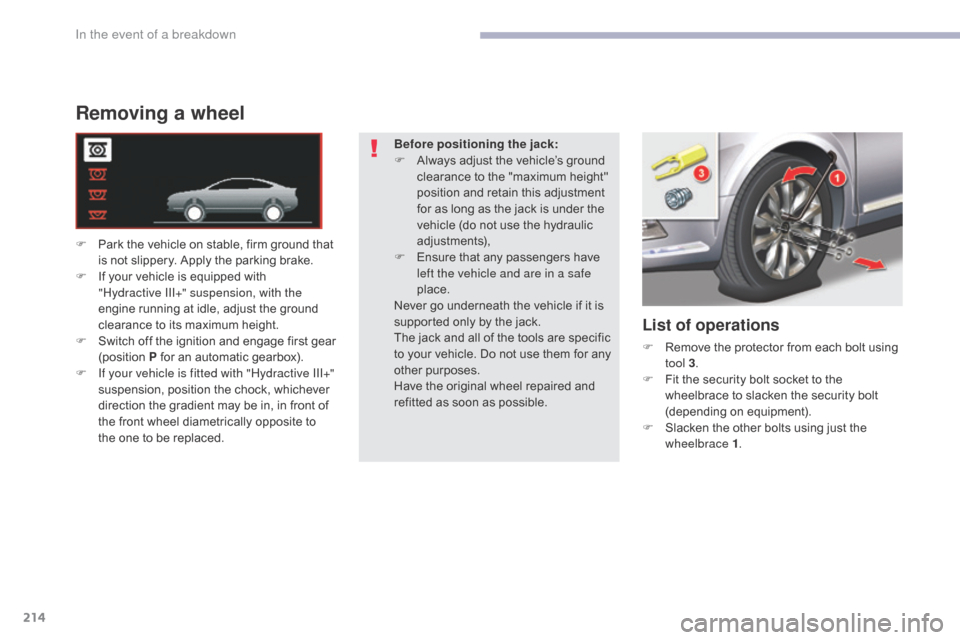
Removing a wheel
F Park the vehicle on stable, firm ground that is not slippery. Apply the parking brake.
F
I
f your vehicle is equipped with
"Hydractive
III+" suspension, with the
engine running at idle, adjust the ground
clearance to its maximum height.
F
S
witch off the ignition and engage first gear
(position P for an automatic gearbox).
F
I
f your vehicle is fitted with "Hydractive III+"
suspension, position the chock, whichever
direction the gradient may be in, in front of
the front wheel diametrically opposite to
the one to be replaced.
List of operations
F Remove the protector from each bolt using tool 3 .
F
F
it the security bolt socket to the
wheelbrace to slacken the security bolt
(depending on equipment).
F
S
lacken the other bolts using just the
wheelbrace 1 .
Before positioning the jack:
F
A
lways adjust the vehicle’s ground
clearance to the "maximum height"
position and retain this adjustment
for as long as the jack is under the
vehicle (do not use the hydraulic
adjustments),
F
E
nsure that any passengers have
left the vehicle and are in a safe
place.
Never go underneath the vehicle if it is
supported only by the jack.
The jack and all of the tools are specific
to your vehicle. Do not use them for any
other purposes.
Have the original wheel repaired and
refitted as soon as possible.
In the event of a breakdown
Page 234 of 348
232
C5_en_Chap08_en-cas-de-panne_ed01-2016
Fusebox C
Fuse N°Rating Function
F1 15 ARear screen wipe (Tourer)
F2 30 ALocking and deadlocking relay
F3 5 AAirbags
F4 10 AAutomatic gearbox - Additional heater unit (Diesel) - Electrochrome rear view mirrors
F5 30 AFront windows - Sun roof - Passenger door lighting - Passenger door mirror adjustment
F6 30 ARear windows
F7 5 AVanity mirror lighting - Glove box lighting - Interior lamps - Torch (Tourer)
F8 20 AAudio system - Steering mounted controls - Screen - Under-inflation detection - Electric boot ECU
F9 30 ACigarette lighter - Front 12 V socket
F10 15 AAlarm - Steering mounted controls, lighting, signalling and wiper stalks
F11 15 ALow current anti-theft switch
F12 15 ADriver’s electric seat - Instrument panel - Seat belt not fastened warning lamps - Air conditioning controls
F13 5 AEngine relay unit - Hydraulic suspension pump cut-off relay - Airbags ECU supply
F14 15 ARain and sunshine sensor - Parking sensors - Passenger’s electric seat - Trailer relay unit - Hi-Fi amplifier ECU -
Hands-free kit - Lane Departure Warning System
F15 30 ALocking and deadlocking relay
F17 40 AHeated rear screen - Heated door mirrors
FSH SHUNTPA R K S H U NT
In the event of a breakdown
Page 235 of 348
233
C5_en_Chap08_en-cas-de-panne_ed01-2016
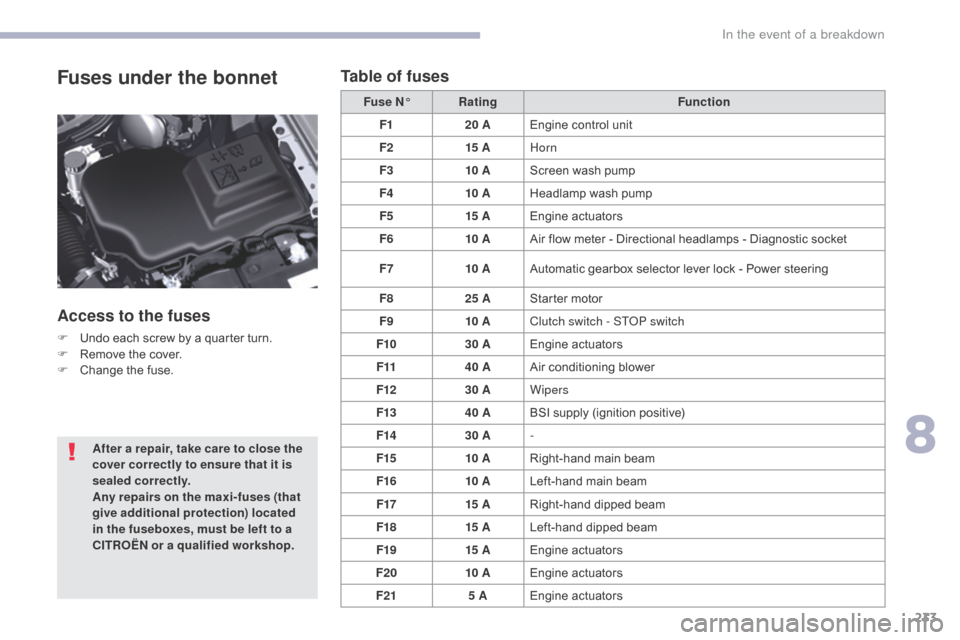
Fuses under the bonnet
Access to the fuses
F Undo each screw by a quarter turn.
F R emove the cover.
F
C
hange the fuse. Fuse N°
Rating Function
F1 20 AEngine control unit
F2 15 AHorn
F3 10 AScreen wash pump
F4 10 AHeadlamp wash pump
F5 15 AEngine actuators
F6 10 AAir flow meter - Directional headlamps - Diagnostic socket
F7 10 AAutomatic gearbox selector lever lock - Power steering
F8 25 AStarter motor
F9 10 AClutch switch - STOP switch
F10 30 AEngine actuators
F11 40 AAir conditioning blower
F12 30 AWipers
F13 40 ABSI supply (ignition positive)
F14 30 A-
F15 10 ARight-hand main beam
F16 10 ALeft-hand main beam
F17 15 ARight-hand dipped beam
F18 15 ALeft-hand dipped beam
F19 15 AEngine actuators
F20 10 AEngine actuators
F21 5 AEngine actuators
After a repair, take care to close the
cover correctly to ensure that it is
sealed correctly.
Any repairs on the maxi-fuses (that
give additional protection) located
in the fuseboxes, must be left to a
CITROËN or a qualified workshop.
Table of fuses
8
In the event of a breakdown