buttons Citroen C5 RHD 2014.5 (RD/TD) / 2.G Owner's Manual
[x] Cancel search | Manufacturer: CITROEN, Model Year: 2014.5, Model line: C5 RHD, Model: Citroen C5 RHD 2014.5 (RD/TD) / 2.GPages: 344, PDF Size: 12.9 MB
Page 4 of 344
.
.
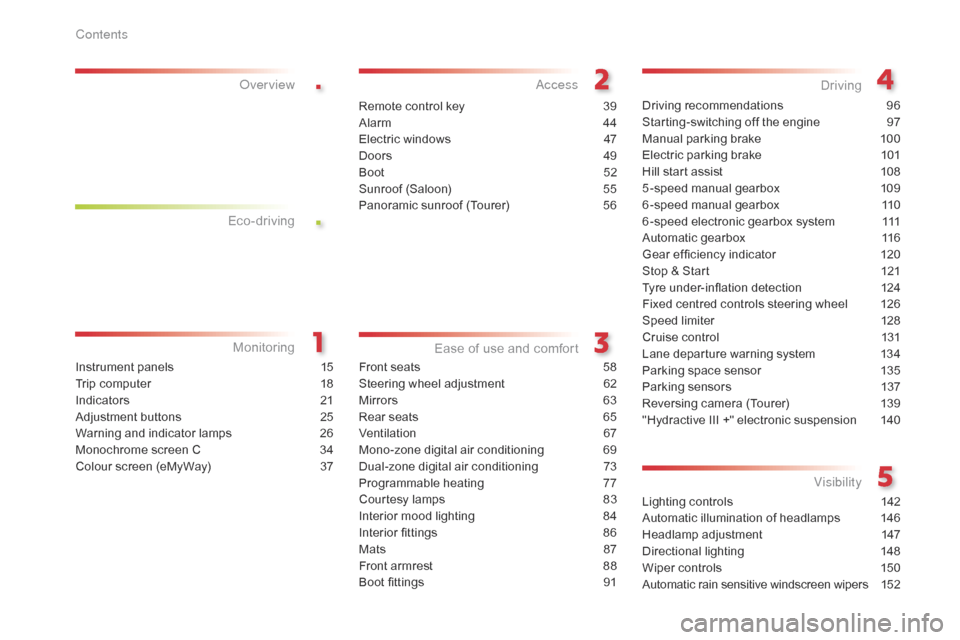
Instrument panels 15
Trip computer
1
8
Indicators
21
A
djustment buttons
2
5
Warning and indicator lamps
2
6
Monochrome screen C
3
4
Colour screen (eMyWay)
3
7
over view
Front seats 58
Steering wheel adjustment
6
2
Mirrors
6
3
Rear seats
6
5
Ventilation
6
7
Mono-zone digital air conditioning
6
9
Dual-zone digital air conditioning
7
3
Programmable heating
7
7
Courtesy lamps
8
3
Interior mood lighting
8
4
Interior fittings
8
6
Mats
87
F
ront armrest
8
8
Boot fittings
9
1Driving recommendations
9
6
Starting-switching off the engine
9
7
Manual parking brake
1
00
Electric parking brake
1
01
Hill start assist
1
08
5 -speed manual gearbox
1
09
6 -speed manual gearbox
1
10
6 -speed electronic gearbox system
1
11
Automatic gearbox
1
16
Gear ef ficiency indicator
1
20
Stop & Start
1
21
Tyre under-inflation detection
1
24
Fixed centred controls steering wheel
1
26
Speed limiter
1
28
Cruise control
1
31
Lane departure warning system 1 34
Parking space sensor 1 35
Parking sensors
1
37
Reversing camera (Tourer)
1
39
"Hydractive III +" electronic suspension
1
40
Lighting controls
1
42
Automatic illumination of headlamps
1
46
Headlamp adjustment
1
47
Directional lighting
1
48
Wiper controls
1
50
Automatic rain sensitive windscreen wipers
1
52
Eco-drivingMonitoring
a
ccess
Ease of use and comfort Driving
Visibility
Remote control key 3 9
Alarm
4
4
Electric windows
4
7
Doors
4
9
Boot
5
2
Sunroof (Saloon)
5
5
Panoramic sunroof (Tourer)
5
6
Contents
Page 9 of 344
7
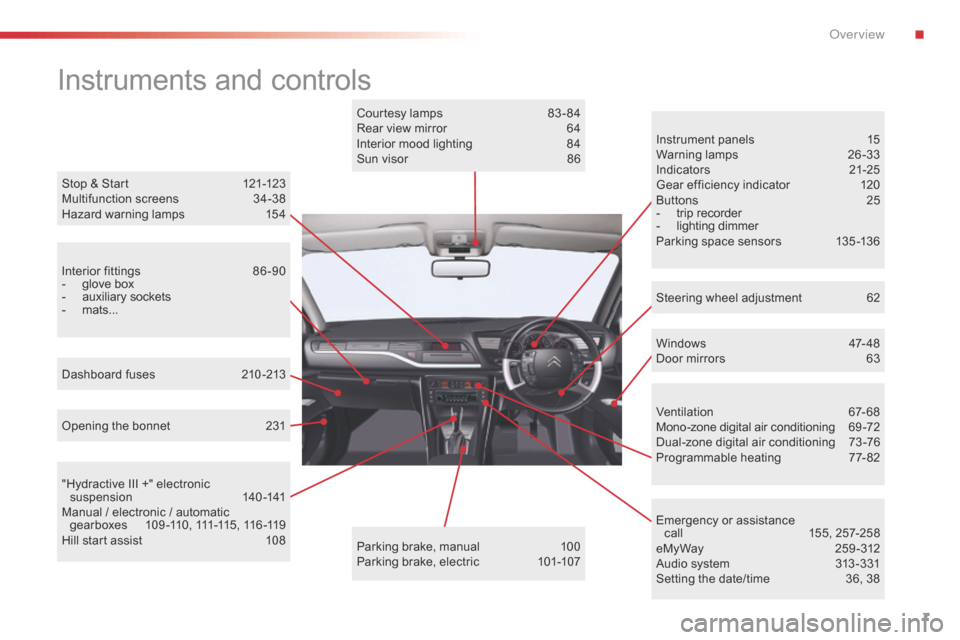
Instruments and controls
Instrument panels 15
Warning lamps 2 6-33
Indicators
2
1-25
Gear efficiency indicator
1
20
Buttons
2
5
-
trip recorder
-
lighting dimmer
P
arking space sensors
1
35 -136
Windows
4
7- 48
Door mirrors
6
3
Opening the bonnet
2
31
Dashboard fuses
2
10 -213
"Hydractive III +" electronic suspension
14
0 -141
Manual / electronic / automatic g e a r b o x e s
1
0 9 -11 0 , 111 -115 , 11 6 -11 9
Hill start assist
1
08 Courtesy lamps
8
3 - 84
Rear view mirror
6
4
Interior mood lighting
8
4
Sun visor
8
6
Parking brake, manual
1
00
Parking brake, electric
1
01-107
Stop & Start
1
21-123
Multifunction screens
3
4-38
Hazard warning lamps
1
54
Ventilation
6
7-68
Mono-zone digital air conditioning
6
9 -72
Dual-zone digital air conditioning
7
3-76
Programmable heating
7
7-82
Emergency or assistance call
1
55, 257-258
e My Way
2
59 - 312
Audio system
3
13 -331
Setting the date/time
3
6, 38
Steering wheel adjustment
6
2
Interior fittings
8
6 -90
-
glove box
-
auxiliary sockets
-
mats...
.
O
Page 27 of 344
25
Distance recordersLighting dimmer
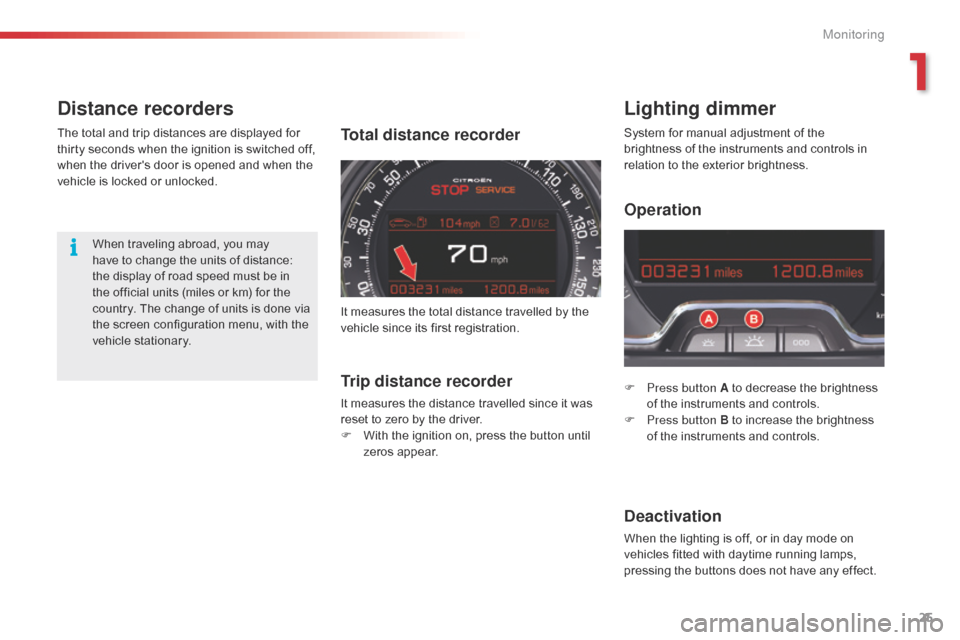
F Press button A to decrease the brightness
of the instruments and controls.
F
P
ress button B to increase the brightness
of the instruments and controls.
Deactivation
When the lighting is off, or in day mode on
vehicles fitted with daytime running lamps,
pressing the buttons does not have any effect.
Total distance recorder
When traveling abroad, you may
have to change the units of distance:
the display of road speed must be in
the official units (miles or km) for the
country. The change of units is done via
the screen configuration menu, with the
vehicle stationary.
The total and trip distances are displayed for
thirty seconds when the ignition is switched off,
when the driver's door is opened and when the
vehicle is locked or unlocked.
System for manual adjustment of the
brightness of the instruments and controls in
relation to the exterior brightness.
Trip distance recorder
It measures the distance travelled since it was
reset to zero by the driver.
F
W
ith the ignition on, press the button until
zeros appear.
It measures the total distance travelled by the
vehicle since its first registration.
Operation
1
Monitoring
Page 45 of 344
43
Lost keys
Go to a CITROËN dealer with the vehicle's registration document, your personal
identification documents and if possible the key code label.
The CITROËN dealer will be able to look up the key code and the transponder code
required to order a new key.
Remote control
The high frequency remote control is a sensitive system; do not operate it while it is in your
pocket as there is a possibility that it may unlock the vehicle, without you being aware of it.
Do not repeatedly press the buttons of your remote control out of range and out of sight of
your vehicle. You run the risk of stopping it from working and the remote control would have
to be reinitialised.
No remote control can operate when the key is in the ignition switch, even when the ignition
is switched off, except for reinitialisation.
Locking the vehicle
Driving with the doors locked may make access to the passenger compartment by the
emergency services more difficult in an emergency.
As a safety precaution, never leave children alone in the vehicle, except for a very short
period.
In all cases, it is essential to remove the key from the ignition switch when leaving the vehicle.
Anti-theft protection
Do not make any modifications to the electronic engine immobiliser system; this could
cause malfunctions.
When purchasing a second-hand vehicle
Have the pairing of all of the keys in your possession checked by a CITROËN dealer, to
ensure that only your keys can be used to open and start the vehicle.Do not throw the remote control
batteries away, they contain metals
which are harmful to the environment.
Take them to an approved collection
point.
2
Access
Page 63 of 344
61
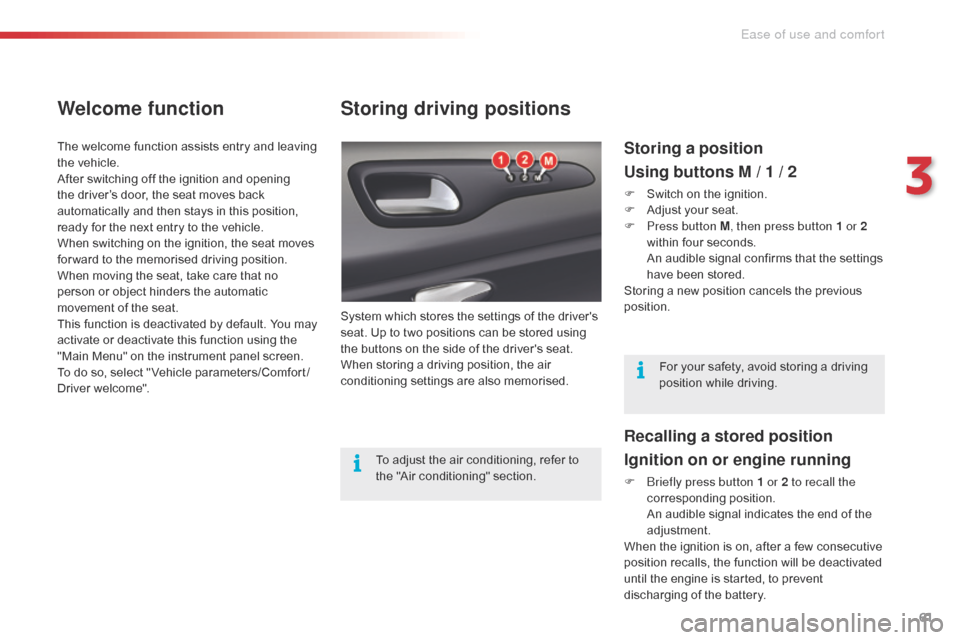
Storing driving positions
System which stores the settings of the driver's
seat. Up to two positions can be stored using
the buttons on the side of the driver's seat.
When storing a driving position, the air
conditioning settings are also memorised.
Storing a position
Using buttons M / 1 / 2
F Switch on the ignition.
F A djust your seat.
F
P
ress button M , then press button 1 or 2
within four seconds.
A
n audible signal confirms that the settings
have been stored.
Storing a new position cancels the previous
position.
Welcome function
The welcome function assists entry and leaving
the vehicle.
After switching off the ignition and opening
the driver’s door, the seat moves back
automatically and then stays in this position,
ready for the next entry to the vehicle.
When switching on the ignition, the seat moves
for ward to the memorised driving position.
When moving the seat, take care that no
person or object hinders the automatic
movement of the seat.
This function is deactivated by default. You may
activate or deactivate this function using the
"Main Menu" on the instrument panel screen.
To do so, select " Vehicle parameters/Comfort /
Driver welcome".
To adjust the air conditioning, refer to
the "Air conditioning" section.For your safety, avoid storing a driving
position while driving.
Recalling a stored position
Ignition on or engine running
F briefly press button 1 or 2 to recall the
corresponding position.
A
n audible signal indicates the end of the
adjustment.
When the ignition is on, after a few consecutive
position recalls, the function will be deactivated
until the engine is started, to prevent
discharging of the battery.
3
Ease of use and comfort
Page 79 of 344

77
Programmable heating
The programmable heating operates
independently of the engine.
When the engine is off, it pre-heats the coolant
circuit in order to benefit from an optimum
engine operating temperature from the time the
engine is switched on.
The programmable heating system is switched
on using the long range remote control.
Activation can be immediate or deferred by
means of a programming function.The heating system programming remote
control consists of the following buttons and
displays:
1.
S
crolling functions menu buttons.
2.
F
unction indicators: clock, temperature,
operating time, programmed time, heater
operation, heating management symbols.
3.
D
igital displays: time, temperature, duration
of operation, programmed time or level of
heating.
4.
O
ff button.
5.
O
n button.Displays on the remote
control screen
If a malfunction of the programmable
heating system occurs, contact a CITROËN
dealer or a qualified workshop .
Programming remote
control
3
Ease of use and comfort
Page 80 of 344

78
Setting the time
Once the time has been displayed, by means
of the buttons 1, press buttons 4 and 5
simultaneously within 10 seconds.
Immediate activation
Press button 5 (ON) until the message "OK" appears.
When the signal has been received, the message
"OK" is displayed along with the duration of
operation.
This symbol flashes.
Set the time using the buttons 1 .
Press buttons 4 and 5 simultaneously to save it.
This symbol is displayed (fixed). The heater starts and this symbol is
displayed.
To deactivate the function, press button 4
(OFF) until the message "OK" appears.
This symbol is switched off.
Press the buttons 1 in succession to display the
functions.
The first press of the left-hand or right-hand
button displays the time.
Next, the left-hand button permits access to the
programming time then to the level of heating
(C1 to C5).
The right-hand button permits access to the
passenger compartment temperature then to
the duration of operation of the heater if it is to
be switched on immediately.
Displaying the functions
The passenger compartment temperature
information is only available when the engine is off.When carrying out these operations, if
the message
" F A I L" appears, the signal
has not been received. Repeat the
procedure after changing your location.
Ease of use and comfort
Page 81 of 344

79
Press the buttons 1 to display the duration of
operation.
Setting the duration of
operation
This symbol is displayed.
Once the duration of operation has
been displayed, press buttons 4 and 5
simultaneously within 10 seconds. This symbol flashes. Set the duration by pressing the buttons 1
(adjustment in steps of 10
mins and max value
30 mins).
Press buttons 4 and 5 simultaneously to save
the duration of operation.
This symbol is displayed (fixed).
The factory setting value is 30 minutes.
3
Ease of use and comfort
Page 82 of 344

80
Programming the heating
Programming the departure time
Press the buttons 1 to display the programming
time.
Activation - deactivation
Once the programming time has been
displayed by means of the buttons 1, press
button 5 (ON) until the message "OK" appears.
This symbol is displayed.
Once the programming time has been
displayed, press buttons 4 and 5
simultaneously within 10 seconds. This symbol flashes.
Set the time by pressing the buttons
1 and
press buttons 4 and 5 simultaneously to save it.
This symbol is displayed (fixed). This symbol is displayed when the
heater starts. When the signal has been received,
the message "OK"
is displayed along
with the symbol "HTM" .
To deactivate the programming, press button 4
(OFF) until the message "OK" appears.
The symbol "HTM" is switched off.
You must programme your departure time in
order for the system to calculate the optimum
heater start time automatically.
HTM: Heat Thermo Management.
When carrying out these operations, if
the message " F A I L" appears, the signal
has not been received. Repeat the
procedure after changing your location.
Ease of use and comfort
Page 83 of 344

81
Switching off the heating
Press button 5 (ON).The symbol "HTM" remains on.
Changing the level of heating
The system offers 5 levels of heating (from the
lowest level C1 to the highest level C5 ).
Once the level of heating has been displayed
by means of the buttons
1, press buttons 4 and
5 simultaneously.
The letter "C" flashes.
Set the level of heating by pressing the
buttons 1 .
Press buttons 4 and 5 simultaneously to save
the level selected. The letter "C" is displayed
(fixed). The factory pre-sets are replaced by the
new settings entered. The programmed
times are stored until the next time they
are changed.
When the departure time is activated,
the level of heating cannot be changed.
The departure time must be deactivated
first.
Changing the battery
The remote control is supplied by a
6V-28L battery, which is supplied.
Information on the display indicates when it is
time to replace this battery.
Unclip the casing then replace the battery.
The remote control must then be reinitialised,
see below.
Do not discard the used batteries, take
them to an approved collection point.
3
Ease of use and comfort