Citroen CX 1982 1.G Owner's Guide
CX 1982 1.G
Citroen
Citroen
https://www.carmanualsonline.info/img/9/4131/w960_4131-0.png
Citroen CX 1982 1.G Owner's Guide
Trending: handbrake, key battery, battery capacity, fuse diagram, coolant level, air conditioning, fuel cap
Page 31 of 394
Downloaded from www.Manualslib.com manuals search engine
Page 32 of 394
Downloaded from www.Manualslib.com manuals search engine
Page 33 of 394
Downloaded from www.Manualslib.com manuals search engine
Page 34 of 394
Downloaded from www.Manualslib.com manuals search engine
Page 35 of 394
Downloaded from www.Manualslib.com manuals search engine
Page 36 of 394
Downloaded from www.Manualslib.com manuals search engine
Page 37 of 394
Downloaded from www.Manualslib.com manuals search engine
Page 38 of 394
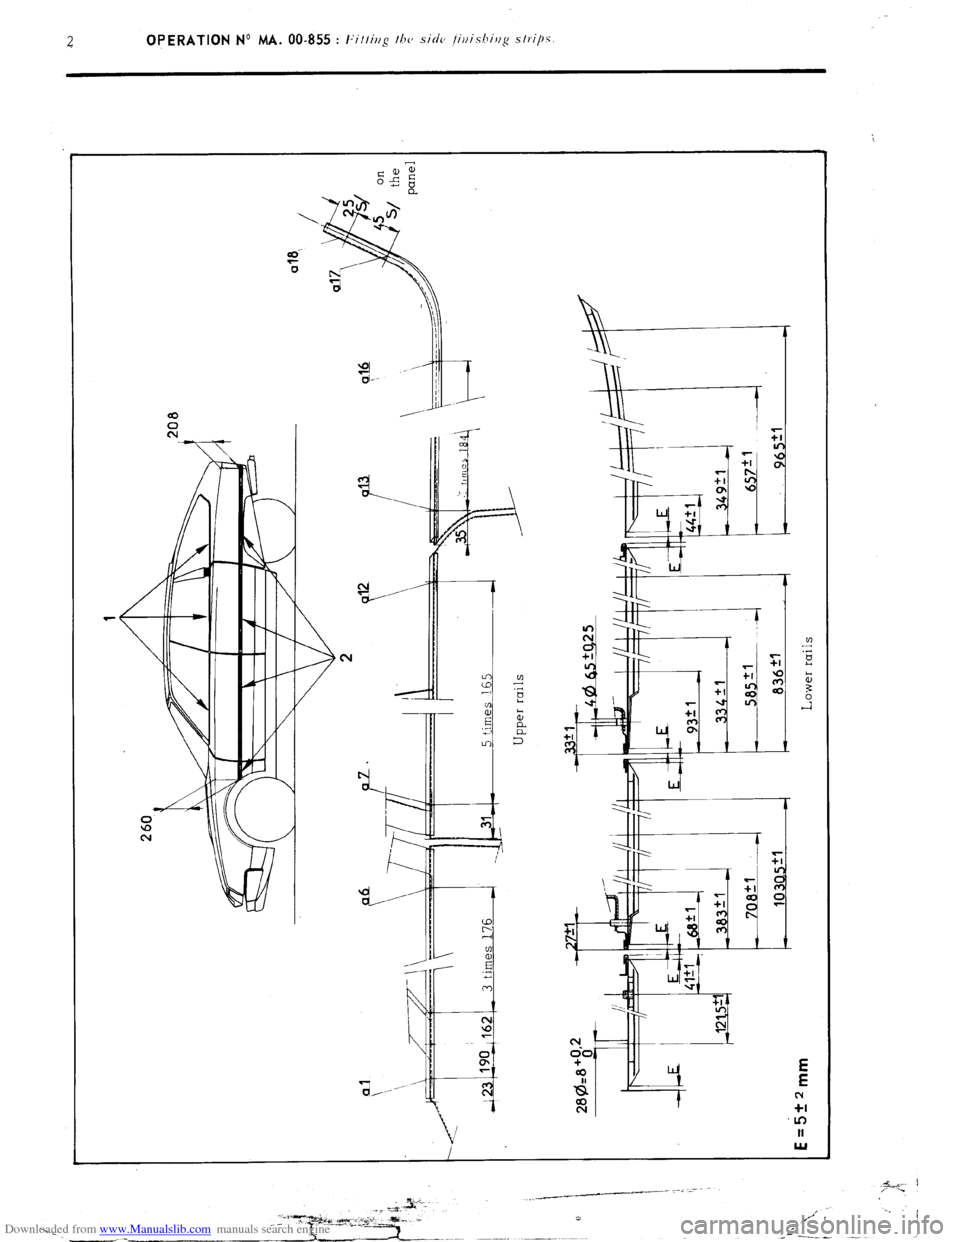
Downloaded from www.Manualslib.com manuals search engine OPERATION No MA. 00-855 : l:itting the side jirlis/Ji>lg strips. op. MA. 00-855 1
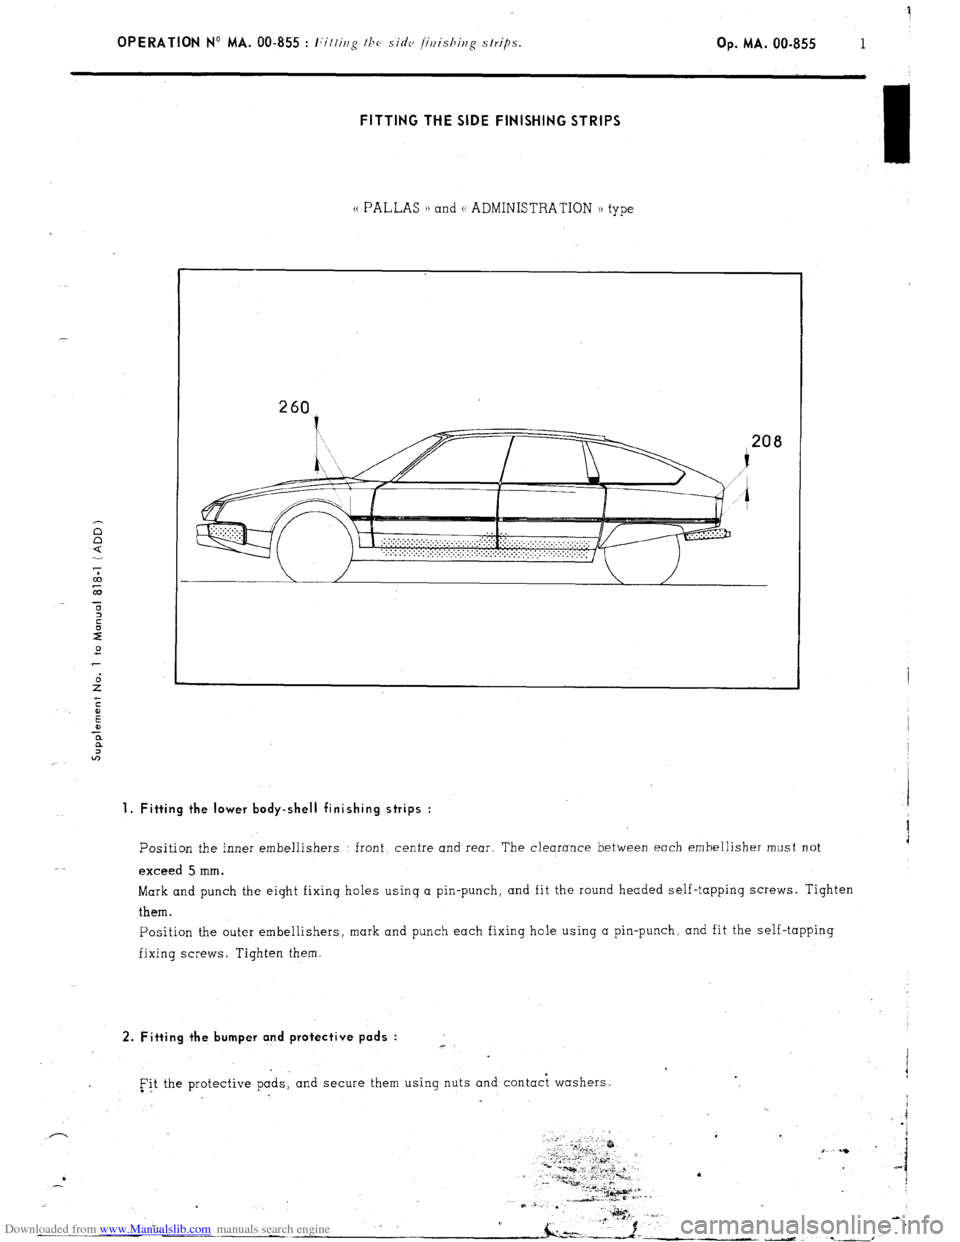
FITTING THE SIDE FINISHING STRIPS
u PALLAS )) and (( ADMINISTRATION u type
260
.I
1. Fitting the lower body-shell finishing strips :
Position the inner embellishers : front, centre and rear. The clearance between each embellisher must not
exceed 5 mm.
Mark and punch the eight fixing holes using
a pin-punch, and fit the round headed self-tapping screws. Tighten
them.
Position the outer embellishers, mark and punch each fixing hole using a pin-punch, and fit the self-tapping
fixing screws. Tighten them.
2. Fitting the bumper and protective pads :
e
I
Fit the protective pads, and secure them using nuts and contaci washers. i -
1
i
.*
-1 - i --
-_ !
’
..-*
Page 39 of 394
Downloaded from www.Manualslib.com manuals search engine
Page 40 of 394
Downloaded from www.Manualslib.com manuals search engine OPERATION No MA. 00-855 : Fitting the side finishing strips. Op. MA. 00-855 3
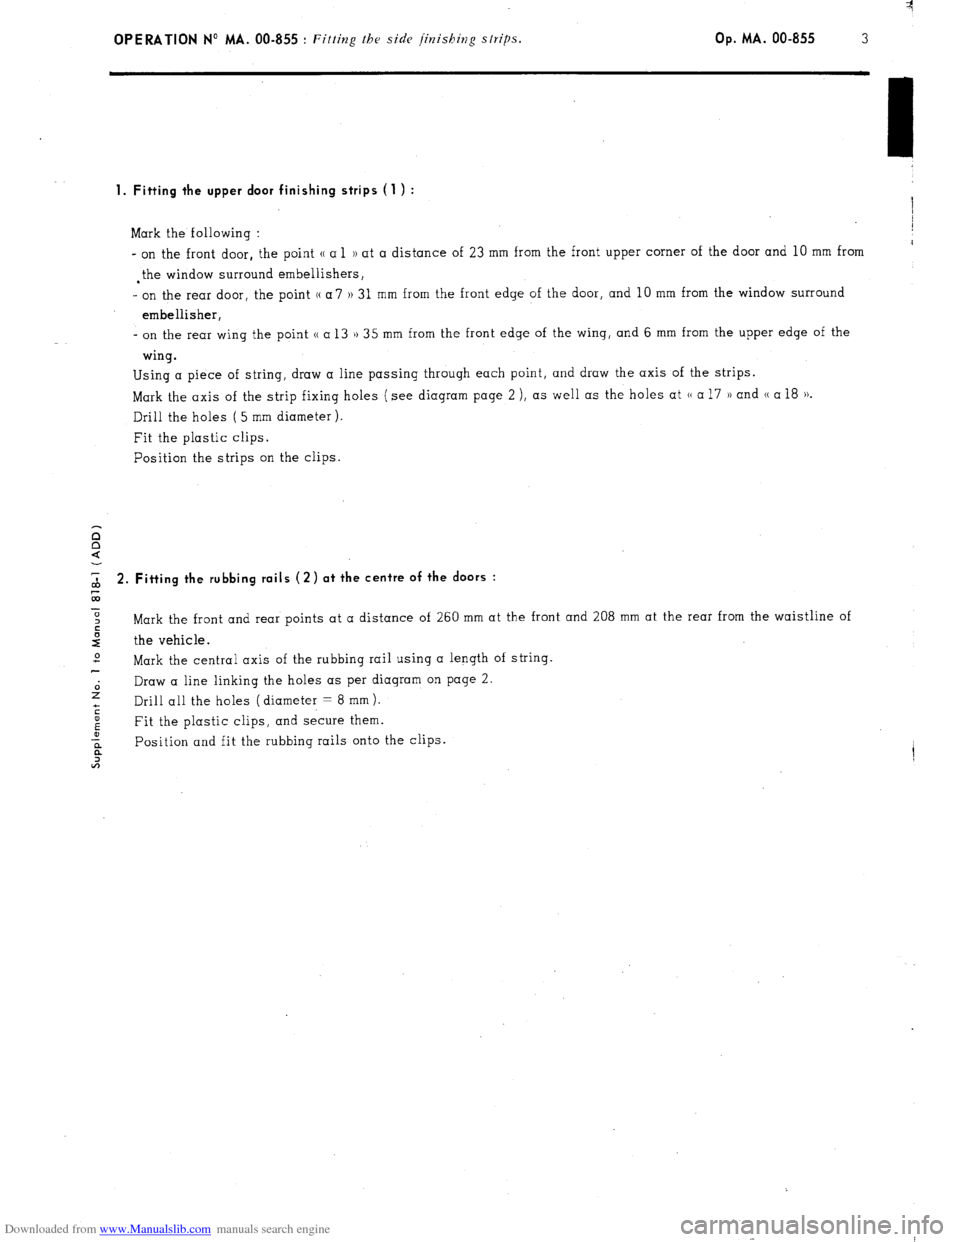
1. Fitting the upper door finishing strips (1 ) :
/
Mark the following : I
- on the front door, the point u a 1 1) at a distance of 23 mm from the front upper corner of the door and 10 mm from I
. the window surround embellishers,
- on the rear door, the point (( a 7 )) 31 mm from the front edge of the door, and 10 mm from the window surround
embellisher,
- on the rear wing the point u a 13 1) 35 mm from the front edge of the wing, and 6 mm from the upper edge of the
wing.
Using a piece of string, draw a line passing through each point, and draw the axis of the strips.
Mark the axis of the strip fixing holes (see diagram page 2 ), as well as the holes at (( a 17 )) and CC a 18 )).
Drill the holes ( 5 mm diameter ).
Fit the plastic clips.
Position the strips on the clips.
2 2. Fitting the rubbing roils (2) ot the centre of the doors :
0
2 Mark the front and rear points at a distance of 260 mm at the front and 208 mm at the rear from the waistline of
2 the vehicle.
2
Mark the central axis of the rubbing rail using a length of string.
2 Draw a line linking the holes as per diagram on page 2.
Drill all the holes (diameter = 8 mm).
s
5 Fit the plastic clips, and secure them.
a Position and fit the rubbing rails onto the clips.
a
2
Trending: instrument panel, fuse box diagram, recommended oil, seats, air conditioning, warning light, roof
