audio CITROEN DS3 2018 Handbook (in English)
[x] Cancel search | Manufacturer: CITROEN, Model Year: 2018, Model line: DS3, Model: CITROEN DS3 2018Pages: 248, PDF Size: 8.79 MB
Page 155 of 248
153
Energy economy mode
System which manages the duration of use of
certain functions to conser ve a sufficient level
of charge in the battery.
After the engine has stopped, you can still
use functions such as the audio equipment,
windscreen wipers, dipped beam headlamps,
courtesy lamps, etc. for a
maximum combined
period of thirty minutes.
This period may be greatly reduced if the
battery is not fully charged.
Switching to this mode
Once this period has elapsed, a message
appears in the screen indicating that the
vehicle has switched to economy mode and the
active functions are put on standby.
Exiting the mode
These functions are reactivated automatically
next time the vehicle is driven.
F
T
o restore these functions immediately, start
the engine and let it run briefly. If the telephone is being used at the same
time, it will be interrupted after 10
minutes.The engine will not start if the battery is
discharged.
The time available to you will then be double
the period for which the engine is left running.
However, this period will always be between
five and thirty minutes.
Changing front or rear
wiper blades
Procedure for replacing a used window wiper
w ith a new one without tools.
Before removing a front wiper
F Within one minute after switching off the ignition, operate the wiper stalk to
position the wiper blades vertically on the
windscreen.
This position is used to avoid damage to the
wiper and the bonnet.
Removing
F Lift the corresponding wiper arm.
F U nclip and remove the wiper blade.
Refitting
F At the front, check the size of the wiper, because the shortest wiper is fitted to the
passenger side of the vehicle.
F
P
osition and clip the new wiper blade to the
arm.
F
C
arefully lower the wiper arm.
After refitting a front wiper
F Switch on the ignition.
F O perate the wiper stalk again to park the
wiper blades.
Bonnet
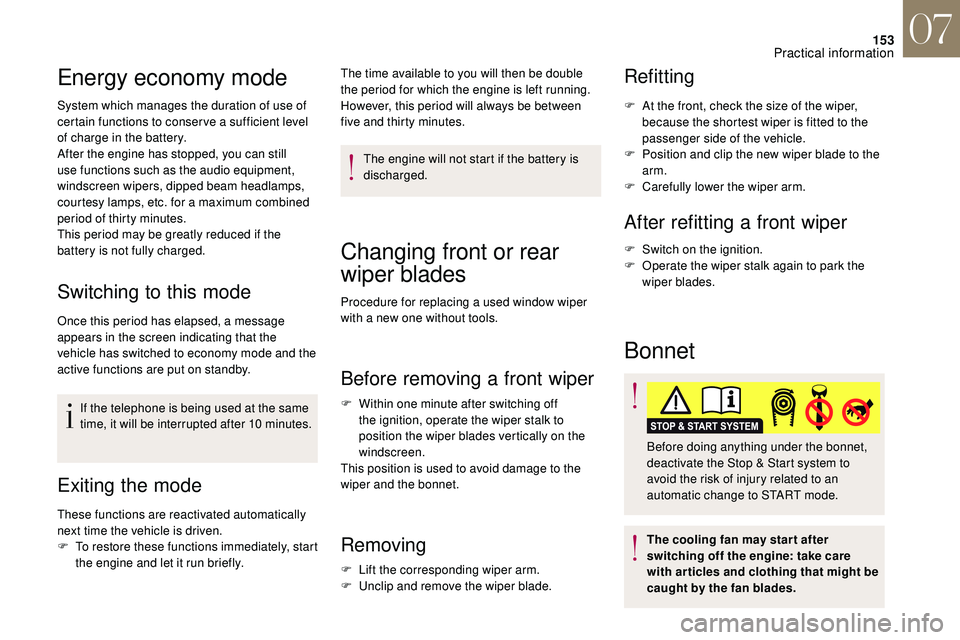
Before doing anything under the bonnet,
deactivate the Stop & Start system to
avoid the risk of injury related to an
automatic change to START mode.
The cooling fan may star t after
switching off the engine: take care
with articles and clothing that might be
caught by the fan blades.
07
Practical information
Page 186 of 248
184
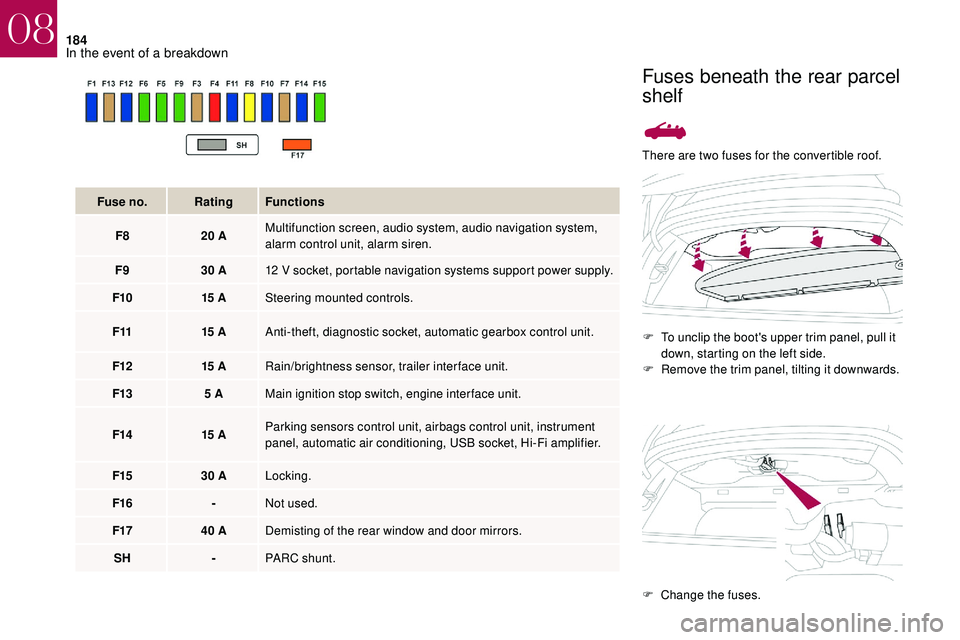
There are two fuses for the convertible roof.F
T
o unclip the boot's upper trim panel, pull it
down, starting on the left side.
F
R
emove the trim panel, tilting it downwards.
Fuse no.
Rating Functions
F8 20
A Multifunction screen, audio system, audio navigation system,
alarm control unit, alarm siren.
F9 30
A 12
V socket, portable navigation systems support power supply.
F10 15
A Steering mounted controls.
F11 15
A Anti-theft, diagnostic socket, automatic gearbox control unit.
F12 15
A Rain/brightness sensor, trailer interface unit.
F13 5
A Main ignition stop switch, engine interface unit.
F14 15
A Parking sensors control unit, airbags control unit, instrument
panel, automatic air conditioning, USB socket, Hi-Fi amplifier.
F15 30
A Locking.
F16 -Not used.
F17 40
A Demisting of the rear window and door mirrors.
SH -PARC shunt.
Fuses beneath the rear parcel
shelf
F Change the fuses.
08
In the event of a breakdown
Page 191 of 248
189
Access to the battery
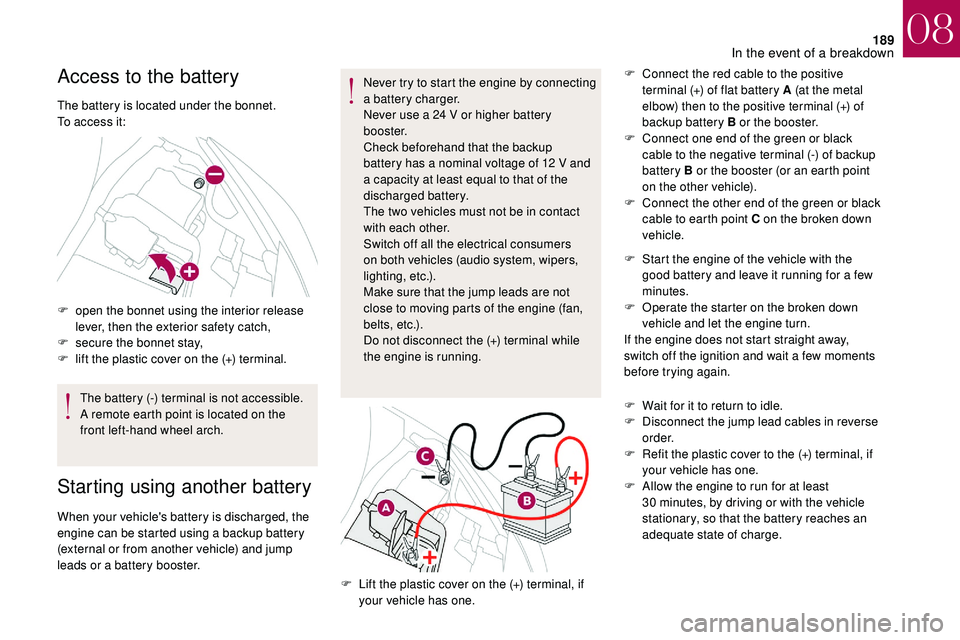
The battery is located under the bonnet.
To access it:
F
o
pen the bonnet using the interior release
lever, then the exterior safety catch,
F
s
ecure the bonnet stay,
F
l
ift the plastic cover on the (+) terminal.The battery (-) terminal is not accessible.
A remote earth point is located on the
front left-hand wheel arch.
Starting using another battery
When your vehicle's battery is discharged, the
engine can be started using a backup battery
(external or from another vehicle) and jump
leads or a
battery booster. Never try to start the engine by connecting
a
battery charger.
Never use a 24 V or higher battery
b o o s t e r.
Check beforehand that the backup
battery has a nominal voltage of 12 V and
a capacity at least equal to that of the
discharged battery.
The two vehicles must not be in contact
with each other.
Switch off all the electrical consumers
on both vehicles (audio system, wipers,
lighting, etc.).
Make sure that the jump leads are not
close to moving parts of the engine (fan,
belts, etc.).
Do not disconnect the (+) terminal while
the engine is running. F
C
onnect the red cable to the positive
terminal (+) of flat battery A (at the metal
elbow) then to the positive terminal (+) of
backup battery B or the booster.
F
C
onnect one end of the green or black
cable to the negative terminal (-) of backup
battery B or the booster (or an earth point
on the other vehicle).
F
C
onnect the other end of the green or black
cable to earth point C on the broken down
vehicle.
F
L
ift the plastic cover on the (+) terminal, if
your vehicle has one. F
S
tart the engine of the vehicle with the
good battery and leave it running for a few
minutes.
F
O
perate the starter on the broken down
vehicle and let the engine turn.
If the engine does not start straight away,
switch off the ignition and wait a few moments
before trying again.
F
W
ait for it to return to idle.
F
D
isconnect the jump lead cables in reverse
o r d e r.
F
R
efit the plastic cover to the (+) terminal, if
your vehicle has one.
F
A
llow the engine to run for at least
30 minutes, by driving or with the vehicle
stationary, so that the battery reaches an
adequate state of charge.
08
In the event of a breakdown
Page 192 of 248
190
Charging the battery using
a
battery charger
For optimum ser vice life of the battery, it is
essential to maintain an adequate state of
charge.
In some circumstances it may be necessary to
charge the battery:
-
i
f you use your vehicle mostly for short
journeys,
-
i
f the vehicle is to be taken off the road for
several weeks.
Contact the dealer network or a
qualified
workshop.
If you plan to charge your vehicle's battery
yourself, use only a
charger compatible
with lead-acid batteries of a
nominal
voltage of 12
V.
Follow the instructions provided by the
manufacturer of the charger.
Never reverse polarities. It is not necessary to disconnect the
battery.
Never try to charge a frozen battery – Risk
of explosion!
If the battery has frozen, have it checked
in the dealer network or by a
qualified
workshop who will check that the internal
components have not been damaged and
that the container has not cracked, which
would mean a
risk of toxic and corrosive
acid leaking.
Disconnecting the battery
Some functions, including Stop & Start,
are not available if the battery is not
sufficiently charged.
F
S
witch off the ignition.
F
S
witch off all electrical consumers (audio
system, lighting, wipers,etc.).
F
S
witch off the charger B before connecting
the cables to the battery, so as to avoid any
dangerous sparks.
F
E
nsure that the charger cables are in good
condition.
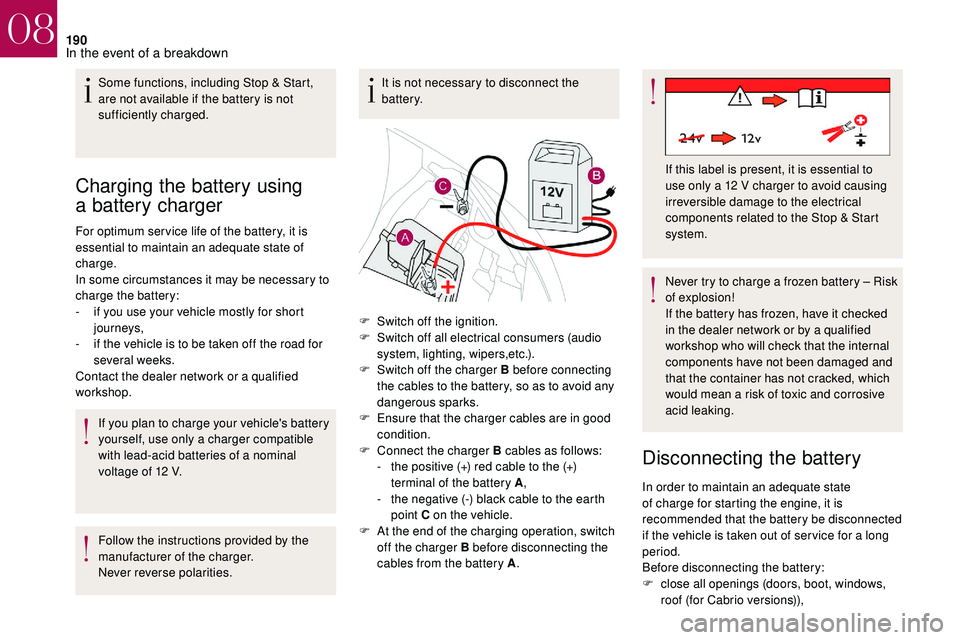
F
C
onnect the charger B cables as follows:
-
t
he positive (+) red cable to the (+)
terminal of the battery A ,
-
t
he negative (-) black cable to the earth
point C on the vehicle.
F
A
t the end of the charging operation, switch
off the charger B before disconnecting the
cables from the battery A . If this label is present, it is essential to
use only a
12 V charger to avoid causing
irreversible damage to the electrical
components related to the Stop & Start
system.
In order to maintain an adequate state
of charge for starting the engine, it is
recommended that the battery be disconnected
if the vehicle is taken out of ser vice for a
long
period.
Before disconnecting the battery:
F
c
lose all openings (doors, boot, windows,
roof (for Cabrio versions)),
08
In the event of a breakdown
Page 193 of 248
191
F switch off all electrical consumers (audio system, wipers, lighting, etc.),
F
s
witch off the ignition and wait for four
minutes.
Upon accessing the battery, you only need to
disconnect the positive (+) terminal.
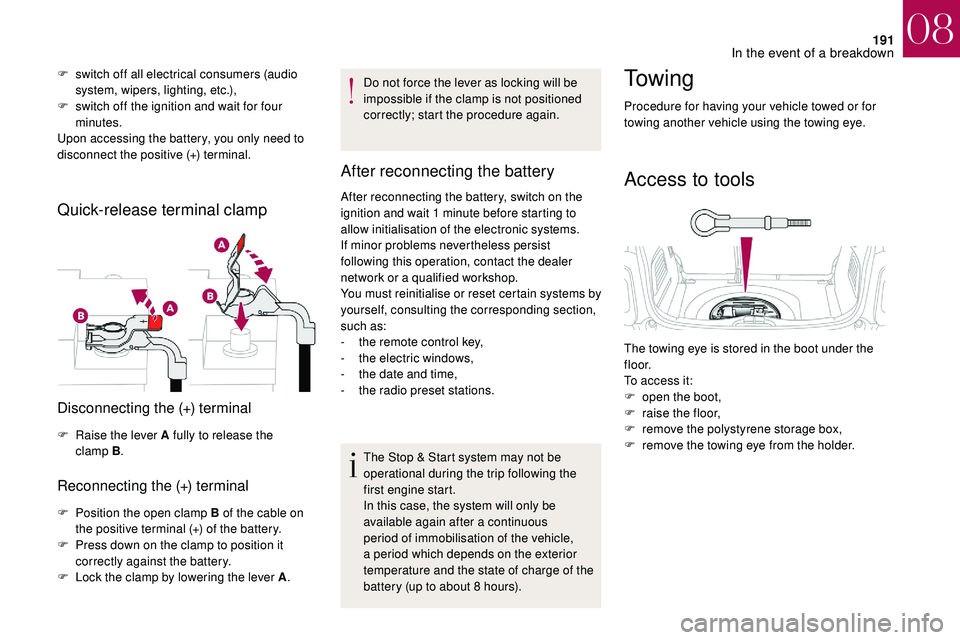
Quick-release terminal clamp
Disconnecting the (+) terminal
F Raise the lever A fully to release the clamp B .
Reconnecting the (+) terminal
F Position the open clamp B of the cable on
the positive terminal (+) of the battery.
F
P
ress down on the clamp to position it
correctly against the battery.
F
L
ock the clamp by lowering the lever A .Do not force the lever as locking will be
impossible if the clamp is not positioned
correctly; start the procedure again.
After reconnecting the battery
After reconnecting the battery, switch on the
ignition and wait 1
minute before starting to
allow initialisation of the electronic systems.
If minor problems nevertheless persist
following this operation, contact the dealer
network or a
qualified workshop.
You must reinitialise or reset certain systems by
yourself, consulting the corresponding section,
such as:
-
t
he remote control key,
-
t
he electric windows,
-
t
he date and time,
-
t
he radio preset stations.The Stop & Start system may not be
operational during the trip following the
first engine start.
In this case, the system will only be
available again after a
continuous
period of immobilisation of the vehicle,
a period which depends on the exterior
temperature and the state of charge of the
battery (up to about 8
hours).
To w i n g
Procedure for having your vehicle towed or for
towing another vehicle using the towing eye.
Access to tools
The towing eye is stored in the boot under the
f l o o r.
To access it:
F
o
pen the boot,
F
r
aise the floor,
F
r
emove the polystyrene storage box,
F
r
emove the towing eye from the holder.
08
In the event of a breakdown
Page 205 of 248
1
7-inch touch screen tablet
GPS satellite navigation –
Multimedia audio system –
Bluetooth
® telephone
Contents
First steps
2
S
teering mounted controls
3
M
enus
3
N
avigation
4
R
adio
7
D
AB radio (Digital Audio Broadcasting)
9
M
edia
9
S
ettings
1
1
Connected services
1
2
Telephone
1
4
Frequently asked questions
1
7The system is protected in such a
way that
it will only operate in your vehicle.
As a safety measure, the driver should
only carry out operations that require
close attention with the vehicle stationary.
The display of the energy economy mode
message signals that the system is about
to go into standby. For more information,
refer to the "Energy economy mode"
section.
7-inch touch screen tablet
Page 206 of 248
2
First steps
Use the buttons below the touch screen to
access the menu carousel, then press the
virtual buttons in the touch screen.
Each menu is displayed in one or two pages
(primary page and secondary page).In very hot conditions, the system may
go into stand-by (screen and sound
completely off) for a
minimum period of
5
minutes.
*
D
epending on equipment.
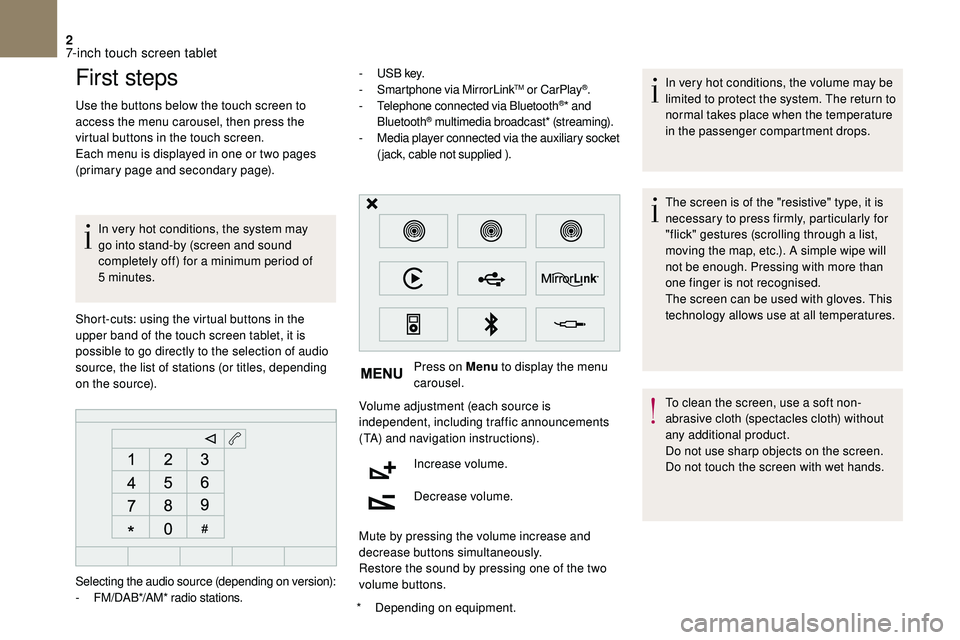
Short-cuts: using the virtual buttons in the
upper band of the touch screen tablet, it is
possible to go directly to the selection of audio
source, the list of stations (or titles, depending
on the source). -
U
S B key.
- S martphone via MirrorLink
TM or CarPlay®.
- T
elephone connected via Bluetooth®* and
Bluetooth® multimedia broadcast* (streaming).
- M
edia player connected via the auxiliary socket
(jack, cable not supplied ).
Press on Menu to display the menu
carousel.
Volume adjustment (each source is
independent, including traffic announcements
(TA) and navigation instructions).
Increase volume.
Decrease volume.
Mute by pressing the volume increase and
decrease buttons simultaneously.
Restore the sound by pressing one of the two
volume buttons. In very hot conditions, the volume may be
limited to protect the system. The return to
normal takes place when the temperature
in the passenger compartment drops.
The screen is of the "resistive" type, it is
necessary to press firmly, particularly for
"flick" gestures (scrolling through a
list,
moving the map, etc.). A simple wipe will
not be enough. Pressing with more than
one finger is not recognised.
The screen can be used with gloves. This
technology allows use at all temperatures.
To clean the screen, use a
soft non-
abrasive cloth (spectacles cloth) without
any additional product.
Do not use sharp objects on the screen.
Do not touch the screen with wet hands.
Selecting the audio source (depending on version):
-
F
M/DAB*/AM* radio stations.
7-inch touch screen tablet
Page 207 of 248
3
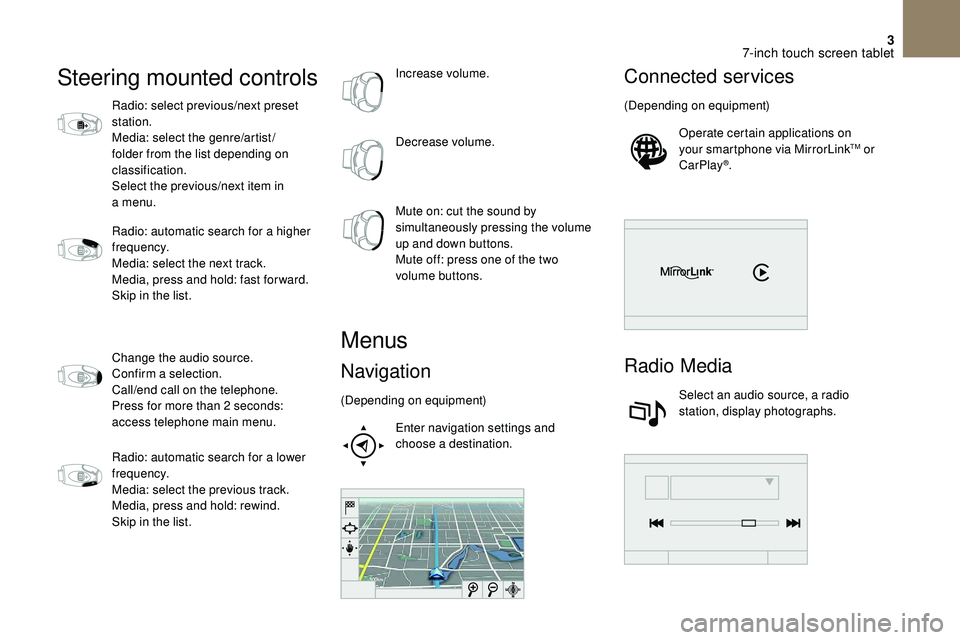
Steering mounted controls
Radio: select previous/next preset
station.
Media: select the genre/artist/
folder from the list depending on
classification.
Select the previous/next item in
a menu.
Radio: automatic search for a
higher
frequency.
Media: select the next track.
Media, press and hold: fast for ward.
Skip in the list.
Change the audio source.
Confirm a
selection.
Call/end call on the telephone.
Press for more than 2
seconds:
access telephone main menu.
Radio: automatic search for a
lower
frequency.
Media: select the previous track.
Media, press and hold: rewind.
Skip in the list. Increase volume.
Decrease volume.
Mute on: cut the sound by
simultaneously pressing the volume
up and down buttons.
Mute off: press one of the two
volume buttons.
Menus
Navigation
(Depending on equipment)
Enter navigation settings and
choose a
destination.
Connected services
(Depending on equipment)Operate certain applications on
your smartphone via MirrorLink
TM or
CarPlay®.
Radio Media
Select an audio source, a radio
station, display photographs.
7-inch touch screen tablet
Page 212 of 248
8
Radio reception may be affected by the
use of electrical equipment not approved
by DS AUTOMOBILES, such as a USB
charger connected to the 12
V socket.
The external environment (hills, buildings,
tunnels, basement car parks, etc.) may
block reception, including in RDS mode.
This is a
normal effect of the way in
which radio waves are transmitted and
does not indicate any failure of the audio
equipment.
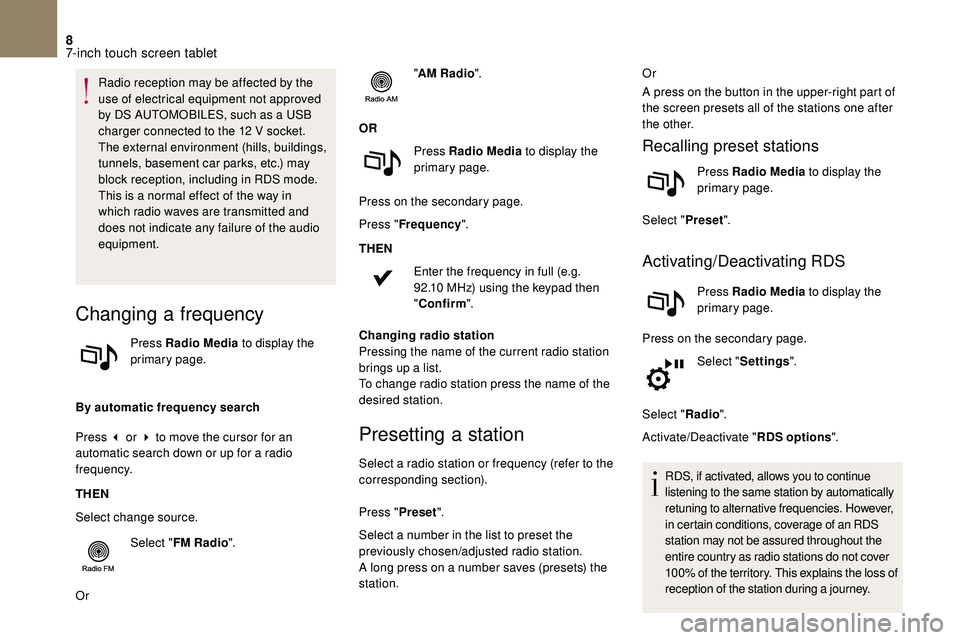
Changing a frequency
Press Radio Media to display the
primary page.
By automatic frequency search
Press 3
or 4 to move the cursor for an
automatic search down or up for a
radio
frequency.
THEN
Select change source.
Select "FM Radio ".
Or "
AM Radio ".
OR Press Radio Media to display the
primary page.
Press on the secondary page.
Press " Frequency ".
THEN Enter the frequency in full (e.g.
92.10 MHz) using the keypad then
" Confirm ".
Changing radio station
Pressing the name of the current radio station
brings up a list.
To change radio station press the name of the
desired station.
Presetting a station
Select a radio station or frequency (refer to the
c orresponding section).
Press " Preset".
Select a
number in the list to preset the
previously chosen/adjusted radio station.
A long press on a
number saves (presets) the
station. Or
A press on the button in the upper-right part of
the screen presets all of the stations one after
the other.
Recalling preset stations
Press Radio Media
to display the
primary page.
Select " Preset".
Activating/Deactivating RDS
Press Radio Media to display the
primary page.
Press on the secondary page. Select "Settings ".
Select " Radio".
Activate/Deactivate " RDS options".
RDS, if activated, allows you to continue
listening to the same station by automatically
retuning to alternative frequencies. However,
in certain conditions, coverage of an RDS
station may not be assured throughout the
entire country as radio stations do not cover
100% of the territory. This explains the loss of
reception of the station during a
journey.
7-inch touch screen tablet
Page 213 of 248
9
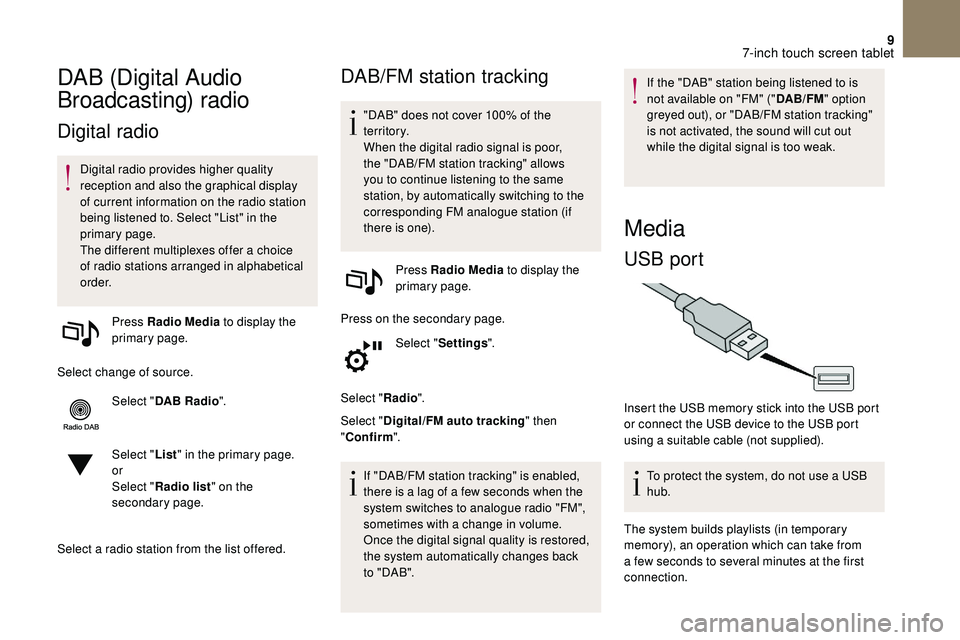
DAB (Digital Audio
Broadcasting) radio
Digital radio
Digital radio provides higher quality
reception and also the graphical display
of current information on the radio station
being listened to. Select "List" in the
primary page.
The different multiplexes offer a choice
of radio stations arranged in alphabetical
o r d e r.
Press Radio Media to display the
primary page.
Select change of source. Select "DAB Radio ".
Select " List" in the primary page.
or
Select " Radio list " on the
secondary page.
Select a
radio station from the list offered.
DAB/FM station tracking
"DAB" does not cover 100% of the
te r r i to r y.
When the digital radio signal is poor,
the "DAB/FM station tracking" allows
you to continue listening to the same
station, by automatically switching to the
corresponding FM analogue station (if
there is one). Press Radio Media to display the
primary page.
Press on the secondary page. Select "Settings ".
Select " Radio".
Select " Digital/FM auto tracking " then
" Confirm ".
If "DAB/FM station tracking" is enabled,
there is a
lag of a few seconds when the
system switches to analogue radio "FM",
sometimes with a
change in volume.
Once the digital signal quality is restored,
the system automatically changes back
to " DA B ". If the "DAB" station being listened to is
not available on "FM" ("
DAB/FM" option
greyed out), or "DAB/FM station tracking"
is not activated, the sound will cut out
while the digital signal is too weak.
Media
USB port
Insert the USB memory stick into the USB port
or connect the USB device to the USB port
using a
suitable cable (not supplied).
To protect the system, do not use a
USB
hub.
The system builds playlists (in temporary
memory), an operation which can take from
a
few seconds to several minutes at the first
connection.
7-inch touch screen tablet