buttons CITROEN DS4 2023 User Guide
[x] Cancel search | Manufacturer: CITROEN, Model Year: 2023, Model line: DS4, Model: CITROEN DS4 2023Pages: 296, PDF Size: 9.91 MB
Page 107 of 296
105
** As per the geographic coverage of "Localised Emergency Call", "Localised
Assistance Call" and the official national
language chosen by the owner of the
vehicle.
The list of countries covered and Telematic
ser vices is available from dealers or on the
website for your country.
"Localised Emergency Call" immediately
locates your vehicle, contacts you in your own
language** and – if necessary – requests that
relevant emergency services be dispatched**.
In countries where the ser vice is not available,
or when the locating ser vice has been
expressly declined, the call is sent directly
to the emergency services (112) without the
vehicle location.
If an impact is detected by the airbag
control unit, and independently of the
deployment of any airbags, an emergency
call is made automatically.
If you benefit from the DS Connect BOX
offer with the SOS and assistance pack
included, you have available additional
ser vices in your personal space, via the
website in your country.
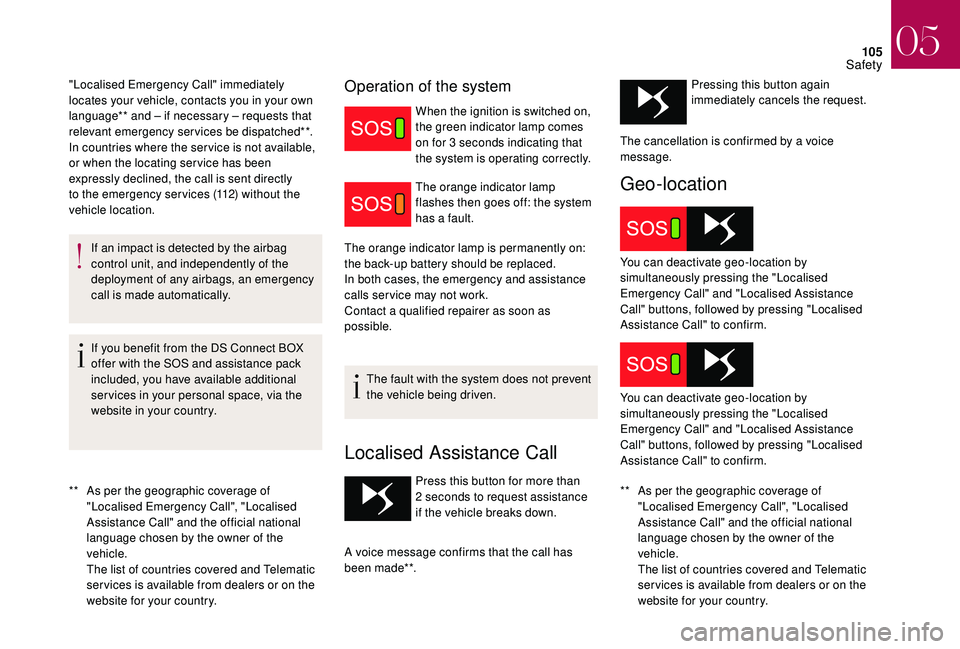
Operation of the system
When the ignition is switched on,
the green indicator lamp comes
on for 3 seconds indicating that
the system is operating correctly.
The orange indicator lamp
flashes then goes off: the system
has a fault.
The orange indicator lamp is permanently on:
the back-up battery should be replaced.
In both cases, the emergency and assistance
calls ser vice may not work.
Contact a qualified repairer as soon as
possible.
The fault with the system does not prevent
the vehicle being driven.
Localised Assistance Call
** As per the geographic coverage of "Localised Emergency Call", "Localised
Assistance Call" and the official national
language chosen by the owner of the
vehicle.
The list of countries covered and Telematic
ser vices is available from dealers or on the
website for your country.
Press this button for more than
2
seconds to request assistance
if the vehicle breaks down.
A voice message confirms that the call has
been made**. Pressing this button again
immediately cancels the request.
Geo-location
The cancellation is confirmed by a voice
message.
You can deactivate geo-location by
simultaneously pressing the "Localised
Emergency Call" and "Localised Assistance
Call" buttons, followed by pressing "Localised
Assistance Call" to confirm.
You can deactivate geo-location by
simultaneously pressing the "Localised
Emergency Call" and "Localised Assistance
Call" buttons, followed by pressing "Localised
Assistance Call" to confirm.
05
Safety
Page 109 of 296
107
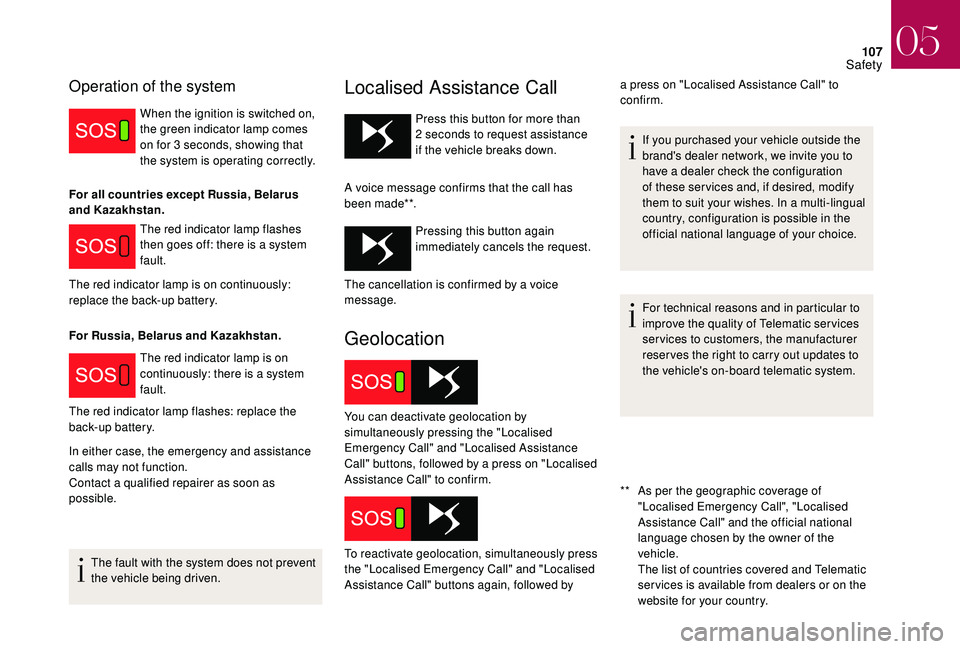
Operation of the system
When the ignition is switched on,
the green indicator lamp comes
on for 3 seconds, showing that
the system is operating correctly.
The red indicator lamp flashes
then goes off: there is a system
fault.
The red indicator lamp is on
continuously: there is a system
fault.
In either case, the emergency and assistance
calls may not function.
Contact a qualified repairer as soon as
possible.
The fault with the system does not prevent
the vehicle being driven.
Localised Assistance Call
** As per the geographic coverage of "Localised Emergency Call", "Localised
Assistance Call" and the official national
language chosen by the owner of the
vehicle.
The list of countries covered and Telematic
ser vices is available from dealers or on the
website for your country.
Press this button for more than
2
seconds to request assistance
if the vehicle breaks down.
A voice message confirms that the call has
been made**. Pressing this button again
immediately cancels the request.
Geolocation
For all countries except Russia, Belarus
and Kazakhstan.
The red indicator lamp is on continuously:
replace the back-up battery.
For Russia, Belarus and Kazakhstan.
The red indicator lamp flashes: replace the
back-up battery. If you purchased your vehicle outside the
brand's dealer network, we invite you to
have a dealer check the configuration
of these ser vices and, if desired, modify
them to suit your wishes. In a multi-lingual
country, configuration is possible in the
official national language of your choice.
For technical reasons and in particular to
improve the quality of Telematic ser vices
services to customers, the manufacturer
reser ves the right to carry out updates to
the vehicle's on-board telematic system.
The cancellation is confirmed by a voice
message.
You can deactivate geolocation by
simultaneously pressing the "Localised
Emergency Call" and "Localised Assistance
Call" buttons, followed by a press on "Localised
Assistance Call" to confirm.
To reactivate geolocation, simultaneously press
the "Localised Emergency Call" and "Localised
Assistance Call" buttons again, followed by a press on "Localised Assistance Call" to
confirm.
05
Safety
Page 226 of 296
2
12:13
18,5 21,5
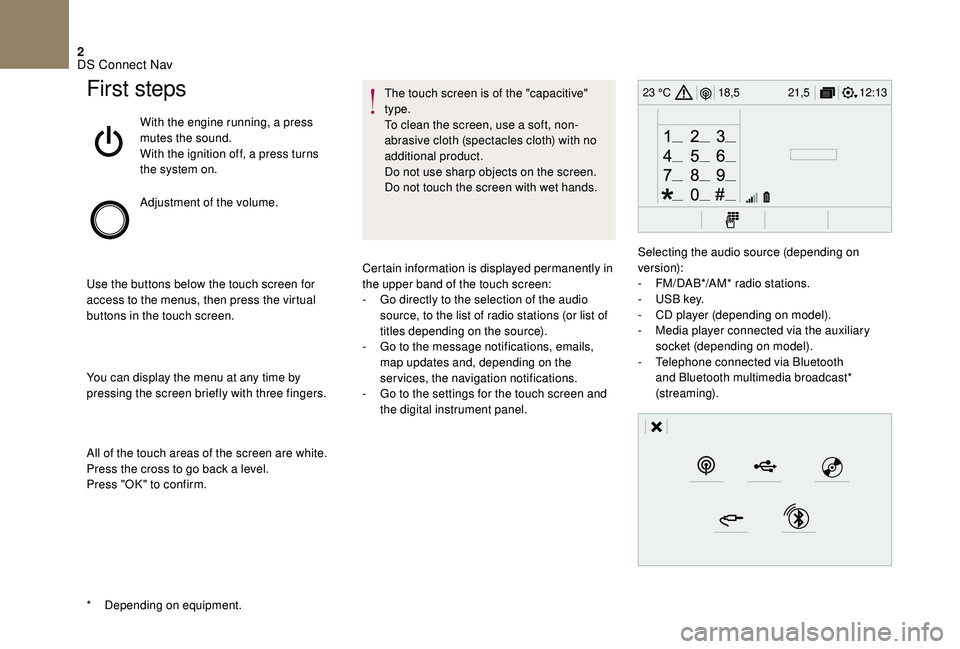
23 °CFirst steps
With the engine running, a press
mutes the sound.
With the ignition off, a press turns
the system on.
Adjustment of the volume.
Use the buttons below the touch screen for
access to the menus, then press the virtual
buttons in the touch screen.
You can display the menu at any time by
pressing the screen briefly with three fingers.
All of the touch areas of the screen are white.
Press the cross to go back a level.
Press "OK" to confirm. The touch screen is of the "capacitive"
type.
To clean the screen, use a soft, non-
abrasive cloth (spectacles cloth) with no
additional product.
Do not use sharp objects on the screen.
Do not touch the screen with wet hands.
*
D
epending on equipment. Certain information is displayed permanently in
the upper band of the touch screen:
-
G
o directly to the selection of the audio
source, to the list of radio stations (or list of
titles depending on the source).
-
G
o to the message notifications, emails,
map updates and, depending on the
services, the navigation notifications.
-
G
o to the settings for the touch screen and
the digital instrument panel. Selecting the audio source (depending on
version):
-
F
M/DAB*/AM* radio stations.
-
U
SB key.
-
C
D player (depending on model).
-
M
edia player connected via the auxiliary
socket (depending on model).
-
T
elephone connected via Bluetooth
and Bluetooth multimedia broadcast*
(streaming).
DS Connect Nav
Page 235 of 296
11
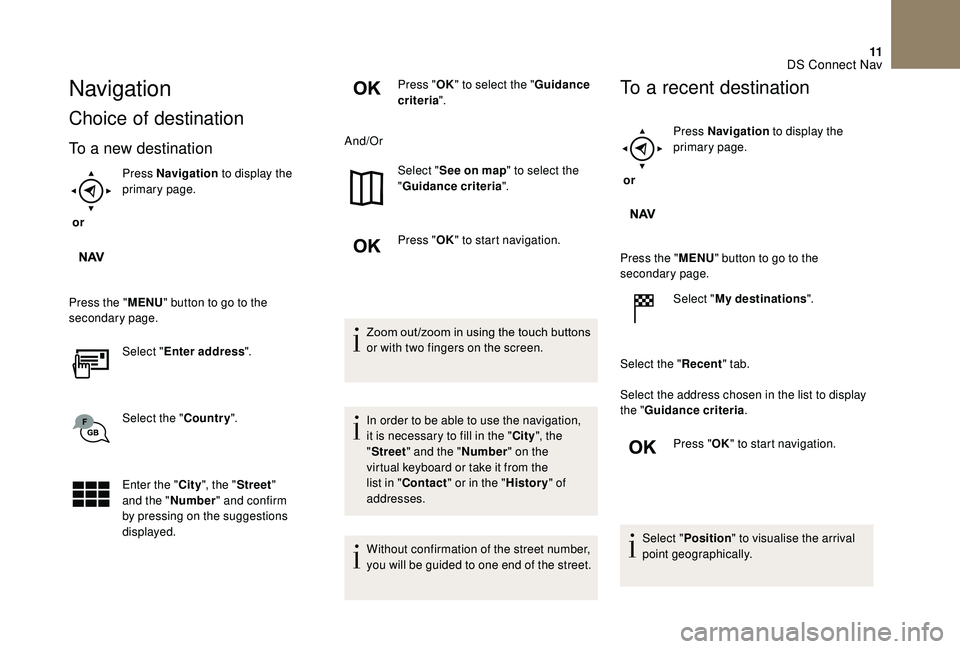
Navigation
Choice of destination
To a new destination
or Press Navigation
to display the
primary page.
Press the " MENU" button to go to the
secondary page.
Select "Enter address ".
Select the " Country".
Enter the " City", the " Street "
and the " Number" and confirm
by pressing on the suggestions
displayed. Press "
OK" to select the " Guidance
criteria ".
And/Or Select "See on map " to select the
" Guidance criteria ".
Press " OK" to start navigation.
Zoom
out /zoom in using the touch buttons
o
r with two fingers on the screen.
In order to be able to use the navigation,
it is necessary to fill in the " City", the
" Street " and the " Number" on the
virtual keyboard or take it from the
list in " Contact " or in the " History" of
addresses.
Without confirmation of the street number,
you will be guided to one end of the street.
To a recent destination
or Press Navigation
to display the
primary page.
Press the " MENU" button to go to the
secondary page.
Select "My destinations ".
Select the " Recent" tab.
Select the address chosen in the list to display
the " Guidance criteria .
Press " OK" to start navigation.
Select " Position " to visualise the arrival
point geographically.
DS Connect Nav
Page 243 of 296
19
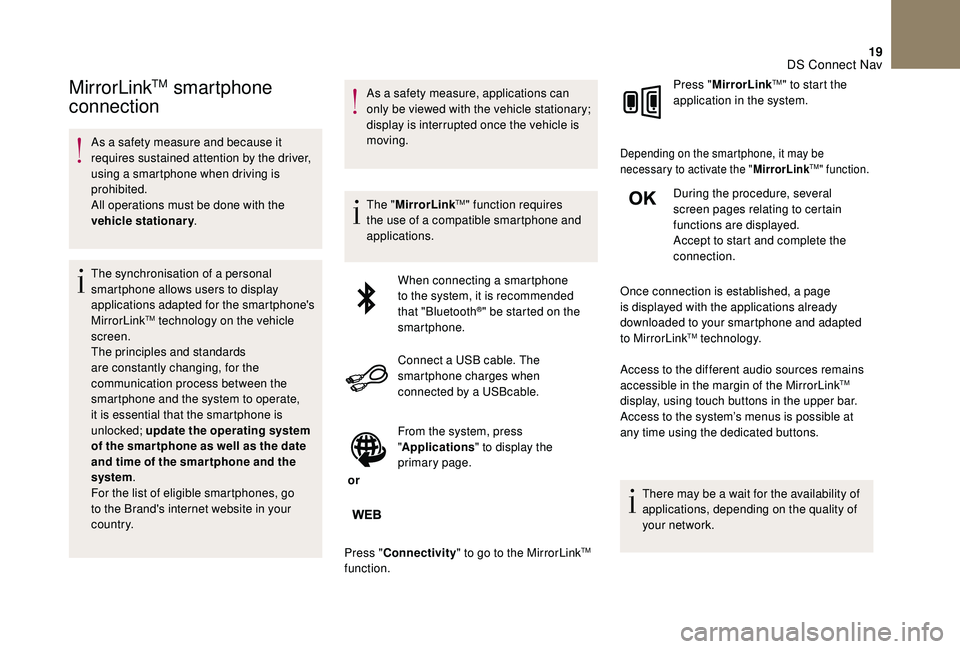
MirrorLinkTM smartphone
connection
As a safety measure and because it
requires sustained attention by the driver,
using a smartphone when driving is
prohibited.
All operations must be done with the
vehicle stationary .
The synchronisation of a personal
smartphone allows users to display
applications adapted for the smartphone's
MirrorLink
TM technology on the vehicle
sc
reen.
The principles and standards
are constantly changing, for the
communication process between the
smartphone and the system to operate,
it is essential that the smartphone is
unlocked; update the operating system
of the smar tphone as well as the date
and time of the smar tphone and the
system .
For the list of eligible smartphones, go
to the Brand's internet website in your
c o u nt r y. As a safety measure, applications can
only be viewed with the vehicle stationary;
display is interrupted once the vehicle is
moving.
The "
MirrorLink
TM" function requires
the use of a compatible smartphone and
applications.
When connecting a smartphone
to the system, it is recommended
that "Bluetooth
®" be started on the
smartphone.
Connect a USB cable. The
smartphone charges when
connected by a USBcable.
or From the system, press
"
Applications " to display the
primary page.
Press " Connectivity " to go to the MirrorLink
TM
function. Press "
MirrorLink
TM" to start the
application in the system.
Depending on the smartphone, it may be
necessary to activate the " MirrorLinkTM" function.
During the procedure, several
screen pages relating to certain
functions are displayed.
Accept to start and complete the
connection.
Once connection is established, a page
is displayed with the applications already
downloaded to your smartphone and adapted
to MirrorLink
TM technology.
Access to the different audio sources remains
accessible in the margin of the MirrorLink
TM
display, using touch buttons in the upper bar.
Access to the system’s menus is possible at
any time using the dedicated buttons.
There may be a wait for the availability of
applications, depending on the quality of
your network.
DS Connect Nav
Page 244 of 296
20
As a safety measure and because it
requires sustained attention by the driver,
using a smartphone when driving is
prohibited.
All operations must be done with the
vehicle stationary.
The synchronisation of a personal
smartphone allows users to display
applications adapted for the smartphone's
Android Auto technology on the vehicle
screen.
The principles and standards
are constantly changing, for the
communication process between the
smartphone and the system to operate,
it is essential that the smartphone is
unlocked; update the operating system
of the smar tphone as well as the date
and time of the smar tphone and the
system.
For the list of eligible smartphones, go
to the Brand's internet website in your
c o u nt r y. As a safety measure, applications can
only be viewed with the vehicle stationary;
display is interrupted once the vehicle is
moving.
The "
Android Auto " function requires
the use of a compatible smartphone and
applications.
Connect a USB cable. The
smartphone charges when
connected by a USBcable.
or From the system, press
"
Applications " to display the
primary page.
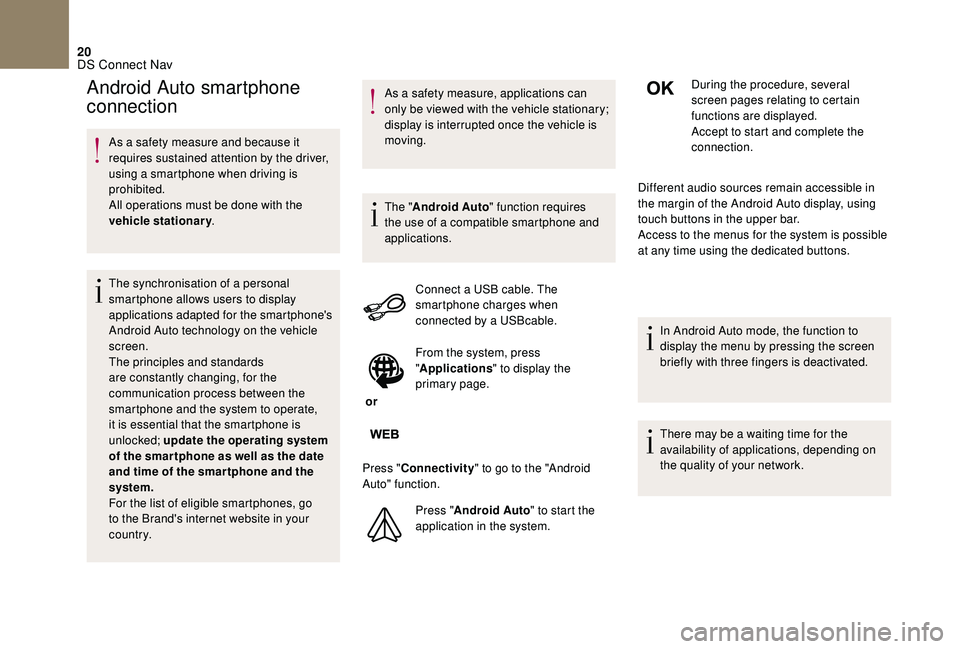
Press " Connectivity " to go to the "Android
Auto" function.
Press "Android Auto " to start the
application in the system. During the procedure, several
screen pages relating to certain
functions are displayed.
Accept to start and complete the
connection.
Different audio sources remain accessible in
the margin of the Android Auto display, using
touch buttons in the upper bar.
Access to the menus for the system is possible
at any time using the dedicated buttons.
In Android Auto mode, the function to
display the menu by pressing the screen
briefly with three fingers is deactivated.
There may be a waiting time for the
availability of applications, depending on
the quality of your network.
Android Auto smartphone
connection
DS Connect Nav
Page 247 of 296
23
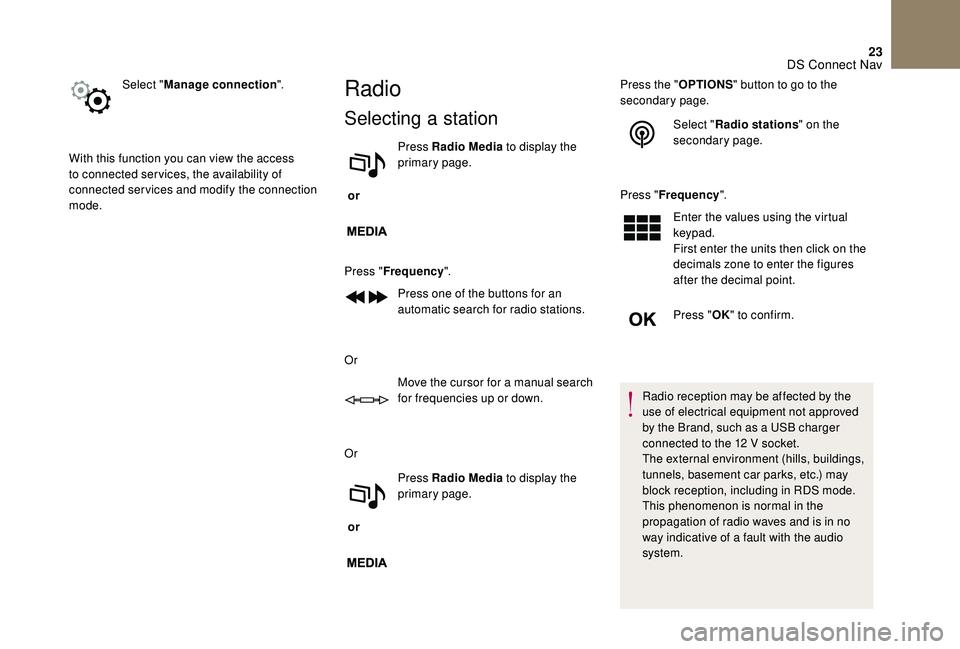
Select "Manage connection ".
With this function you can view the access
to connected ser vices, the availability of
connected services and modify the connection
mode.Radio
Selecting a station
or Press Radio Media
to display the
primary page.
Press " Frequency ".
Press one of the buttons for an
automatic search for radio stations.
Or Move the cursor for a manual search
for frequencies up or down.
Or
or Press Radio Media
to display the
primary page. Press the "
OPTIONS" button to go to the
secondary page.
Select "Radio stations " on the
secondary page.
Press " Frequency ".
Enter the values using the virtual
keypad.
First enter the units then click on the
decimals zone to enter the figures
after the decimal point.
Press " OK" to confirm.
Radio reception may be affected by the
use of electrical equipment not approved
by the Brand, such as a USB charger
connected to the 12 V socket.
The external environment (hills, buildings,
tunnels, basement car parks, etc.) may
block reception, including in RDS mode.
This phenomenon is normal in the
propagation of radio waves and is in no
way indicative of a fault with the audio
system.
DS Connect Nav
Page 248 of 296
24
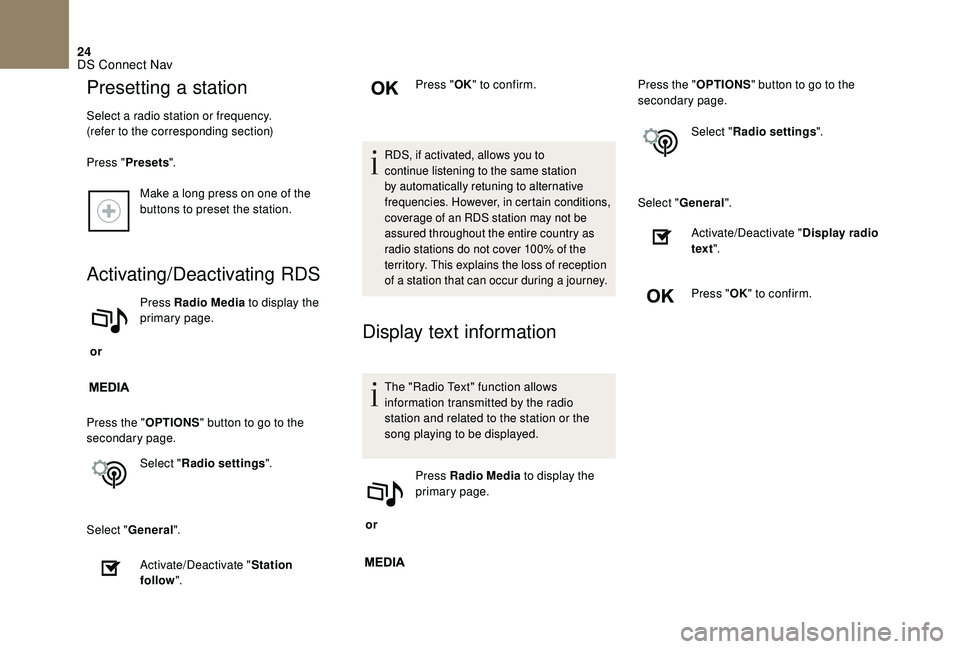
Make a long press on one of the
buttons to preset the station.
Activating/Deactivating RDS
or Press Radio Media
to display the
primary page.
Press the " OPTIONS" button to go to the
secondary page.
Select "Radio settings ".
Select " General ".
Activate/Deactivate " Station
follow ". Press "
OK" to confirm.
RDS, if activated, allows you to
continue listening to the same station
by automatically retuning to alternative
frequencies. However, in certain conditions,
coverage of an RDS station may not be
assured throughout the entire country as
radio stations do not cover 100% of the
territory. This explains the loss of reception
of a station that can occur during a journey.
Display text information
The "Radio Text" function allows
information transmitted by the radio
station and related to the station or the
song playing to be displayed.
or Press Radio Media
to display the
primary page. Press the "
OPTIONS" button to go to the
secondary page.
Select "Radio settings ".
Select " General ".
Activate/Deactivate " Display radio
text ".
Press " OK" to confirm.
Presetting a station
Select a radio station or frequency.
(refer to the corresponding section)
Press " Presets ".
DS Connect Nav
Page 251 of 296
27
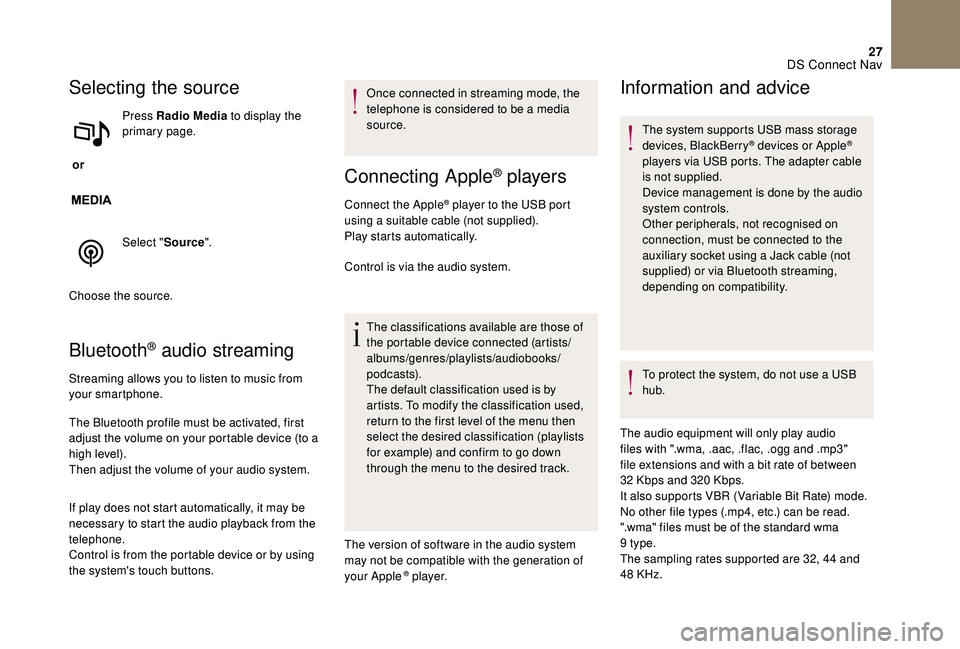
Selecting the source
or Press Radio Media
to display the
primary page.
Select " Source".
Choose the source.
Bluetooth® audio streaming
Streaming allows you to listen to music from
your smartphone.
The Bluetooth profile must be activated, first
adjust the volume on your portable device (to a
high level).
Then adjust the volume of your audio system.
If play does not start automatically, it may be
necessary to start the audio playback from the
telephone.
Control is from the portable device or by using
the system's touch buttons. Once connected in streaming mode, the
telephone is considered to be a media
source.
Connecting Apple® players
Connect the Apple® player to the USB port
using a suitable cable (not supplied).
Play starts automatically.
Control is via the audio system.
The classifications available are those of
the portable device connected (artists/
albums/genres/playlists/audiobooks/
podcasts).
The default classification used is by
artists. To modify the classification used,
return to the first level of the menu then
select the desired classification (playlists
for example) and confirm to go down
through the menu to the desired track.
The version of software in the audio system
may not be compatible with the generation of
your Apple
® p l aye r.
Information and advice
The system supports USB mass storage
devices, BlackBerry® devices or Apple®
players via USB ports. The adapter cable
is not supplied.
Device management is done by the audio
system controls.
Other peripherals, not recognised on
connection, must be connected to the
auxiliary socket using a Jack cable (not
supplied) or via Bluetooth streaming,
depending on compatibility.
To protect the system, do not use a USB
hub.
The audio equipment will only play audio
files with ".wma, .aac, .flac, .ogg and .mp3"
file extensions and with a bit rate of between
32
Kbps and 320 Kbps.
It also supports VBR (Variable Bit Rate) mode.
No other file types (.mp4, etc.) can be read.
".wma" files must be of the standard wma
9
type.
The sampling rates supported are 32, 44 and
48 KHz.
DS Connect Nav
Page 277 of 296
7
Playing a CD
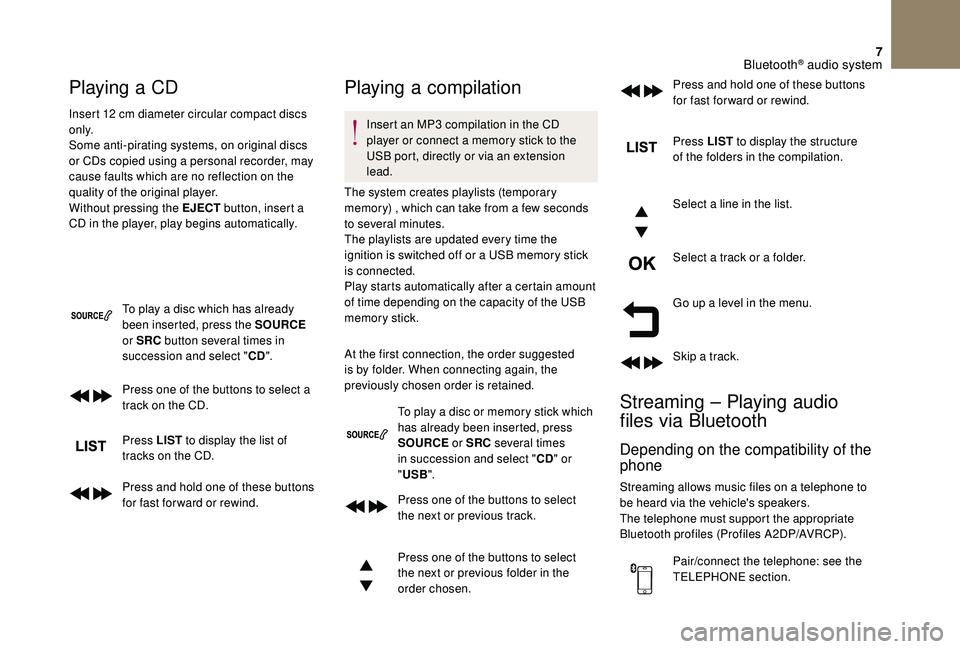
Insert 12 cm diameter circular compact discs
o n l y.
Some anti-pirating systems, on original discs
or CDs copied using a personal recorder, may
cause faults which are no reflection on the
quality of the original player.
Without pressing the EJECT button, insert a
CD in the player, play begins automatically.
To play a disc which has already
been inserted, press the SOURCE
or SRC button several times in
succession and select " CD".
Press one of the buttons to select a
track on the CD.
Press LIST to display the list of
tracks on the CD.
Press and hold one of these buttons
for fast for ward or rewind.
Playing a compilation
Insert an MP3 compilation in the CD
player or connect a memory stick to the
USB port, directly or via an extension
lead.
The system creates playlists (temporary
memory) , which can take from a few seconds
to several minutes.
The playlists are updated every time the
ignition is switched off or a USB memory stick
is connected.
Play starts automatically after a certain amount
of time depending on the capacity of the USB
memory stick.
At the first connection, the order suggested
is by folder. When connecting again, the
previously chosen order is retained.
To play a disc or memory stick which
has already been inserted, press
SOURCE or SRC several times
in succession and select " CD" or
" USB ".
Press one of the buttons to select
the next or previous track.
Press one of the buttons to select
the next or previous folder in the
order chosen. Press LIST
to display the structure
of the folders in the compilation.
Select a line in the list.
Select a track or a folder.
Go up a level in the menu.
Skip a track.
Streaming – Playing audio
files via Bluetooth
Depending on the compatibility of the
phone
Streaming allows music files on a telephone to
be heard via the vehicle's speakers.
The telephone must support the appropriate
Bluetooth profiles (Profiles A2DP/AVRCP).
Pair/connect the telephone: see the
TELEPHONE section. Press and hold one of these buttons
for fast for ward or rewind.
Bluetooth® audio system