warning Citroen DS4 RHD 2013.5 1.G Owner's Guide
[x] Cancel search | Manufacturer: CITROEN, Model Year: 2013.5, Model line: DS4 RHD, Model: Citroen DS4 RHD 2013.5 1.GPages: 400, PDF Size: 31.86 MB
Page 110 of 400
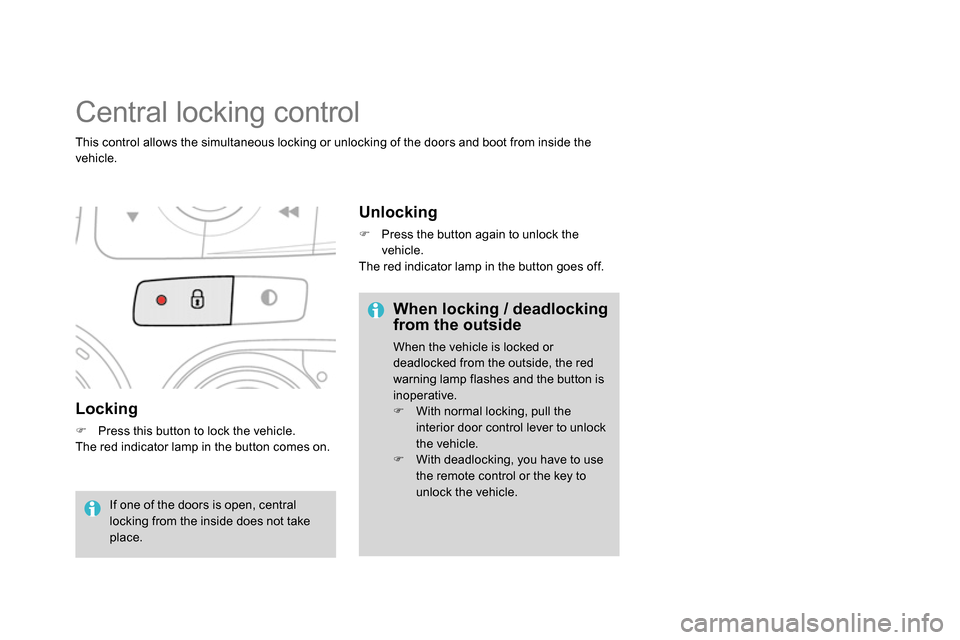
Locking
Press this button to lock the vehicle.
The red indicator lamp in the button comes on.
Central locking control
This control allows the simultaneous locking or unlocking of the doors and boot from inside the
vehicle.
If one of the doors is open, central
locking from the inside does not take
place.
Unlocking
Press the button again to unlock the
vehicle.
The red indicator lamp in the button goes off.
When locking / deadlocking
from the outside
When the vehicle is locked or
deadlocked from the outside, the red
warning lamp flashes and the button is
inoperative.
With normal locking, pull the
interior door control lever to unlock
the vehicle.
With deadlocking, you have to use
the remote control or the key to
unlock the vehicle.
Page 115 of 400
11 3Access
Doors
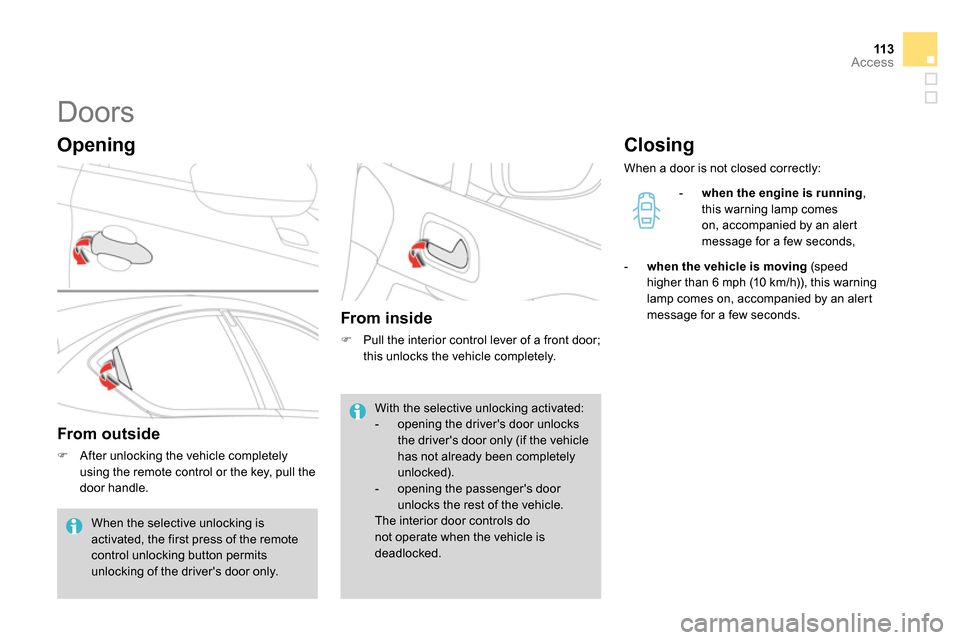
Opening
From outside
After unlocking the vehicle completely
using the remote control or the key, pull the
door handle.
From inside
Pull the interior control lever of a front door;
this unlocks the vehicle completely.
Closing
When a door is not closed correctly:
- when the engine is running
,
this warning lamp comes
on, accompanied by an alert
message for a few seconds,
- when the vehicle is moving
(speed
higher than 6 mph (10 km/h)), this warning
lamp comes on, accompanied by an alert
message for a few seconds.
When the selective unlocking is
activated, the first press of the remote
control unlocking button permits
unlocking of the driver's door only. With the selective unlocking activated:
- opening the driver's door unlocks
the driver's door only (if the vehicle
has not already been completely
unlocked).
- opening the passenger's door
unlocks the rest of the vehicle.
The interior door controls do
not operate when the vehicle is
deadlocked.
Page 117 of 400
11 5Access
Boot
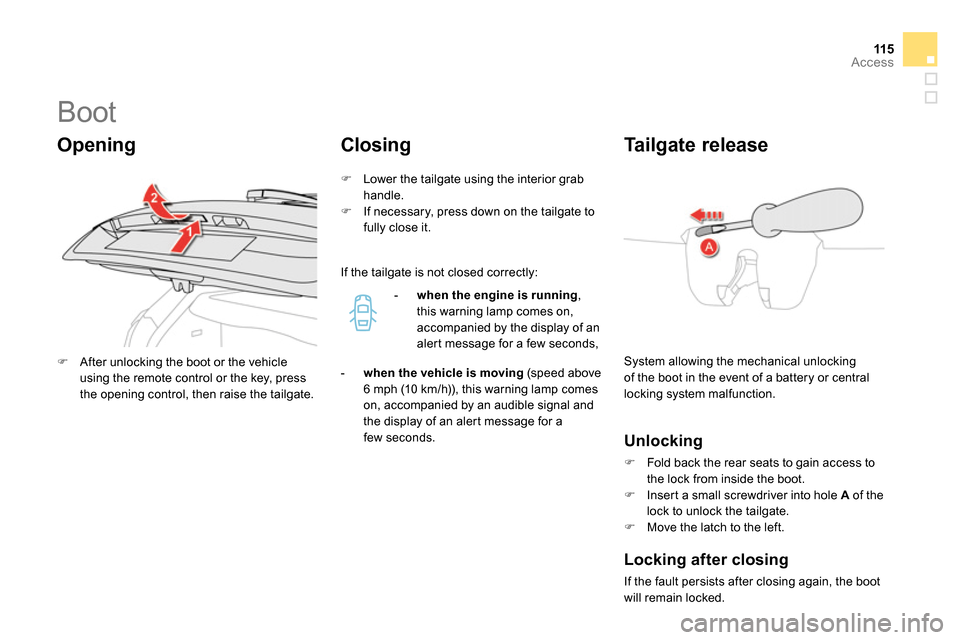
System allowing the mechanical unlocking
of the boot in the event of a battery or central
locking system malfunction.
Ta i l g a t e r e l e a s e
Unlocking
Fold back the rear seats to gain access to
the lock from inside the boot.
Insert a small screwdriver into hole A
of the
lock to unlock the tailgate.
Move the latch to the left.
After unlocking the boot or the vehicle
using the remote control or the key, press
the opening control, then raise the tailgate.
Opening
Closing
Lower the tailgate using the interior grab
handle.
If necessary, press down on the tailgate to
fully close it.
- when the engine is running
,
this warning lamp comes on,
accompanied by the display of an
alert message for a few seconds,
- when the vehicle is moving
(speed above
6 mph (10 km/h)), this warning lamp comes
on, accompanied by an audible signal and
the display of an alert message for a
few seconds.
Locking after closing
If the fault persists after closing again, the boot
will remain locked.
If the tailgate is not closed correctly:
Page 120 of 400
Fuel tank
Capacity of the tank: approximately 60 litres.
Low fuel level
When the low fuel level in the
tank is reached, this warning lamp
comes on in the instrument panel,
accompanied by an audible warning
and the display of an alert message. When it
first comes on, around 6 litres
of fuel remain
in the tank.
Until sufficient fuel has been added, every
time the ignition is switched on, this warning
lamp appears, accompanied by an audible
signal and an alert message. When driving,
this audible signal and the display of this
alert message are repeated with increasing
frequency, as the level drops towards 0
.
You must refuel as soon as possible to avoid
running out.
If you run out of fuel (Diesel), refer also to
"Checks".
Refuelling
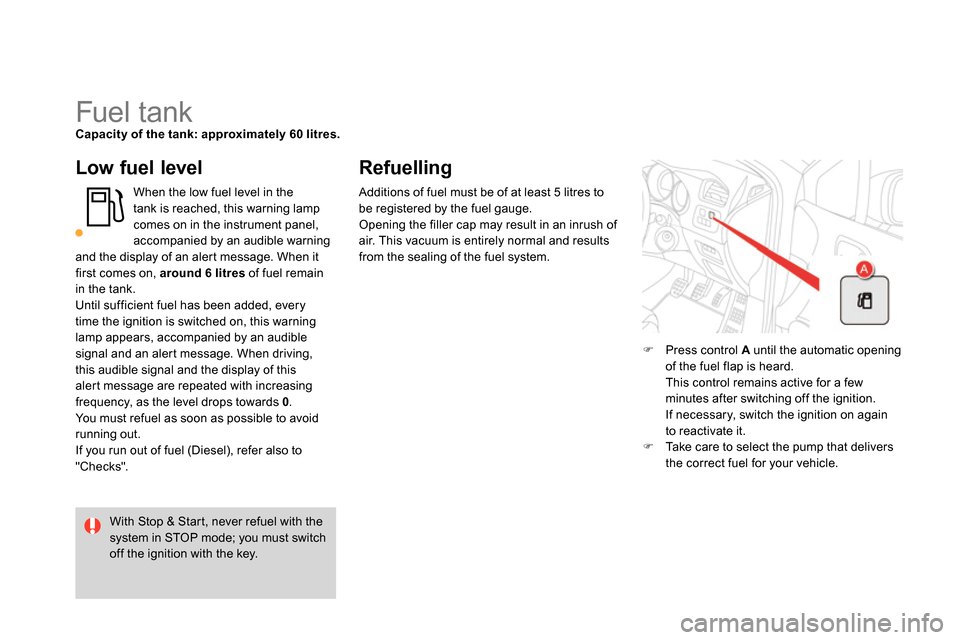
Press control A
until the automatic opening
of the fuel flap is heard.
This control remains active for a few
minutes after switching off the ignition.
If necessary, switch the ignition on again
to reactivate it.
Take care to select the pump that delivers
the correct fuel for your vehicle.
With Stop & Start, never refuel with the
system in STOP mode; you must switch
off the ignition with the key. Additions of fuel must be of at least 5 litres to
be registered by the fuel gauge.
Opening the filler cap may result in an inrush of
air. This vacuum is entirely normal and results
from the sealing of the fuel system.
Page 129 of 400
127Visibility
Switching off the lighting
when switching off the ignition
When the ignition is switched off, all
of the lamps switch off immediately,
except for the dipped beam headlamps
if automatic guide-me-home lighting is
activated.
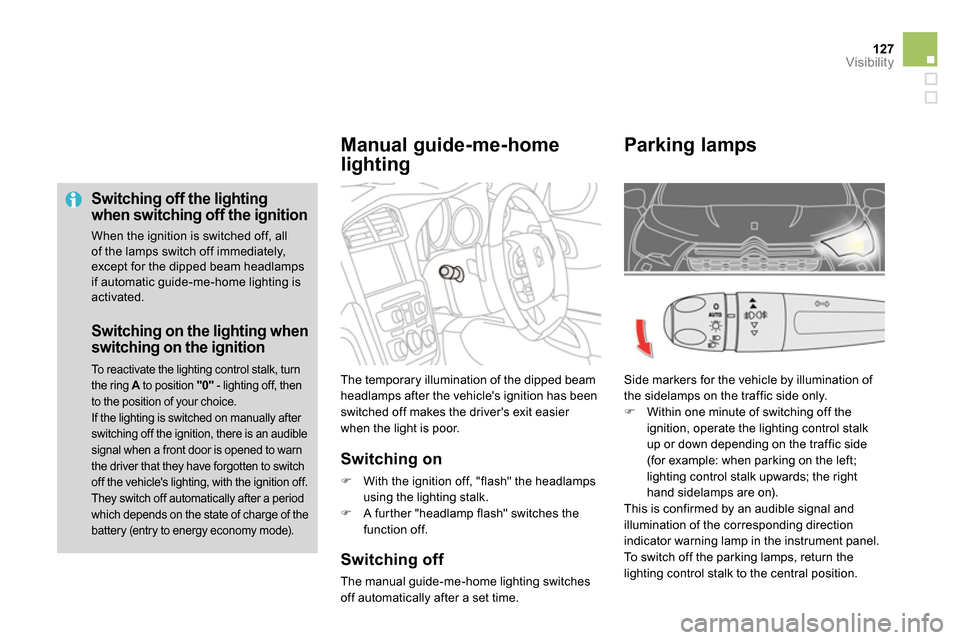
The temporary illumination of the dipped beam
headlamps after the vehicle's ignition has been
switched off makes the driver's exit easier
when the light is poor.
Switching on
With the ignition off, "flash" the headlamps
using the lighting stalk.
A further "headlamp flash" switches the
function off.
Switching off
The manual guide-me-home lighting switches
off automatically after a set time.
Manual guide-me-home
lighting
Switching on the lighting when
switching on the ignition
To reactivate the lighting control stalk, turn
the ring A
to position "0"
- lighting off, then
to the position of your choice.
If the lighting is switched on manually after
switching off the ignition, there is an audible
signal when a front door is opened to warn
the driver that they have forgotten to switch
off the vehicle's lighting, with the ignition off.
They switch off automatically after a period
which depends on the state of charge of the
battery (entry to energy economy mode).
Parking lamps
Side markers for the vehicle by illumination of
the sidelamps on the traffic side only.
Within one minute of switching off the
ignition, operate the lighting control stalk
up or down depending on the traffic side
(for example: when parking on the left;
lighting control stalk upwards; the right
hand sidelamps are on).
This is confirmed by an audible signal and
illumination of the corresponding direction
indicator warning lamp in the instrument panel.
To switch off the parking lamps, return the
lighting control stalk to the central position.
Page 130 of 400
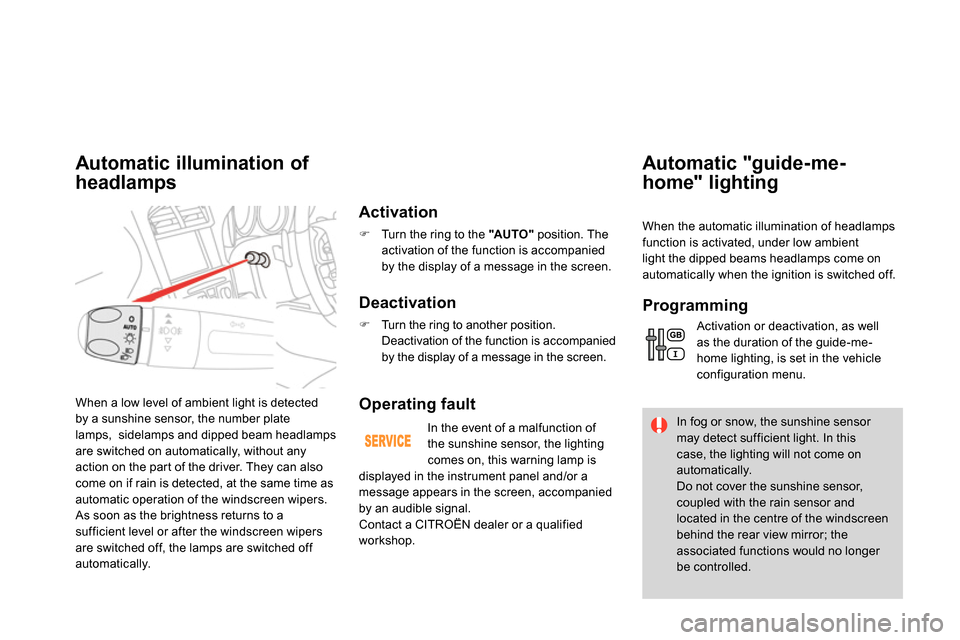
When a low level of ambient light is detected
by a sunshine sensor, the number plate
lamps, sidelamps and dipped beam headlamps
are switched on automatically, without any
action on the part of the driver. They can also
come on if rain is detected, at the same time as
automatic operation of the windscreen wipers.
As soon as the brightness returns to a
sufficient level or after the windscreen wipers
are switched off, the lamps are switched off
automatically.
Automatic illumination of
headlamps
Activation
Turn the ring to the "AUTO "
position. The
activation of the function is accompanied
by the display of a message in the screen.
Deactivation
Turn the ring to another position.
Deactivation of the function is accompanied
by the display of a message in the screen.
Automatic "guide- me-
home" lighting
Operating fault
In the event of a malfunction of
the sunshine sensor, the lighting
comes on, this warning lamp is
displayed in the instrument panel and/or a
message appears in the screen, accompanied
by an audible signal.
Contact a CITROËN dealer or a qualified
workshop. In fog or snow, the sunshine sensor
may detect sufficient light. In this
case, the lighting will not come on
automatically.
Do not cover the sunshine sensor,
coupled with the rain sensor and
located in the centre of the windscreen
behind the rear view mirror; the
associated functions would no longer
be controlled.
When the automatic illumination of headlamps
function is activated, under low ambient
light the dipped beams headlamps come on
automatically when the ignition is switched off.
Programming
Activation or deactivation, as well
as the duration of the guide-me-
home lighting, is set in the vehicle
configuration menu.
Page 132 of 400
Automatic adjustment of xenon headlamps
Do not touch the xenon bulbs.
Contact a CITROËN dealer or a
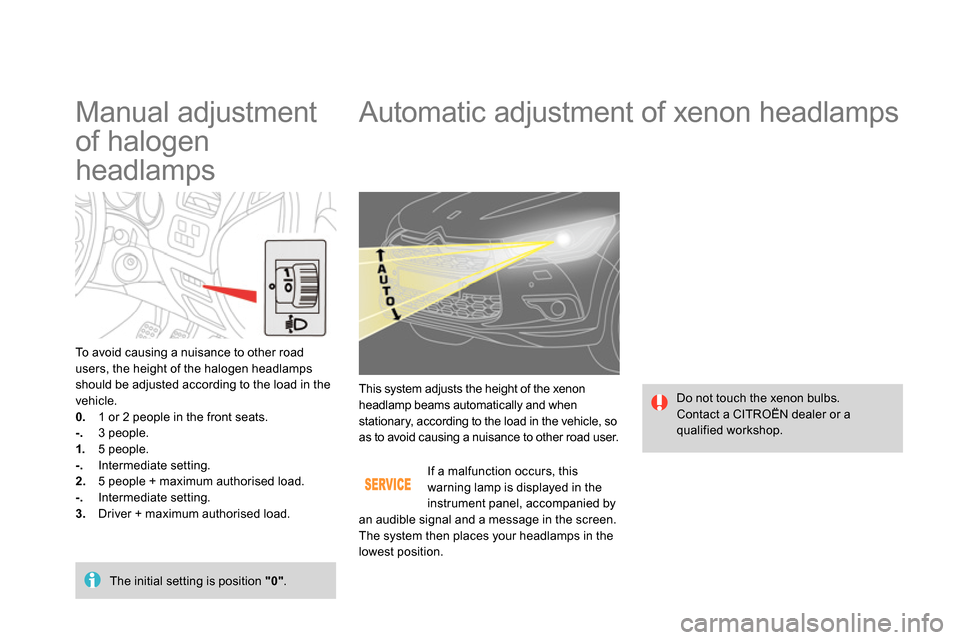
qualified workshop. This system adjusts the height of the xenon
headlamp beams automatically and when
stationary, according to the load in the vehicle, so
as to avoid causing a nuisance to other road user.
If a malfunction occurs, this
warning lamp is displayed in the
instrument panel, accompanied by
an audible signal and a message in the screen.
The system then places your headlamps in the
lowest position.
Manual adjustment
of halogen
headlamps
To avoid causing a nuisance to other road
users, the height of the halogen headlamps
should be adjusted according to the load in the
vehicle.
0.
1 or 2 people in the front seats.
-.
3 people.
1.
5 people.
-.
Intermediate setting.
2.
5 people + maximum authorised load.
-.
Intermediate setting.
3.
Driver + maximum authorised load.
The initial setting is position "0"
.
Page 133 of 400
131Visibility
Directional lighting
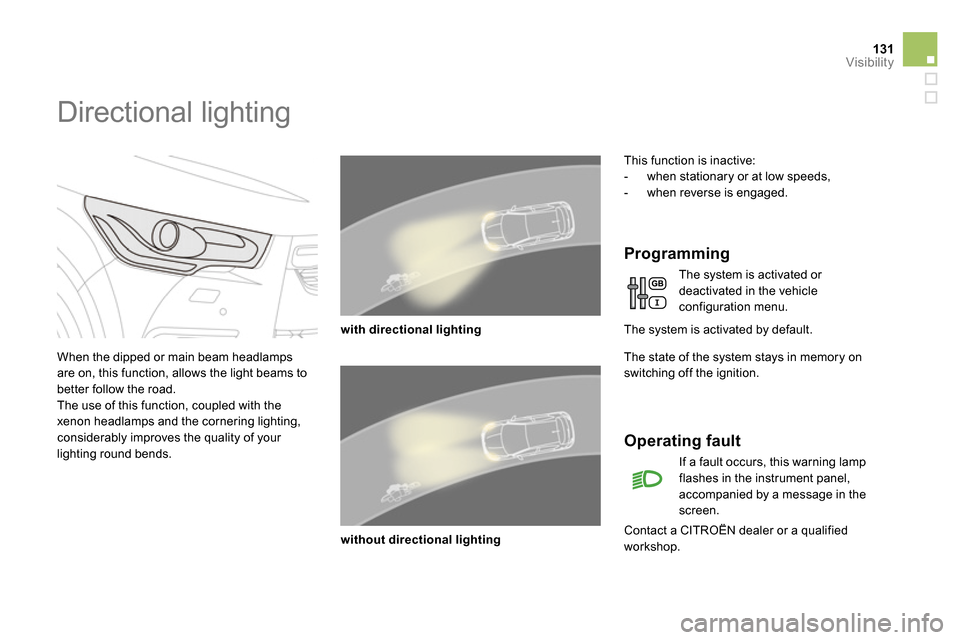
When the dipped or main beam headlamps
are on, this function, allows the light beams to
better follow the road.
The use of this function, coupled with the
xenon headlamps and the cornering lighting,
considerably improves the quality of your
lighting round bends.
This function is inactive:
- when stationary or at low speeds,
- when reverse is engaged.
The system is activated by default.
with directional lighting
without directional lighting
Programming
The system is activated or
deactivated in the vehicle
configuration menu.
The state of the system stays in memory on
switching off the ignition.
Contact a CITROËN dealer or a qualified
workshop.
Operating fault
If a fault occurs, this warning lamp
flashes in the instrument panel,
accompanied by a message in the
screen.
Page 136 of 400
Automatic rain sensitive
windscreen wipers
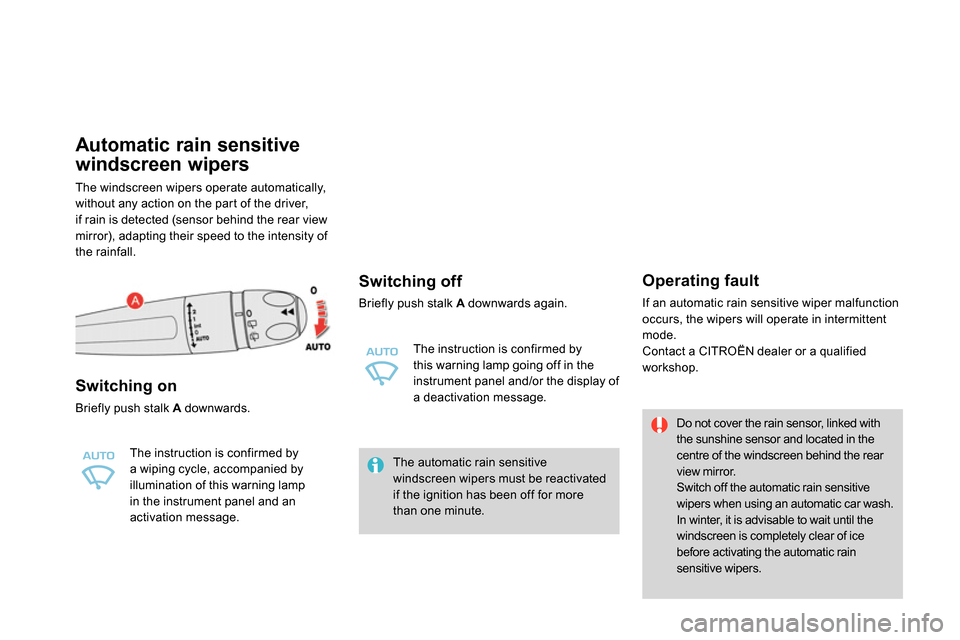
The windscreen wipers operate automatically,
without any action on the part of the driver,
if rain is detected (sensor behind the rear view
mirror), adapting their speed to the intensity of
the rainfall.
Switching on
Briefly push stalk A
downwards.
The instruction is confirmed by
a wiping cycle, accompanied by
illumination of this warning lamp
in the instrument panel and an
activation message.
Switching off
Briefly push stalk A
downwards again.
The instruction is confirmed by
this warning lamp going off in the
instrument panel and/or the display of
a deactivation message.
The automatic rain sensitive
windscreen wipers must be reactivated
if the ignition has been off for more
than one minute.
Operating fault
If an automatic rain sensitive wiper malfunction
occurs, the wipers will operate in intermittent
mode.
Contact a CITROËN dealer or a qualified
workshop.
Do not cover the rain sensor, linked with
the sunshine sensor and located in the
centre of the windscreen behind the rear
view mirror.
Switch off the automatic rain sensitive
wipers when using an automatic car wash.
In winter, it is advisable to wait until the
windscreen is completely clear of ice
before activating the automatic rain
sensitive wipers.
Page 159 of 400
157Fittings
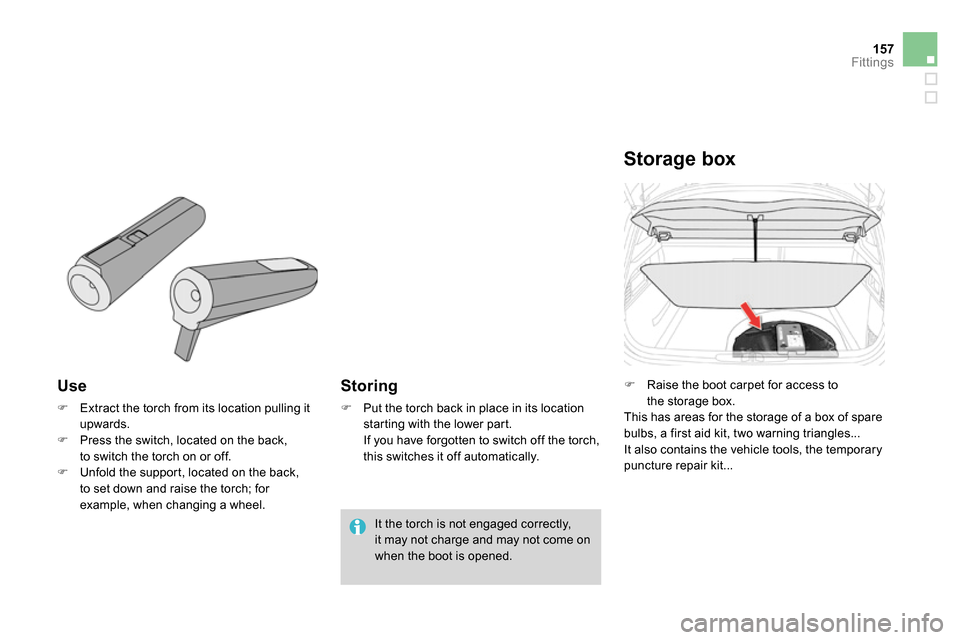
Use
Extract the torch from its location pulling it
upwards.
Press the switch, located on the back,
to switch the torch on or off.
Unfold the support, located on the back,
to set down and raise the torch; for
example, when changing a wheel.
Storing
Put the torch back in place in its location
starting with the lower part.
If you have forgotten to switch off the torch,
this switches it off automatically.
Storage box
Raise the boot carpet for access to
the storage box.
This has areas for the storage of a box of spare
bulbs, a first aid kit, two warning triangles...
It also contains the vehicle tools, the temporary
puncture repair kit...
It the torch is not engaged correctly,
it may not charge and may not come on
when the boot is opened.