key Citroen DS4 RHD 2013.5 1.G Owner's Manual
[x] Cancel search | Manufacturer: CITROEN, Model Year: 2013.5, Model line: DS4 RHD, Model: Citroen DS4 RHD 2013.5 1.GPages: 400, PDF Size: 31.86 MB
Page 4 of 400
Contents
Contents
6 FA M I L I A R I SAT I O N
34 ECO-DRIVING
388 VISUAL
SEARCH
394 ALPHABETICAL
INDEXMONITORING
38 Instrument panels
42 Rev counter
43 Warning and indicator lamps
54 Indicators
57 Manual test
60 Customisation Key
safety warning
additional information
contributes to the protection of the environment
programming a function with the
configuration menu
001001
refer to the page indicated
Page 5 of 400
MULTIFUNCTION
SCREENSCOMFORT ACCESS VISIBILITY
64 Monochrome screen C
68 Colour screen
70 Tr i p c o m p u t e r78 Ventilation
80 Manual air conditioning
82 Dual-zone digital air
conditioning
86 Front demist - defrost
87 Rear screen demist - defrost
88 Front seats
92 Rear seats
93 Steering wheel adjustment
94 Mirrors100 Remote control key
110 Alarm
113 Doors
115 Boot
116 Electric windows
118 Fuel tank
121 Misfuel prevention
(Diesel)124 Lighting controls
125 Daytime running lamps
128 Automatic illumination of
headlamps
129 Welcome lighting
130 Headlamp adjustment
131 Directional lighting
133 Wiper controls
13 4 Automatic rain sensitive
wipers
138 Courtesy lamps
139 Interior mood lighting
14 0 Boot lamp
004004005005002002003003
Page 12 of 400
100
Opening
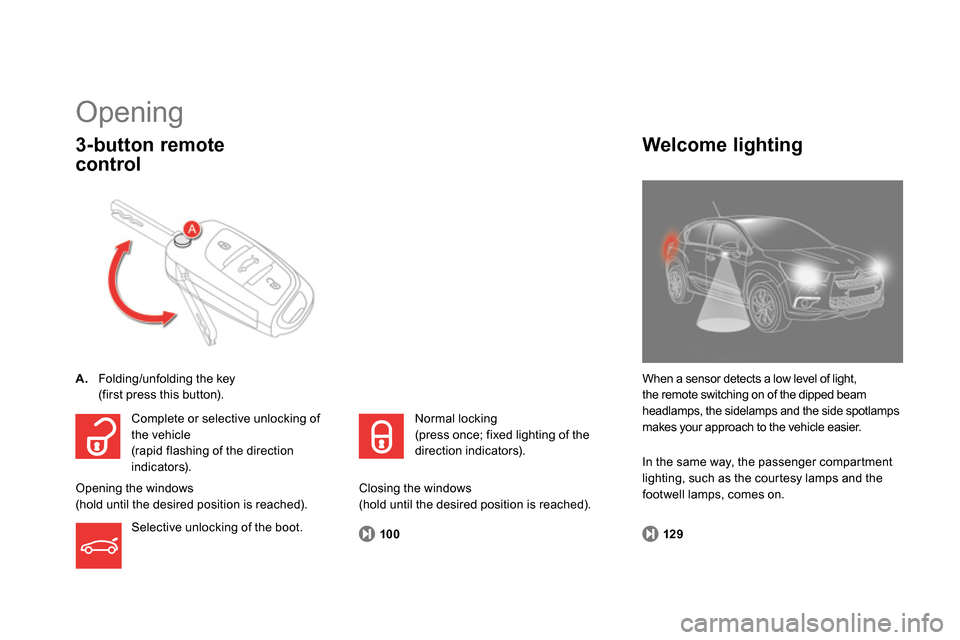
A.
Folding/unfolding the key
(first press this button).
3-button remote
control
When a sensor detects a low level of light,
the remote switching on of the dipped beam
headlamps, the sidelamps and the side spotlamps
makes your approach to the vehicle easier.
Welcome lighting
Complete or selective unlocking of
the vehicle
(rapid flashing of the direction
indicators).
Opening the windows
(hold until the desired position is reached).
Selective unlocking of the boot. Normal locking
(press once; fixed lighting of the
direction indicators).
Closing the windows
(hold until the desired position is reached).
129
In the same way, the passenger compartment
lighting, such as the courtesy lamps and the
footwell lamps, comes on.
Page 28 of 400
Passenger safety
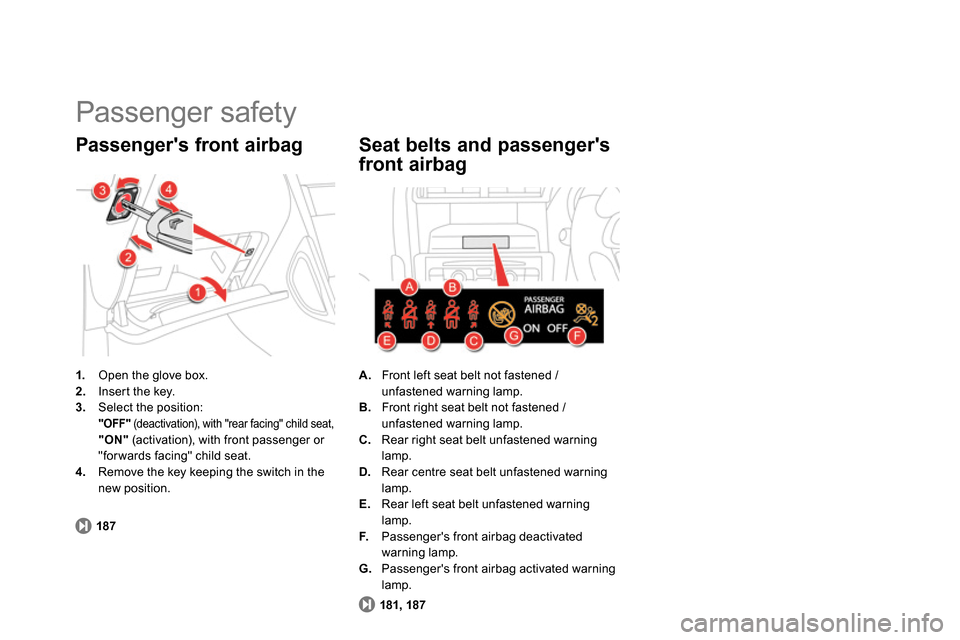
1.
Open the glove box.
2.
Insert the key.
3.
Select the position:
"OFF"
(deactivation), with "rear facing" child seat, "ON"
(activation), with front passenger or
"for wards facing" child seat.
4.
Remove the key keeping the switch in the
new position.
Passenger's front airbag
187
A.
Front left seat belt not fastened /
unfastened warning lamp.
B.
Front right seat belt not fastened /
unfastened warning lamp.
C.
Rear right seat belt unfastened warning
lamp.
D.
Rear centre seat belt unfastened warning
lamp.
E.
Rear left seat belt unfastened warning
lamp.
F.
Passenger's front airbag deactivated
warning lamp.
G.
Passenger's front airbag activated warning
lamp.
Seat belts and passenger's
front airbag
181, 187
Page 33 of 400
31Familiarisation
Stop & Start
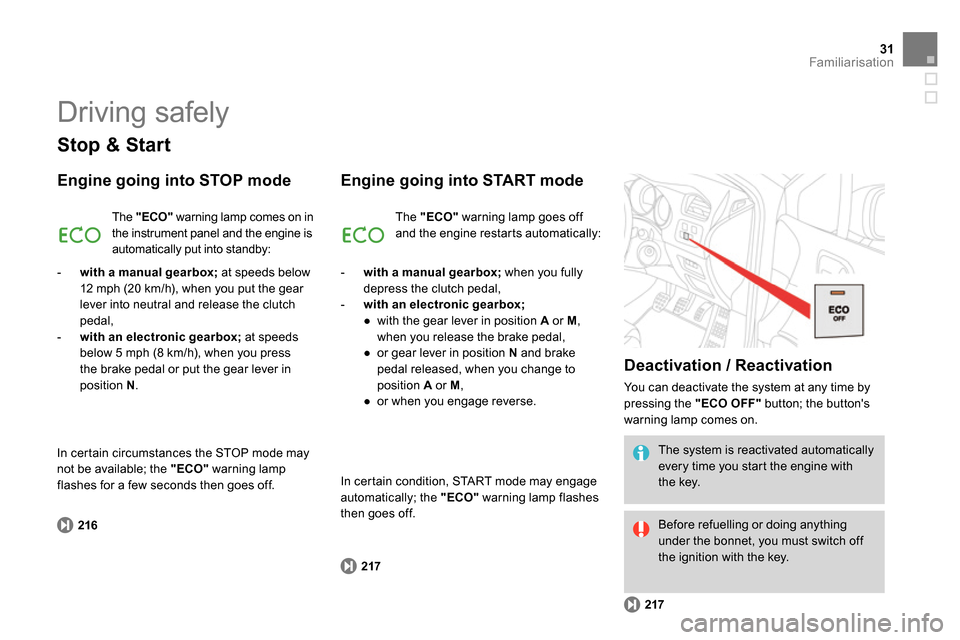
Engine going into STOP mode
216
The "ECO"
warning lamp comes on in
the instrument panel and the engine is
automatically put into standby:
- with a manual gearbox;
at speeds below
12 mph (20 km/h), when you put the gear
lever into neutral and release the clutch
pedal,
- with an electronic gearbox;
at speeds
below 5 mph (8 km/h), when you press
the brake pedal or put the gear lever in
position N
.
Engine going into START mode
Deactivation / Reactivation
You can deactivate the system at any time by
pressing the "ECO OFF"
button; the button's
warning lamp comes on.
217
217
The system is reactivated automatically
every time you start the engine with
the key.
Before refuelling or doing anything
under the bonnet, you must switch off
the ignition with the key. The "ECO"
warning lamp goes off
and the engine restarts automatically:
- with a manual gearbox;
when you fully
depress the clutch pedal,
- with an electronic gearbox;
●
with the gear lever in position A
or M
,
when you release the brake pedal,
●
or gear lever in position N
and brake
pedal released, when you change to
position A
or M
,
●
or when you engage reverse.
In certain circumstances the STOP mode may
not be available; the "ECO"
warning lamp
flashes for a few seconds then goes off. In certain condition, START mode may engage
automatically; the "ECO"
warning lamp flashes
then goes off.
Driving safely
Page 44 of 400
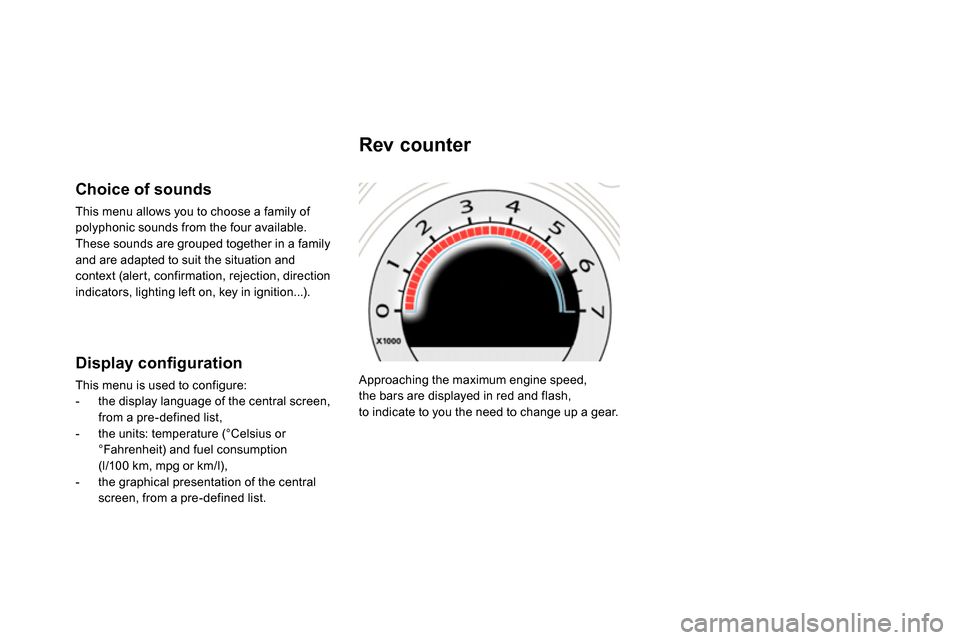
Approaching the maximum engine speed,
the bars are displayed in red and flash,
to indicate to you the need to change up a gear.
Rev counter
Choice of sounds
This menu allows you to choose a family of
polyphonic sounds from the four available.
These sounds are grouped together in a family
and are adapted to suit the situation and
context (alert, confirmation, rejection, direction
indicators, lighting left on, key in ignition...).
Display confi guration
This menu is used to configure:
- the display language of the central screen,
from a pre-defined list,
- the units: temperature (°Celsius or
°Fahrenheit) and fuel consumption
(l/100 km, mpg or km/l),
- the graphical presentation of the central
screen, from a pre-defined list.
Page 63 of 400
61Monitoring
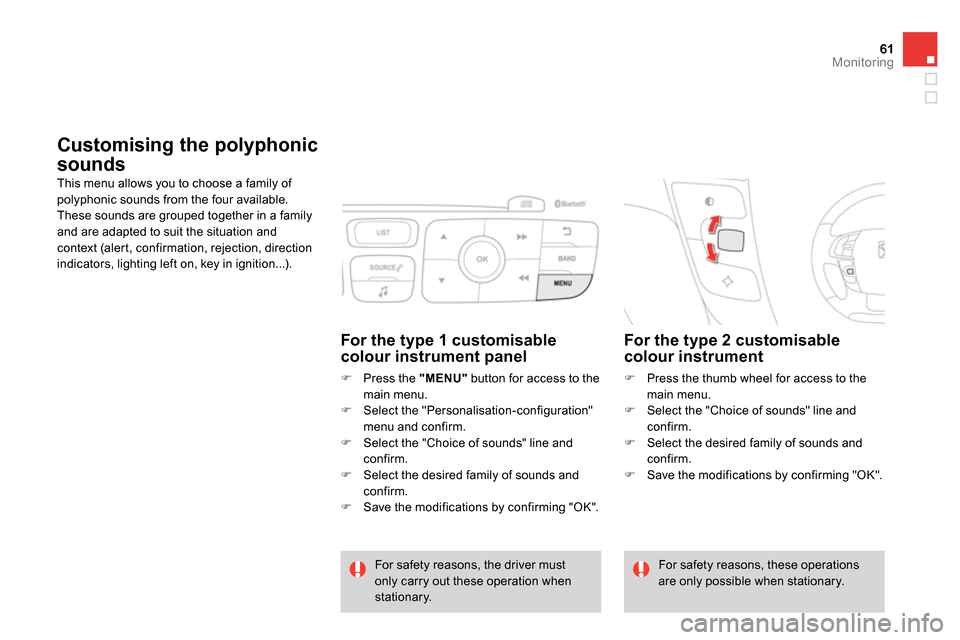
Customising the polyphonic
sounds
This menu allows you to choose a family of
polyphonic sounds from the four available.
These sounds are grouped together in a family
and are adapted to suit the situation and
context (alert, confirmation, rejection, direction
indicators, lighting left on, key in ignition...).
For the type 2 customisable
colour instrument
Press the thumb wheel for access to the
main menu.
Select the "Choice of sounds" line and
confirm.
Select the desired family of sounds and
confirm.
Save the modifications by confirming "OK".
For safety reasons, the driver must
only carry out these operation when
stationary. For safety reasons, these operations
are only possible when stationary.
For the type 1 customisable
colour instrument panel
Press the "MENU"
button for access to the
main menu.
Select the "Personalisation-configuration"
menu and confirm.
Select the "Choice of sounds" line and
confirm.
Select the desired family of sounds and
confirm.
Save the modifications by confirming "OK".
Page 69 of 400
67Multifunction screens
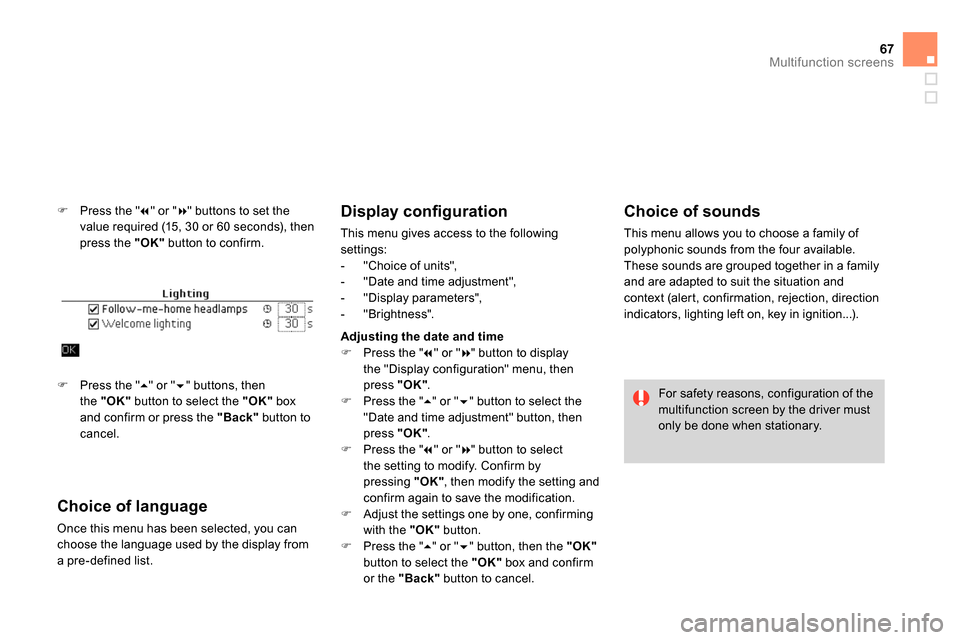
Press the "
" or "
" buttons to set the
value required (15, 30 or 60 seconds), then
press the "OK"
button to confirm.
Choice of language
Once this menu has been selected, you can
choose the language used by the display from
a pre-defined list.
Display confi guration
This menu gives access to the following
settings:
- "Choice of units",
- "Date and time adjustment",
- "Display parameters",
- "Brightness".
Choice of sounds
This menu allows you to choose a family of
polyphonic sounds from the four available.
These sounds are grouped together in a family
and are adapted to suit the situation and
context (alert, confirmation, rejection, direction
indicators, lighting left on, key in ignition...).
For safety reasons, configuration of the
multifunction screen by the driver must
only be done when stationary.
Press the "
" or "
" buttons, then
the "OK"
button to select the "OK"
box
and confirm or press the "Back"
button to
cancel.
Adjusting the date and time
Press the "
" or "
" button to display
the "Display configuration" menu, then
press "OK"
.
Press the "
" or "
" button to select the
"Date and time adjustment" button, then
press "OK"
.
Press the "
" or "
" button to select
the setting to modify. Confirm by
pressing "OK"
, then modify the setting and
confirm again to save the modification.
Adjust the settings one by one, confirming
with the "OK"
button.
Press the "
" or "
" button, then the "OK"
button to select the "OK"
box and confirm
or the "Back"
button to cancel.
Page 76 of 400
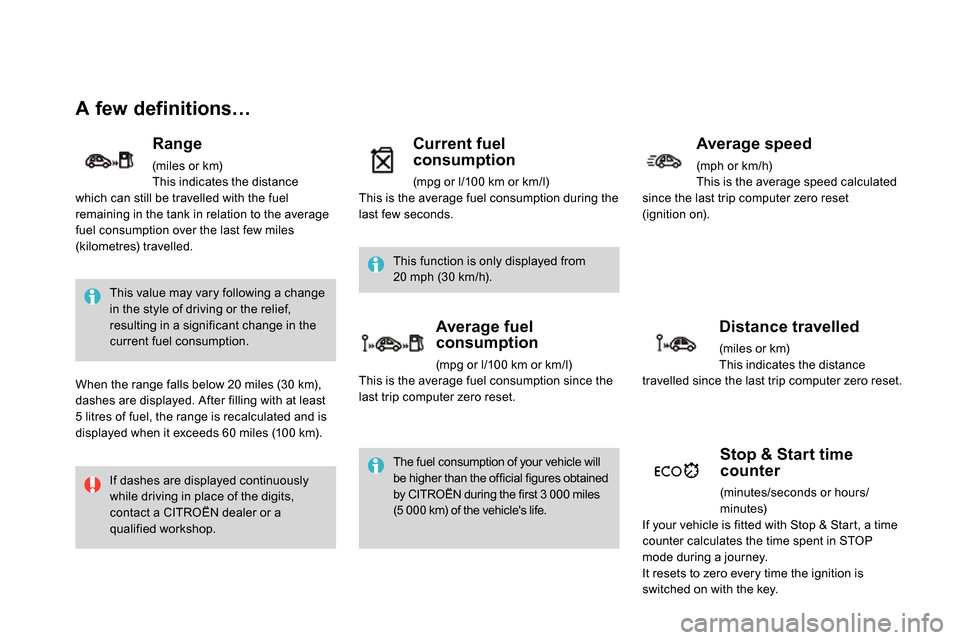
A few definitions…
This value may vary following a change
in the style of driving or the relief,
resulting in a significant change in the
current fuel consumption.
If dashes are displayed continuously
while driving in place of the digits,
contact a CITROËN dealer or a
qualified workshop. This function is only displayed from
20 mph (30 km/h).
The fuel consumption of your vehicle will
be higher than the official figures obtained
by CITROËN during the first 3 000 miles
(5 000 km) of the vehicle's life.
Range
(miles or km)
This indicates the distance
which can still be travelled with the fuel
remaining in the tank in relation to the average
fuel consumption over the last few miles
(kilometres) travelled.
When the range falls below 20 miles (30 km),
dashes are displayed. After filling with at least
5 litres of fuel, the range is recalculated and is
displayed when it exceeds 60 miles (100 km).
Current fuel
consumption
(mpg or l/100 km or km/l)
This is the average fuel consumption during the
last few seconds.
Average fuel
consumption
(mpg or l/100 km or km/l)
This is the average fuel consumption since the
last trip computer zero reset.
Average speed
(mph or km/h)
This is the average speed calculated
since the last trip computer zero reset
(ignition on).
Distance travelled
(miles or km)
This indicates the distance
travelled since the last trip computer zero reset.
Stop & Start time
counter
(minutes/seconds or hours/
minutes)
If your vehicle is fitted with Stop & Start, a time
counter calculates the time spent in STOP
mode during a journey.
It resets to zero every time the ignition is
switched on with the key.
Page 96 of 400
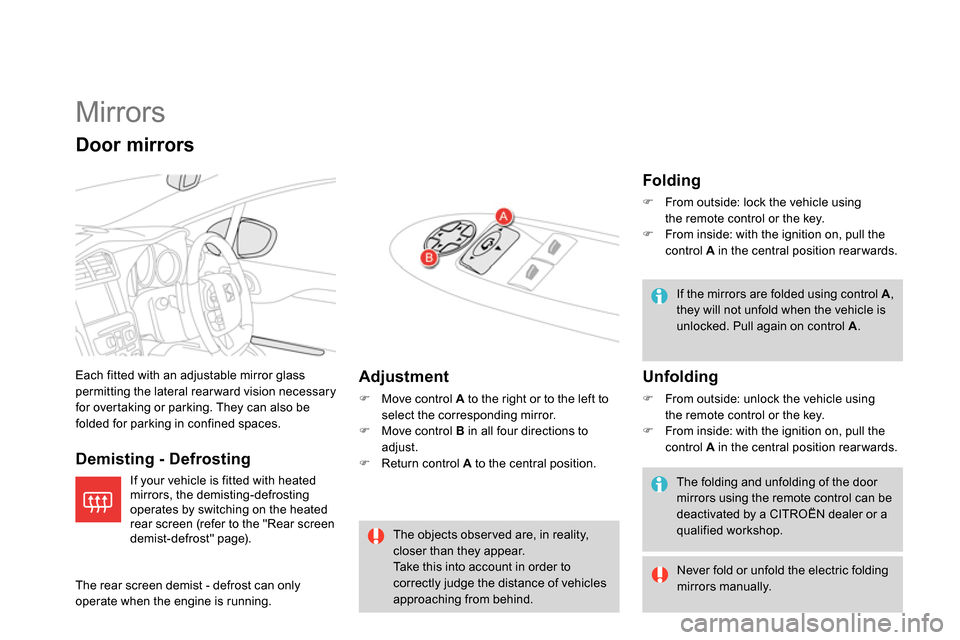
Mirrors
Each fitted with an adjustable mirror glass
permitting the lateral rear ward vision necessary
for overtaking or parking. They can also be
folded for parking in confined spaces.
Demisting - Defrosting
Adjustment
Move control A
to the right or to the left to
select the corresponding mirror.
Move control B
in all four directions to
adjust.
Return control A
to the central position.
Door mirrors
The objects obser ved are, in reality,
closer than they appear.
Take this into account in order to
correctly judge the distance of vehicles
approaching from behind.
Folding
From outside: lock the vehicle using
the remote control or the key.
From inside: with the ignition on, pull the
control A
in the central position rear wards.
Unfolding
From outside: unlock the vehicle using
the remote control or the key.
From inside: with the ignition on, pull the
control A
in the central position rear wards. If the mirrors are folded using control A
,
they will not unfold when the vehicle is
unlocked. Pull again on control A
.
The folding and unfolding of the door
mirrors using the remote control can be
deactivated by a CITROËN dealer or a
qualified workshop.
Never fold or unfold the electric folding
mirrors manually.
If your vehicle is fitted with heated
mirrors, the demisting-defrosting
operates by switching on the heated
rear screen (refer to the "Rear screen
demist-defrost" page).
The rear screen demist - defrost can only
operate when the engine is running.