tow Citroen DS4 RHD 2015.5 1.G User Guide
[x] Cancel search | Manufacturer: CITROEN, Model Year: 2015.5, Model line: DS4 RHD, Model: Citroen DS4 RHD 2015.5 1.GPages: 436, PDF Size: 10.13 MB
Page 100 of 436
Recommendations for ventilation and air conditioning
If after an extended stop in sunshine,
the interior temperature is very
high, first ventilate the passenger
compartment for a few moments.
Put the air flow control at a setting high
enough to quickly change the air in the
passenger compartment.
The air conditioning system does not
contain chlorine and does not present
any danger to the ozone layer.
In order for these systems to be fully effective, follow the operation and maintenance
guidelines below:
F
T
o obtain an even air distribution, take care not to obstruct the exterior air intake grilles
located at the base of the windscreen, the nozzles, the vents and the air outlets, as well
as the air extractor located in the boot.
F
D
o not cover the sunshine sensor, located on the dashboard; this is used for regulation
of the air conditioning system.
F
O
perate the air conditioning system for at least 5 to 10 minutes, once or twice a month
to keep it in per fect working order.
F
E
nsure that the passenger compartment filter is in good condition and have the filter
elements replaced regularly.
W
e recommend the use of a combined passenger compartment filter. Thanks to its
special active additive, it contributes to the purification of the air breathed by the
occupants and the cleanliness of the passenger compartment (reduction of allergic
symptoms, bad odours and greasy deposits).
F
T
o ensure correct operation of the air conditioning system, you are also advised to have
it checked regularly as recommended in the maintenance and warranty guide.
F
I
f the system does not produce cold air, switch it off and contact a CITROËN dealer or
a qualified workshop.
When towing the maximum load on a steep gradient in high temperatures, switching off the
air conditioning increases the available engine power and so improves the towing ability. The condensation created by the air
conditioning results in a discharge
of water under the vehicle which is
per fectly normal.
Stop & Start
The heating and air conditioning systems only work when the engine is running. To maintain
a comfortable temperature in the passenger compartment, you can temporarily deactivate
the Stop & Start system (see the corresponding section).
Page 106 of 436
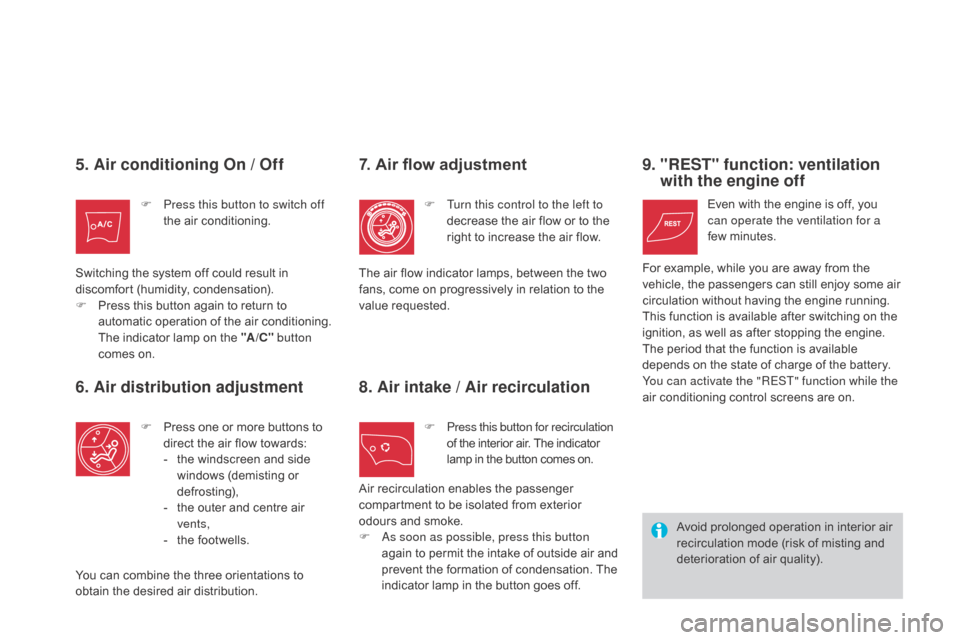
5. Air conditioning On / Off
F Press this button to switch off the air conditioning.
Switching the system off could result in
discomfort (humidity, condensation).
F
P
ress this button again to return to
automatic operation of the air conditioning.
The indicator lamp on the "A /C " button
comes on.
6. Air distribution adjustment
F Press one or more buttons to direct the air flow towards:
-
t
he windscreen and side
windows (demisting or
def r o st ing),
-
t
he outer and centre air
vents,
-
t
he footwells.
You can combine the three orientations to
obtain the desired air distribution.
7. Air flow adjustment
F Turn this control to the left to decrease the air flow or to the
right to increase the air flow.
8. Air intake / Air recirculation
F Press this button for recirculation of the interior air. The indicator
lamp in the button comes on.
The air flow indicator lamps, between the two
fans, come on progressively in relation to the
value requested.
9. "REST" function: ventilation
with the engine off
Even with the engine is off, you
can operate the ventilation for a
few
m
inutes.
Air recirculation enables the passenger
compartment to be isolated from exterior
odours and smoke.
F
A
s soon as possible, press this button
again to permit the intake of outside air and
prevent the formation of condensation. The
indicator lamp in the button goes off. For example, while you are away from the
vehicle, the passengers can still enjoy some air
circulation without having the engine running.
This function is available after switching on the
ignition, as well as after stopping the engine.
The period that the function is available
depends on the state of charge of the battery.
You can activate the "REST" function while the
air conditioning control screens are on.
Avoid prolonged operation in interior air
recirculation mode (risk of misting and
deterioration of air quality).
Page 108 of 436

Front demist - defrost
These markings on the control panel indicate the control positions for rapid demisting or
defrosting of the windscreen and side windows.
With manual air
conditioning
F Put the temperature, air flow and distribution controls to the dedicated
marked position.
F
P
ut the air intake control to the "Exterior air
intake" position
(
indicator lamp on the control off).
F
S
witch on the air conditioning by pressing
the "A /C " button; the warning lamp in the
button comes on.
With digital dual-zone air
conditioning
With Stop & Start, when the demisting,
air conditioning and air flow functions
are activated, STOP mode is not
available.
Automatic visibility programme
F Select this programme to demist or defrost the windscreen and side windows as
quickly as possible.
The system automatically manages the air
conditioning, air flow and air intake, and
provides optimum distribution towards the
windscreen and side windows.
F
T
o stop the programme, press either the
"visibility" button again or "AUTO" , the
warning lamp on the button goes off and
the warning lamp on the "AUTO" button
comes on.
The system starts again with the values in
use before it was overridden by the visibility
programme. With Stop & Start, when demisting has
been activated, the STOP mode is not
available.
Page 115 of 436

11 3
Panoramic windscreen
A tinted panoramic windscreen that increases brightness and vision in the cabin. Fitted on each side with a blind to improve temperature control and a
sun visor to avoid dazzle.F
T
o open the blind, pull it by its central grip
to the desired position.
F
T
o close or stow the blind, pull it for ward by
its central grip then guide it to the desired
position.
The sun visor must be in the folded position
before moving the blind.
Blind
Fitted with a vanity mirror and ticket holder.
F L ower the sun visor to avoid dazzle from
the front.
F
D
isengage the sun visor from its central
fixing and turn it towards the door glass to
avoid dazzle from the side.
Sun visor
Do not attach or hang heavy objects on
the blinds or their slide rails.
Fittings
Page 118 of 436

Front armrest
Comfort and storage system for the driver and front passenger.
The length of the armrest cover can be adjusted.
Storage
There is a storage space below the cover of
the armrest. Depending on equipment, this can
contain the back-up reader for the electronic
key of the Keyless Entry and Starting system.
F
R
aise the cover fully.
Longitudinal adjustment
F To move for wards, raise the lever. The armrest slides for wards to its stop.
F
T
o stow it, slide it fully back and press
down to lock it.
Page 129 of 436

127
Model without AUTO lighting
Model with AUTO lighting
Manual controls
The lighting is controlled directly by the driver
by means of the ring A and the stalk B.
Automatic illumination of headlamps.
B.
S
talk for switching headlamps: pull the stalk
towards you to switch the lighting between
dipped and main beam headlamps.
In the lamps off and sidelamps modes, the
driver can switch on the main beam headlamps
temporarily ("headlamp flash") by maintaining a
pull on the stalk. A.
M
ain lighting mode selection ring: turn it
to position the symbol required facing the
mark.
Lighting off (ignition off) /
Daytime running lamps (engine running).
Sidelamps.
Dipped headlamps or main beam headlamps.
displays
Illumination of the corresponding indicator
lamp in the instrument panel confirms that the
lighting selected is on.
daytime running lamps
Daytime lighting which comes on automatically
when the engine is started making the vehicle
more visible to other users.
This function is assured by dedicated lamps.
Visibility
Page 137 of 436

135
System for selection and control of the various
front and rear wiping modes for the elimination
of rain and cleaning the screens.
The vehicle's front and rear wipers are
designed to improve the driver's visibility
according to the climatic conditions.
The wipers are controlled by means of stalk A
for the front and the ring B for the rear.
Wiper controls
Programming
Model without AUTO wiping
Various automatic wiper control modes are also
available depending on whether the following
options are fitted:
-
a
utomatic rain sensitive windscreen wipers,
-
r
ear wiping on engaging reverse gear.
Model with AUTO wiping
Windscreen wiper
A. Wiping speed control stalk: raise or lower
the stalk to the desired position.
Single wipe (press downwards or pull
the stalk briefly towards you, then
release).Automatic wiping (press down,
then release).
Single wipe (pull the stalk briefly
towards you).
Fast wiping (heavy rain).
Normal wiping (moderate rain).
Intermittent wiping (proportional to
the speed of the vehicle).
Park.
or
Visibility
Page 139 of 436
137
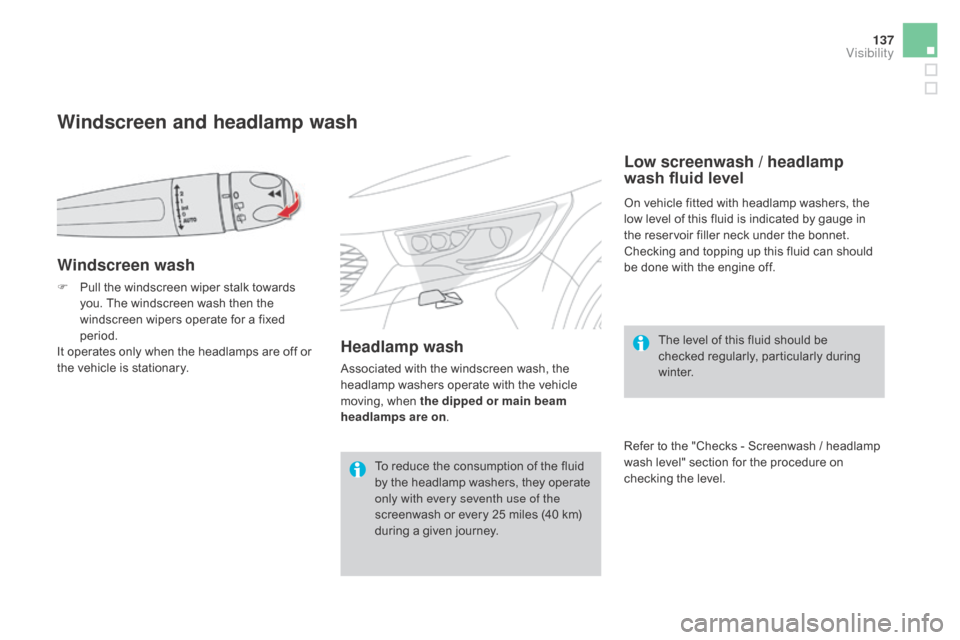
Windscreen and headlamp wash
Windscreen wash
F Pull the windscreen wiper stalk towards you. The windscreen wash then the
windscreen wipers operate for a fixed
period.
It operates only when the headlamps are off or
the vehicle is stationary.
Low screenwash / headlamp
wash fluid level
On vehicle fitted with headlamp washers, the
low level of this fluid is indicated by gauge in
the reservoir filler neck under the bonnet.
Checking and topping up this fluid can should
be done with the engine off.
The level of this fluid should be
checked regularly, particularly during
w i n t e r.
Refer to the "Checks - Screenwash / headlamp
wash level" section for the procedure on
checking the level.
Headlamp wash
Associated with the windscreen wash, the
headlamp washers operate with the vehicle
moving, when the dipped or main beam
headlamps are on .
To reduce the consumption of the fluid
by the headlamp washers, they operate
only with every seventh use of the
screenwash or every 25 miles (40 km)
during a given journey.
Visibility
Page 156 of 436
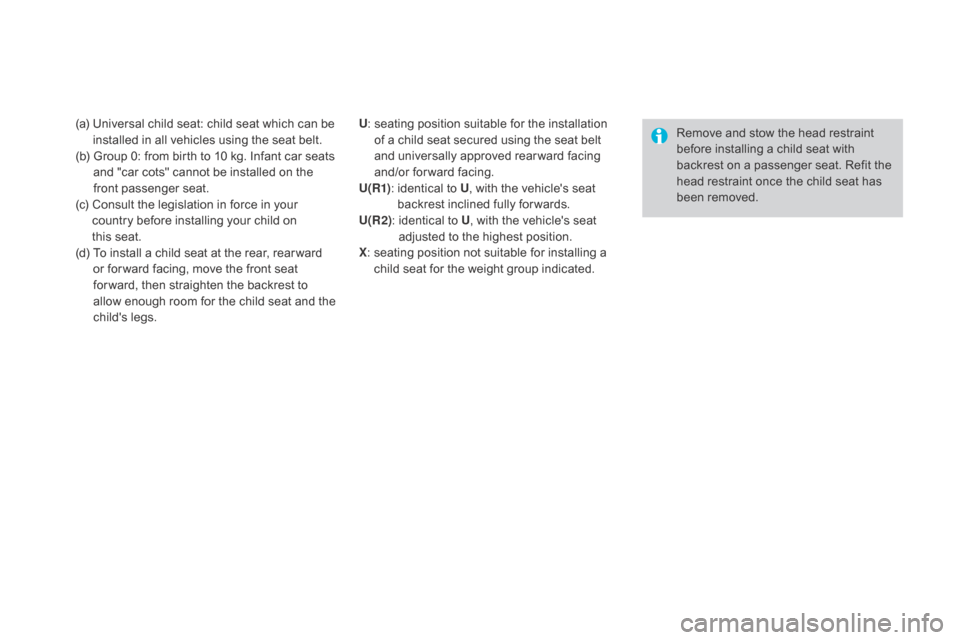
(a) Universal child seat: child seat which can be installed in all vehicles using the seat belt.
(b)
G
roup 0: from birth to 10 kg. Infant car seats
and "car cots" cannot be installed on the
front passenger seat.
(c)
C
onsult the legislation in force in your
country before installing your child on
this
sea
t.
(d)
T
o install a child seat at the rear, rear ward
or for ward facing, move the front seat
for ward, then straighten the backrest to
allow enough room for the child seat and the
child's legs. Remove and stow the head restraint
before installing a child seat with
backrest on a passenger seat. Refit the
head restraint once the child seat has
been removed.
U
: s eating position suitable for the installation
of a child seat secured using the seat belt
and universally approved rear ward facing
and/or for ward facing.
U(R1) :
i
dentical to U, with the vehicle's seat
backrest inclined fully for wards.
U(R2) :
i
dentical to U, with the vehicle's seat
adjusted to the highest position.
X :
s
eating position not suitable for installing a
child seat for the weight group indicated.
Page 157 of 436
155
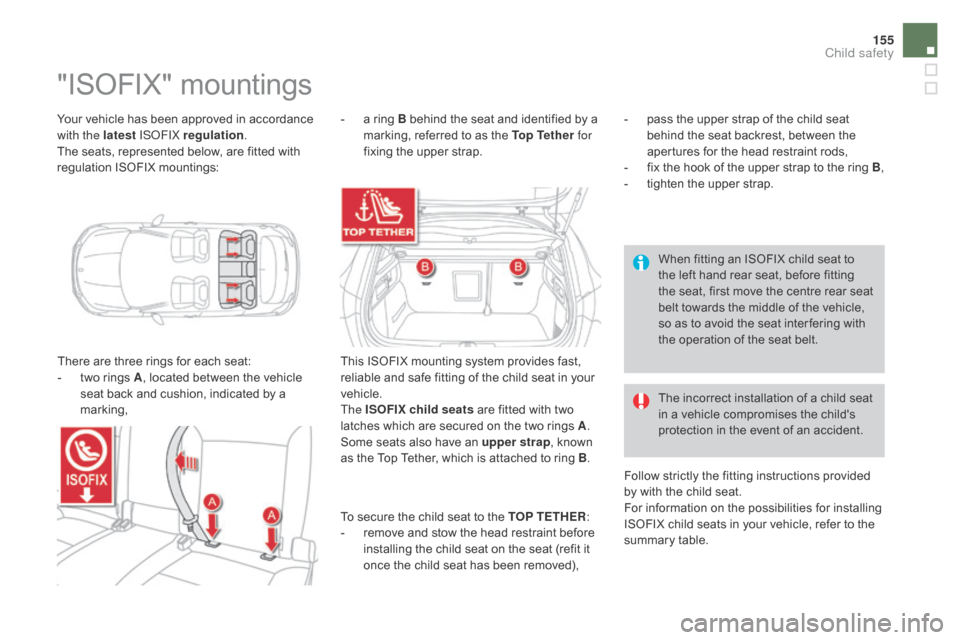
Your vehicle has been approved in accordance
with the latest ISOFIX regulation .
The seats, represented below, are fitted with
regulation ISOFIX mountings:
"ISOFIX" mountings
There are three rings for each seat:
- t wo rings A , located between the vehicle
seat back and cushion, indicated by a
marking, -
a r
ing B behind the seat and identified by a
marking, referred to as the Top Tether for
fixing the upper strap.
This ISOFIX mounting system provides fast,
reliable and safe fitting of the child seat in your
vehicle.
The ISOFIX child seats are fitted with two
latches which are secured on the two rings A .
Some seats also have an upper strap , known
as the Top Tether, which is attached to ring B .The incorrect installation of a child seat
in a vehicle compromises the child's
protection in the event of an accident.
Follow strictly the fitting instructions provided
by with the child seat.
For information on the possibilities for installing
ISOFIX child seats in your vehicle, refer to the
summary table. When fitting an ISOFIX child seat to
the left hand rear seat, before fitting
the seat, first move the centre rear seat
belt towards the middle of the vehicle,
so as to avoid the seat inter fering with
the operation of the seat belt.
-
p
ass the upper strap of the child seat
behind the seat backrest, between the
apertures for the head restraint rods,
-
f
ix the hook of the upper strap to the ring B,
-
t
ighten the upper strap.
To secure the child seat to the TOP TETHER :
-
r
emove and stow the head restraint before
installing the child seat on the seat (refit it
once the child seat has been removed),
Child safety