start stop button Citroen DS5 RHD 2014 1.G Owner's Guide
[x] Cancel search | Manufacturer: CITROEN, Model Year: 2014, Model line: DS5 RHD, Model: Citroen DS5 RHD 2014 1.GPages: 400, PDF Size: 37.32 MB
Page 131 of 400

129Driving
The system is reactivated automatically
at every new start using the START/
STOP button.
Reactivation
Press the "ECO OFF"
switch again.
The system is active again; this is confirmed
by the switch warning lamp going off and a
message in the screen.
Operating fault
In the event of a fault with the system, the
"ECO OFF"
switch warning lamp flashes then
comes on continuously.
Have it checked by a CITROËN dealer or a
qualified workshop.
In the event of a fault in STOP mode, the vehicle
may stall.
All of the instrument panel warning lamps come
on.
Depending on version, an alert message may also
be displayed, asking you to place the gear lever in
position N
and put your foot on the brake pedal.
It is then necessary to switch off the ignition and
start the engine again using the "START/STOP"
button.
Before doing anything under the
bonnet, deactivate the Stop & Start
system to avoid any risk of injury
resulting from automatic operation of
START mode.
This system requires a 12 V battery with a
special specification and technology (reference
numbers available from CITROËN dealers).
Fitting a battery not listed by CITROËN
introduces the risk of malfunction of the
system.
For charging, use a 12 V charger and do not
reverse the polarity.
Maintenance
The Stop & Start system makes use of
advanced technology. For any work on
the system go to a qualified workshop
with the skills and equipment required,
which a CITROËN dealer is able to
provide.
Page 134 of 400

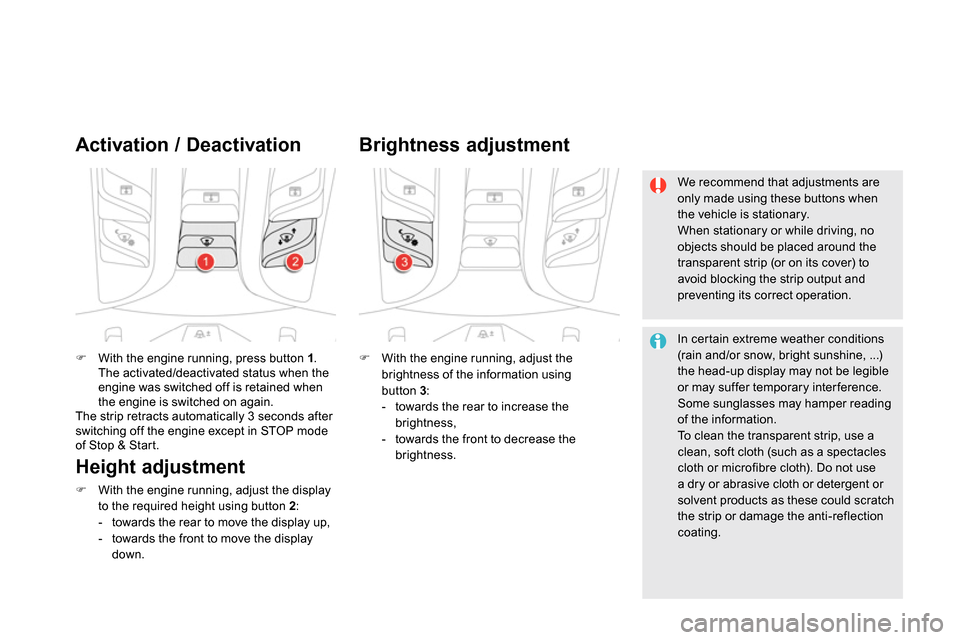
With the engine running, press button 1
.
The activated/deactivated status when the
engine was switched off is retained when
the engine is switched on again.
The strip retracts automatically 3 seconds after
switching off the engine except in STOP mode
of Stop & Start.
Activation / Deactivation
With the engine running, adjust the
brightness of the information using
button 3
:
- towards the rear to increase the
brightness,
- towards the front to decrease the
brightness.
Brightness adjustment
We recommend that adjustments are
only made using these buttons when
the vehicle is stationary.
When stationary or while driving, no
objects should be placed around the
transparent strip (or on its cover) to
avoid blocking the strip output and
preventing its correct operation.
In certain extreme weather conditions
(rain and/or snow, bright sunshine, ...)
the head-up display may not be legible
or may suffer temporary inter ference.
Some sunglasses may hamper reading
of the information.
To clean the transparent strip, use a
clean, soft cloth (such as a spectacles
cloth or microfibre cloth). Do not use
a dry or abrasive cloth or detergent or
solvent products as these could scratch
the strip or damage the anti-reflection
coating.
Height adjustment
With the engine running, adjust the display
to the required height using button 2
:
- towards the rear to move the display up,
- towards the front to move the display
down.
Page 365 of 400

363Visual search
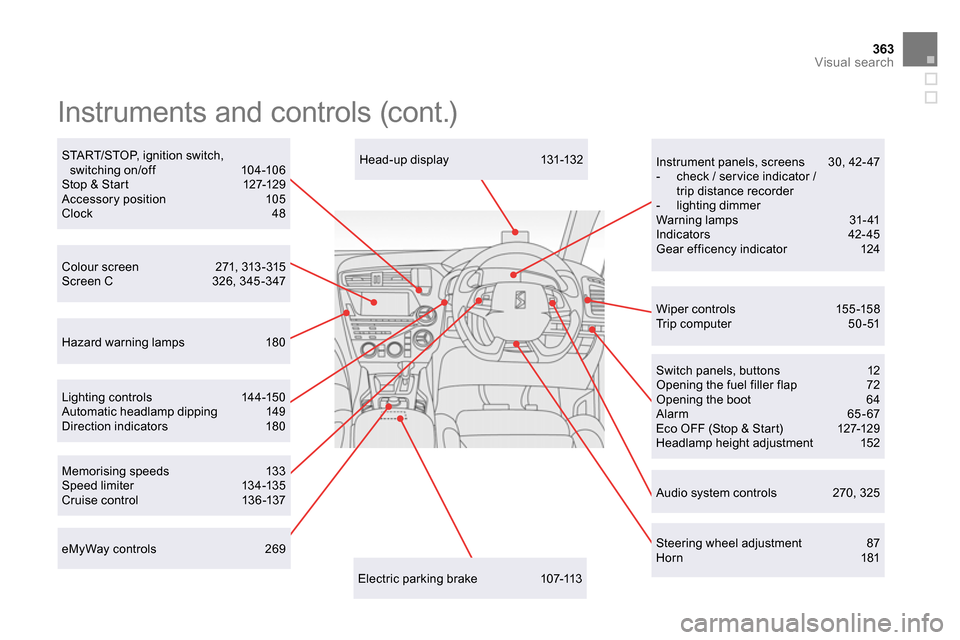
eMyWay controls 269
Head-up display 131-132
Memorising speeds 133
Speed limiter 134-135
Cruise control 136 -137
Lighting controls 144-150
Automatic headlamp dipping 149
Direction indicators 180
Wiper c ontrols 155 -15 8
Trip computer 50 -51
Instrument panels, screens 30, 42- 47
- check / ser vice indicator /
trip distance recorder
- lighting dimmer
Warning lamps 31- 41
Indicators 42- 45
Gear efficency indicator 124
Colour screen 271, 313-315
Screen C 326, 345 -347
Instruments and controls (cont.)
Electric parking brake 107-113
START/STOP, ignition switch,
switching on/of f 10 4 -10 6
Stop & Start 127-129
Accessory position 105
Clock 48
Hazard warning lamps 180
Audio system controls 270, 325
Steering wheel adjustment 87
Horn 181
Switch panels, buttons 12
Opening the fuel filler flap 72
Opening the boot 64
Alarm 65 - 67
Eco OFF (Stop & Start) 127-129
Headlamp height adjustment 152
Page 377 of 400

5
AdBlue ®
additive
Topping up the AdBlue ®
additive
If the AdBlue ®
additive is spilt outside
of the tank, wash the spillage using
cold water to avoid crystallisation of the
product and damage to surrounding
materials.
If the AdBlue
®
additive has already
formed crystals, wipe them of with a
sponge and hot water.
As soon as the "UREA" warning lamp comes on,
you must fill or top up the additive tank as soon
as possible.
For filling of the AdBlue
®
tank, it is recommended
that you contact a franchised dealer or a
qualified workshop.
This refilling operation forms part of the routine
ser vicing of your vehicle (refer to the ser vicing
booklet).
If the AdBlue
®
additive is completely used up
("starting prevented" or "No start on 0 km"
message), you will not be able to restart the
vehicle.
To allow starting, you can top-up yourself,
adding at least 3.8 litres of the AdBlue
® additive
(equivalent to around 3 000 miles (5 000 km) of
range for the AdBlue
® additive) before making an
appointment with a dealer as soon as possible to
have the AdBlue
® tank filled. If you have to top-up yourself, ensure that the
vehicle is on a flat and level sur face (not over a
kerb or on a slope, ...) so as to ensure correct
filling.
Do not fill the tank when the ambient temperature
is below -10°C.
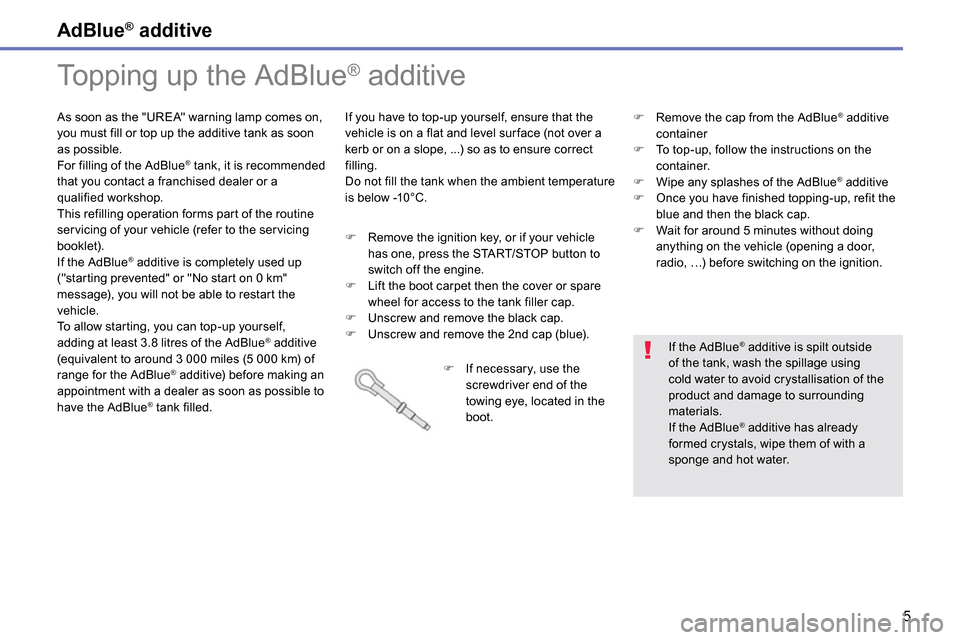
�)
If necessary, use the
screwdriver end of the
towing eye, located in the
boot.
�)
Remove the ignition key, or if your vehicle
has one, press the START/STOP button to
switch off the engine.
�)
Lift the boot carpet then the cover or spare
wheel for access to the tank filler cap.
�)
Unscrew and remove the black cap.
�)
Unscrew and remove the 2nd cap (blue).
�)
Remove the cap from the AdBlue
®
additive
container
�)
To top-up, follow the instructions on the
container.
�)
Wipe any splashes of the AdBlue
®
additive
�)
Once you have finished topping-up, refit the
blue and then the black cap.
�)
Wait for around 5 minutes without doing
anything on the vehicle (opening a door,
radio, …) before switching on the ignition.
Page 383 of 400

5
AdBlue ®
additive
Topping up the AdBlue ®
additive
If the AdBlue ®
additive is spilt outside
of the tank, wash the spillage using
cold water to avoid crystallisation of the
product and damage to surrounding
materials.
If the AdBlue
®
additive has already
formed crystals, wipe them of with a
sponge and hot water.
As soon as the "UREA" warning lamp comes on,
you must fill or top up the additive tank as soon
as possible.
For filling of the AdBlue
®
tank, it is recommended
that you contact a franchised dealer or a
qualified workshop.
This refilling operation forms part of the routine
ser vicing of your vehicle (refer to the ser vicing
booklet).
If the AdBlue
®
additive is completely used up
("starting prevented" or "No start on 0 km"
message), you will not be able to restart the
vehicle.
To allow starting, you can top-up yourself,
adding at least 3.8 litres of the AdBlue
® additive
(equivalent to around 3 000 miles (5 000 km) of
range for the AdBlue
® additive) before making an
appointment with a dealer as soon as possible to
have the AdBlue
® tank filled. If you have to top-up yourself, ensure that the
vehicle is on a flat and level sur face (not over a
kerb or on a slope, ...) so as to ensure correct
filling.
Do not fill the tank when the ambient temperature
is below -10°C.
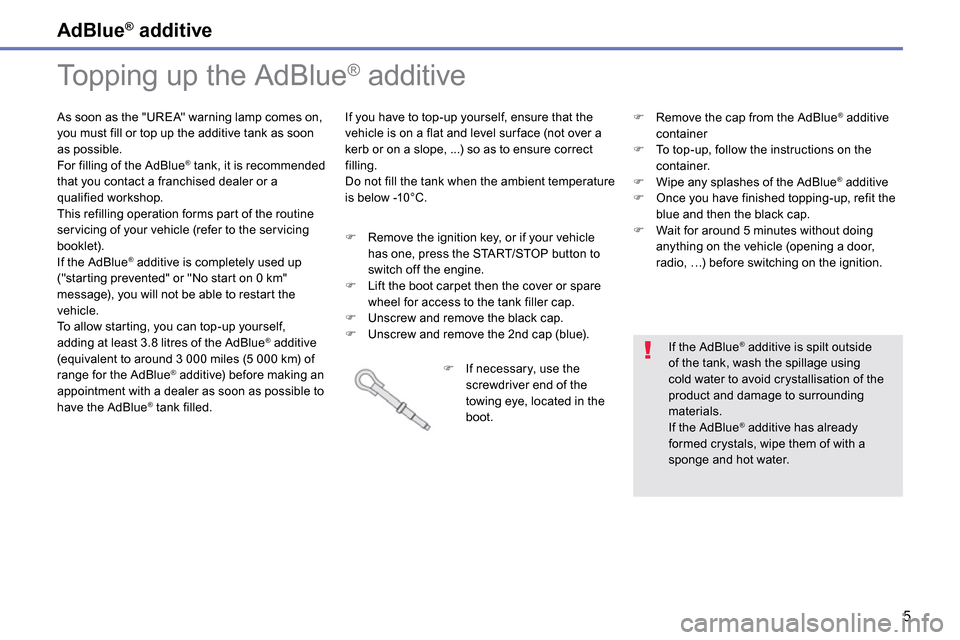
�)
If necessary, use the
screwdriver end of the
towing eye, located in the
boot.
�)
Remove the ignition key, or if your vehicle
has one, press the START/STOP button to
switch off the engine.
�)
Lift the boot carpet then the cover or spare
wheel for access to the tank filler cap.
�)
Unscrew and remove the black cap.
�)
Unscrew and remove the 2nd cap (blue).
�)
Remove the cap from the AdBlue
®
additive
container
�)
To top-up, follow the instructions on the
container.
�)
Wipe any splashes of the AdBlue
®
additive
�)
Once you have finished topping-up, refit the
blue and then the black cap.
�)
Wait for around 5 minutes without doing
anything on the vehicle (opening a door,
radio, …) before switching on the ignition.
Page 395 of 400

9Practical information
Never store bottles of AdBlue ® in your ® in your ®
vehicle.
Before topping-up, ensure that the vehicle is parked on a flat and level sur face. In wintry conditions, ensure that the temperature of the vehicle is above -11°C. Otherwise, by freezing, the AdBlue ® cannot ® cannot ®
be poured into its tank. Park your vehicle in a warmer area for a few hours to allow the top-up to be carried out.
Procedure
Press the START/STOP button to switch off the engine. Raise the boot floor for access to the AdBlue ® tank. Use an object, such as a ® tank. Use an object, such as a ®
bag, to keep the left part up.
Recommendations on storage
AdBlue ® freezes at about -11°C and ® freezes at about -11°C and ®
deteriorates above 25°C. It is recommended that bottles be stored in a cool area and protected from direct sunlight. Under these conditions, the additive can be kept for at least a year. Additive that has been frozen can be used once it has thawed out.