stop start Citroen JUMPER 2008.5 2.G Owner's Manual
[x] Cancel search | Manufacturer: CITROEN, Model Year: 2008.5, Model line: JUMPER, Model: Citroen JUMPER 2008.5 2.GPages: 163, PDF Size: 2.57 MB
Page 9 of 163
233
12
Familiarisation
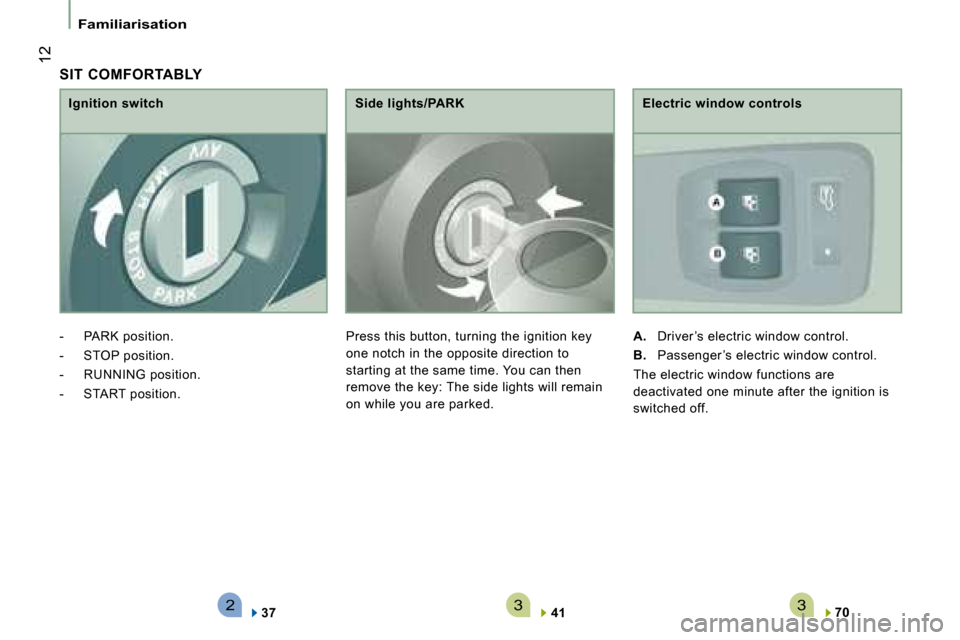
SIT COMFORTABLY
Electric window controls
A. Driver ’s electric window control.
B. Passenger ’s electric window control.
The electric window functions are
deactivated one minute after the ignition is
switched off.
70
Ignition switch
- PARK position.
- STOP position.
- RUNNING position.
- START position.
37 Side lights/PARK
Press this button, turning the ignition key
one notch in the opposite direction to
starting at the same time. You can then
remove the key: The side lights will remain
on while you are parked.
41
Page 14 of 163
4321
FAMILIARISATION
17
Familiarisation
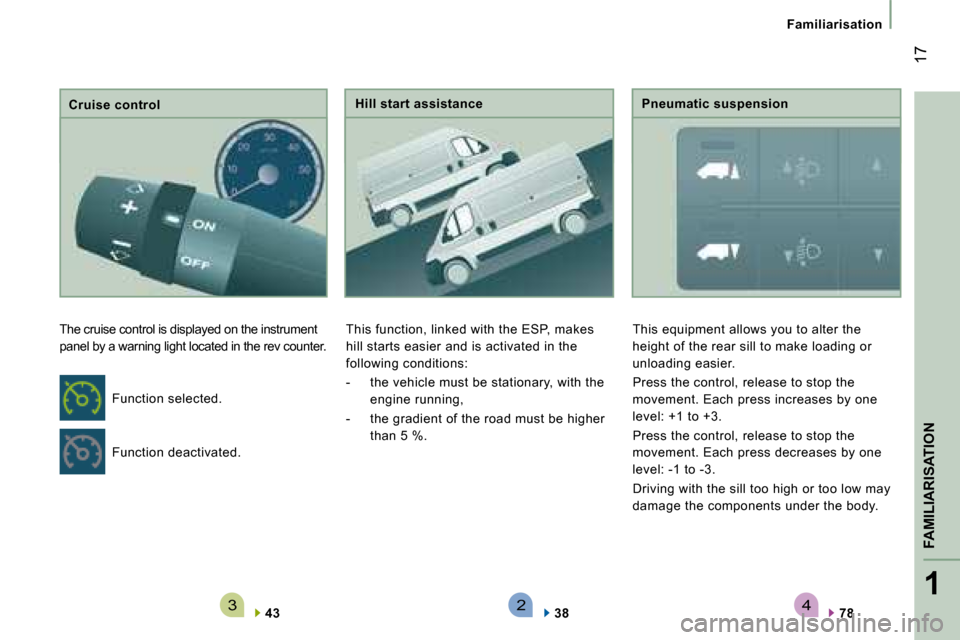
Cruise control
The cruise control is displayed on the instrument
panel by a warning light located in the rev counter .
43 Hill start assistance
This function, linked with the ESP, makes
hill starts easier and is activated in the
following conditions:
- the vehicle must be stationary, with the engine running,
- the gradient of the road must be higher than 5 %.
38 Pneumatic suspension
This equipment allows you to alter the
height of the rear sill to make loading or
unloading easier.
Press the control, release to stop the
movement. Each press increases by one
level: +1 to +3.
Press the control, release to stop the
movement. Each press decreases by one
level: -1 to -3.
Driving with the sill too high or too low may
damage the components under the body.
78
Function deactivated.
Function selected.
Page 24 of 163
27
2
READY TO SET OFF
Instruments and controls
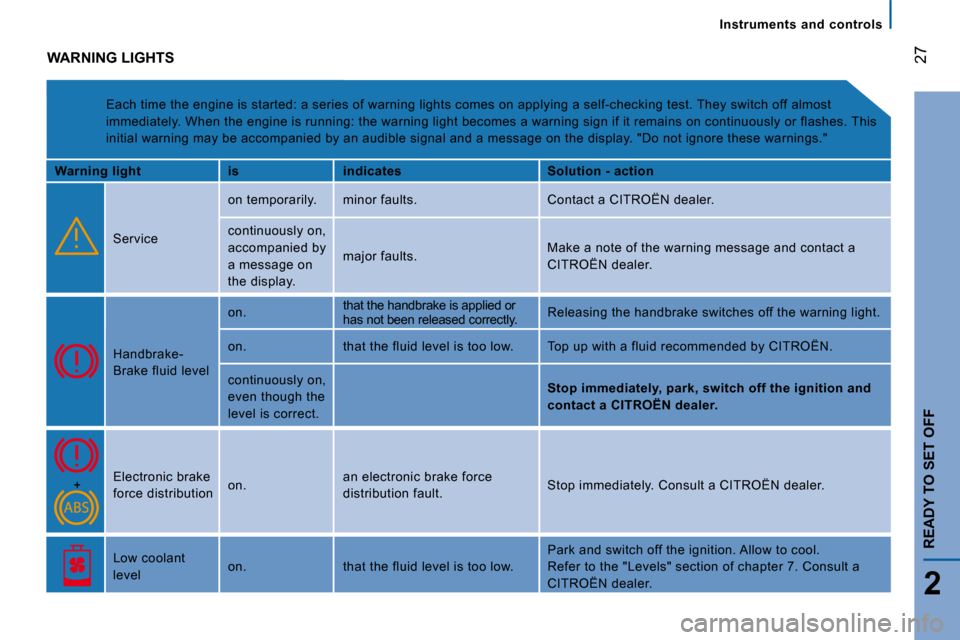
WARNING LIGHTS
Each time the engine is started: a series of warning lights comes on applying a self-checking test. T hey switch off almost
immediately. When the engine is running: the warnin g light becomes a warning sign if it remains on continuously or flashes. This
initial warning may be accompanied by an audible si gnal and a message on the display. "Do not ignore these warnings."
ning lightWarning l is indicates Solution - action
Service
on temporarily. minor faults. Contact a CITROËN dealer.
continuously on,
accompanied by
a message on
the display.
major faults. Make a note of the warning message and contact a
CITROËN dealer.
Handbrake-
Brake fluid level
on. that the handbrake is applied or has not been released correctly. Releasing the handbrake switches off the warning light.
on. that the fluid level is too low. Top up with a fluid recommended by CITROËN .
continuously on,
even though the
level is correct.
Stop immediately, park, switch off the ignition and
contact a CITROËN dealer.
+ Electronic brake
force distribution on. an electronic brake force
distribution fault. Stop immediately. Consult a CITROËN dealer.
Low coolant
level on. that the fluid level is too low.
Park and switch off the ignition. Allow to cool.
Refer to the "Levels" section of chapter 7. Consul t a
CITROËN dealer.
Page 34 of 163
37
2
READY TO SET OFF
Starting and stopping
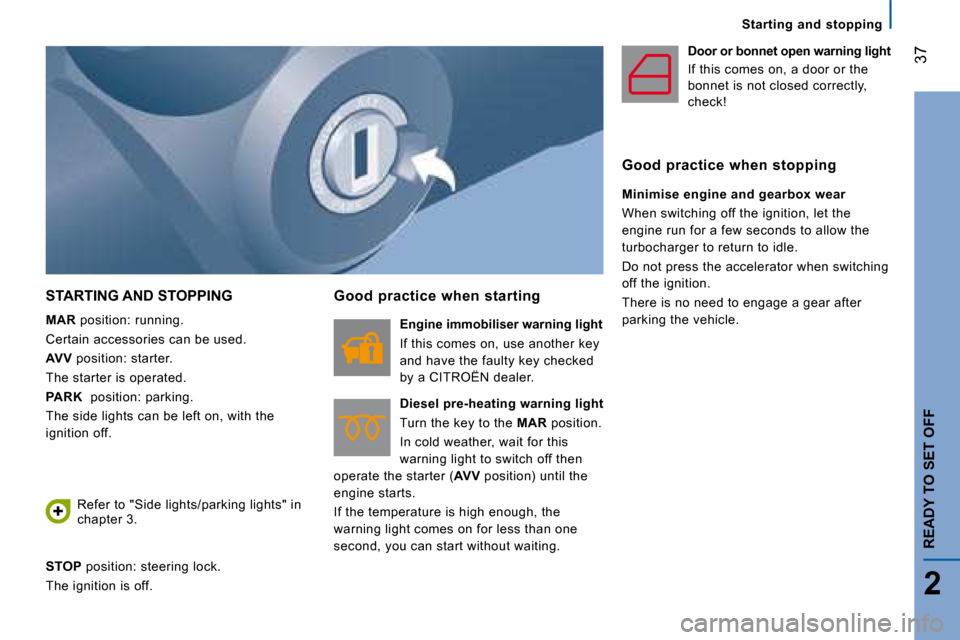
STARTING AND STOPPING
MAR position: running.
Certain accessories can be used.
AVV position: starter.
The starter is operated.
PARK position: parking.
The side lights can be left on, with the
ignition off.
Refer to "Side lights/parking lights" in
chapter 3.
STOP position: steering lock.
The ignition is off.
Good practice when starting
Engine immobiliser warning light
If this comes on, use another key
and have the faulty key checked
by a CITROËN dealer.
Diesel pre-heating warning light
Turn the key to the MAR position.
In cold weather, wait for this
warning light to switch off then
operate the starter ( AVV position) until the
engine starts.
If the temperature is high enough, the
warning light comes on for less than one
second, you can start without waiting. Door or bonnet open warning light
If this comes on, a door or the
bonnet is not closed correctly,
check!
Good practice when stopping
Minimise engine and gearbox wear
When switching off the ignition, let the
engine run for a few seconds to allow the
turbocharger to return to idle.
Do not press the accelerator when switching
off the ignition.
There is no need to engage a gear after
parking the vehicle.
Page 35 of 163
Starting and stopping
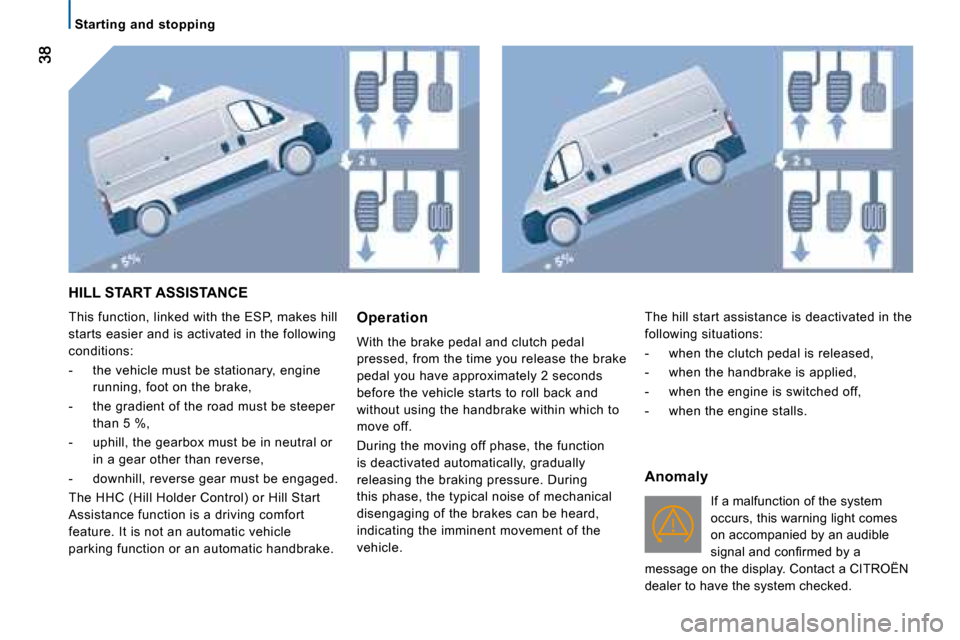
HILL START ASSISTANCE
This function, linked with the ESP, makes hill
starts easier and is activated in the following
conditions:
- the vehicle must be stationary, engine running, foot on the brake,
- the gradient of the road must be steeper than 5 %,
- uphill, the gearbox must be in neutral or in a gear other than reverse,
- downhill, reverse gear must be engaged.
The HHC (Hill Holder Control) or Hill Start
Assistance function is a driving comfort
feature. It is not an automatic vehicle
parking function or an automatic handbrake. Operation
With the brake pedal and clutch pedal
pressed, from the time you release the brake
pedal you have approximately 2 seconds
before the vehicle starts to roll back and
without using the handbrake within which to
move off.
During the moving off phase, the function
is deactivated automatically, gradually
releasing the braking pressure. During
this phase, the typical noise of mechanical
disengaging of the brakes can be heard,
indicating the imminent movement of the
vehicle.
Anomaly
If a malfunction of the system
occurs, this warning light comes
on accompanied by an audible
�s�i�g�n�a�l� �a�n�d� �c�o�n�fi� �r�m�e�d� �b�y� �a�
message on the display. Contact a CITROËN
dealer to have the system checked.
The hill start assistance is deactivated in the
following situations:
- when the clutch pedal is released,
- when the handbrake is applied,
- when the engine is switched off,
- when the engine stalls.
Page 38 of 163
41
3
ERGONOMICS AND COMFORT
Steering wheel controls
AUTOMATIC LIGHTING
If your vehicle is fitted with this function,
the side lights and dipped headlamps are
switched on automatically if the light is
poor and when continuous operation of the
windscreen wipers is detected.
In fog or snow, the brightness sensor may
detect sufficient light. Therefore, the lights
will not be switched on automatically. If
necessary, you must switch on the dipped
headlamps manually.
They are switched off when the light returns
to a sufficient level or after the windscreen
wipers are switched off.
HEADLAMP BEAM
You are advised to adjust the height of the
headlamp beams in accordance with the
load in your vehicle.
This function can be accessed in the dipped
headlamps and main beam headlamps position.
SIDE/PARKING LIGHTS
This system enables you to leave the side
lights on when parked; with the ignition off,
key in the PARK position or key removed.
Activation
Turn the ring to this position.
The lights are switched off
automatically when the ignition is
switched off.
Do not cover the brightness sensor at
the top centre of the windscreen.
FOLLOW ME HOME LIGHTING
Ignition off or key in the STOP
position.
Within 2 minutes after switching
off the engine, position the
ignition key in the STOP position or remove it.
Pull the lights stalk towards the steering wheel.
The indicator light comes on on the
instrument panel.
Each action on the lights stalk, pulled
towards the steering wheel, prolongs the
follow me home lighting by 30 seconds up
to approximately 3 minutes. When this time
has elapsed, the lights are switched off
automatically.
Deactivate this control by keeping the stalk
pulled towards the steering wheel for more
than 2 consecutive seconds. Press this control turning the key
one notch in the opposite direction
to starting at the same time. You
can then remove the key.
If your vehicle is fitted with
this function: when you leave
your vehicle with the automatic
switching on of the lights
activated (ring in position A), the side lights
and dipped headlamps remain on for the
selected duration (when leaving a car park
for example).
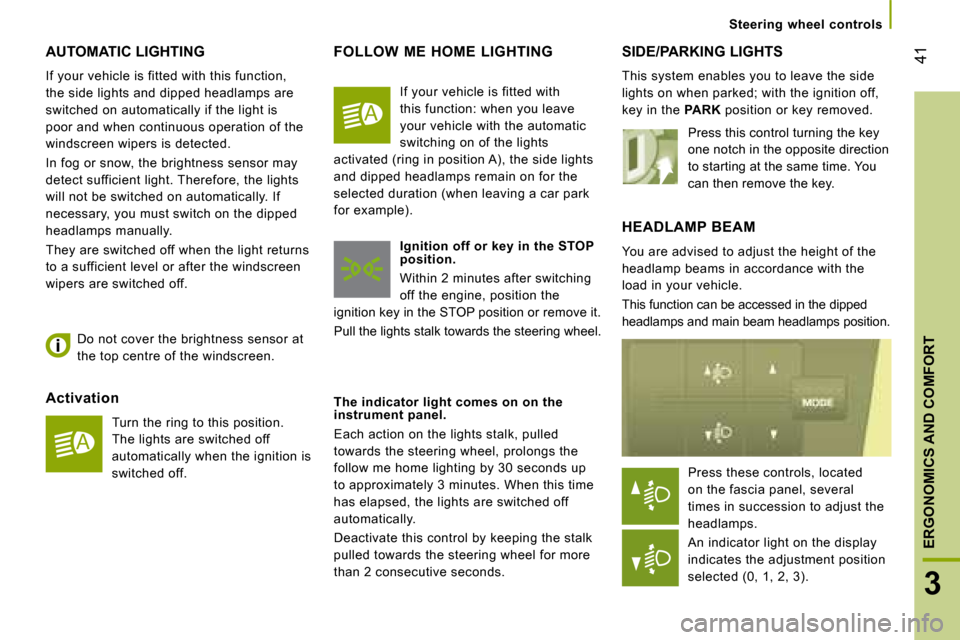
Press these controls, located
on the fascia panel, several
times in succession to adjust the
headlamps.
An indicator light on the display
indicates the adjustment position
selected (0, 1, 2, 3).
Page 43 of 163
46
Ventilation
VENTILATION
DE-ICING AND DEMISTING
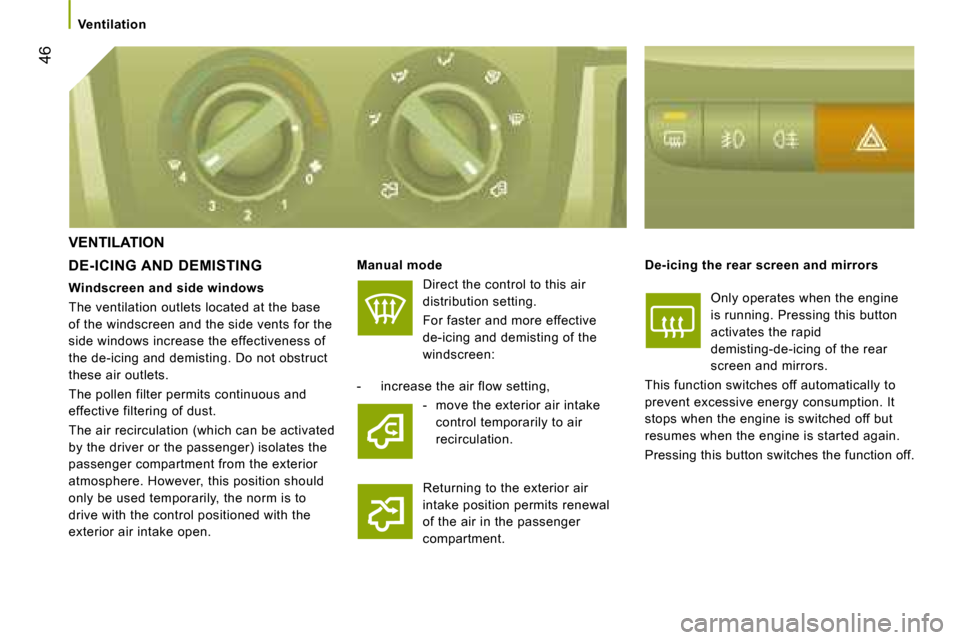
Manual mode
Direct the control to this air
distribution setting.
For faster and more effective
de-icing and demisting of the
windscreen: De-icing the rear screen and mirrors
Only operates when the engine
is running. Pressing this button
activates the rapid
demisting-de-icing of the rear
screen and mirrors.
This function switches off automatically to
prevent excessive energy consumption. It
stops when the engine is switched off but
resumes when the engine is started again.
Pressing this button switches the function off.
- increase the air flow setting,
- move the exterior air intake control temporarily to air
recirculation.
Returning to the exterior air
intake position permits renewal
of the air in the passenger
compartment.
Windscreen and side windows
The ventilation outlets located at the base
of the windscreen and the side vents for the
side windows increase the effectiveness of
the de-icing and demisting. Do not obstruct
these air outlets.
The pollen filter permits continuous and
effective filtering of dust.
The air recirculation (which can be activated
by the driver or the passenger) isolates the
passenger compartment from the exterior
atmosphere. However, this position should
only be used temporarily, the norm is to
drive with the control positioned with the
exterior air intake open.
Page 88 of 163
90
Mobile telephone with hands-free function
When prompted by the telephone, enter the
PIN displayed on the instrument panel.
If the pairing has been successful, the
system announces "Connecting".
The name of the telephone identified
appears on the instrument panel display,
pairing is confirmed.
Blue indicator light on
"Settings"\wait for a response\
"Pairing".
PIN
Pairing/matching a mobile telephone
The matching consists of setting your
vehicle’s Bluetooth
®
system to recognise
your mobile telephone.
The pairing stores your mobile telephone so
that it can be recognised instantly.
MOBILE TELEPHONE WITH HANDS-FREE FUNCTION
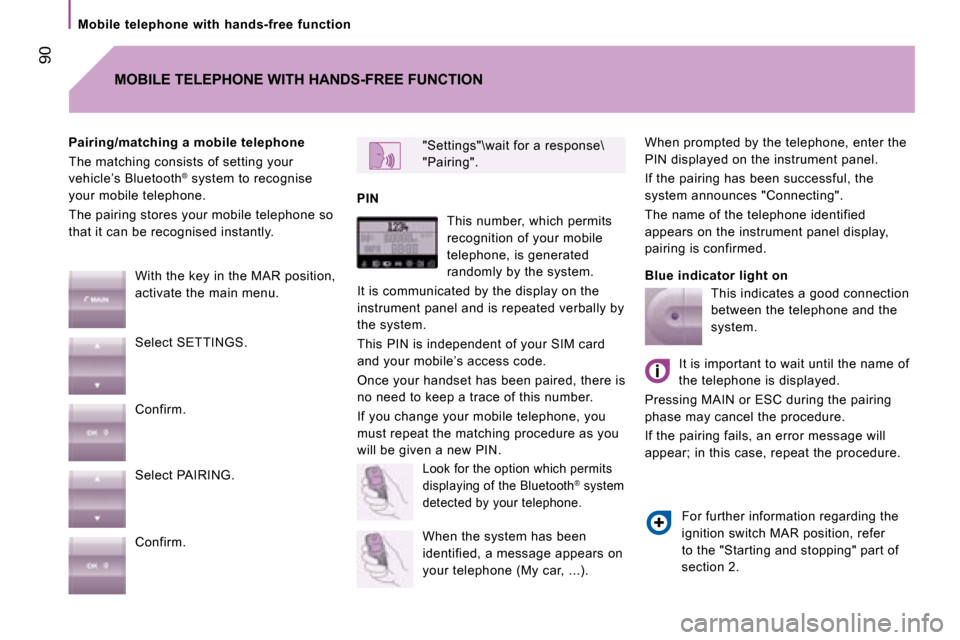
With the key in the MAR position,
activate the main menu.
Select SETTINGS.
Confirm.
Select PAIRING.
Confirm. This number, which permits
recognition of your mobile
telephone, is generated
randomly by the system.
It is communicated by the display on the
instrument panel and is repeated verbally by
the system.
This PIN is independent of your SIM card
and your mobile’s access code.
Once your handset has been paired, there is
no need to keep a trace of this number.
If you change your mobile telephone, you
must repeat the matching procedure as you
will be given a new PIN.
Look for the option which permits
displaying of the Bluetooth® system
detected by your telephone.
When the system has been
identified, a message appears on
your telephone (My car, ...). This indicates a good connection
between the telephone and the
system.
It is important to wait until the name of
the telephone is displayed.
Pressing MAIN or ESC during the pairing
phase may cancel the procedure.
If the pairing fails, an error message will
appear; in this case, repeat the procedure.
For further information regarding the
ignition switch MAR position, refer
to the "Starting and stopping" part of
section 2.
Page 92 of 163
94
Portable equipment audio player
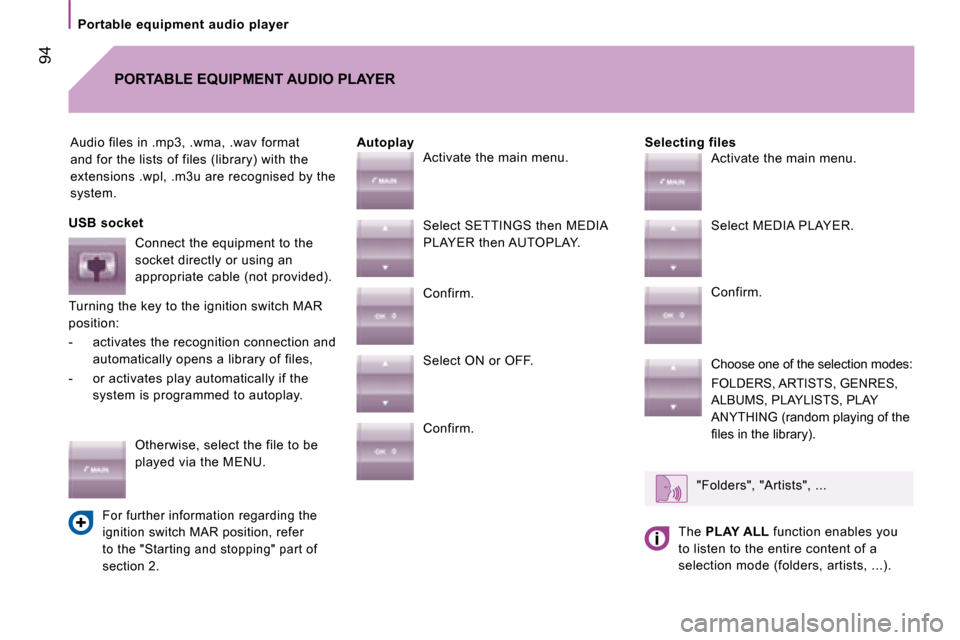
Audio files in .mp3, .wma, .wav format
and for the lists of files (library) with the
extensions .wpl, .m3u are recognised by the
system. Selecting files
PORTABLE EQUIPMENT AUDIO PLAYER
Autoplay
USB socket Connect the equipment to the
socket directly or using an
appropriate cable (not provided).
Turning the key to the ignition switch MAR
position:
- activates the recognition connection and automatically opens a library of files,
- or activates play automatically if the system is programmed to autoplay.
Otherwise, select the file to be
played via the MENU.
For further information regarding the
ignition switch MAR position, refer
to the "Starting and stopping" part of
section 2.
Activate the main menu.
Select SETTINGS then MEDIA
PLAYER then AUTOPLAY.
Confirm.
Select ON or OFF.
Confirm. Activate the main menu.
Select MEDIA PLAYER.
Confirm.
Choose one of the selection modes:
FOLDERS, ARTISTS, GENRES,
ALBUMS, PLAYLISTS, PLAY
ANYTHING (random playing of the
�fi� �l�e�s� �i�n� �t�h�e� �l�i�b�r�a�r�y�)�.�
"Folders", "Artists", ...
The PLAY ALL function enables you
to listen to the entire content of a
selection mode (folders, artists, ...).
Page 93 of 163
95
4
IN-CAR TECHNOLOGY
Portable equipment audio player
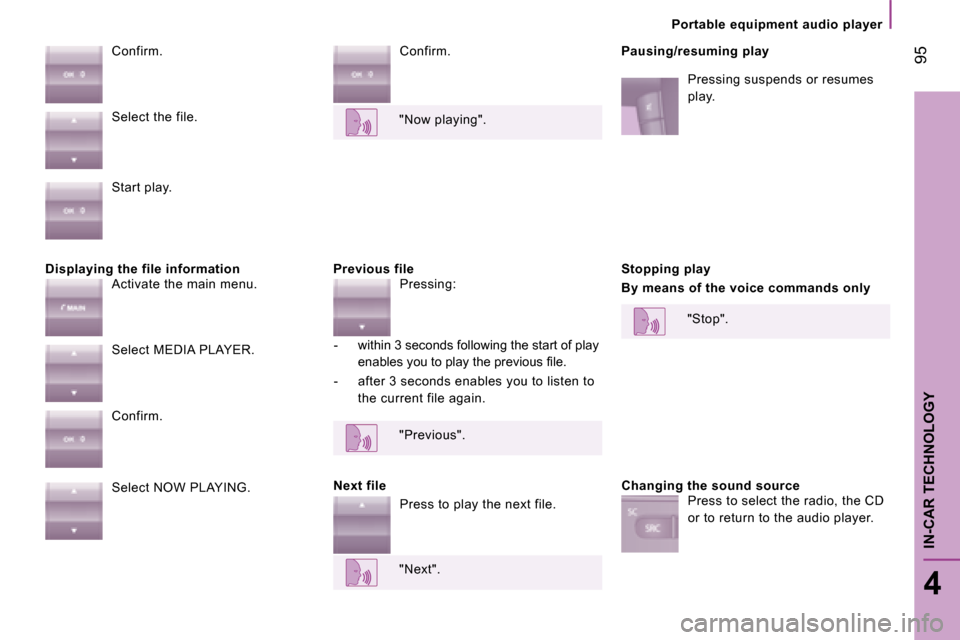
Displaying the file information Previous file Confirm.
Pausing/resuming play
Pressing suspends or resumes
play.
Confirm.
Next file Stopping play
By means of the voice commands only
Changing the sound source
Select the file.
Start play.
Activate the main menu.
Select MEDIA PLAYER.
Confirm.
Select NOW PLAYING.
"Now playing".
Pressing:
- within 3 seconds following the start of play
�e�n�a�b�l�e�s� �y�o�u� �t�o� �p�l�a�y� �t�h�e� �p�r�e�v�i�o�u�s� �fi� �l�e�.�
- after 3 seconds enables you to listen to the current file again.
"Previous".
Press to play the next file.
"Next". "Stop".
Press to select the radio, the CD
or to return to the audio player.