roof Citroen JUMPER RHD 2011.5 2.G Owner's Manual
[x] Cancel search | Manufacturer: CITROEN, Model Year: 2011.5, Model line: JUMPER RHD, Model: Citroen JUMPER RHD 2011.5 2.GPages: 184, PDF Size: 4.98 MB
Page 5 of 184
3
CONTENT
S
Contents
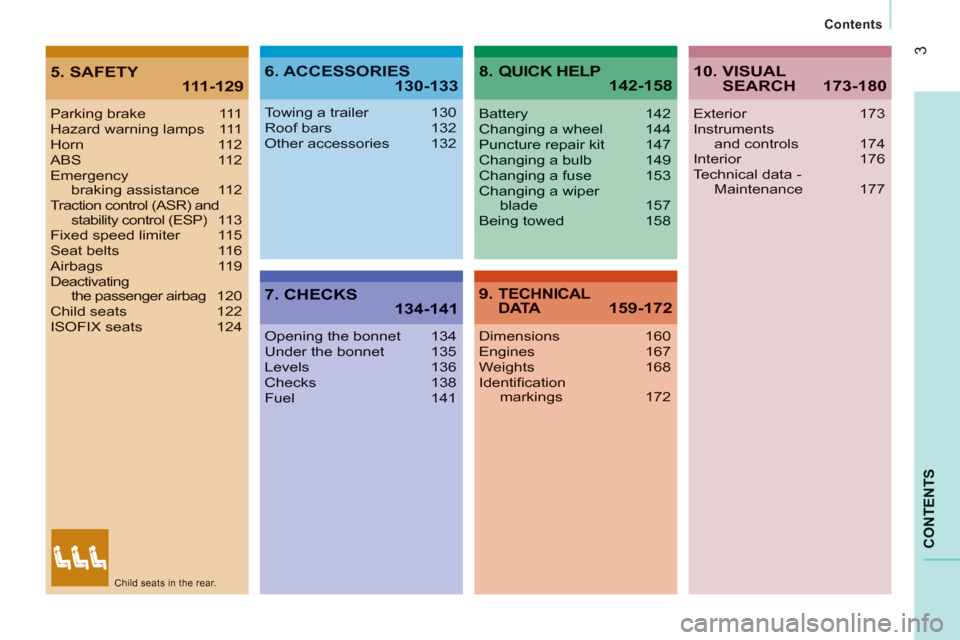
5. SAFETY111-1296. ACCESSORIES130-133
7. CHECKS 134-141
8. QUICK HELP 142-158
9. TECHNICALD ATA159-172A
Parking brake 111Hazard warning lamps 111Horn 112ABS 112Emergencybraking assistance 112Traction control (ASR) and stability control (ESP)113Fixed speed limiter 115Seat belts 116Airbags 119Deactivating the passenger airbag120Child seats 122ISOFIX seats 124
Towing a trailer 130Roof bars 132Other accessories 132
Opening the bonnet134Under the bonnet 135Levels 136Checks 138Fuel 141
Battery 142Changing a wheel 144Puncture repair kit 147Changing a bulb 149Changing a fuse 153Changing a wiper blade 157Being towed 158
Dimensions 160Engines 167Weights 168Identifi cationmarkings 172
10. VISUALSEARCH 173-180
Exterior 173Instrumentsand controls 174Interior 176Technical data - Maintenance 177
Child seats in the rear.
Page 20 of 184
18
ECO-DRIVING
Eco-driving is a range of everyday practices that allow the motorist to optimise their fuel consumption and CO2 emissions.
Optimise the use of your gearbox
With a manual gearbox, move off gently,
change up without waiting and drive by
changing up quite soon. If your vehicle
has the system, the gear efficiency
indicator invites you to change up; it is
displayed in the instrument panel, follow
its instructions.
With an automatic or electronic gearbox,
stay in Drive "D"
or Auto "A"
, according to
the type of gearbox, without pressing the
accelerator pedal heavily or suddenly.
Drive smoothly
Maintain a safe distance between vehicles,
use engine braking rather than the
brake pedal, and press the accelerator
progressively. These practices contribute
towards a reduction in fuel consumption
and CO
2 emissions and also helps reduce
the background traffic noise.
If your vehicle has cruise control, make
use of the system at speeds above 25 mph
(40 km/h) when the traffic is flowing well.
Control the use of your electricalequipment
Before moving off, if the passenger
compartment is too warm, ventilate it by
opening the windows and air vents before
using the air conditioning.
Above 30 mph (50 km/h), close the windows
and leave the air vents open.
Remember to make use of equipment
that can help keep the temperature in the
passenger compartment down (sun roof and
window blinds...).
Switch off the air conditioning, unless it has
automatic digital regulation, as soon as the
desired temperature is attained.
Switch off the demisting and defrosting
controls, if not automatic.
Switch off the heated seat as soon as
possible.
Switch off the headlamps and front foglamps
when the level of light does not require their
use.
Avoid running the engine before moving
off, particularly in winter; your vehicle will
warm up much faster while driving.
As a passenger, if you avoid connecting
your multimedia devices (film, music,
video game...), you will contribute towards
limiting the consumption of electrical
energy, and so of fuel.
Disconnect your portable devices before
leaving the vehicle.
Page 21 of 184
19
Spread loads throughout the vehicle;
place the heaviest items in the bottom of
the boot, as close as possible to the rear
seats.
Limit the loads carried in the vehicle and
reduce wind resistance (roof bars, roof
rack, bicycle carrier, trailer...). Use a roof
box in preference.
Remove roof bars and roof racks after use.
Limit the causes of excess consumption
At the end of winter, remove snow tyres
and refit your summer tyres.
Observe the recommendations on
maintenance
Check the tyre pressures regularly, when
cold, referring to the label in the door
aperture, driver’s side.
Carry out this check in particular:
- before a long journey,
- at each change of season,
- after a long period out of use.
Don’t forget the spare wheel and the tyres
on any trailer or caravan.
Have your vehicle serviced regularly (engine
oil, oil filter, air filter...) and observe the
schedule of operations recommended by the
manufacturer.
When refuelling, do not continue after
the 3 rd cut-off of the nozzle to avoid any
overflow.
At the wheel of your new vehicle,
it is only after the first 1 800 miles
(3 000 kilometres) that you will see the fuel
consumption settle down to a consistent
average.
Page 43 of 184
41
3
EASE OF USE AND COMFOR
T
Improved comfort
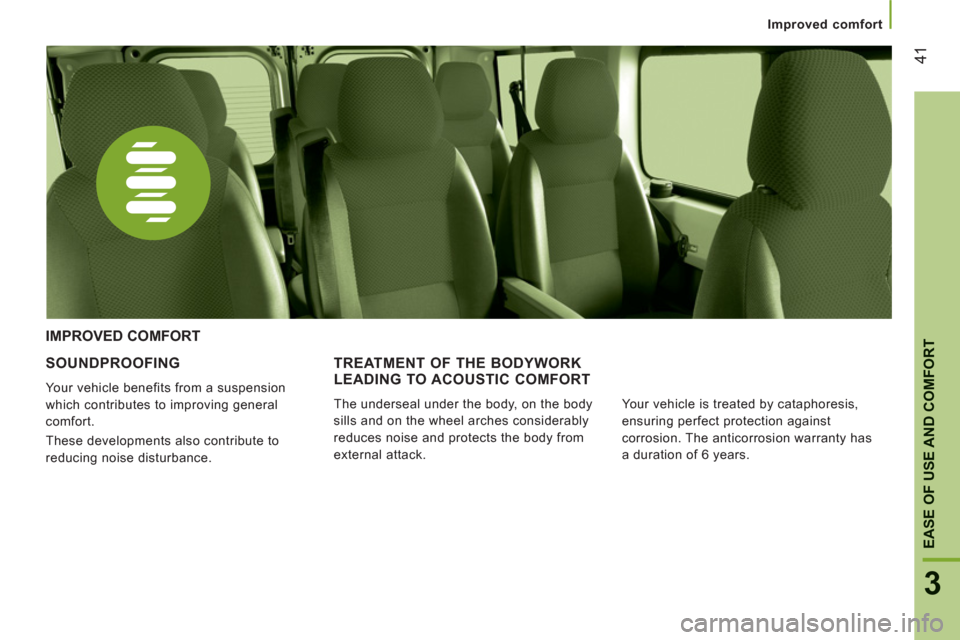
SOUNDPROOFING
Your vehicle benefits from a suspension
which contributes to improving general
comfort.
These developments also contribute to
reducing noise disturbance.
IMPROVED COMFORT
TREATMENT OF THE BODYWORK
LEADING TO ACOUSTIC COMFORT
The underseal under the body, on the body
sills and on the wheel arches considerably
reduces noise and protects the body from
external attack. Your vehicle is treated by cataphoresis,
ensuring perfect protection against
corrosion. The anticorrosion warranty has
a duration of 6 years.
Page 57 of 184

Ventilation
55
3
EASE OF USE AND COMFOR
T
ADDITIONAL HEATING SYSTEMS
Supplementar
y heating
On the 2-3 seats version, this is located
under the seat on the driver's side with air
diffusion directed forwards.
REAR HEATING AND/OR AIR
CONDITIONING
If your vehicle is fitted with an
additional air conditioning unit,
located in the rear of the vehicle:
the distribution duct located in
the roof and the individual diffusion vents
provide a perfect diffusion of cold air.
The warm air diffused at the floor, from the
front air conditioning unit, is distributed at
the feet of the rear passengers of rows 2
and 3.
A warm air diffusion vent, located on the rear
left wheelarch, may complete the assembly
for the feet of the rear passengers of row 3.
Additional heating
This is passenger compartment heating,
additional to the standard equipment.
It can operate independently of the engine.
Additional heater or programmableadditional heating
This is an additional, programmable and
separate system which heats the Diesel
engine hot coolant loop to make starting
easier.
It improves the demisting and defrosting
performance and that of the heated seats, if
fitted to the vehicle.
The passenger compartment heating is
brought up to temperature more rapidly.
This system must be programmed to start up
before you enter the vehicle. On the 5-9 seats version, it is
located at the rear. Depending
on the model version, the air
diffusion is either direct from the
rear or comes from the rail located under
each of the two rows of seats.
Press this control to activate/
deactivate the heating. The LED
is on if the heating is activated.
When rapid demisting and
defrosting is required, switch off the control.
Page 71 of 184

69
3
EASE OF USE AND COMFOR
T
Practical information
Courtesy lamp
This is a double courtesy lamp located in the
centre of the roof. It can be activated by means of:
- the switches located on the courtesy
lamp, with the ignition on - RUNNING
position,
- opening or closing one of the front
doors,
- locking/unlocking the vehicle.
It switches off automatically:
- if the switch is not pressed to the right or
to the left,
- in all cases after 15 minutes, if the doors
remain open or when the ignition is
switched on.
Reading lamps
These are controlled by the switches.
The driver’s switch controls both reading
lamps simultaneously.
The passenger switch controls either the driver’s
reading lamp or the passenger reading lamp.
Fittings/storage compartment in thedoor pockets
Switches on the bottom right of
the dashboard allow the driver
to switch the passenger reading
lamp on and off.
Page 73 of 184
3
EASE OF USE AND COMFOR
T
Practical information
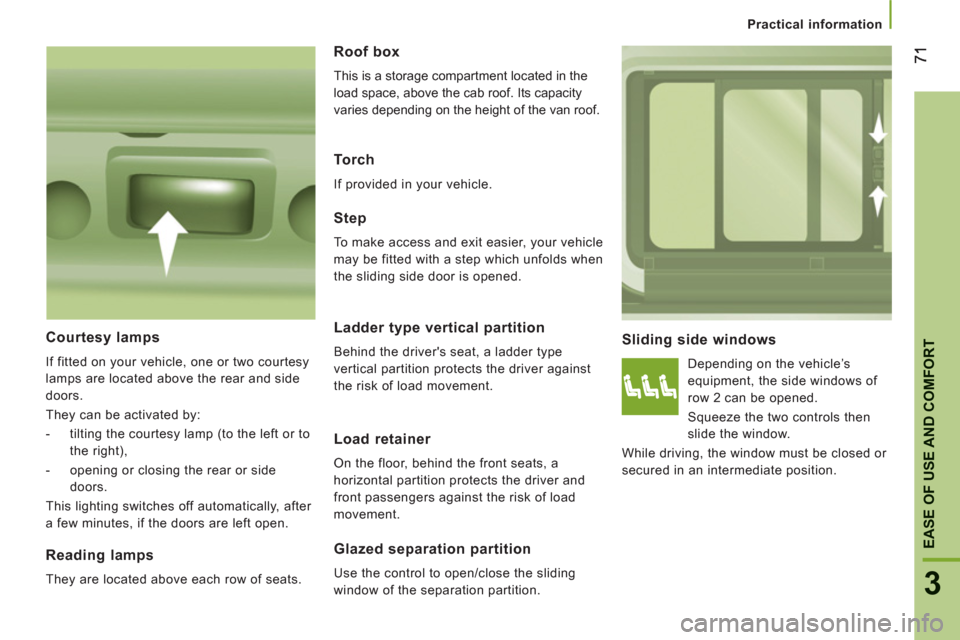
Sliding side windows
Depending on the vehicle’s
equipment, the side windows of
row 2 can be opened.
Squeeze the two controls then
slide the window.
While driving, the window must be closed or
secured in an intermediate position.
Step
To make access and exit easier, your vehicle
may be fitted with a step which unfolds when
the sliding side door is opened.
Courtesy lamps
If fitted on your vehicle, one or two courtesy
lamps are located above the rear and side
doors.
They can be activated by:
- tilting the courtesy lamp (to the left or to
the right),
- opening or closing the rear or side
doors.
This lighting switches off automatically, after
a few minutes, if the doors are left open.
Reading lamps
They are located above each row of seats.
Roof box
This is a storage compartment located in the
load space, above the cab roof. Its capacity
varies depending on the height of the van roof.
Torch
If provided in your vehicle.
Ladder type vertical partition
Behind the driver's seat, a ladder type
vertical partition protects the driver against
the risk of load movement.
Load retainer
On the floor, behind the front seats, a
horizontal partition protects the driver and
front passengers against the risk of load
movement.
Glazed separation partition
Use the control to open/close the sliding
window of the separation partition.
Page 122 of 184
kmCITY
Airbags
12
0
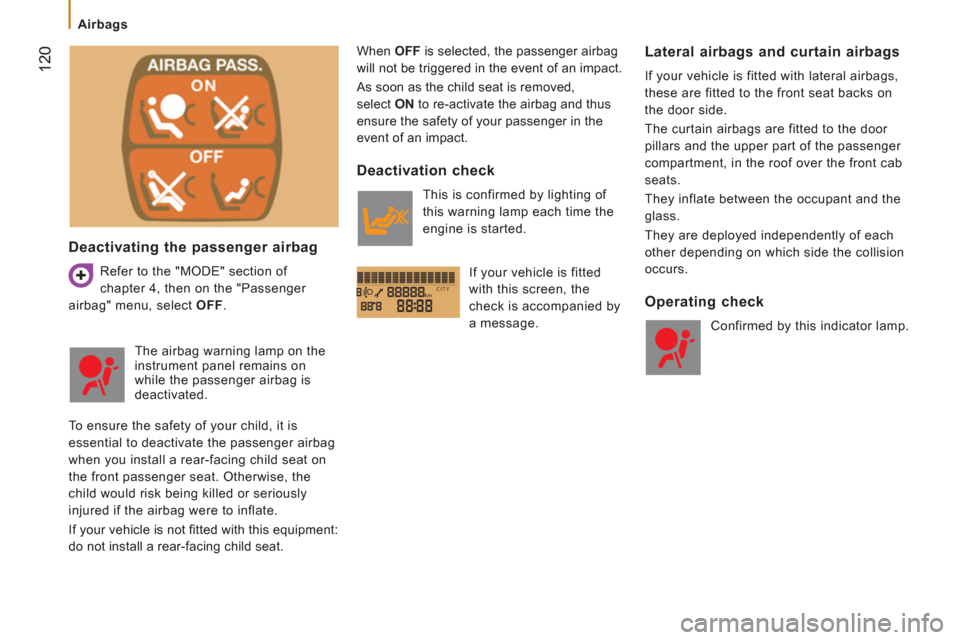
Deactivating the passenger airbag
Refer to the "MODE" section of
chapter 4, then on the "Passenger
airbag" menu, select OFF
. When OFF
is selected, the passenger airbag
will not be triggered in the event of an impact.
As soon as the child seat is removed,
select ON
to re-activate the airbag and thus
ensure the safety of your passenger in the
event of an impact.
Lateral airbags and curtain airbags
If your vehicle is fitted with lateral airbags,
these are fitted to the front seat backs on
the door side.
The curtain airbags are fitted to the door
pillars and the upper part of the passenger
compartment, in the roof over the front cab
seats.
They inflate between the occupant and the
glass.
They are deployed independently of each
other depending on which side the collision
occurs.
The airbag warning lamp on the
instrument panel remains on
while the passenger airbag is
deactivated.
To ensure the safety of your child, it is
essential to deactivate the passenger airbag
when you install a rear-facing child seat on
the front passenger seat. Otherwise, the
child would risk being killed or seriously
injured if the airbag were to inflate.
If your vehicle is not fi tted with this equipment:
do not install a rear-facing child seat.
Deactivation check
This is confirmed by lighting of
this warning lamp each time the
engine is started.
If your vehicle is fitted
with this screen, the
check is accompanied by
a message.
Operating check
Confirmed by this indicator lamp.
Page 123 of 184
12
1
5
SAFETY
Airbags
Good practice
If your vehicle is fitted with front,
lateral
and curtain
airbags
, in order for these to
be fully effective, observe the following
safety rules:
Wear a correctly adjusted seat belt.
Sit in a normal upright position.
Do not leave anything between the
occupants and the airbags (child, animal,
object...).
This could hamper the operation of the
airbags or injure the occupants.
All work on the airbag systems is strictly
prohibited unless it is carried out by qualified
personnel of the CITROËN network.
After an accident or if the vehicle has been
stolen or broken into, have the airbag
systems checked.
Front airbags
Do not drive holding the steering wheel
by its spokes or resting your hands on the
centre part of the wheel.
Passengers must not place their feet on the
dashboard.
Smoke as little as possible; deployment of
the airbags can cause burns or the risk of
injury from a cigarette or pipe.
Never remove or pierce the steering wheel
or hit it violently.
Lateral airbags
Only put approved covers on the front seats.
Consult a CITROËN dealer.
Do not fix or attach anything to the front seat
backs. This could cause injury to the chest
or arms when the lateral airbag is deployed.
Do not sit with the upper part of the body
any nearer to the door than necessary.
Curtain airbags
Do not fix or attach anything to the pillars or
the roof. This could cause injury to the head
when the curtain airbag is deployed.
Do not remove the bolts from the grab
handles installed on the roof, they play a
part in securing the curtain airbags.
Page 134 of 184
132
Equipment
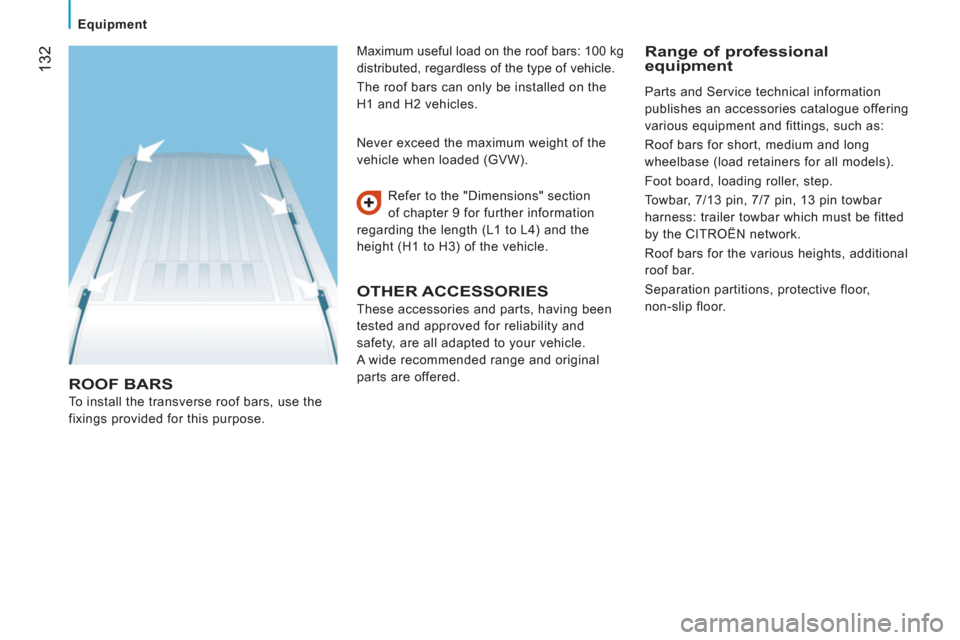
ROOF BARS
To install the transverse roof bars, use the
fixings provided for this purpose. Refer to the "Dimensions" section
of chapter 9 for further information
regarding the length (L1 to L4) and the
height (H1 to H3) of the vehicle. Never exceed the maximum weight of the
vehicle when loaded (GVW).
OTHER ACCESSORIES
These accessories and parts, having been
tested and approved for reliabilit
y and
sa
fety, are all adapted to your vehicle.
A wide recommended range and original
parts are offered.
Range of professional
equipment Maximum useful load on the roof bars: 100 kg
distributed, regardless of the type of vehicle.
The roof bars can only be installed on the
H1 and H2 vehicles. Parts and Service technical information
publishes an accessories catalo
gue offering
various equipment and fittin
gs, such as:
Roo
f bars for short, medium and long
wheelbase (load retainers for all models).
Foot board, loading roller, step.
Towbar, 7/13 pin, 7/7 pin, 13 pin towbar
harness: trailer towbar which must be fitted
by the CITROËN network.
Roo
f bars for the various heights, additional
r
oof bar.
Separation partitions, protective floor,
non-sli
p floor.