ABS Citroen JUMPY MULTISPACE 2008.5 2.G User Guide
[x] Cancel search | Manufacturer: CITROEN, Model Year: 2008.5, Model line: JUMPY MULTISPACE, Model: Citroen JUMPY MULTISPACE 2008.5 2.GPages: 194, PDF Size: 6.88 MB
Page 175 of 194

Changing a bulb
TROUBLESHOOTING
8
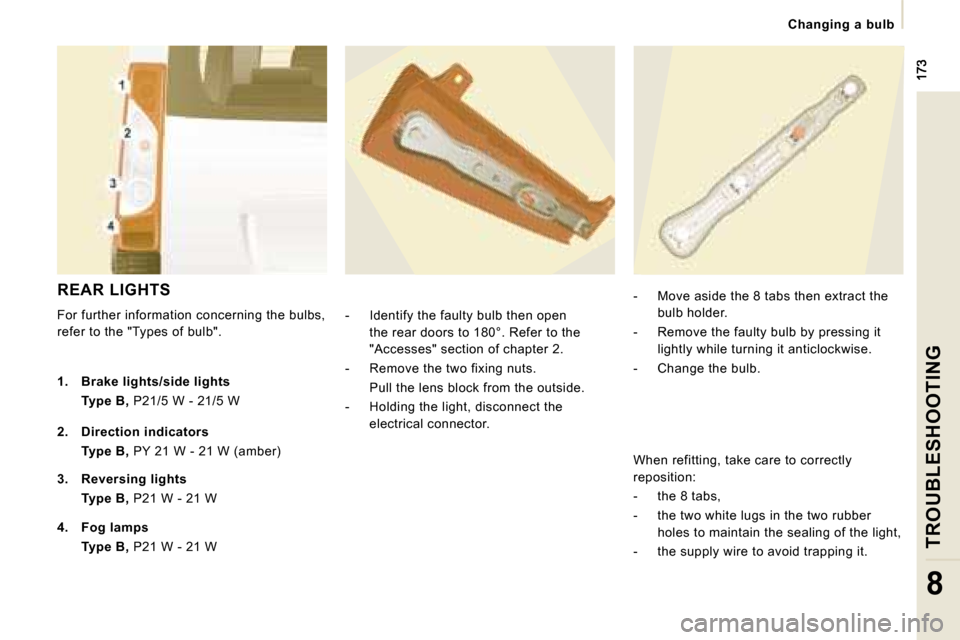
REAR LIGHTS
For further information concerning the bulbs,
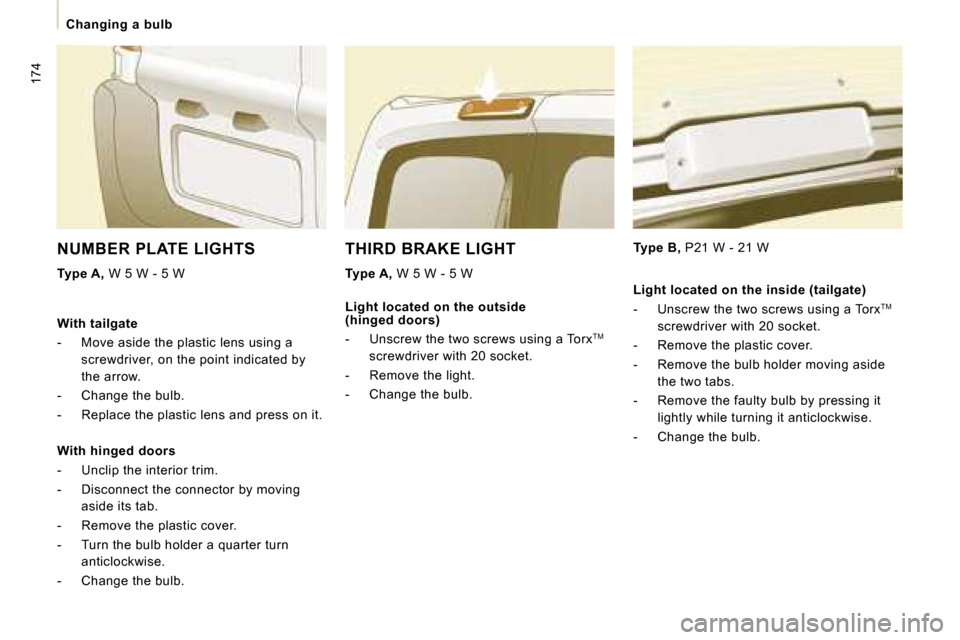
refer to the "Types of bulb". - Identify the faulty bulb then open
the rear doors to 180°. Refer to the
"Accesses" section of chapter 2.
- Remove the two fixing nuts.
Pull the lens block from the outside.
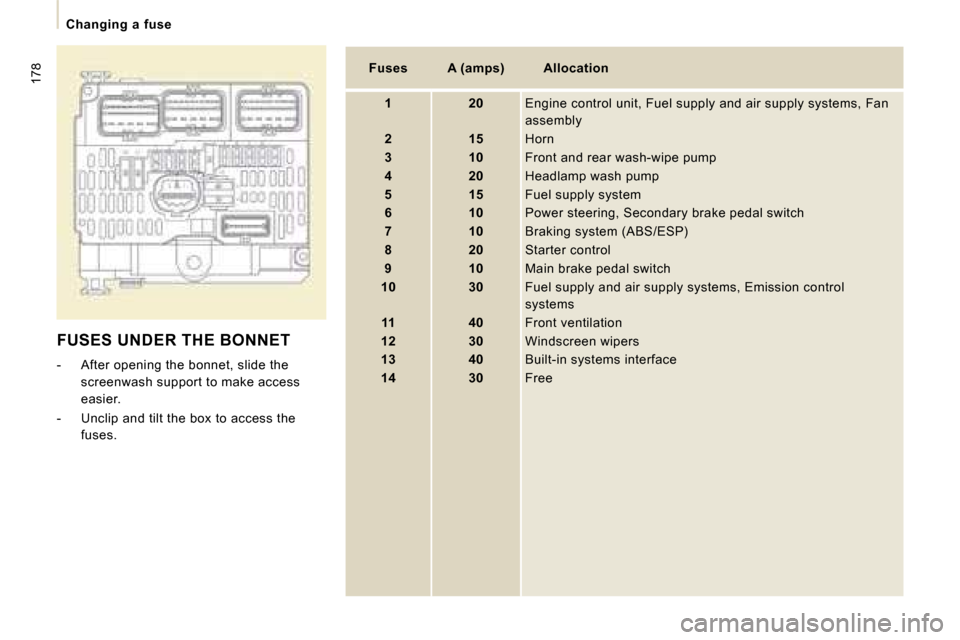
- Holding the light, disconnect the electrical connector. - Move aside the 8 tabs then extract the
bulb holder.
- Remove the faulty bulb by pressing it lightly while turning it anticlockwise.
- Change the bulb.
1. Brake lights/side lights
Type B, P21/5 W - 21/5 W
2. Direction indicators
Type B, PY 21 W - 21 W (amber)
3. Reversing lights
Type B, P21 W - 21 W
4. Fog lamps
Type B, P21 W - 21 W When refitting, take care to correctly
reposition:
- the 8 tabs,
- the two white lugs in the two rubber
holes to maintain the sealing of the light,
- the supply wire to avoid trapping it.
Page 176 of 194

174
Changing a bulb
THIRD BRAKE LIGHT
Type A, W 5 W - 5 W
Type B, P21 W - 21 W
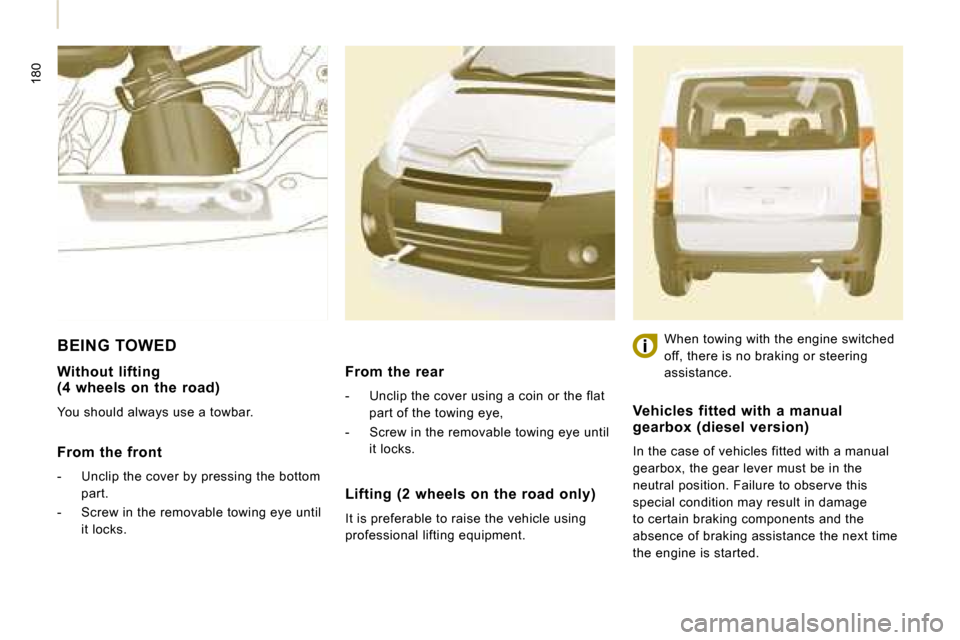
NUMBER PLATE LIGHTS
Type A, W 5 W - 5 W
With tailgate
- Move aside the plastic lens using a screwdriver, on the point indicated by
the arrow.
- Change the bulb.
- Replace the plastic lens and press on it.
With hinged doors
- Unclip the interior trim.
- Disconnect the connector by moving aside its tab.
- Remove the plastic cover.
- Turn the bulb holder a quarter turn anticlockwise.
- Change the bulb. Light located on the outside
(hinged doors)
- Unscrew the two screws using a Torx
TM
screwdriver with 20 socket.
- Remove the light.
- Change the bulb. Light located on the inside (tailgate)
- Unscrew the two screws using a Torx
TM
screwdriver with 20 socket.
- Remove the plastic cover.
- Remove the bulb holder moving aside the two tabs.
- Remove the faulty bulb by pressing it lightly while turning it anticlockwise.
- Change the bulb.
Page 180 of 194

FUSES UNDER THE BONNET
- After opening the bonnet, slide the screenwash support to make access
easier.
- Unclip and tilt the box to access the fuses.
Fuses A (amps) Allocation
1 20 Engine control unit, Fuel supply and air supply systems, Fan
assembly
2 15 Horn
3 10 Front and rear wash-wipe pump
4 20 Headlamp wash pump
5 15 Fuel supply system
6 10 Power steering, Secondary brake pedal switch
7 10 Braking system (ABS/ESP)
8 20 Starter control
9 10 Main brake pedal switch
10 30 Fuel supply and air supply systems, Emission co ntrol
systems
11 40 Front ventilation
12 30 Windscreen wipers
13 40 Built-in systems interface
14 30 Free
178
Changing a fuse
Page 182 of 194

Without lifting(4 wheels on the road)
You should always use a towbar.
From the front
- Unclip the cover by pressing the bottom part.
- Screw in the removable towing eye until it locks.
BEING TOWED
Lifting (2 wheels on the road only)
It is preferable to raise the vehicle using
professional lifting equipment.
From the rear
- Unclip the cover using a coin or the flat part of the towing eye,
- Screw in the removable towing eye until it locks. When towing with the engine switched
off, there is no braking or steering
assistance. Vehicles fitted with a manual gearbox (diesel version)
In the case of vehicles fitted with a manual
gearbox, the gear lever must be in the
neutral position. Failure to observe this
special condition may result in damage
to certain braking components and the
absence of braking assistance the next time
the engine is started.
180