seat adjustment Citroen JUMPY MULTISPACE 2009.5 2.G Owner's Manual
[x] Cancel search | Manufacturer: CITROEN, Model Year: 2009.5, Model line: JUMPY MULTISPACE, Model: Citroen JUMPY MULTISPACE 2009.5 2.GPages: 231, PDF Size: 11.45 MB
Page 49 of 231

56
Ventilation
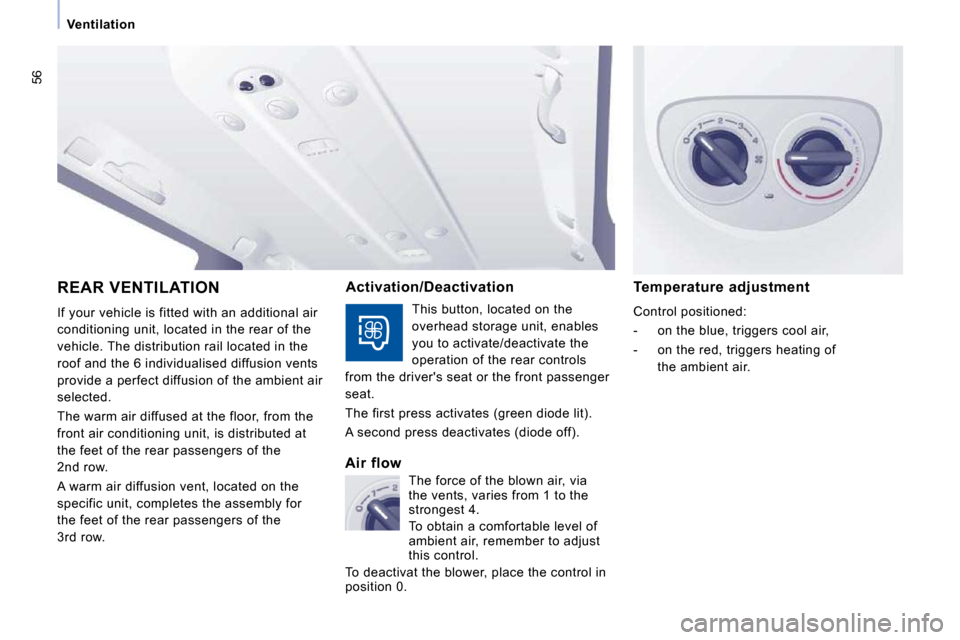
REAR VENTILATION
If your vehicle is fitted with an additional air
conditioning unit, located in the rear of the
vehicle. The distribution rail located in the
roof and the 6 individualised diffusion vents
provide a perfect diffusion of the ambient air
selected.
The warm air diffused at the floor, from the
front air conditioning unit, is distributed at
the feet of the rear passengers of the
2nd row.
A warm air diffusion vent, located on the
specific unit, completes the assembly for
the feet of the rear passengers of the
3rd row.
Temperature adjustment
Control positioned:
- on the blue, triggers cool air,
- on the red, triggers heating ofthe ambient air.
Activation/Deactivation
Air flow
The force of the blown air, via
the vents, varies from 1 to the
strongest 4.
To obtain a comfortable level of
ambient air, remember to adjust
this control.
To deactivat the blower, place the control in
position 0. This button, located on the
overhead storage unit, enables
you to activate/deactivate the
operation of the rear controls
from the driver's seat or the front passenger
seat.
The first press activates (green diode lit).
A second press deactivates (diode off).
Page 52 of 231

60
Seats
FRONT SEATS
Depending on the version and configuration
of your vehicle, different front seats are
fitted, either:
- a driver's seat and a passenger seat,
- an individual driver's seat and a two-seat passenger bench. 3 - Driver's seat height adjustment
Depending on the version and configuration
of your vehicle, you have either:
- a passive adjustment: pull the handle
upwards then take your weight off the
seat to raise, or push on the seat to
lower,
2 - Seat back angle adjustment
Pull the lever upwards and set the required
angle.
1 - Forwards/backwards adjustment
Lift the bar and slide the seat forwards or
backwards.
Depending on the models, the following
adjustments are available:
Page 53 of 231

61
Seats
ERGONOMICS and COMFORT
3
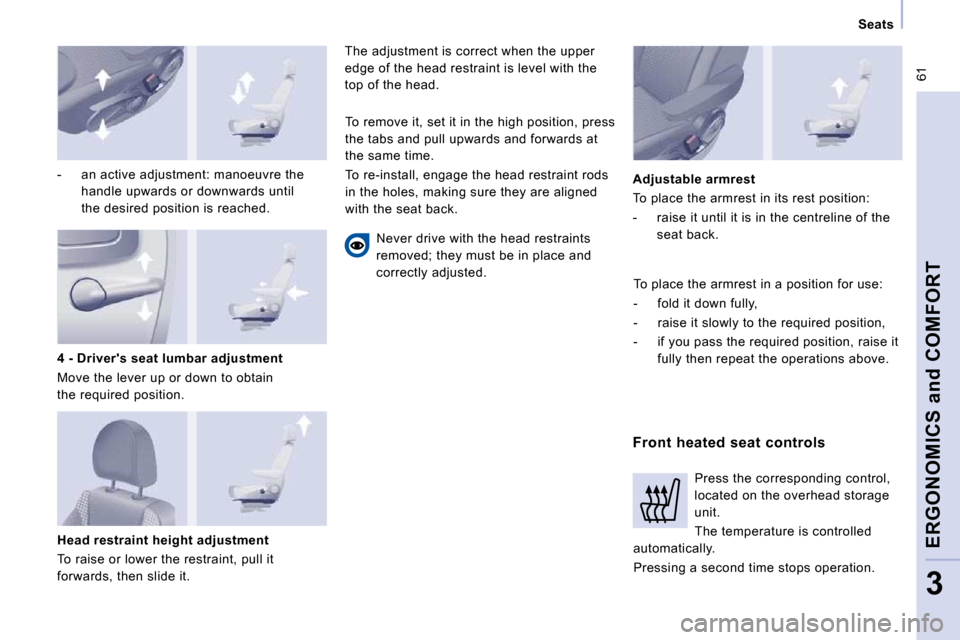
- an active adjustment: manoeuvre the handle upwards or downwards until
the desired position is reached.
Head restraint height adjustment
To raise or lower the restraint, pull it
forwards, then slide it. The adjustment is correct when the upper
edge of the head restraint is level with the
top of the head.
Never drive with the head restraints
removed; they must be in place and
correctly adjusted.
Front heated seat controls
Adjustable armrest
To place the armrest in its rest position:
- raise it until it is in the centreline of the
seat back.
4 - Driver's seat lumbar adjustment
Move the lever up or down to obtain
the required position. To remove it, set it in the high position, press
the tabs and pull upwards and forwards at
the same time.
To re-install, engage the head restraint rods
in the holes, making sure they are aligned
with the seat back.
To place the armrest in a position for use:
- fold it down fully,
- raise it slowly to the required position,
- if you pass the required position, raise it fully then repeat the operations above.
Press the corresponding control,
located on the overhead storage
unit.
The temperature is controlled
automatically.
Pressing a second time stops operation.
Page 54 of 231

62
Seats
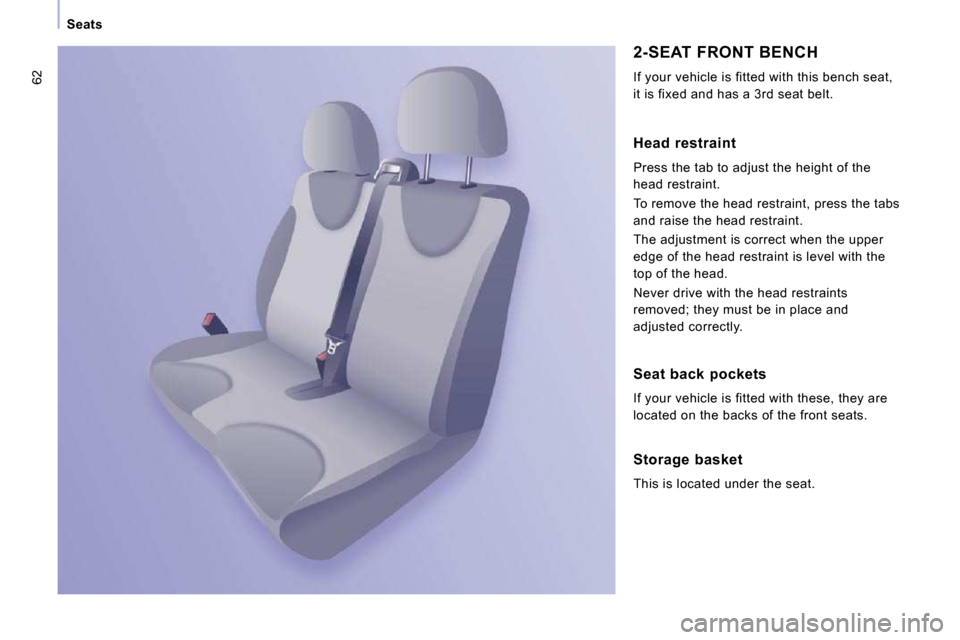
2-SEAT FRONT BENCH
If your vehicle is fitted with this bench seat,
it is fixed and has a 3rd seat belt.
Head restraint
Press the tab to adjust the height of the
head restraint.
To remove the head restraint, press the tabs
and raise the head restraint.
The adjustment is correct when the upper
edge of the head restraint is level with the
top of the head.
Never drive with the head restraints
removed; they must be in place and
adjusted correctly.
Storage basket
This is located under the seat.
Seat back pockets
If your vehicle is fitted with these, they are
located on the backs of the front seats.
Page 76 of 231

Mirrors and windows
ERGONOMICS and COMFORT
3
Manual interior mirror
The interior mirror has two positions:
- day (normal),
- night (anti-dazzle).
To change from one to the other, push or
pull the lever on the lower edge of the mirror.
MONITORING MIRROR
This mirror, placed on top of the central
mirror, enables the driver or front passenger
to observe all the rear seats.
Fitted on its own ball joint, it's manual
adjustment is simple and provides a view of
the rear interior of the vehicle.
It can also be adjusted for improved visibility
during manoeuvres or when overtaking.
REAR WINDOWS
2nd row side windows
If fitted on your vehicle, the 2nd row side
windows can be opened.
Squeeze the two controls then move the
window sideways. 4 notches are available.
While driving, the window must be closed or
secured on one of the 4 notches.
3rd row rear quarter lights
These are fixed.
Page 82 of 231

89
Seat belts
SAFETY
4
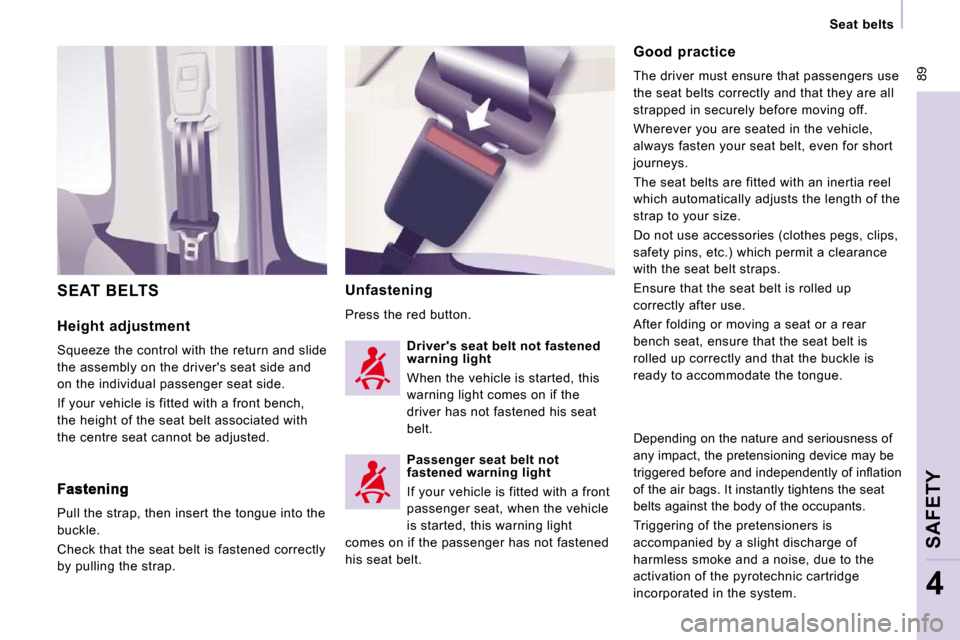
Height adjustment
Squeeze the control with the return and slide
the assembly on the driver's seat side and
on the individual passenger seat side.
If your vehicle is fitted with a front bench,
the height of the seat belt associated with
the centre seat cannot be adjusted.
Unfastening
Press the red button.
SEAT BELTS
Good practice
The driver must ensure that passengers use
the seat belts correctly and that they are all
strapped in securely before moving off.
Wherever you are seated in the vehicle,
always fasten your seat belt, even for short
journeys.
The seat belts are fitted with an inertia reel
which automatically adjusts the length of the
strap to your size.
Do not use accessories (clothes pegs, clips,
safety pins, etc.) which permit a clearance
with the seat belt straps.
Ensure that the seat belt is rolled up
correctly after use.
After folding or moving a seat or a rear
bench seat, ensure that the seat belt is
rolled up correctly and that the buckle is
ready to accommodate the tongue.
Pull the strap, then insert the tongue into the
buckle.
Check that the seat belt is fastened correctly
by pulling the strap. Driver's seat belt not fastened
warning light
When the vehicle is started, this
warning light comes on if the
driver has not fastened his seat
belt.
Passenger seat belt not
fastened warning light
If your vehicle is fitted with a front
passenger seat, when the vehicle
is started, this warning light
comes on if the passenger has not fastened
his seat belt. Depending on the nature and seriousness of
any impact, the pretensioning device may be
�t�r�i�g�g�e�r�e�d� �b�e�f�o�r�e� �a�n�d� �i�n�d�e�p�e�n�d�e�n�t�l�y� �o�f� �i�n�fl� �a�t�i�o�n�
of the air bags. It instantly tightens the seat
belts against the body of the occupants.
Triggering of the pretensioners is
accompanied by a slight discharge of
harmless smoke and a noise, due to the
activation of the pyrotechnic cartridge
incorporated in the system.